
In the dynamic world of content creation, livestreaming, and video production, tools like OBS Studio have become indispensable for millions. Whether you’re a seasoned Twitch streamer, a burgeoning YouTuber, or simply someone looking to record gameplay or presentations, OBS Studio offers a powerful, open-source solution for all your broadcasting and recording needs. However, as your projects grow and your system’s demands increase, you might encounter a common dilemma: where exactly should OBS be installed? The default C: drive often feels like the most natural home, but for many, installing OBS Studio on a different drive is not just a preference, but a strategic move that can significantly impact performance, storage management, and overall system organization.
This comprehensive guide will walk you through the process of installing OBS Studio on an alternative drive, delving into why this approach is beneficial and providing step-by-step instructions for both fresh installations and relocating existing ones. We’ll explore the technical advantages, potential pitfalls, and best practices to ensure your OBS setup is optimized for peak performance, allowing you to focus on creating captivating content without worrying about technical bottlenecks.
Understanding OBS Studio and Installation Basics
Before diving into the “how-to,” it’s crucial to grasp what OBS Studio is and why its installation location can be a critical decision. A fundamental understanding of this powerful software will illuminate the rationale behind opting for a different drive.
What is OBS Studio? A Quick Dive
OBS Studio, or Open Broadcaster Software, is a free and open-source cross-platform streaming and recording program. It’s renowned for its robust feature set, allowing users to capture video and audio from multiple sources (webcams, screen captures, game capture, media files, etc.), mix them, and then broadcast them live to platforms like Twitch, YouTube, and Facebook Live, or record them for later editing and upload. Its flexibility, extensive plugin ecosystem, and active community make it the go-to choice for hobbyists and professionals alike.
The software handles complex tasks such as encoding video in real-time, managing multiple audio tracks, and rendering intricate scene compositions. These processes are resource-intensive, requiring a considerable amount of CPU power, RAM, and, crucially, fast disk I/O (Input/Output) for recording high-quality video files. This heavy reliance on system resources is precisely why the choice of installation drive becomes a strategic consideration.
Why Consider a Different Drive for OBS?
There are several compelling reasons why installing OBS Studio on a drive other than your primary system drive (typically C:) can be highly advantageous. These reasons often revolve around optimizing performance, managing storage effectively, and maintaining system stability.
Storage Management: Freeing Up Your Primary Drive
Modern operating systems, especially Windows, thrive when their primary drive has ample free space. The C: drive typically hosts your OS, essential system files, and often many other applications. Over time, it can become cluttered, leading to reduced performance. OBS Studio, while not massive in its base installation size, generates large recording files, particularly if you’re capturing high-resolution, high-bitrate video. These files can quickly consume gigabytes, even terabytes, of storage.
By installing OBS on a secondary drive, especially a dedicated one, you prevent these large temporary and permanent files from eating into your C: drive’s precious space. This keeps your operating system lean and responsive, ensuring that OS-related operations aren’t hampered by a full drive. Furthermore, if you dedicate a separate drive solely for your recordings (which is a best practice we’ll discuss), you isolate the heavy write operations from your OS drive, leading to a more stable and efficient system.
Performance Benefits: The SSD vs. HDD Dynamic
The type of drive you use plays a significant role in OBS Studio’s performance, especially during recording. Solid State Drives (SSDs) offer vastly superior read and write speeds compared to traditional Hard Disk Drives (HDDs).
- For OBS Installation: Installing OBS Studio itself on an SSD will lead to faster launch times and more responsive UI interactions. While OBS’s core files aren’t constantly being read during operation, the initial load time and any operations involving reading its program files will benefit from an SSD.
- For Recordings: This is where the biggest performance gains can be realized. When OBS records video, it continuously writes large amounts of data to the disk. If your recording drive is slow (e.g., an older HDD), it can become a bottleneck, leading to dropped frames, stuttering recordings, and general performance issues, even if your CPU and GPU are powerful enough. By directing recordings to a fast SSD (ideally one separate from your OS drive), you ensure that the disk I/O can keep up with the demands of high-bitrate video, resulting in smoother, higher-quality recordings. Some advanced users even use a dedicated NVMe SSD purely for recording to virtually eliminate disk bottlenecks.
Separating the OBS installation and, more importantly, its recording output to a non-OS drive, especially an SSD, can mitigate these performance concerns. This allows your OS drive to handle its tasks unburdened, while the dedicated drive efficiently manages OBS’s I/O demands.
System Organization and Data Preservation
Installing OBS on a separate drive contributes to a cleaner, more organized system. It keeps your applications neatly compartmentalized, making it easier to manage and troubleshoot. In the unfortunate event that your primary OS drive becomes corrupted or requires a fresh installation of Windows, having OBS (and especially your recordings and scene collections) on a different drive simplifies the recovery process. You can often reinstall the OS without affecting your OBS installation or, at the very least, easily access your saved profiles and scene settings, minimizing downtime and data loss. This separation ensures that your creative assets are isolated from core system vulnerabilities.
Method 1: Custom Installation Path During Setup
The most straightforward and recommended way to install OBS Studio on a different drive is by specifying a custom installation path during the initial setup process. This method is ideal for new installations or when you’re completely reinstalling OBS.
Preparing for Installation
Before you begin, a few preparatory steps will ensure a smooth and successful installation.
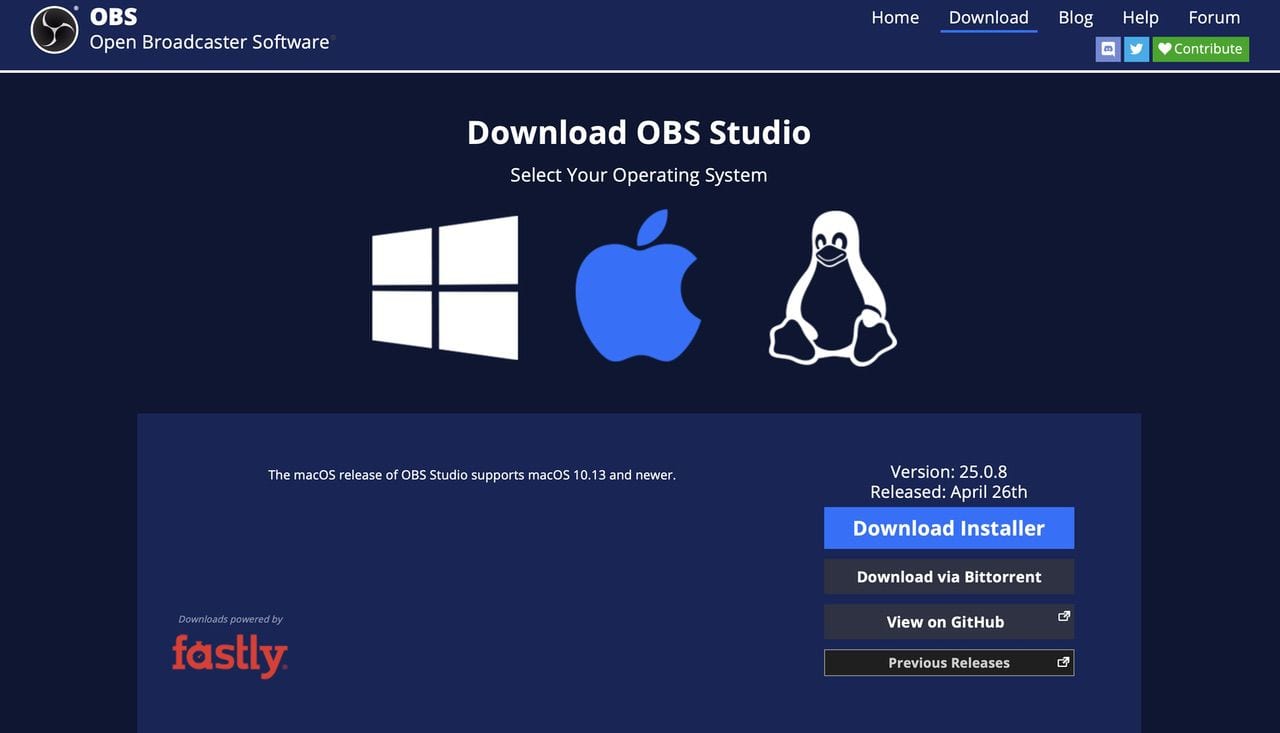
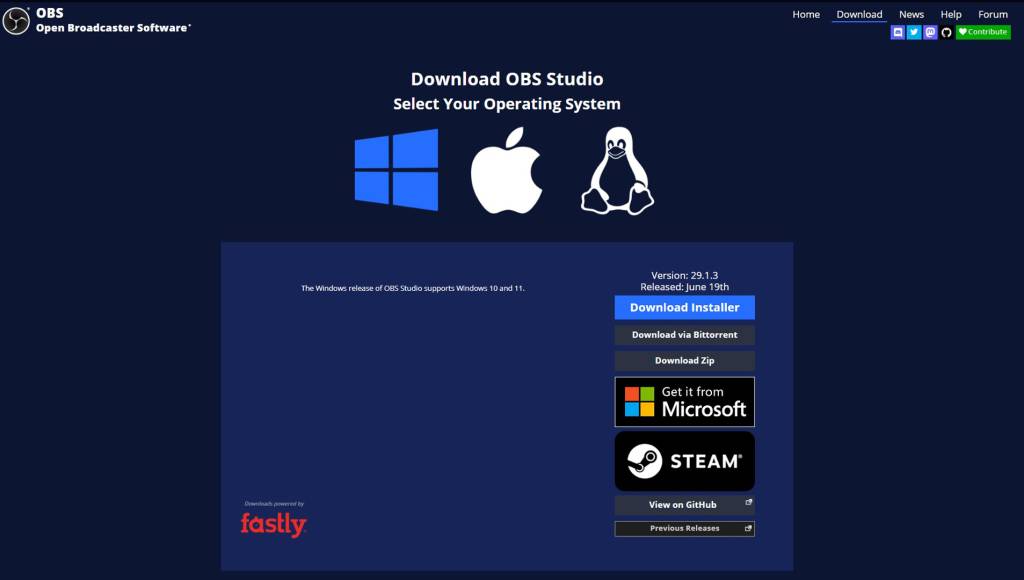
Download OBS Studio from the Official Website
Always download OBS Studio from its official source: obsproject.com. This ensures you receive the legitimate, most up-to-date version, free from malware or unauthorized modifications. Avoid third-party download sites, as they may bundle unwanted software or provide outdated versions.
Check System Requirements
While OBS Studio is relatively lightweight, it’s good practice to ensure your system meets its minimum requirements. These typically include:
- Operating System: Windows 10/11, macOS 10.15+, or Linux.
- Processor: Modern multi-core CPU (Intel i5/Ryzen 5 or equivalent recommended).
- RAM: 8GB or more.
- GPU: DirectX 11 compatible GPU (modern integrated or dedicated GPU).
- Storage: Sufficient space on your chosen installation drive (a few hundred MB for the program, plus ample space for recordings).
Close Other Demanding Applications
To prevent any conflicts or slowdowns during installation, close any other resource-intensive applications, especially other streaming software, games, or video editors. This ensures the installer has full access to the necessary system resources and avoids any potential file locking issues.
Step-by-Step Custom Installation
Once prepared, follow these steps to install OBS Studio on your desired drive:
- Locate the Installer: Navigate to your Downloads folder or wherever you saved the OBS Studio installer (
OBS-Studio-[version]-Installer.exe). - Run the Installer as Administrator: Right-click the installer executable and select “Run as administrator.” This grants the necessary permissions to install software on your system, preventing potential permission-related errors.
- Welcome Screen: Click “Next” on the welcome screen.
- License Agreement: Read through the GNU General Public License (GPL) agreement. If you agree, click “I Agree.”
- Choose Components: The next screen asks you to choose components to install. For most users, the default selection (OBS Studio) is sufficient. Click “Next.”
- Crucial Step: Choose Install Location: This is the most important step for installing on a different drive. By default, OBS will suggest
C:Program FilesOBS Studio. To change this:- Click the “Browse…” button.
- A “Browse For Folder” window will appear. Navigate to the desired drive (e.g.,
D:,E:, or a dedicated drive you’ve prepared). - It’s a good practice to create a new folder within that drive for your applications, for example,
D:ProgramsOBS StudioorE:Creative SoftwareOBS Studio. Select or create your chosen folder. - Click “OK” once your desired path is selected. The “Destination Folder” field should now reflect your chosen drive and folder.
- Initiate Installation: With the custom path set, click “Install.” The installer will then copy the necessary files to your specified location. This process usually takes a few minutes, depending on your system’s speed.
- Complete Installation: Once the installation is finished, you’ll see a completion screen. You can optionally check the “Launch OBS Studio” box and click “Finish.”
Initial Setup Wizard
Upon launching OBS Studio for the first time, it will typically present an “Auto-Configuration Wizard.” This wizard helps optimize OBS for your specific hardware and intended use (streaming, recording, or both). Follow the prompts to configure your base canvas resolution, FPS, and initial streaming/recording settings. While this is not directly related to the installation drive, it’s a critical step for getting OBS up and running efficiently.
Method 2: Moving an Existing OBS Installation (Advanced)
Sometimes, you might already have OBS Studio installed on your C: drive and later realize the benefits of moving it to a different location. While not as straightforward as a fresh custom installation, it’s certainly possible, though it requires a bit more care.
Why You Might Need This
You might find yourself in this situation if:
- You initially installed OBS without considering a custom path.
- Your C: drive has become critically low on space.
- You’ve acquired a new, faster SSD and want to leverage its performance for OBS.
- You’re reorganizing your system and want to consolidate creative software on a dedicated drive.
Important Considerations Before Moving
Moving an existing application can sometimes break file paths, especially for plugins, custom scripts, or specific scene collection assets (like images, videos) that might be referenced by absolute paths. Therefore, backing up your OBS profiles and scene collections is absolutely crucial before attempting any relocation.
Backing Up Scene Collections, Profiles, and Settings
OBS Studio allows you to export your settings, which is incredibly useful for migration.
- Open OBS Studio.
- Go to
Scene Collectionin the top menu and selectExport. Choose a safe location (e.g., your Documents folder or a cloud drive) and save the.jsonfile. Repeat this for each scene collection if you have multiple. - Go to
Profilein the top menu and selectExport. Save these.jsonfiles as well. - Optionally, you can manually copy the entire OBS configuration folder. By default, this is located at
%APPDATA%obs-studio. Copy this folder to a backup location. This folder contains all your profiles, scene collections, and global settings.
These backups will allow you to easily restore your entire OBS setup if anything goes awry during the move or if you decide to perform a clean reinstallation.
The Manual Relocation Process
There are two primary ways to move an existing OBS installation: a simple cut-and-paste (less reliable) and using a symbolic link (more robust).
Option A: Cut and Paste (Less Recommended for Complex Setups)
This method is simpler but has a higher chance of breaking shortcuts, system paths, or plugin references.
- Close OBS Studio completely. Ensure it’s not running in the background. Check Task Manager.
- Locate Current OBS Installation Folder: By default, this is
C:Program FilesOBS Studio. - Cut the Folder: Right-click on the “OBS Studio” folder and select “Cut.”
- Paste to New Location: Navigate to your desired new drive and folder (e.g.,
D:ProgramsOBS Studio). Right-click in the empty space and select “Paste.” - Update Shortcuts: Your old desktop or Start Menu shortcuts will likely no longer work. Delete them and create new ones by navigating to the
obs64.exe(orobs32.exefor 32-bit systems) in the new location, right-clicking, and selecting “Send to” -> “Desktop (create shortcut).” - Test OBS: Launch OBS from the new shortcut. Check if all your scenes, sources, and plugins are working correctly. You may need to manually re-point any sources that relied on absolute paths.
Option B: Using a Symbolic Link (Recommended for Robust Relocation)
A symbolic link (symlink) is a special type of file that points to another file or directory. When you access the symlink, the operating system transparently redirects you to the target location. This is powerful because your system and any applications (including plugins) will still “think” OBS is in its original location, even though the actual files are on a different drive.
-
Close OBS Studio completely. Again, ensure it’s not running.
-
Locate Current OBS Installation Folder:
C:Program FilesOBS Studio. -
Cut and Paste the Folder: Move the entire “OBS Studio” folder from its original location (e.g.,
C:Program FilesOBS Studio) to your new desired drive and folder (e.g.,D:ProgramsOBS Studio). -
Open Command Prompt as Administrator: Search for “cmd” in the Start Menu, right-click on “Command Prompt,” and select “Run as administrator.”
-
Create the Symbolic Link: Use the
mklinkcommand. The syntax is:
mklink /D "old_path" "new_path"/Dindicates you’re creating a directory symbolic link."old_path"is the original location where OBS used to be (the location the symlink will appear)."new_path"is the new location where you pasted the OBS folder (the actual files).
Example: If OBS was originally at
C:Program FilesOBS Studioand you moved it toD:ProgramsOBS Studio, the command would be:
mklink /D "C:Program FilesOBS Studio" "D:ProgramsOBS Studio"Press Enter. You should see a message confirming the symbolic link was created.
-
Verify and Test:
- Navigate to the
C:Program Filesdirectory. You should now see an “OBS Studio” folder with a shortcut icon overlay, indicating it’s a symlink. - Launch OBS Studio using your existing shortcuts. Everything should work as if it was never moved. All plugins, scene sources, and settings should be intact because the system is being redirected seamlessly.
- Navigate to the
If you encounter issues, you can delete the symlink (just delete the “OBS Studio” folder from C:Program Files) and paste the original folder back from your new location to revert. This is why backing up is so important!
Optimizing OBS Performance After Installation
Installing OBS on a different drive is just one step towards a fully optimized streaming and recording setup. To truly harness its power, you need to consider broader performance best practices.
Storage Best Practices for OBS
Beyond the installation drive, how you manage your storage specifically for recordings is paramount.
- Dedicated Drive for Recordings: Ideally, use a completely separate, fast SSD (NVMe is best) exclusively for recording. This drive should not host your OS or other active applications. This isolates the heavy write operations of recording from all other disk activity, preventing bottlenecks.
- Choosing Appropriate Recording Formats and Bitrates:
- Format: MP4 is popular but risky; if OBS crashes, the file is corrupted. FLV or MKV are safer as they can be recovered. You can remux MKV to MP4 within OBS after recording without re-encoding.
- Bitrate: Higher bitrates yield higher quality but larger file sizes and demand more disk I/O. Balance quality with your hardware capabilities and available storage.
- Regularly Clearing Old Recordings: Don’t let old recordings accumulate indefinitely. Archive them to slower, larger HDDs or cloud storage, or delete them once they’re no longer needed. This frees up space on your fast recording drive.
General Performance Tips
Even with a perfect installation, OBS can encounter performance issues if not configured correctly or if your system isn’t optimized.
- Hardware Acceleration (Encoder Settings): Utilize hardware encoders like NVIDIA NVENC (for GeForce GPUs) or AMD AMF/VCE (for Radeon GPUs) if available. These offload encoding from your CPU to dedicated hardware, significantly reducing CPU usage and often improving performance. x264 (CPU encoding) is powerful but much more CPU-intensive.
- Resolution and Frame Rate: Stream/record at resolutions and frame rates that your hardware can comfortably handle. 1080p at 60fps is standard, but if your system struggles, consider 720p or 30fps.
- Minimize Background Applications: Close any unnecessary programs while streaming or recording to free up CPU, RAM, and GPU resources for OBS.
- Monitor System Resources: Use Task Manager (Windows) or Activity Monitor (macOS) to keep an eye on your CPU, GPU, and RAM usage while OBS is running. Identify bottlenecks and adjust settings accordingly.
- Update Drivers: Always keep your graphics card drivers, audio drivers, and chipset drivers updated. Outdated drivers are a common cause of performance issues and instability.
- OBS Settings Optimization: Within OBS, experiment with settings like:
- Base (Canvas) Resolution: Your monitor’s resolution.
- Output (Scaled) Resolution: The resolution you stream/record at. Downscaling can save resources.
- Downscale Filter: Lanczos is high quality but more demanding; Bicubic is a good balance.
- Process Priority: Setting OBS to “High” in Task Manager can give it more CPU resources.
Troubleshooting Common Installation and Performance Issues
Even with careful planning, you might encounter issues. Here’s how to address some common problems related to OBS installation and performance.
Installation Errors
- “Cannot write to directory” or “Access Denied”: This usually indicates insufficient permissions. Ensure you’re running the installer as an administrator. If the issue persists, check the folder permissions for your target drive/folder to ensure your user account has full control.
- “Insufficient privileges”: Similar to the above, try running the installer as administrator.
- “Installer failed to initialize”: This can sometimes be caused by a corrupted installer file. Try downloading the installer again from
obsproject.com. It could also be an issue with your system’s temporary directory; try clearing your temporary files.
Post-Installation Problems
- OBS not launching:
- If using a custom installation or symlink, ensure the path is correct.
- Check Task Manager to see if an OBS process is stuck in the background. End the task and try again.
- Try launching OBS in “Safe Mode” (if available through a specific shortcut or command line argument for debugging) or try reinstalling.
- For relocated installations, ensure your symlink is correctly created and pointing to the right place.
- Plugins not recognized: If you manually moved OBS or had issues with a fresh install, plugins might need to be reinstalled or their paths corrected. Some plugins might hardcode paths, making relocation tricky. If using a symlink, this is less likely to happen.
- Stuttering/lagging recordings or streams:
- Disk Bottleneck: If recordings are stuttering, your recording drive might be too slow. Ensure you’re recording to a fast SSD, ideally a dedicated one. Check disk usage in Task Manager during recording.
- CPU/GPU Overload: Monitor CPU/GPU usage. If either is consistently at 90-100%, you need to reduce settings (resolution, FPS, bitrate) or switch to a hardware encoder.
- Network Issues (for streaming): If streaming is stuttering but local recordings are fine, it’s a network issue. Check your internet upload speed, reduce bitrate, or change streaming servers.
- Dropped Frames in OBS: The bottom bar of OBS shows dropped frames. A high number indicates a problem. Clicking on it provides details (encoding lag, rendering lag, network issues).
- “Black screen” issues (game capture, display capture):
- Game Capture: Ensure OBS is running as administrator if capturing full-screen games. Try different capture modes (e.g., specific window, front-end window). Check if your game is in borderless windowed mode.
- Display Capture: Check if you have multiple GPUs (e.g., integrated and dedicated). Ensure OBS is using the same GPU that’s rendering the display you’re trying to capture. Sometimes, switching the display method (DXGI duplication, BitBlt) can help.
- Hardware Acceleration Conflicts: Sometimes, certain browser or application hardware acceleration settings can conflict with OBS. Try disabling hardware acceleration in the affected application.
By systematically troubleshooting these common issues, you can often diagnose and resolve problems efficiently, getting your OBS setup back to optimal performance.
Conclusion
Installing OBS Studio on a different drive is a strategic decision that offers a multitude of benefits, from enhanced storage management and improved recording performance to better system organization and data preservation. For content creators who rely on OBS Studio for their livelihood or passion projects, this seemingly minor adjustment can contribute significantly to a smoother, more reliable, and ultimately more enjoyable production workflow.
Whether you’re performing a fresh installation and wisely selecting a custom path or carefully relocating an existing setup using the advanced technique of symbolic links, the principles remain the same: empower your system by optimizing where your critical applications and their heavy data reside. By following the comprehensive steps outlined in this guide and implementing the recommended best practices for OBS optimization, you’ll be well-equipped to unlock your system’s full potential. Dive into creating captivating content with the confidence that your OBS Studio setup is not just functional, but finely tuned for peak performance. Embrace these tech-savvy approaches to elevate your streaming and recording experience, ensuring that technical hiccups remain a distant memory while your creative vision takes center stage.
aViewFromTheCave is a participant in the Amazon Services LLC Associates Program, an affiliate advertising program designed to provide a means for sites to earn advertising fees by advertising and linking to Amazon.com. Amazon, the Amazon logo, AmazonSupply, and the AmazonSupply logo are trademarks of Amazon.com, Inc. or its affiliates. As an Amazon Associate we earn affiliate commissions from qualifying purchases.