In the intricate world of computing, drivers act as essential translators, allowing your operating system to communicate effectively with hardware and software components. Among the myriad of driver types, the “interception driver” stands out for its unique ability to monitor and modify system events before they reach their intended destination. Whether you’re a developer needing to debug system inputs, a security professional analyzing data flows, or an advanced user seeking greater control over your device’s peripherals, understanding how to properly install an interception driver is a critical skill. This guide will walk you through the process, emphasizing the technical steps, potential challenges, and vital security considerations to ensure a smooth and secure installation.

Interception drivers operate at a fundamental level, often “hooking” into the operating system’s kernel to intercept signals from devices like keyboards, mice, or even network interfaces. This capability unlocks a range of powerful applications, from sophisticated input remapping tools and accessibility aids to advanced security monitoring and debugging utilities. However, with great power comes great responsibility. The installation and management of such drivers require a meticulous approach, as incorrect procedures can lead to system instability, security vulnerabilities, or even data loss. Our focus will be on providing a comprehensive, step-by-step tutorial, deeply rooted in the principles of digital security and effective software management, aligning perfectly with our Tech section’s commitment to practical, secure, and informative content.
Understanding Interception Drivers: What They Are and Why They Matter
Before diving into the installation process, it’s crucial to grasp what an interception driver is, how it functions, and why you might need one. This foundational understanding will not only demystify the technology but also highlight the importance of careful handling.
The Core Functionality: Hooking System Events
At its heart, an interception driver works by positioning itself “in the middle” of a communication path. Imagine your keyboard sending a signal to your computer when you press a key. Normally, this signal travels directly from the keyboard hardware to the operating system, which then processes it and displays the corresponding character on your screen. An interception driver inserts itself into this flow. Instead of the signal going directly to the OS, it first passes through the interception driver.
This “hooking” mechanism allows the driver to:
- Monitor: Simply observe the data passing through without altering it. This is useful for logging keyboard strokes, mouse movements, or network packets for analysis.
- Modify: Change the data before it reaches its original destination. For instance, a keyboard remapping tool might intercept a key press for ‘A’ and change it to ‘B’ before passing it to the OS.
- Block: Prevent the data from reaching its destination entirely. A security application might block certain network packets or suspicious input events.
- Generate: Create new events. An automated testing tool could generate synthetic key presses or mouse clicks.
This low-level interaction means interception drivers often require elevated permissions and must be signed by trusted authorities (or have driver signature enforcement temporarily disabled, a step we’ll discuss with caution). They are typically kernel-mode drivers, operating within the most privileged part of the operating system, making their stability and security paramount.
Common Use Cases and Applications
The versatility of interception drivers lends itself to a wide array of applications across various domains:
- Custom Input Remapping: For users who want to remap specific keys on their keyboard, customize mouse buttons, or create complex macros. This can significantly enhance productivity, especially for power users, gamers, or individuals with specific accessibility needs.
- Accessibility Tools: Developing software that adapts input methods for users with disabilities, such as eye-tracking systems that simulate mouse movements or specialized virtual keyboards.
- System Monitoring and Debugging: Developers and IT professionals use these drivers to monitor system inputs, network traffic, or internal processes for debugging software, analyzing system behavior, or identifying performance bottlenecks.
- Security Research and Development: Security analysts might use interception drivers to analyze malware behavior, study communication protocols, or develop advanced intrusion detection systems by monitoring suspicious system calls or network packets.
- Parental Control and Employee Monitoring: In certain controlled environments, these drivers can be part of solutions for monitoring computer usage, though ethical considerations and privacy laws must always be strictly observed.
- Gaming Peripherals and Software: Advanced gaming mice and keyboards often come with drivers that utilize interception techniques to provide granular control over sensitivity, macros, and custom profiles, giving players a competitive edge.
Understanding these use cases highlights why such drivers are not merely esoteric tools but integral components in various specialized applications, significantly impacting productivity and digital security.
The Importance of Digital Security and Responsible Use
Given their privileged access to the operating system’s core, interception drivers present significant digital security implications. An improperly designed or malicious interception driver could, for example:
- Log sensitive data: Capture passwords, credit card numbers, or personal messages (keylogger functionality).
- Introduce vulnerabilities: Create backdoors or weaknesses in the system that could be exploited by other malicious software.
- Cause system instability: Crash the operating system or lead to unpredictable behavior if not robustly coded.
Therefore, the principle of “trust but verify” is paramount. Always ensure that:
- The driver source is reputable: Download drivers only from official websites, trusted developers, or well-vetted open-source projects.
- You understand its purpose: Be clear about what the driver is intended to do and whether its functionality aligns with your needs.
- You are aware of the risks: Accept that installing low-level drivers carries inherent risks and be prepared to troubleshoot.
Our Tech section emphasizes secure computing practices, and the installation of an interception driver is a prime example where vigilance is non-negotiable. Always consider the potential impact on your system’s integrity and data privacy.
Preparing for Installation: Essential Prerequisites
A successful driver installation hinges on thorough preparation. Skipping these crucial steps can lead to frustrating errors, system instability, or even irreversible data loss. Think of it as laying a solid foundation before building a complex structure.
System Requirements and Compatibility Checks
Before you even consider downloading a driver, you must confirm that your system meets the necessary specifications and that the driver is compatible with your operating system.
- Operating System Version: Interception drivers are highly dependent on the OS kernel. A driver designed for Windows 10 might not work on Windows 11, or even different builds of the same OS. Check if the driver specifically supports your Windows version (e.g., 64-bit vs. 32-bit, specific build numbers). Linux users will need to consider kernel versions.
- Hardware Compatibility: While many interception drivers are software-based, some might be designed to work with specific hardware (e.g., a particular brand of gaming mouse). Verify any hardware-specific requirements.
- Dependencies: Some drivers might require specific runtime environments (e.g., .NET Framework, Visual C++ Redistributables) or other software components to be installed first. Consult the driver’s documentation for any prerequisites.
Failing to meet these requirements is a common source of installation failures and system errors. Always prioritize reviewing the official documentation provided by the driver developer.
Administrator Privileges and Security Settings
Installing kernel-mode drivers requires the highest level of system access. You will invariably need administrator privileges.
- Administrator Account: Ensure you are logged into an account with administrator rights. If you’re on a standard user account, you’ll be prompted for administrator credentials during the installation process.
- User Account Control (UAC): Windows’ User Account Control (UAC) is a security feature that helps prevent unauthorized changes to your system. While it’s generally recommended to keep UAC enabled, some older or less refined driver installers might struggle with it. In rare cases, you might temporarily need to lower UAC settings, but this should only be done if explicitly recommended by trusted documentation and reversed immediately after installation.
- Antivirus/Antimalware Software: Your security software might flag driver installation attempts, especially for low-level system changes, as potentially malicious. Temporarily disabling your antivirus during installation might be necessary, but this significantly increases risk. If you do this, ensure your driver source is absolutely trusted and re-enable your antivirus immediately afterward.
Managing these security settings carefully is paramount. Never compromise your system’s security without fully understanding the implications and mitigating the risks.
Backing Up Your System: A Crucial Precaution
This cannot be stressed enough: Always back up your system before installing any low-level driver, especially an interception driver. Driver installations, particularly those interacting with the kernel, have the potential to render your system unbootable or unstable.
- System Restore Point: In Windows, creating a system restore point is a quick way to roll back system changes. Go to
System Properties>System Protection>Create. Name it clearly (e.g., “Before Interception Driver Install”). - Full System Image Backup: For maximum safety, consider creating a full disk image backup using Windows Backup and Restore, or third-party tools like Macrium Reflect or Acronis True Image. This allows you to restore your entire operating system, applications, and data to a previous state.
- Data Backup: At the very least, ensure all critical personal and work files are backed up to an external drive or cloud service.
A proper backup plan is your safety net. It transforms a potentially disastrous installation failure into a minor inconvenience, allowing you to quickly recover your system without data loss.
Step-by-Step Guide: Installing Your Interception Driver
With preparations complete, we can now proceed to the core installation steps. This section will guide you through the process, from obtaining the software to confirming its successful integration.
Obtaining the Driver Software
The very first step is to acquire the driver files. As emphasized earlier, the source matters immensely.
- Identify the Correct Driver: Ensure you have identified the specific interception driver suitable for your needs and system. Common open-source or widely used interception drivers might include ones for input (like Interception, often used with tools like AutoHotkey or custom remappers) or virtual device drivers.
- Download from a Trusted Source:
- Official Developer Website: This is always the preferred method. Look for download links on the project’s main page or GitHub repository.
- Reputable Software Repositories: For open-source projects, a well-maintained GitHub repository with active development and clear release cycles is a good sign.
- Avoid Third-Party Download Sites: Steer clear of unknown software download sites, as they might bundle legitimate drivers with malware or outdated versions.
- Verify Integrity (if possible): If the developer provides checksums (MD5, SHA256) for the download, verify them after downloading the file. This ensures the file hasn’t been tampered with during transfer.
- Extract the Files: Driver packages often come in compressed archives (ZIP, RAR). Extract the contents to a new, easily accessible folder (e.g.,
C:DriversInterceptionDriver). Make sure to keep the folder structure intact if any subdirectories are present.
Navigating Driver Signature Enforcement
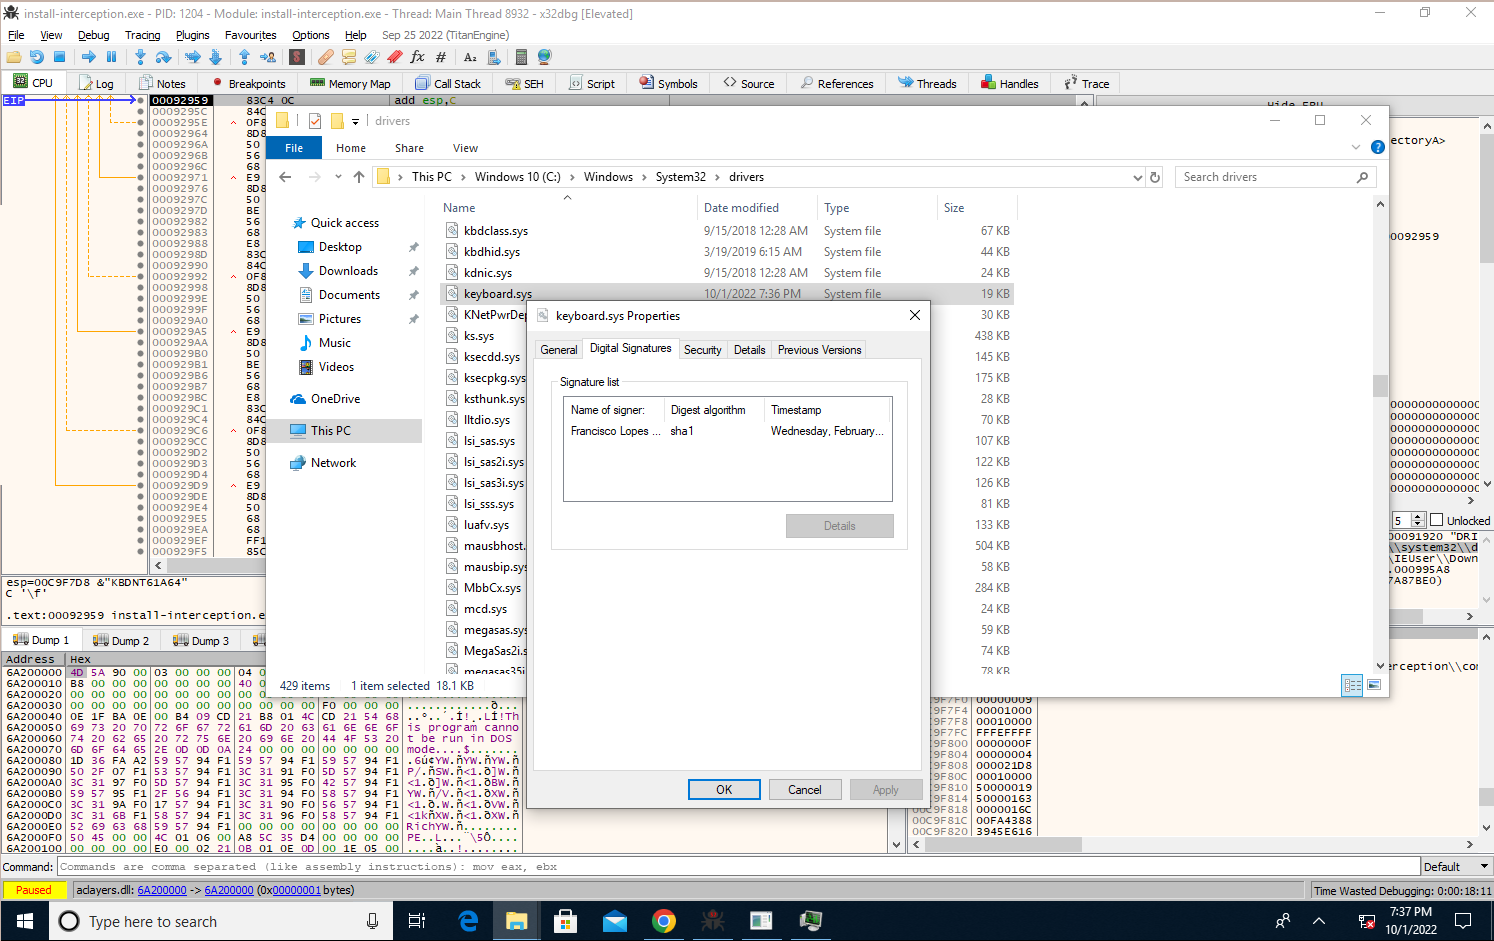
Modern Windows versions (and some Linux distributions with secure boot) enforce driver signature verification. This means that only drivers digitally signed by a trusted certificate authority (like Microsoft) can be loaded by default. This is a crucial security measure to prevent malicious drivers from being installed. However, many specialized or open-source interception drivers might not have this signature.
There are generally two approaches:
- Use a Signed Driver (Recommended): If your interception driver comes with a valid digital signature, the installation will typically proceed without issues regarding enforcement. Most commercial software and major hardware manufacturers provide signed drivers.
- Temporarily Disable Driver Signature Enforcement (Use with Extreme Caution):
- Understanding the Risk: Disabling this feature weakens a significant security barrier. Only do this if you absolutely trust the driver source and understand the potential implications.
- Accessing Advanced Startup Options (Windows):
- Go to
Settings>Update & Security>Recovery. - Under “Advanced startup,” click
Restart now. - Your PC will restart into a blue “Choose an option” screen.
- Select
Troubleshoot>Advanced options>Startup Settings>Restart. - After the restart, you’ll see a list of startup options. Press
7orF7to “Disable driver signature enforcement.”
- Go to
- Proceed with Installation: Your PC will boot, and you can now proceed with installing the unsigned driver.
- Re-enable Enforcement: After installation (and crucially, after verifying the driver works), restart your PC normally. Driver signature enforcement will automatically re-enable. Some drivers might require this setting to be permanently disabled, which is a major security risk and generally not recommended for everyday use.
This step is often the most significant hurdle for custom or specialized drivers. Always prioritize security, and if you’re unsure, seek advice from experienced users or forums related to your specific driver.
Executing the Installation Process
Once the driver files are extracted and you’ve handled driver signature enforcement (if necessary), you can proceed with the actual installation. The method varies depending on the driver package:
- Using an Installer Executable (Preferred):
- Many drivers come with a setup executable (e.g.,
setup.exe,install.exe). - Right-click on the executable and select “Run as administrator.”
- Follow the on-screen prompts, which typically involve agreeing to terms, choosing an installation directory, and confirming the installation.
- Pay close attention to any options presented during installation, as they might allow you to customize components or select specific device support.
- Many drivers come with a setup executable (e.g.,
- Manual Installation via Device Manager (for
INFfiles):- If the driver package contains an
.inffile (Information File) but no direct installer, you’ll install it manually. - Open Device Manager: Right-click the
Startbutton and selectDevice Manager. - Identify Target Device (if applicable): If the driver is for a specific device (e.g., a virtual keyboard), locate that device (it might appear as an “Unknown device” or under “Human Interface Devices,” “System devices,” or “Other devices”). Right-click on it and select “Update driver.”
- Install for System Device/Virtual Device: If the interception driver creates a new virtual device or is a system-wide filter driver, you might need to install it differently:
- In Device Manager, click
Action>Add legacy hardware. - Click
Next, then choose “Install the hardware that I manually select from a list (Advanced).” - Click
Next, select “Show All Devices,” and clickNext. - Click
Have Disk..., thenBrowse...and navigate to the folder where you extracted the driver files. Select the.inffile. - Click
Open, thenOK. - Select the driver from the list (e.g., “Interception Driver,” “Virtual Keyboard Device”) and click
Nextto complete the installation.
- In Device Manager, click
- Confirm Installation: After installation, Device Manager should show the newly installed driver under the appropriate category (e.g., “Human Interface Devices,” “System devices,” or a new category created by the driver).
- If the driver package contains an
- Using Command Line Tools: Some advanced drivers, especially those used in development or security research, might provide command-line tools (e.g.,
sc.exefor Windows services,devcon.exeor custom.batscripts) for installation. Always consult the documentation for specific commands.
Regardless of the method, ensure you receive a confirmation message indicating successful installation. A reboot might be required to fully activate the driver.
Verifying Successful Installation
Once the installation process is complete, it’s essential to verify that the driver is indeed installed and functioning correctly.
- Check Device Manager:
- Open Device Manager (as described above).
- Look for the driver under its expected category. There should be no yellow exclamation marks or red X’s, which indicate problems.
- Right-click the driver and select
Properties. Check the “Driver” tab to confirm the driver provider, date, and version match what you installed. - Check the “Events” tab for any errors during device startup.
- Check System Services (if applicable): Some interception drivers run as a Windows service.
- Open
Services(typeservices.mscin Run or Search). - Look for the service associated with your driver. Ensure its “Status” is
Runningand its “Startup Type” is set appropriately (e.g.,Automatic).
- Open
- Test Functionality: This is the most critical step.
- If it’s an input interception driver, use the associated utility or application to configure and test its functionality (e.g., remap a key, and see if the remapping works).
- If it’s a monitoring driver, check if its logging features are active and capturing data as expected.
- Perform actions that the driver is designed to intercept and confirm that the interception occurs.
If everything checks out, congratulations! Your interception driver is successfully installed.
Post-Installation: Configuration, Testing, and Troubleshooting
Installing the driver is often just the first step. To fully leverage its capabilities and maintain system stability, further configuration, rigorous testing, and an understanding of common troubleshooting techniques are essential.
Initial Configuration and Testing Your Driver
With the driver installed and verified, the next phase involves configuring it to perform its intended tasks and rigorously testing that it works as expected.
- Accessing Configuration Utilities: Most interception drivers come with a separate user-mode application or command-line utility for configuration. Launch this application.
- User Interface: If it’s a GUI application, navigate through its settings to define interception rules, remapping actions, logging preferences, or other specific behaviors.
- Command Line: For CLI-based drivers, consult the documentation for commands to enable/disable features, set parameters, or start/stop interception processes.
- Defining Interception Rules: Based on your use case, set up the specific rules for interception. For example:
- Input Drivers: Configure key remapping (e.g., Caps Lock to Ctrl), create macros, or adjust mouse sensitivity curves.
- Network Drivers: Define filters for specific IP addresses, ports, or protocols for monitoring.
- Thorough Testing: Do not assume the driver works perfectly just because it’s installed. Test all desired functionalities extensively.
- Basic Functionality: If you remapped a key, press it repeatedly to ensure it consistently performs the new action.
- Edge Cases: Test less common scenarios. What happens when you hold the key? What about key combinations?
- Application Compatibility: Test the driver’s effects within various applications you commonly use, as some programs might react differently to intercepted inputs.
- System Stability: Monitor your system for any signs of instability, such as crashes, freezes, or unusual behavior, especially during heavy use.
- Logging and Monitoring: If the driver has logging capabilities, enable them and review the logs regularly, especially during initial setup and testing. This can provide valuable insights into its operation and help diagnose issues.
A methodical approach to configuration and testing ensures the driver performs reliably and meets your specific requirements without introducing new problems.
Common Installation Issues and Their Solutions
Even with careful preparation, you might encounter issues. Here are some common problems and troubleshooting steps:
- Driver Failed to Install / Error Code:
- Solution: Double-check prerequisites: administrator rights, OS compatibility, driver signature enforcement status. Consult the error code in the driver’s documentation or perform an online search for specific solutions. Often, temporarily disabling antivirus or UAC (if recommended by a trusted source and reversed quickly) can resolve issues, but remember the security risks.
- Yellow Exclamation Mark in Device Manager:
- Solution: This indicates a driver conflict or malfunction. Right-click the device >
Propertiesto view the error code (e.g., Code 10, Code 39).- Code 10 (Device cannot start): Often related to configuration issues, missing dependencies, or driver signature problems.
- Code 39 (Driver not found/corrupted): Reinstall the driver.
- Try updating the driver again manually or reinstalling it from scratch.
- Solution: This indicates a driver conflict or malfunction. Right-click the device >
- System Instability / Blue Screen of Death (BSOD):
- Solution: This is a serious issue, often indicating a faulty or incompatible kernel-mode driver.
- Reboot into Safe Mode: If your system can still boot, try Safe Mode.
- Use System Restore: Revert to the system restore point you created before installation.
- Uninstall the Driver: If you can access Device Manager (even in Safe Mode), locate and uninstall the problematic driver.
- Last Known Good Configuration: Some older OS versions offered this boot option, which might help.
- Boot from Recovery Media: If the system is unbootable, use your Windows installation media or recovery drive to access advanced options and perform a system restore or repair.
- Crucially: If a driver causes BSODs, it’s likely incompatible or buggy. Do not continue using it without finding an updated version or a different solution.
- Solution: This is a serious issue, often indicating a faulty or incompatible kernel-mode driver.
- Functionality Not Working as Expected:
- Solution: Revisit the configuration utility. Are the rules set correctly? Is the driver enabled? Check if any other software is conflicting with the interception (e.g., another input remapper). Check the driver’s logs for error messages or clues. Restart your computer.
Patience and systematic troubleshooting are key. Document the steps you take and any error messages you receive, as this information will be invaluable if you need to seek help from online communities or the driver developer.
Managing and Uninstalling the Driver
Over time, you might need to update, disable, or completely remove the interception driver.
- Updating the Driver: Follow the developer’s instructions for updates. This usually involves running a new installer which will overwrite or upgrade the existing driver. Sometimes, uninstalling the old version first is required.
- Disabling the Driver: Most configuration utilities will have an option to disable the driver without uninstalling it. This is useful for temporary troubleshooting or when you don’t need its functionality. You can also disable the device in Device Manager.
- Uninstalling the Driver:
- Use the Uninstaller (if available): The most straightforward method is to use the dedicated uninstaller program usually found in
Programs and Features(Windows Settings >Apps>Apps & features) or within the driver’s installation folder. - Manual Removal via Device Manager: If no uninstaller exists or it fails:
- Open
Device Manager. - Locate the interception driver.
- Right-click on it and select
Uninstall device. - Crucially: Check the box that says “Delete the driver software for this device” (if available). This removes the driver files from your system.
- Restart your computer.
- Open
- Check for Residual Files/Services: After uninstallation, it’s good practice to check
Programs and Features,Services, and the installation folder to ensure all components are removed. Some advanced cleanup might involve registry edits, but this should only be done by experienced users with a full backup.
- Use the Uninstaller (if available): The most straightforward method is to use the dedicated uninstaller program usually found in
Proper uninstallation is just as important as installation to maintain a clean and stable system.

Conclusion: Harnessing the Power of Interception Drivers Responsibly
The ability to install and manage an interception driver unlocks a significant level of control over your computing environment, offering powerful capabilities for system customization, debugging, security analysis, and productivity enhancement. From remapping your keyboard to monitoring intricate system events, these drivers are invaluable tools for advanced users, developers, and IT professionals.
However, as we’ve thoroughly explored, the privileged access and low-level interaction of interception drivers demand a profound commitment to responsible usage. The steps outlined in this guide—from meticulous preparation and careful navigation of security features like driver signature enforcement to diligent post-installation testing and proper uninstallation—are not merely suggestions but critical protocols for maintaining system stability and digital security.
Remember the cardinal rules:
- Trust only reputable sources for your driver downloads.
- Prioritize backups before any significant system changes.
- Understand the security implications of disabling system protections.
- Thoroughly test and configure your driver after installation.
By adhering to these principles, you can confidently integrate interception drivers into your workflow, leveraging their power to enhance your computing experience while safeguarding your system against potential risks. This approach aligns perfectly with our Tech section’s mission to provide comprehensive, secure, and actionable insights into the ever-evolving world of technology. Master this skill, and you’ll gain a deeper understanding and control over your digital tools, empowering you to push the boundaries of what your computer can do.
aViewFromTheCave is a participant in the Amazon Services LLC Associates Program, an affiliate advertising program designed to provide a means for sites to earn advertising fees by advertising and linking to Amazon.com. Amazon, the Amazon logo, AmazonSupply, and the AmazonSupply logo are trademarks of Amazon.com, Inc. or its affiliates. As an Amazon Associate we earn affiliate commissions from qualifying purchases.