In the ever-evolving landscape of digital technology, the choice of a web browser can significantly impact your online experience, productivity, and even digital security. For Mac users, while Safari offers a seamless integration with the Apple ecosystem, many find themselves drawn to Google Chrome, a browser renowned for its speed, extensive features, and vast ecosystem of extensions. Whether you’re a tech enthusiast, a professional managing multiple online tasks, or simply looking for an alternative browsing experience, installing Chrome on your Mac is a straightforward process that unlocks a world of possibilities.

This guide will walk you through every step, from preparing your system to troubleshooting common issues, ensuring a smooth transition to a browser trusted by billions worldwide for its reliability and innovative features. We’ll delve into why Chrome is a preferred choice for many, touching upon its role in boosting productivity, securing your online activities, and enhancing your overall digital workflow, aspects crucial for anyone navigating the realms of technology, personal branding, or managing finances online.
Getting Started: Preparing Your Mac for Chrome Installation
Before you dive into the installation process, a few preliminary checks can prevent potential hiccups and ensure a smooth experience. These steps are fundamental to any software installation and align with best practices in managing your digital tools effectively.
System Requirements: Ensuring Compatibility
Google Chrome is designed to run on a wide range of macOS versions, but it’s always wise to confirm your system meets the minimum requirements. As of recent updates, Chrome generally requires macOS Catalina (10.15) or later. Running an outdated operating system can lead to compatibility issues, performance problems, or even security vulnerabilities. To check your macOS version:
- Click the Apple menu in the top-left corner of your screen.
- Select “About This Mac.”
- Your macOS version will be displayed under the “Overview” tab.
If your Mac is running an older version, consider updating it via the App Store. While updating your OS can take some time, it’s a vital step not just for Chrome but for overall system stability, security, and access to the latest features. This attention to detail reflects a robust understanding of “Tech” management, ensuring your gadgets and software are always optimized.
Initial Checks: Internet Connection and Storage
A stable internet connection is paramount for downloading the Chrome installer. Ensure you’re connected to a reliable Wi-Fi network or have an Ethernet connection. A dropped connection during download can corrupt the installer file, forcing you to restart the process.
Additionally, while Chrome itself isn’t a massive application, ensure you have sufficient free storage space on your Mac. Typically, a few hundred megabytes are enough for the installation file and the application itself. To check your storage:
- Click the Apple menu > “About This Mac.”
- Go to the “Storage” tab.
- This will show you a breakdown of your disk usage. If your storage is critically low, consider clearing out old files, applications, or large media to free up space. Efficient storage management is a small but significant detail in maintaining a high-performing system, a key aspect of “Productivity” in the digital age.
Step-by-Step Guide: Installing Google Chrome on Your Mac
With your Mac prepared, the installation process is straightforward and typically takes just a few minutes. Follow these steps to get Chrome up and running.
Downloading the Chrome Installer
The first step is to obtain the official Chrome installer. Always download software from its official source to avoid security risks associated with unofficial or modified installers.
- Open your current web browser (e.g., Safari).
- Navigate to the official Google Chrome download page:
www.google.com/chrome. - On the page, you’ll see a prominent “Download Chrome” button. Click it.
- A pop-up might appear asking you to agree to the Terms of Service. Read them if you wish, then click “Accept and Install.”
- The
googlechrome.dmgfile (disk image file) will begin downloading to your Mac’s “Downloads” folder. The download time will vary depending on your internet speed.
This simple act of downloading from a trusted source reinforces the “Digital Security” aspect, a critical component of Tech and particularly relevant when considering “Money” and online financial transactions.
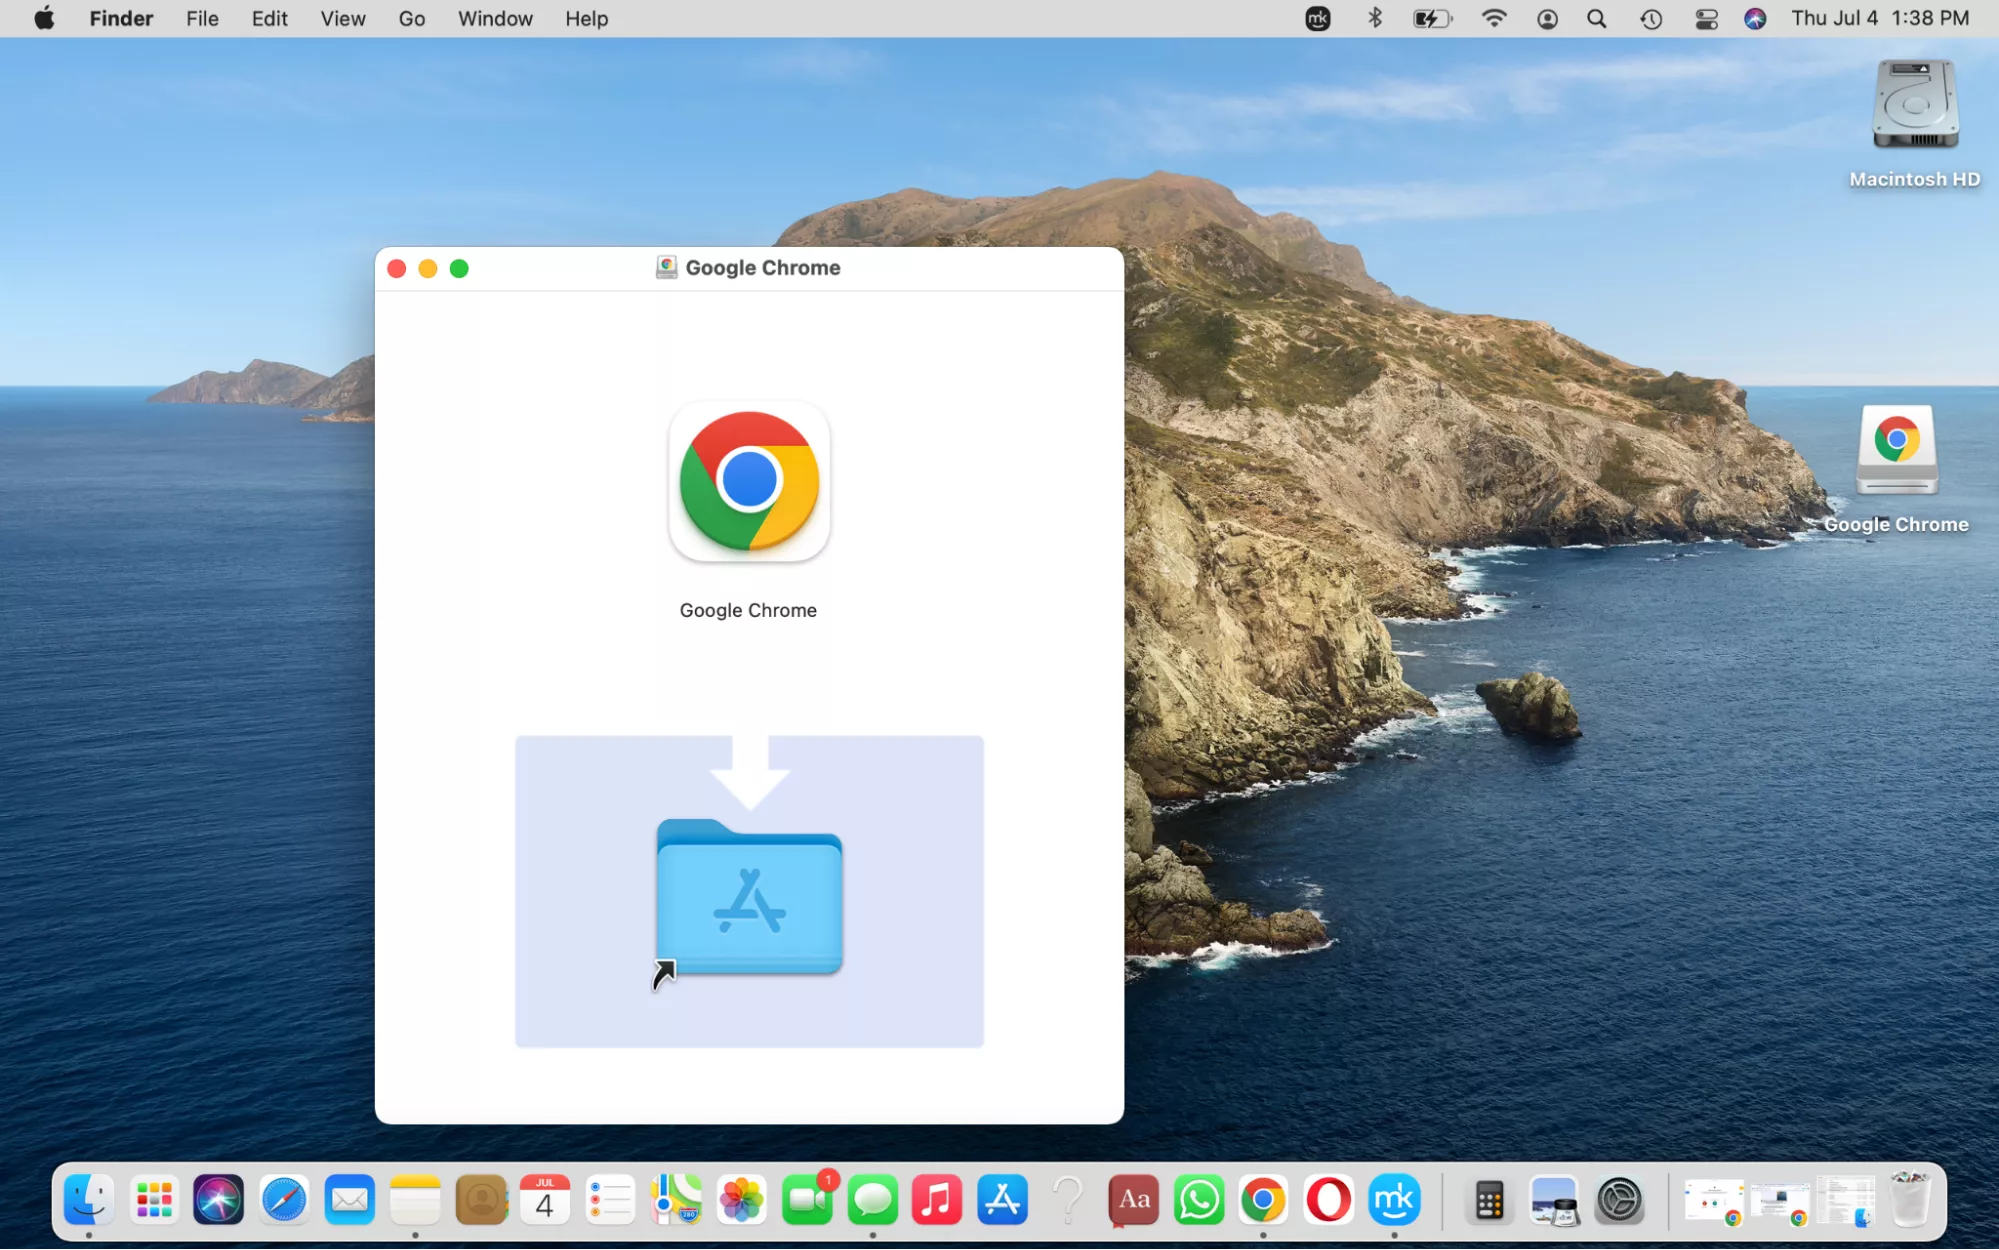
Opening the .dmg File and Dragging to Applications
Once the download is complete, you’ll need to open the disk image and transfer the Chrome application.
- Locate the
googlechrome.dmgfile in your “Downloads” folder (or wherever your browser saves downloaded files). - Double-click the
.dmgfile. This will mount the disk image, opening a new Finder window that typically displays the Chrome icon and an “Applications” folder alias. - Drag the Google Chrome icon directly into the “Applications” folder shown in the same window. This action copies the Chrome application to your Mac’s Applications directory, making it available system-wide.
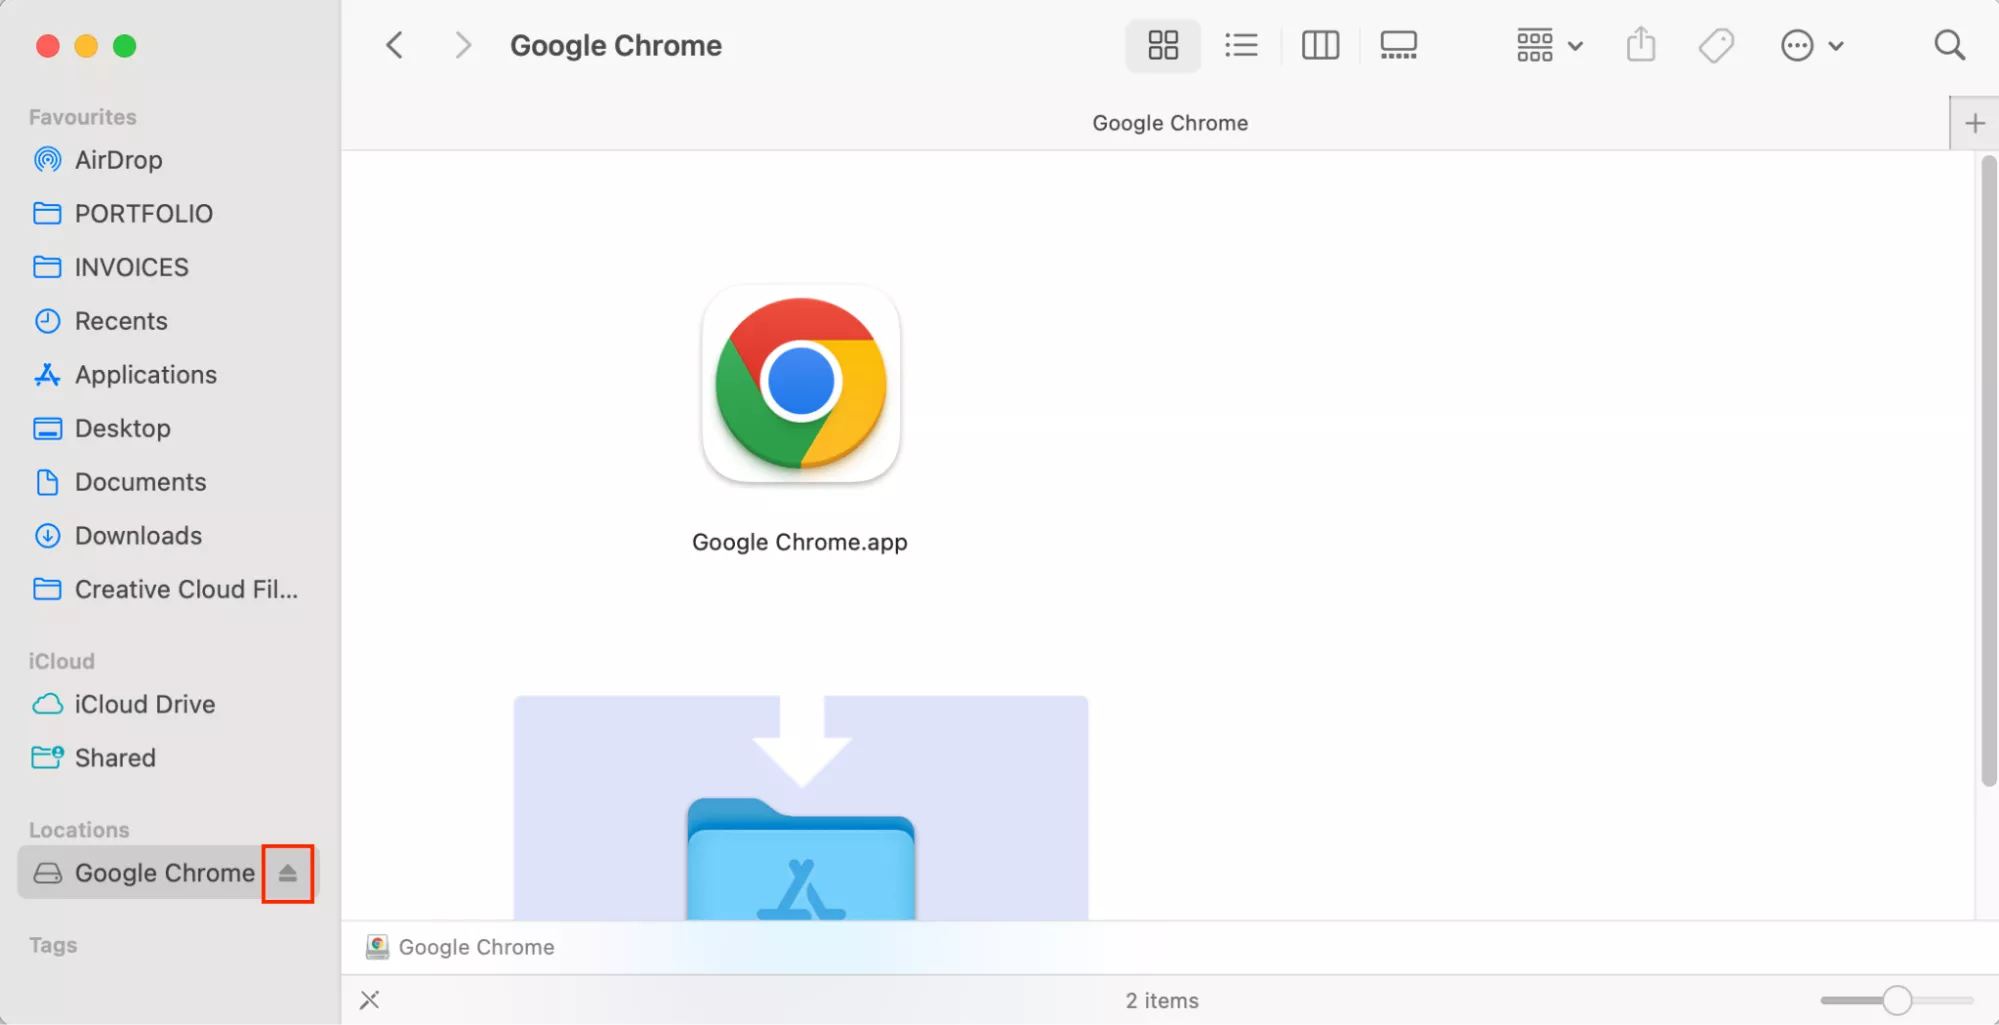
- After the copy process is complete, you can safely eject the disk image. To do this, drag the “Google Chrome” disk image icon from your desktop or Finder sidebar to the Trash, or right-click (Control-click) it and select “Eject ‘Google Chrome’.”
Launching Chrome for the First Time
With Chrome in your Applications folder, you’re ready to launch it.
- Open your “Applications” folder (you can do this by opening a Finder window and selecting “Applications” from the sidebar).
- Find the “Google Chrome” icon and double-click it.
- The first time you launch Chrome, your Mac might ask if you are sure you want to open an application downloaded from the internet. Click “Open” to proceed. This is a standard macOS security feature.
Congratulations! Google Chrome is now installed and running on your Mac. You’ll likely be greeted by a welcome screen, inviting you to customize your experience.
Setting Chrome as Your Default Browser (Optional but Common)
While not strictly part of the installation, setting Chrome as your default browser ensures that all web links you click will automatically open in Chrome, streamlining your browsing experience.
- When you first launch Chrome, it might prompt you to set it as the default browser. If so, click “Set as default.”
- If not, or if you change your mind later, you can do this from Chrome’s settings:
- Click the three vertical dots (menu icon) in the top-right corner of Chrome.
- Go to “Settings.”
- In the left sidebar, click “Default browser.”
- Click the “Make default” button. This will open your Mac’s System Settings (or System Preferences).
- In System Settings, find “Default web browser” and select “Google Chrome” from the dropdown menu.
This seemingly minor customization significantly impacts your “Productivity,” ensuring seamless workflow for tasks involving web links, which is practically everything in the digital realm, from research to managing your “Online Income” streams.
Signing In and Syncing Your Data
One of Chrome’s most powerful features is its integration with your Google account. Signing in allows you to sync your bookmarks, passwords, browsing history, extensions, and settings across all your devices, offering a truly unified browsing experience.
- On the Chrome welcome screen or by clicking the profile icon in the top-right corner, you’ll see an option to “Sign in to Chrome.”
- Enter your Google account credentials.
- Once signed in, Chrome will prompt you to turn on sync. It’s highly recommended to do so, especially if you use Chrome on other devices.
This synchronization is a cornerstone of “Personal Branding” and “Productivity.” It ensures consistency across your digital presence, saves time, and provides a layer of convenience that is invaluable for professionals and entrepreneurs alike. For “Digital Security,” it also means your critical data (like saved passwords) is managed within Google’s robust security framework.
Optimizing Your Chrome Experience: Beyond Installation
Installing Chrome is just the beginning. To truly leverage its power, understanding its core features and customization options is key. This transforms Chrome from a simple browser into a powerful tool for productivity, learning, and secure online interaction.
Exploring Essential Chrome Features
Chrome comes packed with features designed to enhance your browsing:
- Omnibox: The address bar doubles as a powerful search engine, allowing you to type URLs and search queries interchangeably. It often provides instant answers, definitions, and currency conversions, boosting “Productivity” by reducing clicks.
- Tab Management: Organize your tabs into groups, pin important tabs, and search through open tabs, preventing digital clutter. This is vital for complex research or managing multiple “Business Finance” or “Side Hustle” projects simultaneously.
- Incognito Mode: For private browsing sessions that don’t save history, cookies, or site data. Useful when accessing sensitive information or for temporary browsing without impacting your main profile. It’s a key feature for “Digital Security,” especially on shared computers.
- Google Lens/Image Search: Directly from your browser, you can search for information about images, a powerful tool for research, design, or even identifying products for “Online Income” ventures.
Enhancing Functionality with Extensions
The Chrome Web Store hosts a vast array of extensions that can transform your browser into a highly specialized tool. From productivity boosters to security enhancements, extensions cater to virtually every need.
- Productivity Tools: Extensions like task managers (e.g., Todoist, Asana), note-taking apps (e.g., Evernote Web Clipper), and writing assistants (e.g., Grammarly) can integrate directly into your browsing workflow, significantly boosting efficiency for “Personal Branding” content creation or “Business Finance” report writing.
- Digital Security & Privacy: Ad blockers (e.g., uBlock Origin), VPNs, and password managers (e.g., LastPass, 1Password) are essential extensions for safeguarding your online presence and protecting sensitive data, crucial for “Personal Finance” and secure “Online Income” transactions.
- Developer Tools: For those in tech, Chrome’s built-in developer tools and extensions provide powerful capabilities for web design, debugging, and analytics.
Thoughtful selection of extensions can redefine your digital workspace, making Chrome an indispensable tool for achieving your goals across “Tech,” “Brand,” and “Money.”
Ensuring Security and Privacy
Google continuously updates Chrome to patch vulnerabilities and introduce new security features. Beyond official updates, user habits play a crucial role.
- Regular Updates: Chrome updates automatically, but it’s good practice to occasionally check for updates manually (Chrome menu > Help > About Google Chrome) to ensure you have the latest protections.
- Privacy Settings: Dive into Chrome’s privacy and security settings (Settings > Privacy and security) to customize cookie handling, site permissions, and Safe Browsing protections. Understanding these settings empowers you to control your digital footprint.
- Password Management: Utilize Chrome’s built-in password manager or integrate a third-party solution. Strong, unique passwords are your first line of defense against cyber threats, protecting your “Personal Finance” and “Online Income” ventures.
Troubleshooting Common Installation Issues
While Chrome installation is generally smooth, you might occasionally encounter an issue. Here’s how to address some common problems.
“App Cannot Be Opened” or Security Warnings
If your Mac displays a warning that Chrome “cannot be opened because the developer cannot be verified” or similar security alerts, it’s usually due to macOS Gatekeeper.
- Solution: Right-click (Control-click) the Chrome app icon in your Applications folder, then select “Open.” This time, you’ll see an “Open” button in the warning dialogue. Clicking it tells macOS that you trust this application, and it won’t prompt you again. Ensure you downloaded Chrome from the official Google website to confirm its legitimacy.
Download or Installation Failures
- Corrupted Download: If the
.dmgfile seems corrupted or won’t open, delete it and try downloading it again, ensuring your internet connection is stable throughout the process. - Insufficient Space: Double-check your available storage as described earlier. Clear space if necessary.
- Antivirus Interference: Occasionally, overly aggressive antivirus software might interfere with downloads or installations. Temporarily disable it (if you’re confident the source is legitimate) and try again. Remember to re-enable it afterward.
What to Do if Chrome Isn’t Responding
If Chrome installs but then freezes or doesn’t respond:
- Force Quit: Press
Command + Option + Escto open the Force Quit Applications window, select Google Chrome, and click “Force Quit.” Then, try reopening Chrome. - Restart Your Mac: A simple restart can often resolve temporary software glitches.
- Reinstall Chrome: If problems persist, consider uninstalling Chrome completely (see next section) and then reinstalling it from scratch.
Maintaining and Uninstalling Chrome (If Necessary)
Keeping your browser updated is crucial for performance and security. Should you ever decide to move on, uninstalling Chrome is also straightforward.
Keeping Chrome Updated
Google Chrome is designed to update automatically in the background. However, you can manually check for updates to ensure you’re running the latest version:
- Open Chrome.
- Click the three vertical dots (menu icon) in the top-right corner.
- Go to “Help” > “About Google Chrome.”
- Chrome will automatically check for updates and install them. You might be prompted to relaunch the browser to finalize the update.
Regular updates are essential for patching security vulnerabilities, introducing new features, and maintaining optimal performance, directly impacting your “Digital Security” and “Productivity.”
How to Uninstall Google Chrome from Your Mac
If you decide Chrome is not for you, or you need to reinstall it to resolve persistent issues, the uninstallation process is simple:
- Quit Chrome: Ensure Chrome is completely closed. You can do this by going to the Chrome menu in the top-left corner of your screen and selecting “Quit Google Chrome,” or by using
Command + Q. - Open Applications Folder: In a Finder window, navigate to your “Applications” folder.
- Drag to Trash: Find the “Google Chrome” application icon. Drag it directly to the Trash in your Dock.
- Empty Trash: Right-click (Control-click) on the Trash icon and select “Empty Trash.” Confirm the action if prompted.
This removes the main application. If you want to remove all associated user data (bookmarks, history, cache, etc.), you’ll need to manually delete a few more folders:
- In Finder, click “Go” in the menu bar, then hold down the
Optionkey and select “Library” (this option only appears whenOptionis held). - Navigate to the
Application Supportfolder. - Find the
Googlefolder, and inside it, locate theChromefolder. Drag this entireChromefolder to the Trash. - Empty your Trash again.
This thorough removal ensures no remnants of Chrome remain on your system, offering a clean slate should you wish to reinstall later or free up maximum space.
Conclusion
Installing Google Chrome on your Mac is a simple yet impactful step towards customizing your digital environment. By following this comprehensive guide, you’ve not only successfully integrated a powerful browser into your workflow but also gained insights into optimizing its use for enhanced productivity, robust digital security, and a seamless online experience.
Whether you’re leveraging its vast extension library for “Online Income” strategies, relying on its sync features for consistent “Personal Branding,” or simply enjoying its speed for daily browsing, Chrome offers a versatile platform. Embrace the full potential of Google Chrome on your Mac and unlock a more efficient, secure, and personalized journey across the digital frontier.
aViewFromTheCave is a participant in the Amazon Services LLC Associates Program, an affiliate advertising program designed to provide a means for sites to earn advertising fees by advertising and linking to Amazon.com. Amazon, the Amazon logo, AmazonSupply, and the AmazonSupply logo are trademarks of Amazon.com, Inc. or its affiliates. As an Amazon Associate we earn affiliate commissions from qualifying purchases.