
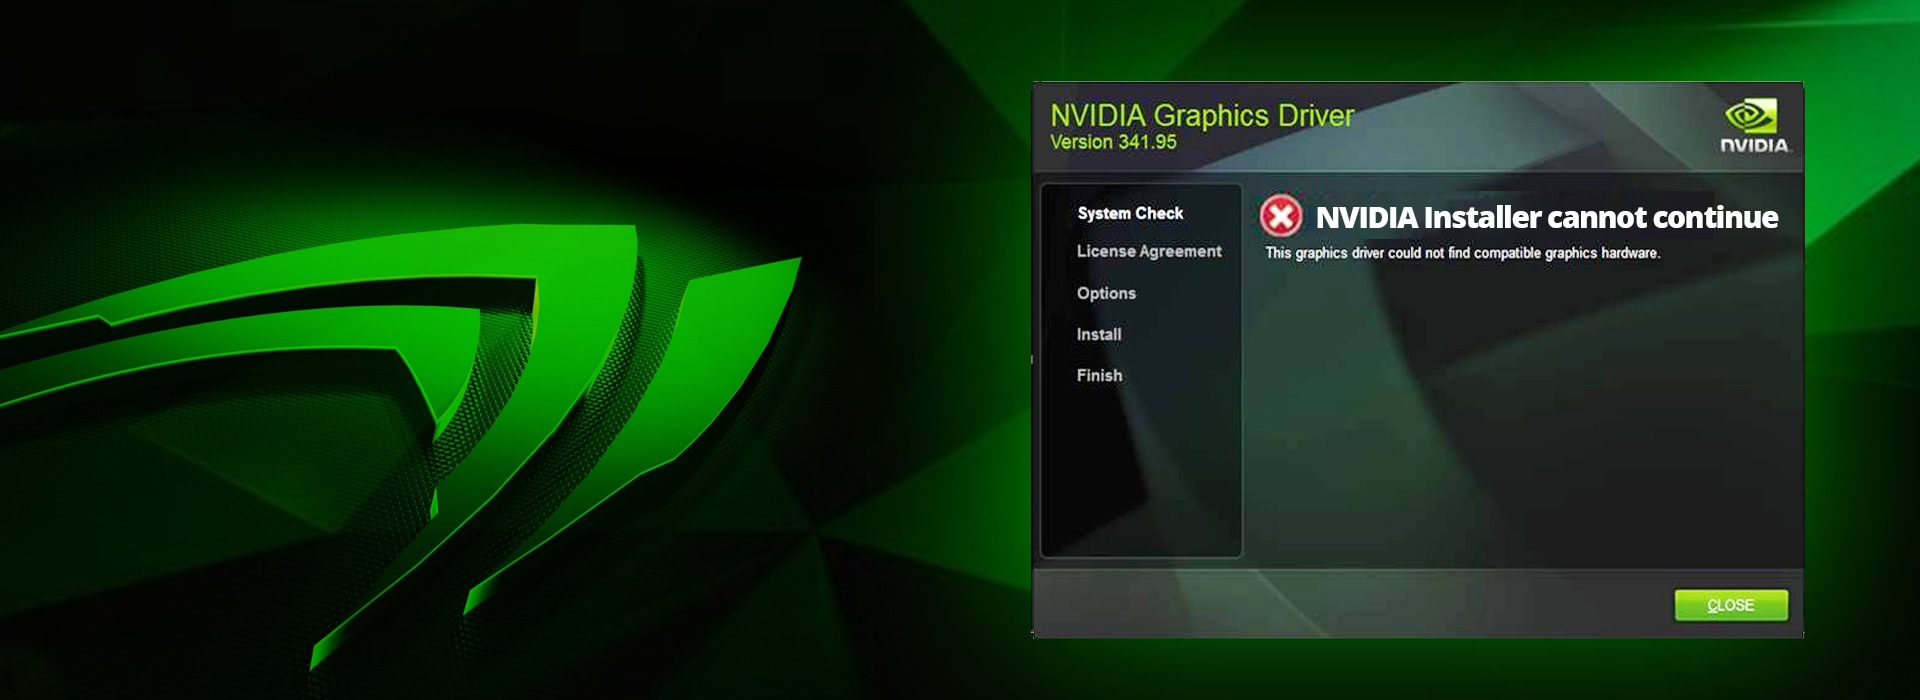
Encountering issues when trying to install NVIDIA drivers can be a frustrating experience. Whether you’ve just built a new PC, upgraded a component, or are attempting a fresh installation on an existing system, a failed driver installation can leave your graphics card underperforming or even completely non-functional. This article delves into the common reasons behind NVIDIA driver installation failures and provides a comprehensive, step-by-step guide to help you overcome these hurdles and get your graphics card running at its best.
The importance of a properly installed and up-to-date NVIDIA driver cannot be overstated. These drivers are the crucial link between your operating system and your NVIDIA graphics hardware. They are meticulously crafted by NVIDIA to optimize performance, enable new features, fix bugs, and ensure compatibility with a vast array of games, professional applications, and multimedia content. When these drivers fail to install correctly, you might experience problems ranging from graphical glitches and stuttering in games to outright system instability and a complete lack of display output. This can disrupt your workflow, hinder your gaming experience, and in worst-case scenarios, prevent your computer from booting altogether.

The troubleshooting process for NVIDIA driver installations often involves a methodical approach, eliminating potential causes one by one. We’ll cover everything from simple checks to more advanced solutions, ensuring you have the knowledge to tackle even stubborn installation errors.
Common Causes of NVIDIA Driver Installation Failure
Before diving into the solutions, it’s essential to understand why NVIDIA drivers might fail to install. Identifying the root cause can often streamline the troubleshooting process. Several factors can contribute to a botched installation:
Corrupted or Incompatible Driver Files
The most straightforward reason for a failed installation is often a problem with the driver files themselves. This could stem from:
- Incomplete Download: The driver package might not have downloaded entirely due to an unstable internet connection or a server issue on NVIDIA’s end.
- Corrupted Download: Even if the download completes, the files could be corrupted during the transfer process.
- Wrong Driver Version: Attempting to install a driver designed for a different operating system version (e.g., Windows 10 driver on Windows 11) or a driver for a different NVIDIA GPU model will invariably lead to failure.
- Outdated Driver Cache: Sometimes, remnants of previous driver installations can conflict with new ones, leading to corruption.
Operating System Conflicts and Issues
Your operating system, Windows in this case, plays a significant role in the driver installation process. Any underlying issues within Windows can manifest as driver installation problems:
- Pending Windows Updates: If your Windows installation has pending updates that haven’t been installed, they might interfere with the driver installation. These updates often contain critical system files that drivers rely on.
- System File Corruption: Corrupted Windows system files can prevent new software, including drivers, from installing correctly.
- User Account Control (UAC) Restrictions: While less common, overly strict UAC settings might sometimes prevent the installer from making necessary system-level changes.
- Interference from Antivirus Software: Aggressive antivirus or security software can sometimes mistakenly flag parts of the NVIDIA driver installer as malicious, blocking the installation.
Hardware-Related Problems
While less frequent, issues with your NVIDIA graphics card itself or its connection can also cause driver installation failures:
- Faulty Graphics Card: In rare cases, a physically damaged or malfunctioning GPU might prevent drivers from being installed. This usually presents with other symptoms as well, such as artifacting or no display.
- Improper Hardware Seating: If the graphics card is not firmly seated in its PCIe slot, or if the power connectors are loose, it can lead to hardware detection issues, which in turn can prevent driver installation.
- Power Supply Unit (PSU) Insufficiency: NVIDIA GPUs, especially high-end models, require a sufficient and stable power supply. An underpowered or failing PSU can lead to installation errors or system instability during the driver installation.
Previous Driver Remnants and Conflicts
A clean installation is often recommended for NVIDIA drivers, especially when troubleshooting. This is because leftover files from previous driver versions can cause significant conflicts:
- Incomplete Uninstallation: If a previous driver was not uninstalled properly, residual files, registry entries, and services can remain and clash with the new installer.
- Driver Version Mismatch: Installing a newer driver over an older one without a clean slate can sometimes lead to compatibility issues.
Step-by-Step Guide to Successfully Install NVIDIA Drivers
Now that we’ve explored the potential culprits, let’s move on to the solutions. This guide follows a logical progression, starting with the simplest and most common fixes.
H2: Preparation: Ensuring a Clean Slate
Before you even attempt to download the new driver, it’s crucial to prepare your system for a clean and successful installation.
H3: Uninstall Previous NVIDIA Drivers
This is arguably the most critical step for resolving persistent installation issues. Even if you believe your old drivers are gone, remnants can linger.
-
Using the NVIDIA Installer:
- Navigate to “Add or Remove Programs” (or “Apps & features” in Windows 10/11).
- Find “NVIDIA Graphics Driver” (or similar) and uninstall it.
- If prompted, choose the “Perform a clean installation” option within the NVIDIA installer itself. This is sometimes available during the uninstallation or the reinstallation process.
-
Using Display Driver Uninstaller (DDU) – Recommended:
- Download DDU: Search for “Display Driver Uninstaller” (DDU) online and download it from a reputable source (e.g., Wagnardsoft).
- Disconnect from the Internet: Crucially, disconnect your computer from the internet (unplug Ethernet cable or disable Wi-Fi). This prevents Windows Update from automatically downloading and installing a generic driver in the background, which can interfere with DDU.
- Boot into Safe Mode: Restart your computer and boot into Safe Mode. You can usually do this by holding Shift while clicking “Restart” from the Start menu, then navigating to Troubleshoot > Advanced options > Startup Settings > Restart, and finally pressing the number key corresponding to “Enable Safe Mode.”
- Run DDU: Once in Safe Mode, run DDU.
- Select Device Type: In DDU, select “GPU” as the device type.
- Select Manufacturer: Choose “NVIDIA.”
- Clean and Restart: Click the “Clean and restart” option. DDU will thoroughly remove all NVIDIA driver files, registry entries, and associated software. This process can take a few minutes.
- Reconnect to the Internet (after restart): Once your computer has restarted into normal mode, you can reconnect to the internet.
H3: Ensure Windows is Up-to-Date
Pending Windows updates can often be the silent saboteur of driver installations.
- Check for Updates: Go to Settings > Update & Security (or Windows Update in Windows 11).
- Install All Available Updates: Click “Check for updates” and install any pending updates, including optional ones that might relate to your hardware.
- Restart: Restart your computer after the updates are installed.
H3: Disable Antivirus and Firewall Temporarily
Your security software might be overly cautious.
- Locate Antivirus: Find your antivirus program’s icon in the system tray (bottom-right corner of the screen).
- Disable Real-time Protection: Right-click the icon and look for an option to disable real-time protection or temporarily disable your firewall.
- Remember to Re-enable: Crucially, remember to re-enable your antivirus and firewall immediately after the driver installation is complete.
H2: Downloading the Correct NVIDIA Driver
Using the wrong driver is a common pitfall. Double-checking your GPU model and OS is paramount.
H3: Identify Your NVIDIA GPU Model
If you’re unsure of your exact GPU model:
- Device Manager: Right-click the Start button and select “Device Manager.” Expand “Display adapters.” Your NVIDIA GPU should be listed there.
- System Information: Press
Windows Key + R, typemsinfo32, and press Enter. In the System Information window, navigate to Components > Display. Your NVIDIA GPU model will be listed.
H3: Download from the Official NVIDIA Website
Always download drivers directly from NVIDIA’s official driver download page. Avoid third-party download sites, as they may host outdated or even malicious versions.
- Visit NVIDIA Driver Downloads: Go to
www.nvidia.com/Download/index.aspx. - Enter Your GPU Details: Carefully select your “Product Type” (GeForce, Quadro, etc.), “Product Series” (e.g., GeForce RTX 30 Series), “Product” (your specific GPU model, e.g., GeForce RTX 3070), “Operating System” (Windows 10 64-bit, Windows 11, etc.), and “Download Type” (usually “Game Ready Driver (GRD)” for gamers or “Studio Driver (SD)” for creative professionals).
- Search and Download: Click “Search,” and then “Download” the latest recommended driver.
H2: Performing the Installation
With your system prepared and the correct driver in hand, it’s time for the installation itself.
H3: Run the Installer as Administrator
Ensuring the installer has the necessary permissions is vital.
- Locate the Downloaded File: Find the downloaded
.exedriver file. - Right-Click and Select “Run as administrator”: This grants the installer elevated privileges to make system-level changes.
H3: Choose the “Custom (Advanced)” Installation Option
This option allows for a clean installation and gives you more control.
- Installer Prompts: When the NVIDIA installer launches, accept the license agreement.
- Installation Options: You will be presented with “Express (Recommended)” and “Custom (Advanced)” options. Select “Custom (Advanced).”
- Perform a Clean Installation: On the next screen, ensure the “Perform a clean installation” checkbox is ticked. This will remove any residual NVIDIA files from previous installations before installing the new ones.
- Select Components (Optional): You can choose to install only the essential driver components or include extras like GeForce Experience, PhysX, and HD Audio Driver. For a troubleshooting scenario, installing only the core driver components can sometimes be beneficial.
- Begin Installation: Click “Next” to begin the installation process.
H3: Monitor the Installation Process
Pay attention to any prompts or error messages during the installation.
- Screen Flickering: It’s normal for your screen to flicker or go black temporarily during the installation as the new drivers are applied. This is usually a sign that the process is progressing correctly.
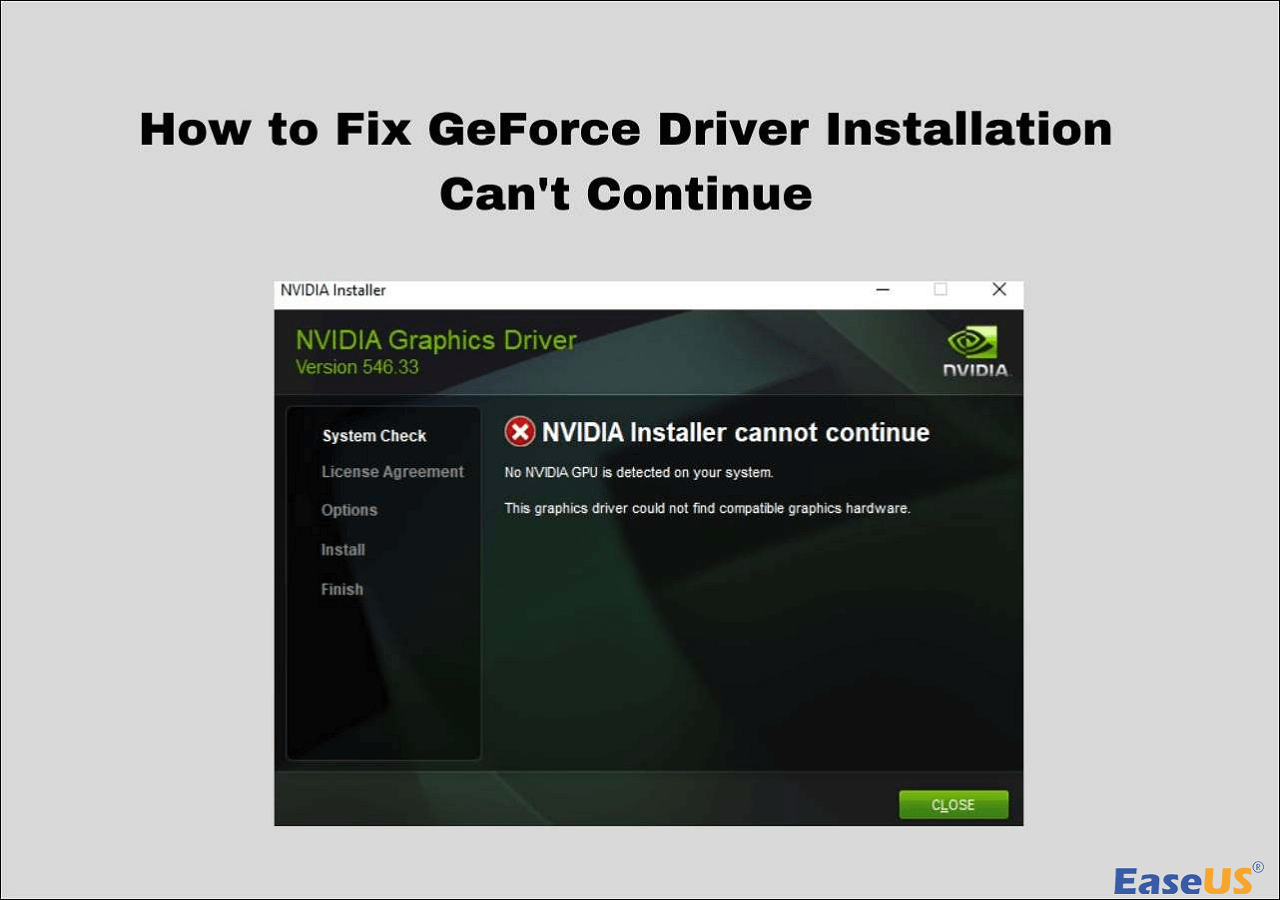
- Error Messages: If you encounter any error messages, note them down precisely. This information can be crucial for further troubleshooting.
H2: Post-Installation Checks and Troubleshooting Further Issues
Once the installer finishes, there are still a few steps to ensure everything is working as expected.
H3: Restart Your Computer
This is a mandatory step after any driver installation.
- Reboot: Once the NVIDIA installer indicates that the installation is complete, restart your computer.
H3: Verify Driver Installation
Confirm that the driver has been installed correctly.
- Device Manager: Open Device Manager again. Under “Display adapters,” your NVIDIA GPU should be listed without any warning symbols (yellow exclamation marks).
- NVIDIA Control Panel: Right-click on your desktop. If the NVIDIA Control Panel appears in the context menu, it’s a good sign that the driver has been installed successfully. You can open it to check the driver version.
- GeForce Experience (if installed): If you installed GeForce Experience, launch it to confirm it recognizes your GPU and the installed driver version.
H3: Troubleshoot Persistent Issues
If you’re still facing problems after following these steps, consider the following:
- Try an Older Driver Version: Sometimes, the latest driver might have a bug. Try downloading and installing a slightly older, stable driver version from NVIDIA’s website.
- Check for Hardware Issues: If you suspect a hardware problem, ensure your graphics card is properly seated, all power cables are securely connected, and your PSU is adequate for your GPU.
- System Restore: If the problem started occurring recently, you could try using System Restore to revert your system to a point before the driver installation issues began.
- Windows Reinstallation: As a last resort, if none of the above solutions work, a clean reinstallation of Windows might be necessary to rule out deep-seated operating system corruption.
By systematically following these steps, you can significantly increase your chances of successfully installing your NVIDIA drivers and resolving any installation headaches. Remember that patience and a methodical approach are key to overcoming technical challenges.
aViewFromTheCave is a participant in the Amazon Services LLC Associates Program, an affiliate advertising program designed to provide a means for sites to earn advertising fees by advertising and linking to Amazon.com. Amazon, the Amazon logo, AmazonSupply, and the AmazonSupply logo are trademarks of Amazon.com, Inc. or its affiliates. As an Amazon Associate we earn affiliate commissions from qualifying purchases.