Embarking on a fresh Windows installation is an exciting prospect, promising a clean slate, improved performance, and the latest features. However, this process inherently involves wiping your existing system, which means your precious data – documents, photos, application settings, and even your operating system itself – could be lost forever. To avoid such a digital disaster, a comprehensive backup strategy is paramount. This guide will walk you through the essential steps and options for backing up your Windows system before you dive into a fresh install, ensuring that your digital life remains intact and easily restorable.
Understanding the Importance of a Pre-Install Backup
Before we delve into the “how,” let’s reinforce the “why.” A fresh Windows install is akin to renovating your digital home. You’re not just tidying up; you’re essentially rebuilding the foundation. While this can lead to a more stable and efficient environment, it also means demolishing everything that currently exists on your primary drive. Without a proper backup, this demolition is permanent.
Think of it this way: a fresh install can resolve persistent software glitches, speed up a sluggish system, or allow you to upgrade to a newer version of Windows. However, it also means that all the applications you’ve painstakingly installed, configured, and personalized, along with all the files you’ve created or downloaded, will vanish. A robust backup acts as your digital safety net, allowing you to recover your essential data and even your entire system configuration post-installation.
Moreover, in the event that the fresh install itself goes awry – a rare but not impossible scenario – having a backup provides a crucial fallback. You can then revert to your pre-install state and troubleshoot the installation issue or explore alternative solutions without losing everything.
What Should You Back Up?
The scope of your backup will depend on your individual needs and the type of installation you plan to perform. However, it’s generally advisable to consider backing up the following:
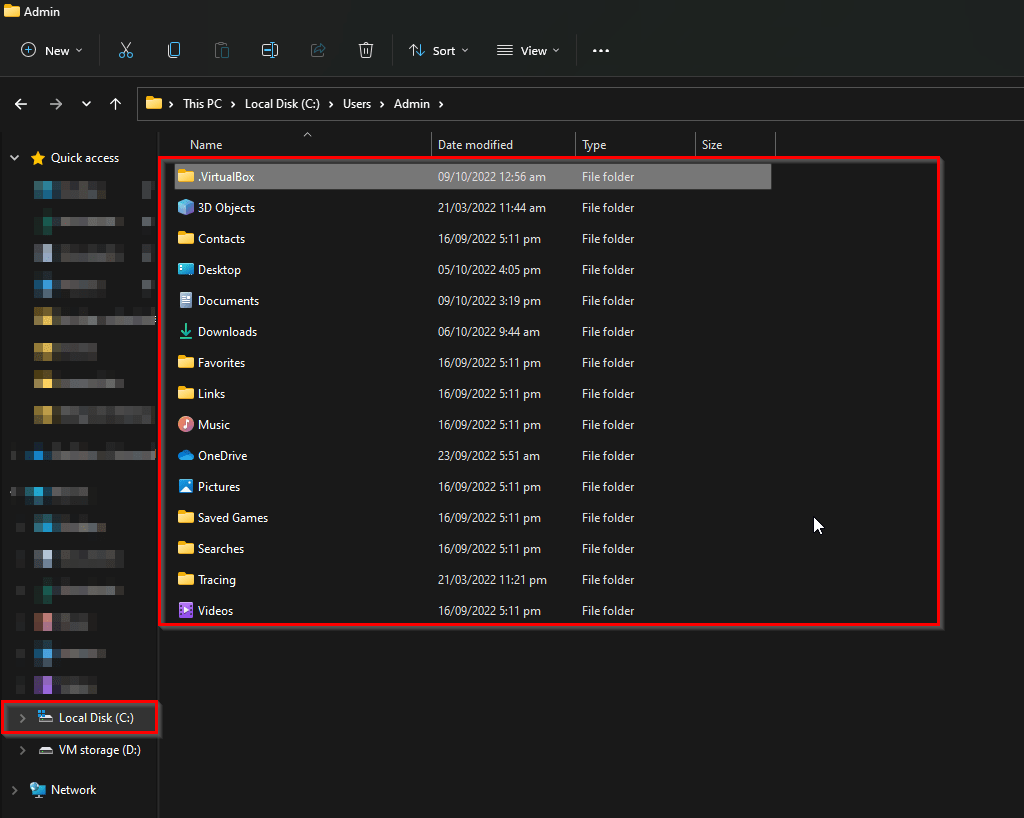
Essential Personal Files
This is the most critical category. Your personal files are irreplaceable and include:
- Documents: Word documents, spreadsheets, presentations, PDFs, text files, and any other work or personal documents.
- Photos and Videos: Cherished memories captured in digital format.
- Music and Other Media: Your digital entertainment library.
- Downloads Folder: This can often contain important installation files or documents you’ve downloaded for later use.
- Desktop and Documents Folders: These are common locations for users to store their active files.
Application Data and Settings
While you’ll be reinstalling your applications, their configurations and settings are often stored separately. Backing these up can save you a significant amount of time and effort in re-customizing your software. This can include:
- Browser Bookmarks and Extensions: Your curated list of favorite websites and productivity-enhancing add-ons.
- Email Client Data: If you use a desktop email client like Outlook or Thunderbird, your emails, contacts, and calendars are vital.
- Game Saves: For avid gamers, preserving game progress is often a top priority.
- Application-Specific Settings: Some applications store their preferences and configurations in specific folders within your user profile. Identifying and backing these up can be beneficial.
Operating System and Applications (System Image Backup)
For a complete peace of mind, you can opt for a system image backup. This creates an exact replica of your entire Windows installation, including the operating system, installed applications, settings, and all files. This allows for a full system restore, bringing your computer back to its exact state before the fresh install. While this offers the most comprehensive backup, it also requires more storage space and can take longer to create and restore.
Backup Methods: Tools and Strategies
Windows offers built-in tools, and there are also numerous third-party solutions available to help you back up your system. The best approach often involves a combination of these.
Method 1: Using Windows’ Built-in Backup Tools
Windows provides two primary built-in tools that can be leveraged for backups: File History and System Image Backup.
Heading3: File History
File History is designed for backing up your personal files and is excellent for recovering specific documents or folders.
How to Use File History:
- Connect an External Drive: Plug in an external hard drive or a USB flash drive with sufficient storage capacity. This drive will be dedicated to storing your backups.
- Open File History: Search for “File History” in the Windows search bar and select “Restore your files with File History.”
- Select Your Backup Drive: Windows will prompt you to select a drive to save your backups. Choose your connected external drive.
- Configure Settings:
- “Save copies of files”: Ensure this is turned on.
- “Save files from”: By default, File History backs up folders in your user profile, such as Documents, Pictures, Videos, and Desktop. You can click “Add a folder” to include other locations.
- “Keep saved versions”: Decide how long you want to retain older versions of your files (e.g., “For a year” or “Forever”).
- “Backup frequency”: Choose how often File History should back up your files (e.g., “Hourly” or “Daily”).
- Start Backup: Click “Back up now” to initiate the first backup.
File History will then automatically back up your selected files at the specified frequency. It creates versioned backups, allowing you to restore specific files or entire folders to a previous state.
Heading3: System Image Backup
System Image Backup creates a complete snapshot of your drive, including Windows, system files, installed programs, and your personal files. This is invaluable for a full system recovery.
How to Use System Image Backup:
- Connect an External Drive: Similar to File History, you’ll need a sufficiently large external drive.
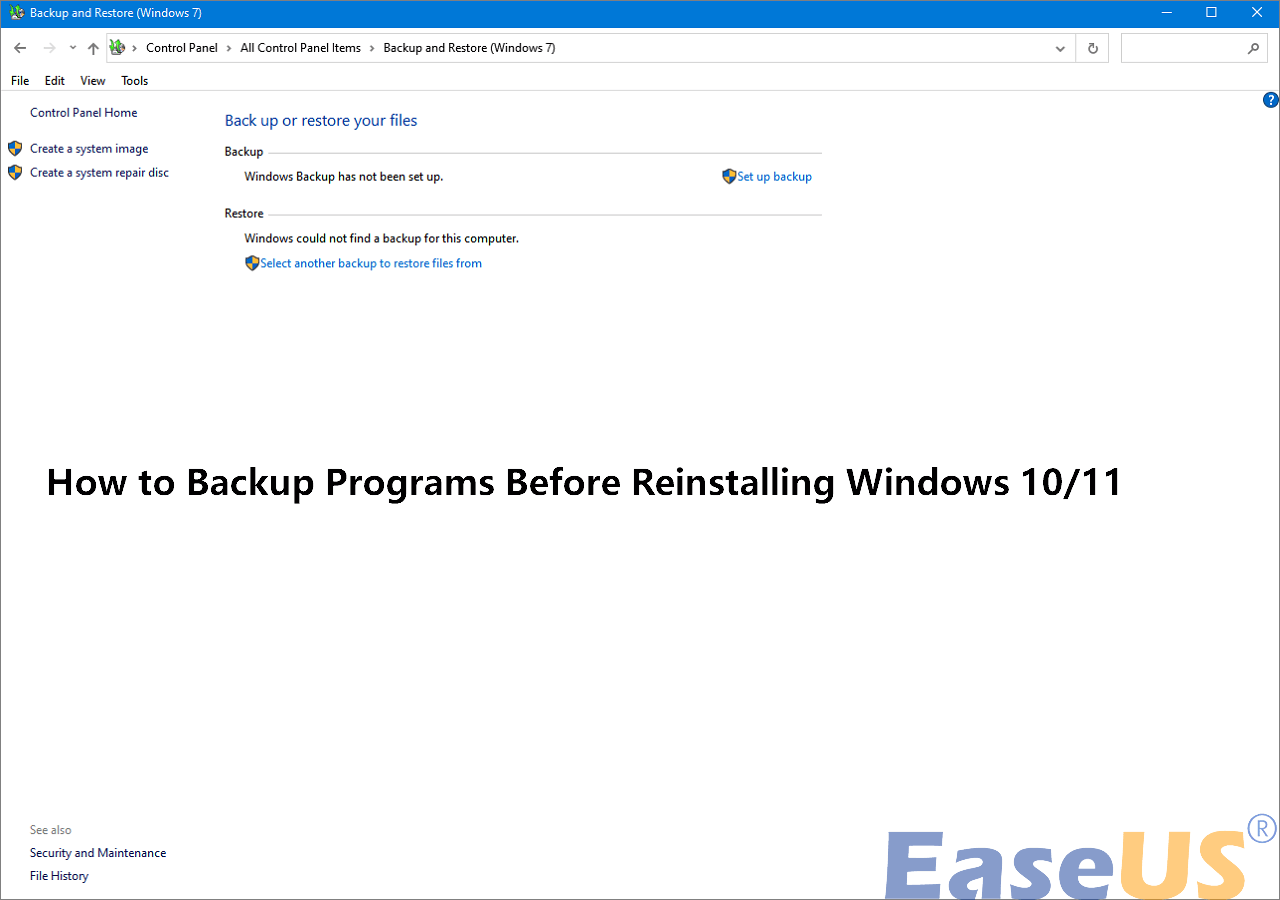
- Open Backup and Restore (Windows 7): Search for “Backup and Restore (Windows 7)” in the Windows search bar. Even though it’s labeled “Windows 7,” this tool is still available and functional in Windows 10 and 11.
- Create a System Image: Click on “Create a system image” in the left-hand pane.
- Choose Backup Destination: Select “On a hard disk” and choose your connected external drive as the destination.
- Select Drives to Include: Windows will automatically select the drives required for a system image (usually your C: drive and any other drives with Windows system files). You can choose to include additional drives if desired.
- Start Backup: Click “Start backup.” This process can take a considerable amount of time depending on the amount of data.
Important Note: Microsoft has deprecated the “Backup and Restore (Windows 7)” tool for future Windows versions, recommending third-party solutions. However, it remains a viable option for users who wish to create a system image before a fresh install.
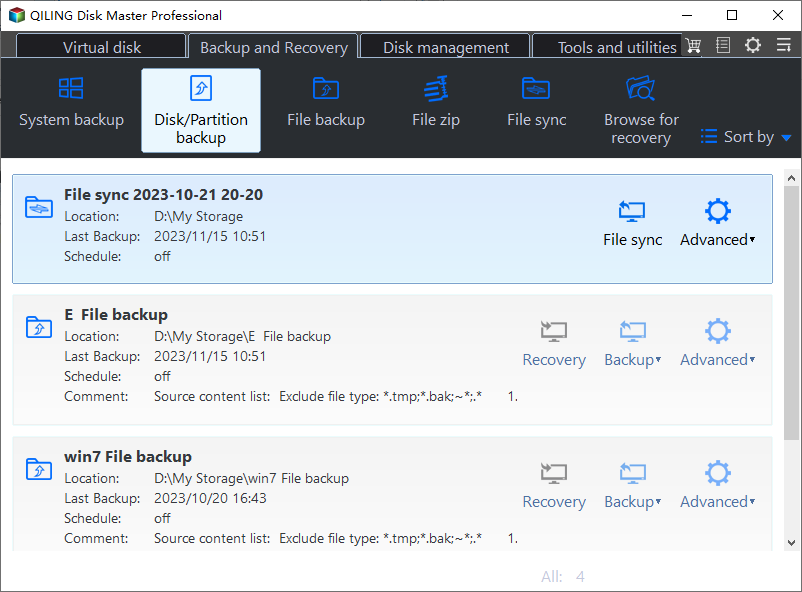
Method 2: Utilizing Third-Party Backup Software
While Windows’ built-in tools are useful, third-party backup software often offers more advanced features, flexibility, and user-friendly interfaces. These programs can perform full system images, incremental backups, differential backups, and provide features like compression, encryption, and scheduling.
Popular Third-Party Backup Solutions:
- Acronis Cyber Protect Home Office: A comprehensive suite offering robust backup and cybersecurity features. It excels at creating bootable rescue media and performing full system image backups.
- Macrium Reflect Free: A highly regarded free tool that provides powerful system imaging and cloning capabilities. It’s known for its reliability and ease of use.
- EaseUS Todo Backup Free: Another popular free option that offers a good range of backup and restore functionalities, including system imaging.
- Paragon Backup & Recovery: Offers a free version with essential backup features, and paid versions with more advanced capabilities.
General Steps for Using Third-Party Software:
- Download and Install: Choose a reputable backup software and install it on your Windows system.
- Connect External Storage: Ensure your external hard drive or network storage is connected and accessible.
- Select Backup Type: Opt for a “System Image” or “Disk Clone” option for a full backup of your Windows installation. If you only need to back up your files, choose a “File Backup” option.
- Choose Destination: Select your external drive or network location for the backup.
- Configure Options: Explore settings for compression, encryption, scheduling, and whether to create a bootable rescue media (highly recommended for system image backups).
- Start Backup: Initiate the backup process.
Preparing for the Fresh Install
Once your backup is complete and verified, you’re almost ready for the fresh installation. However, a few more steps can ensure a smoother transition.
Heading3: Create Bootable Installation Media
You’ll need a bootable USB drive or DVD containing the Windows installation files. You can create this using the official Media Creation Tool from Microsoft’s website. This tool allows you to download the latest version of Windows and create the installation media directly.
Heading3: Gather Your Product Keys and Licenses
Before wiping your system, take note of any product keys for paid software you use. While some software can be re-activated easily, having these readily available will save you time and potential frustration. For Windows itself, most modern installations are linked to your Microsoft account or digital license, but it’s always wise to confirm.
Heading3: Identify and Download Drivers (Optional but Recommended)
While Windows Update usually handles most driver installations, it’s a good practice to have essential drivers, especially for your network adapter (Ethernet or Wi-Fi), graphics card, and motherboard chipset, readily available. You can usually download these from the manufacturer’s website of your computer or individual components. Having these on a separate USB drive can be a lifesaver if Windows struggles to connect to the internet after the fresh install.
The Restoration Process: Bringing Your Data Back
After successfully installing a fresh copy of Windows, the next crucial step is to restore your backed-up data.
Heading3: Restoring Personal Files
If you used File History or a third-party file backup tool, the restoration process is typically straightforward.
- File History: Open File History, navigate to the files or folders you want to restore, select them, and click the “Restore” button. You can choose to restore to the original location or a new one.
- Third-Party File Backup: Follow the specific instructions of your chosen backup software to browse your backup and select the files or folders for restoration.
Heading3: Restoring a System Image
If you created a system image, you can restore your entire Windows environment. This is usually done before or during the Windows installation process, as it overwrites the newly installed operating system.
- Using Windows’ System Image Recovery: If you used Windows’ built-in System Image Backup, you’ll typically boot from your Windows installation media, select “Repair your computer,” and then navigate to “Troubleshoot” > “Advanced options” > “System Image Recovery.”
- Using Third-Party Bootable Media: Most third-party backup software allows you to create a bootable rescue disk or USB. You’ll boot your computer from this media, and the software will guide you through the process of selecting your system image backup and restoring it to your drive.
Important Consideration: Restoring a system image will revert your system to the exact state it was in when the image was created. This means any changes made after the backup will be lost. Therefore, it’s often recommended to perform this restoration immediately after the fresh install, before you start reinstalling applications or making significant changes.
Conclusion
Performing a backup before a fresh Windows installation is not merely a recommendation; it’s an essential safeguard for your digital well-being. By investing a little time and effort in backing up your crucial data and system configurations, you can transform a potentially risky operation into a seamless and rewarding upgrade. Whether you opt for Windows’ robust built-in tools or leverage the advanced capabilities of third-party software, the peace of mind that comes with a secure backup is invaluable. So, before you hit that “Install Now” button, ensure your digital assets are protected. Your future self will thank you for it.
aViewFromTheCave is a participant in the Amazon Services LLC Associates Program, an affiliate advertising program designed to provide a means for sites to earn advertising fees by advertising and linking to Amazon.com. Amazon, the Amazon logo, AmazonSupply, and the AmazonSupply logo are trademarks of Amazon.com, Inc. or its affiliates. As an Amazon Associate we earn affiliate commissions from qualifying purchases.