
In the expansive world of Linux distributions, the efficiency of a system is often measured by its ability to manage software seamlessly. At the heart of most Debian-based systems—including Ubuntu, Linux Mint, and Kali Linux—lies a powerhouse utility known as APT, or the Advanced Package Tool. While most users encounter APT as a pre-installed component of their operating system, there are numerous scenarios where one might need to install, reinstall, or manually configure this tool to regain control over their software environment.
Whether you are a developer setting up a minimal Docker container, a system administrator repairing a broken environment, or a tech enthusiast exploring the nuances of package management, understanding how to install and optimize APT is a fundamental skill. This guide explores the technical architecture of APT, the step-by-step process of installation and recovery, and the best practices for maintaining a healthy digital ecosystem.
Understanding the Architecture of APT
Before diving into the installation procedures, it is crucial to understand what APT actually is. APT is not a single program but a collection of tools used to handle the installation, update, and removal of software packages. It acts as a sophisticated front-end to dpkg (the Debian Package Manager), providing a more user-friendly interface that automates the complex process of dependency resolution.
The Role of APT in Debian-based Ecosystems
In the early days of Linux, installing software was a manual and often frustrating process. Users had to download source code, compile it, and manually track down every library or “dependency” the software required to run. APT revolutionized this by introducing the concept of repositories—centralized servers containing indexed software packages.
When you instruct APT to install a program, it queries its configured repositories, identifies the necessary version of the software, checks for required dependencies, and downloads everything in one coordinated workflow. This automation is why APT remains the gold standard for package management in the “Tech” niche.
How APT Differs from DPKG
To master APT, you must understand its relationship with dpkg. Think of dpkg as the low-level tool that handles the actual .deb files on your hard drive; it knows how to unpack and install a specific file, but it doesn’t know where to find new ones or how to fix a missing library. APT sits on top of dpkg, providing the “intelligence” to fetch files from the internet and manage the relationships between thousands of different software components.
Is Installation Necessary? Assessing Your System Requirements
In 99% of desktop Linux installations, APT is already present. However, the need to “install” it typically arises in specialized technical environments or during system recovery.
Verifying Current APT Installation
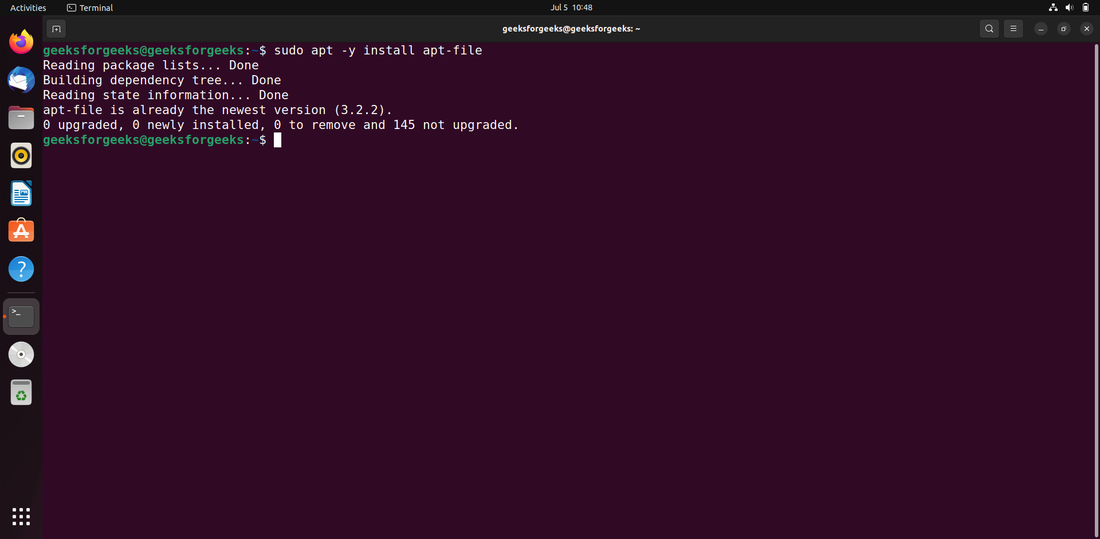
Before attempting a manual installation, you should verify if the tool is already active on your system. Open your terminal and execute the following command:
apt --version
If the system returns a version number (e.g., apt 2.4.8), the tool is installed and functional. If you receive a “command not found” error, you are likely working in a non-Debian environment (such as CentOS or Arch Linux) or your installation is severely corrupted.
Scenarios Requiring Manual Installation
There are three primary scenarios where you might need to install or re-initialize APT:
- Minimal Containers: When using stripped-down Docker images, APT might be omitted to save space.
- System Corruption: If a failed system upgrade or accidental deletion removes the APT binaries, you must manually re-inject them using
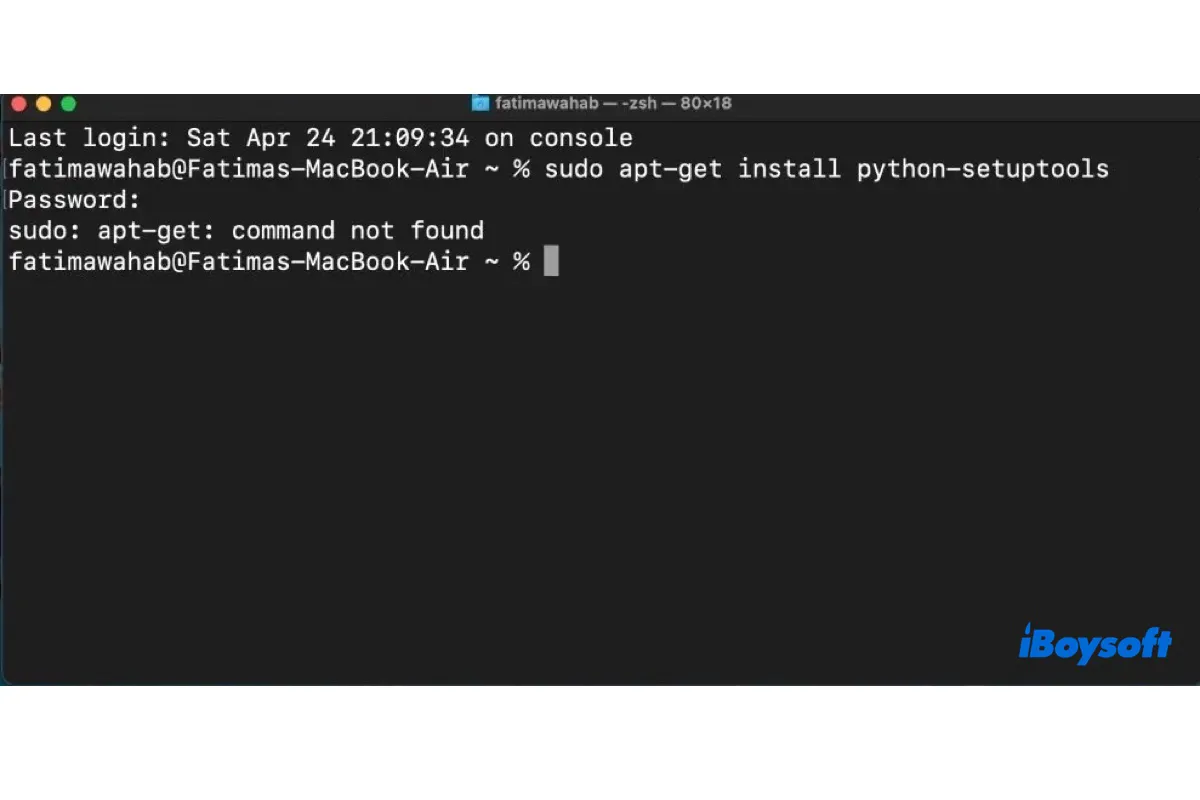
dpkg. - Cross-Platform Experimentation: While rare, some developers attempt to bring APT to non-Debian environments for specific build-tool compatibilities, though this is generally replaced by tools like Homebrew on macOS.
Practical Steps to Install and Configure APT
If you find yourself without APT on a Debian-based system, the process of getting it back requires a manual download of the package files. Since you cannot use APT to install APT, you must rely on its underlying engine: dpkg.
Reinstalling a Corrupted APT Instance
If APT is missing or broken, you must manually fetch the .deb packages from the official Debian or Ubuntu mirrors. You will typically need the following packages:
libapt-pkgapt-utilsapt
Once these files are downloaded via a browser or a tool like wget, you can install them using:
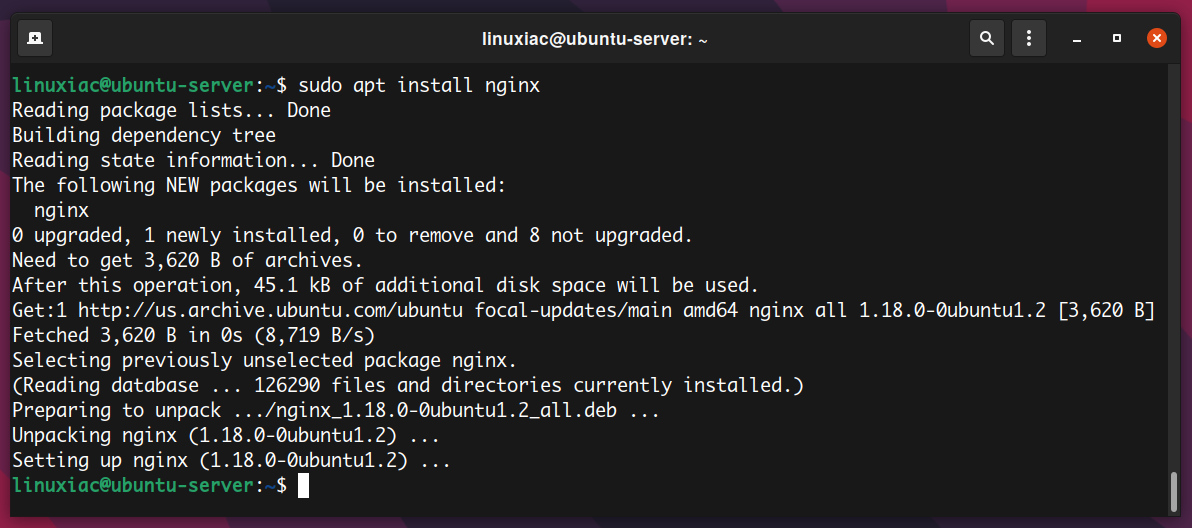
sudo dpkg -i apt_version_architecture.deb
This command bypasses the need for a functional package manager and writes the binary files directly to your system directories. Once completed, running sudo apt update will re-sync your system with online repositories.
Configuring Repository Lists for Maximum Efficiency
Installing the tool is only half the battle; APT is only as good as the sources it communicates with. The configuration of these sources is handled via the /etc/apt/sources.list file and the /etc/apt/sources.list.d/ directory.
To ensure your installation is robust, you should curate your sources to include “main,” “restricted,” “universe,” and “multiverse” repositories. This ensures access to both open-source and proprietary software. A well-configured sources.list prevents “Dependency Hell” by ensuring the tool has a wide enough net to catch all required sub-components during an installation.
Setting up APT on Non-Debian Systems
In technical development circles, there is sometimes a desire to use APT on macOS or Windows (via WSL). On Windows, the simplest way to “install” APT is to install the Ubuntu distribution through the Windows Subsystem for Linux (WSL). This provides a native Linux environment where APT is the primary driver. On macOS, while APT is not native, the Homebrew package manager serves a nearly identical purpose, though true APT can be installed via the “Fink” project for specialized legacy needs.
Advanced Optimization and Security Protocols
Once APT is installed and running, the focus shifts to performance and security. In a modern tech environment, speed and data integrity are paramount.
Managing GPG Keys and Secure Repositories
Security is a major concern when downloading software. APT uses GPG (GNU Privacy Guard) keys to verify that the packages you download have not been tampered with. When you add a third-party repository (like those for VS Code or Docker), you must also install the corresponding GPG key.
The modern standard for this is storing keys in /usr/share/keyrings/. By ensuring every source is authenticated, you protect your system from “Man-in-the-Middle” attacks where a malicious actor might try to serve you a compromised version of a software update.
Utilizing APT-Fast for Accelerated Downloads
For power users who find the standard APT download speeds insufficient, apt-fast is a popular “shellscript wrapper.” It speeds up the installation process by downloading packages from multiple mirrors simultaneously using download managers like aria2c or axel. To install this in your new APT environment:
- Add the
apt-fastPPA:sudo add-apt-repository ppa:apt-fast/stable - Update your indices:
sudo apt update - Install:
sudo apt install apt-fast
This optimization is particularly useful in CI/CD pipelines and high-performance development environments where time-to-deployment is a critical metric.
Mastering the Command Line: Essential APT Operations
To truly say you have “installed” and mastered APT, you must be proficient in its operational commands. The transition from the older apt-get to the modern apt command has introduced a more streamlined syntax and better visual feedback (like progress bars).
The Distinction Between Update, Upgrade, and Full-Upgrade
One of the most common points of confusion for new users is the difference between these three commands:
- Update: This does not install new software. It refreshes the local index of available packages from the repositories. It’s like updating the menu at a restaurant before you order.
- Upgrade: This installs the newest versions of all packages currently installed on the system.
- Full-Upgrade: This is more aggressive; it will remove currently installed packages if that is necessary to upgrade the system as a whole (common during major OS version jumps).
Cleaning Up: Autoremove and Clean Commands
A healthy system requires regular maintenance. Over time, APT accumulates cached files and “orphaned” dependencies—libraries that were required by a program you have since deleted.
sudo apt autoremove: Deletes packages that were automatically installed to satisfy dependencies for other packages and are now no longer needed.sudo apt clean: Clears out the local repository of retrieved package files (.deb). This can free up significant gigabytes of disk space on long-running systems.
Conclusion
Installing and managing APT is more than just a technical chore; it is the gateway to the vast ecosystem of open-source software. By understanding how to verify your installation, manually inject packages via dpkg when things go wrong, and optimize your repositories for speed and security, you empower yourself to build a more resilient and efficient computing environment.
In the fast-evolving landscape of software engineering and digital infrastructure, APT remains a foundational tool. Its ability to handle complex dependency trees and maintain system stability makes it an essential skill for any tech professional. Whether you are managing a single laptop or a fleet of cloud servers, the mastery of the Advanced Package Tool ensures that your software environment remains cutting-edge, secure, and perfectly tailored to your needs.
aViewFromTheCave is a participant in the Amazon Services LLC Associates Program, an affiliate advertising program designed to provide a means for sites to earn advertising fees by advertising and linking to Amazon.com. Amazon, the Amazon logo, AmazonSupply, and the AmazonSupply logo are trademarks of Amazon.com, Inc. or its affiliates. As an Amazon Associate we earn affiliate commissions from qualifying purchases.