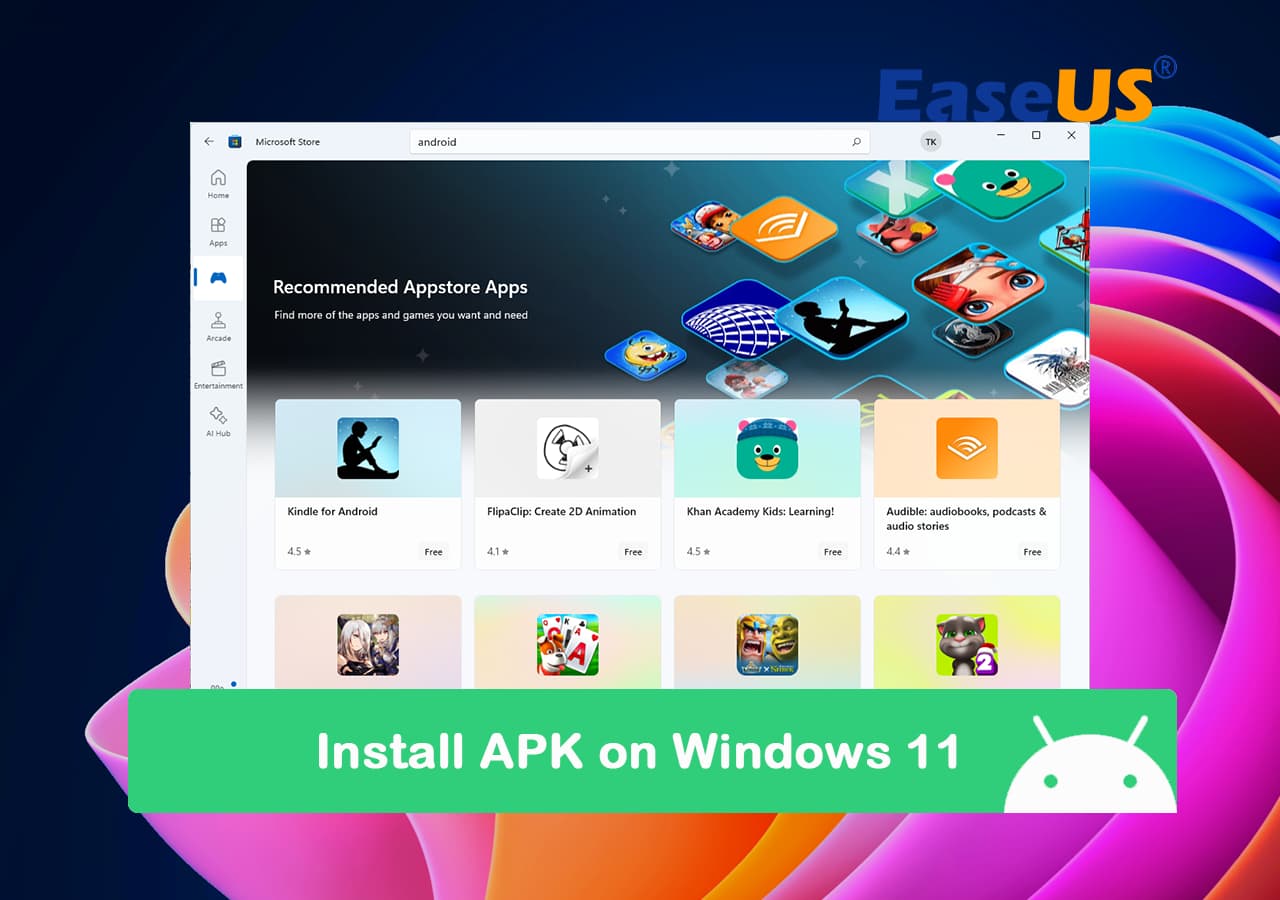
Windows 11 marked a significant shift in Microsoft’s approach to app compatibility, ushering in the groundbreaking ability to run Android applications natively. This integration promises a more unified and versatile computing experience, bridging the gap between desktop productivity and mobile convenience. While the Amazon Appstore serves as the official gateway for many Android apps on Windows 11, the true power lies in the capability to sideload APK files. This process, though slightly more involved, unlocks access to a vast universe of Android applications not available through the Amazon storefront, from specialized tools to region-restricted games, fundamentally transforming your Windows 11 device into a more expansive digital hub.
This comprehensive guide will walk you through every step of installing APKs on Windows 11. We’ll delve into the necessary foundations, from setting up the Windows Subsystem for Android (WSA) to mastering the Android Debug Bridge (ADB) for seamless sideloading. Whether you’re looking to enhance your productivity with a favorite Android utility, access a unique mobile game, or simply explore the full potential of your Windows 11 system, understanding how to install APKs directly is an invaluable skill for any tech enthusiast. We’ll also touch upon crucial aspects like digital security and performance optimization, ensuring you leverage this powerful feature safely and efficiently.
The Dawn of Android Apps on Windows 11: A Game Changer for Productivity and Entertainment
The integration of Android applications into Windows 11 is more than just a novelty; it represents a strategic move by Microsoft to enhance the utility and appeal of its operating system. In an increasingly mobile-first world, users are accustomed to a vast ecosystem of applications that often exist exclusively on Android or iOS. Windows 11’s ability to run these apps natively, powered by the Windows Subsystem for Android (WSA), fundamentally changes how we interact with our PCs.
For many, this means a significant boost in productivity. Imagine accessing a mobile-only project management tool directly from your desktop, using a specific chat application favored by a team that doesn’t have a desktop client, or streamlining workflows by having all your essential apps – desktop and mobile – accessible from a single interface. Developers can test their Android applications without needing an emulator or a physical device, integrating seamlessly into their development environment. Beyond productivity, the entertainment landscape expands dramatically. Games previously confined to your smartphone can now be enjoyed on a larger screen with keyboard and mouse support, offering a richer, more immersive experience.
While the Amazon Appstore serves as the primary, officially sanctioned channel for acquiring Android apps on Windows 11, it has its limitations. The selection, though growing, doesn’t encompass the entire breadth of the Google Play Store, nor does it cater to every niche application. This is where sideloading APKs becomes indispensable. Sideloading is the process of manually installing an application package file (APK) directly onto the device, bypassing traditional app stores. It’s a method long familiar to Android users seeking to install beta versions, region-locked apps, or specialized tools not found in official channels. On Windows 11, sideloading APKs via tools like ADB is the key to truly unlocking the full potential of Android app compatibility, giving users unparalleled freedom and control over their software experience. However, this power comes with responsibility, particularly concerning digital security, which we will address later.
Laying the Foundation: Setting Up Windows Subsystem for Android (WSA)
Before you can even think about sideloading APKs, your Windows 11 system needs the underlying infrastructure to run Android apps. This is where the Windows Subsystem for Android (WSA) comes into play. WSA is essentially a virtual machine that creates a compatible environment for Android applications to execute within Windows, abstracting away the complexities of the underlying architecture. Setting it up correctly is the crucial first step.
Checking System Requirements and Enabling Virtualization
Windows Subsystem for Android is a resource-intensive feature, and your system needs to meet certain specifications to run it smoothly. Before proceeding, ensure your computer is up to the task:
- Windows 11 Version: You need Windows 11 build 22000.526 or higher. It’s always recommended to keep your system updated to the latest stable version.
- RAM: A minimum of 8 GB RAM is required, but 16 GB or more is highly recommended for optimal performance, especially if you plan to run multiple Android apps or demanding games.
- Storage: An SSD (Solid State Drive) is mandatory for WSA. The performance of Android apps will be significantly degraded on a traditional HDD. You’ll need at least 10-15 GB of free space for WSA and your apps.
- Processor: An Intel Core i3 8th Gen, AMD Ryzen 3000, or Qualcomm Snapdragon 8c (or newer) processor is required.
- Virtualization: This is the most critical requirement. WSA relies heavily on hardware virtualization. You need to enable both Virtual Machine Platform and Windows Subsystem for Linux (WSL) features in Windows and ensure virtualization technology is enabled in your computer’s BIOS/UEFI settings.
To enable virtualization in Windows:
- Search for “Turn Windows features on or off” in the Start menu.
- In the dialog box, ensure “Virtual Machine Platform” and “Windows Subsystem for Linux” are checked. If not, check them and click OK. Windows may require a restart.
To enable virtualization in BIOS/UEFI:
- Restart your computer.
- As it boots up, repeatedly press the key to enter your BIOS/UEFI settings (common keys include F2, F10, F12, DEL, or ESC – it varies by manufacturer).
- Navigate to a section usually labeled “CPU Configuration,” “Virtualization,” “Processor,” or “Advanced.”
- Look for options like “Intel VT-x,” “Intel Virtualization Technology,” “AMD-V,” or “SVM Mode” and ensure it is set to “Enabled.”
- Save changes and exit BIOS/UEFI. Your computer will restart.
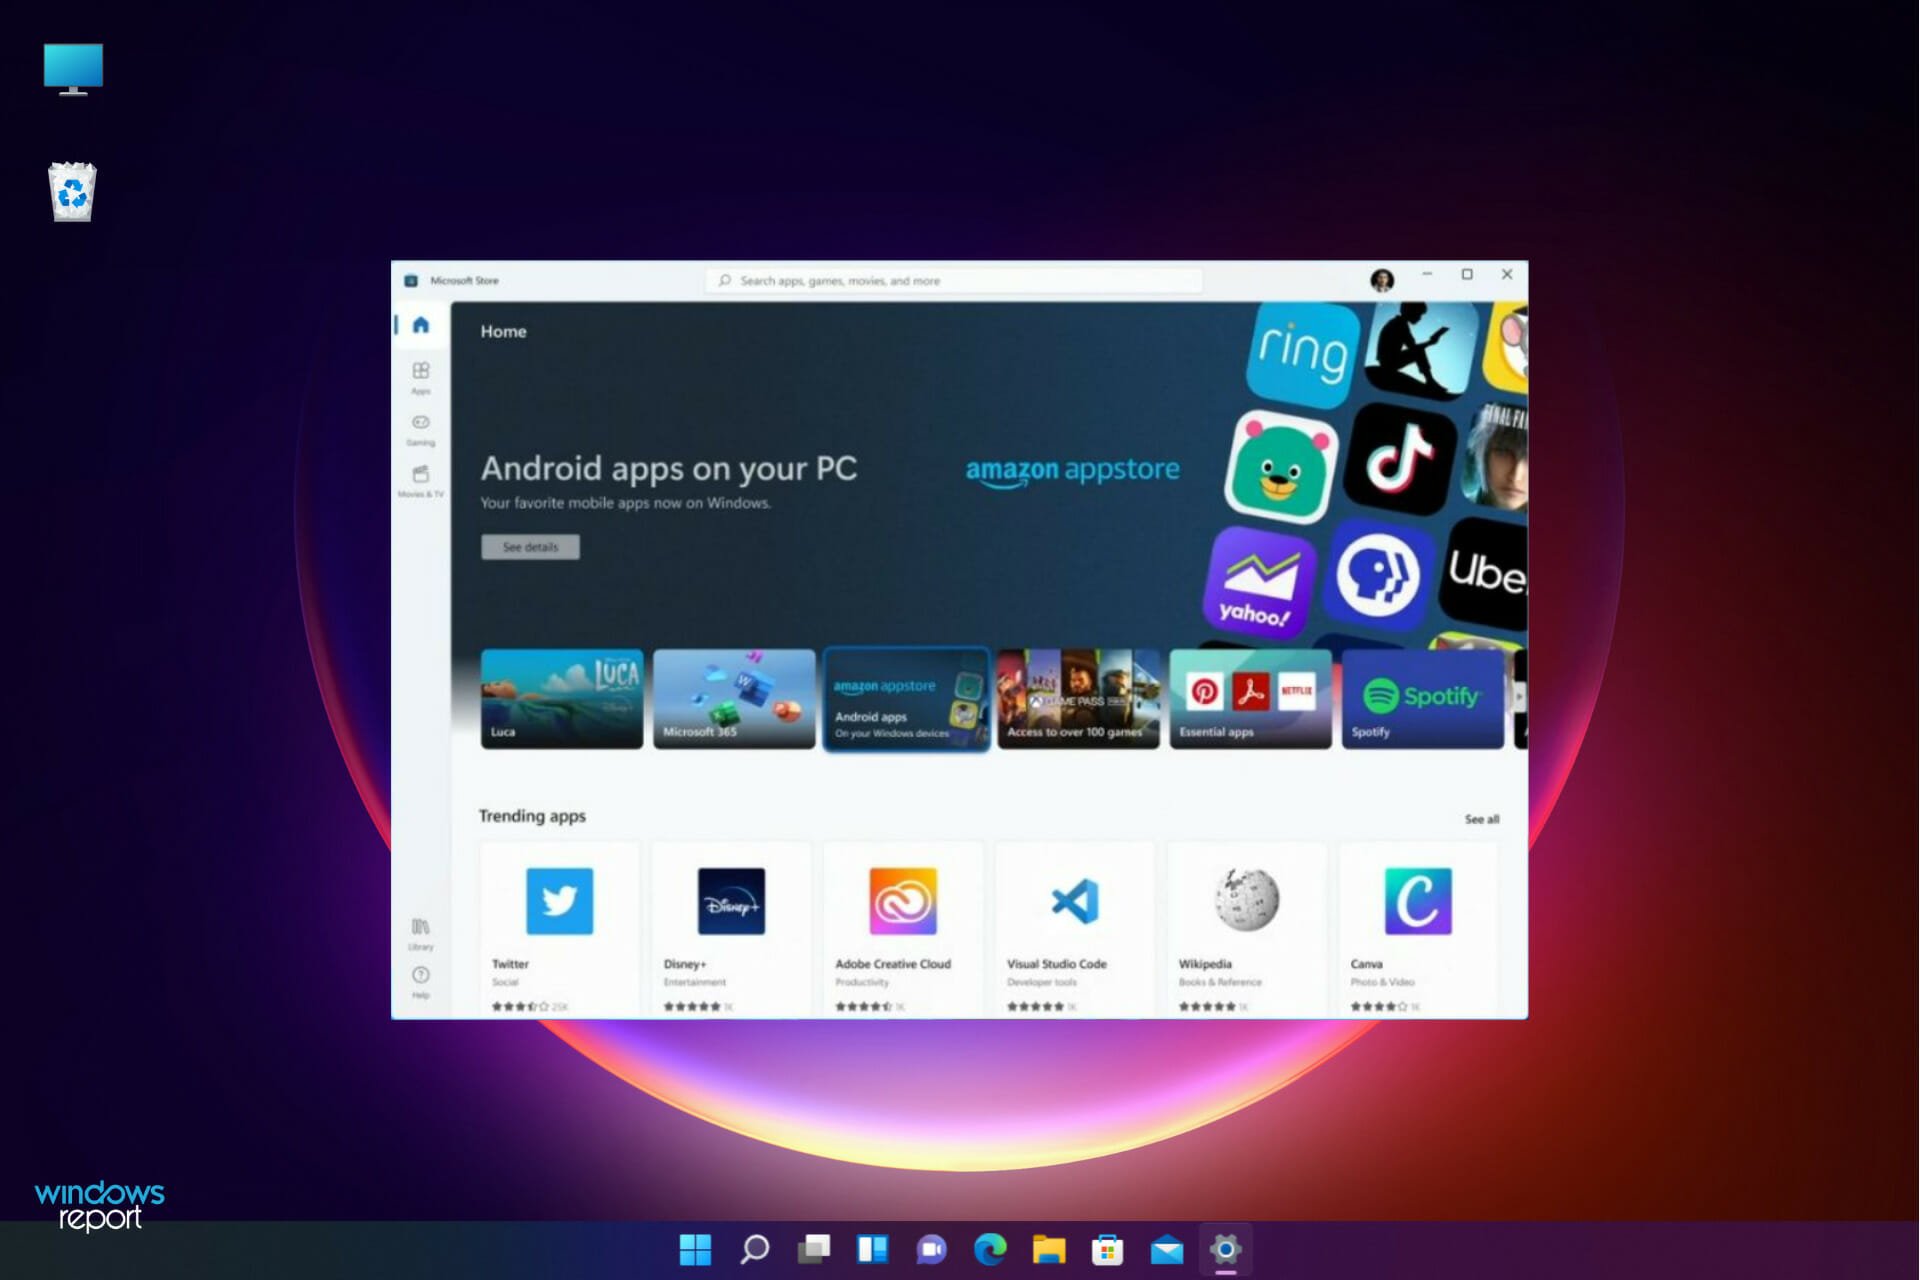
Installing the Amazon Appstore (and WSA) from the Microsoft Store
The easiest and officially supported way to install WSA is by installing the Amazon Appstore from the Microsoft Store. This process automatically downloads and configures WSA in the background.
- Open the Microsoft Store: Click on the Microsoft Store icon in your taskbar or search for it in the Start menu.
- Search for Amazon Appstore: In the search bar at the top, type “Amazon Appstore” and press Enter.
- Install the Appstore: Click on the “Amazon Appstore” listing, then click the “Get” or “Install” button.
- Follow the Prompts: Windows will download and install the Amazon Appstore. During this process, it will also download and configure the Windows Subsystem for Android. This might take several minutes, depending on your internet speed and system performance. You may see a progress bar for “Windows Subsystem for Android” download.
- Restart (if prompted): You might be prompted to restart your computer to finalize the installation. It’s advisable to do so.
- Launch Amazon Appstore: Once installed, you can find “Amazon Appstore” in your Start menu. The first time you launch it, you’ll need to sign in with your Amazon account (or create one). This step also ensures WSA is fully initialized.
After these steps, WSA is installed and running, providing the environment necessary for Android apps. You can find its settings by searching for “Windows Subsystem for Android” in the Start menu, which allows you to manage its resources, files, and developer options.
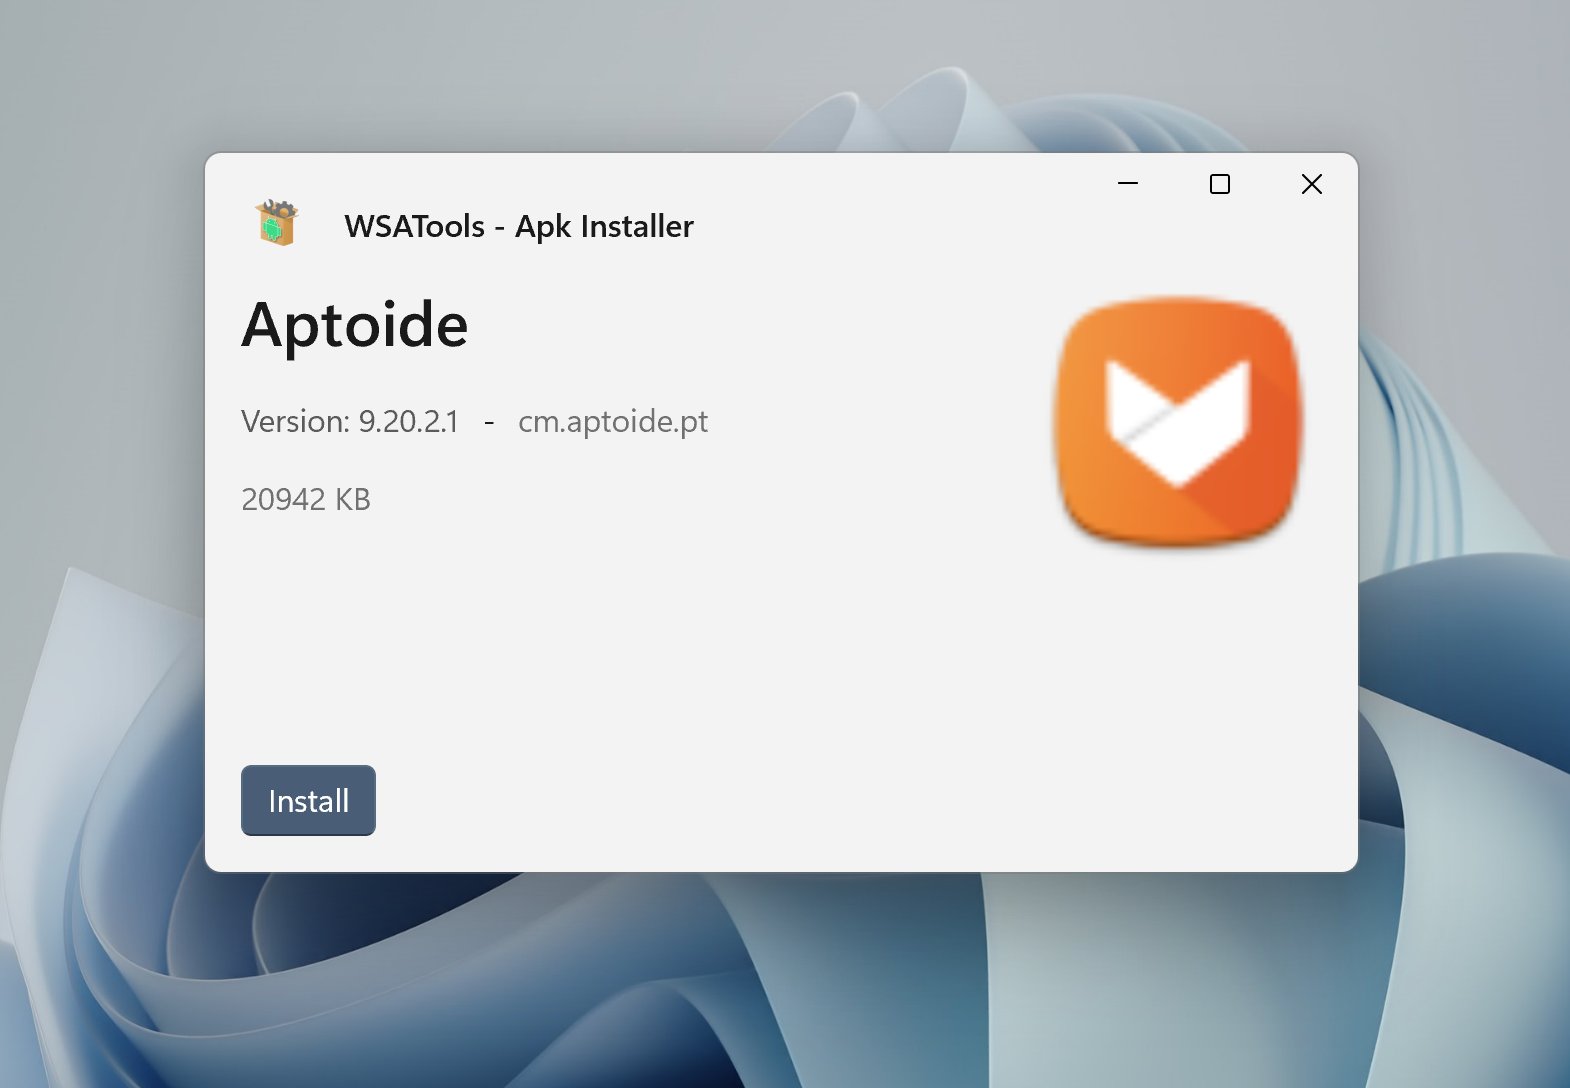
Unleashing the Full Potential: Sideloading APKs for Unrestricted Access
While the Amazon Appstore offers a curated selection of Android apps, the true freedom of Android on Windows 11 comes from sideloading APK files. This method allows you to install virtually any Android application, provided it’s compatible with WSA and doesn’t rely heavily on Google Play Services (which are not natively included in WSA). Sideloading requires a bit more technical setup, primarily involving the Android Debug Bridge (ADB).
Preparing WSA for Sideloading: Developer Mode and IP Address
Before ADB can communicate with your Windows Subsystem for Android instance, you need to enable developer options within WSA and obtain its IP address.
- Open Windows Subsystem for Android Settings: Search for “Windows Subsystem for Android Settings” in the Start menu and open it.
- Enable Developer Mode: In the WSA Settings window, navigate to the “Developer” tab on the left-hand side. Toggle the “Developer mode” switch to “On.”
- Manage Developer Settings (Optional but Recommended): Below the “Developer mode” toggle, click on “Manage developer settings.” This will launch a separate Android settings window for the WSA. You might see warnings about security implications – proceed if you understand the risks. This step often helps initialize the Android environment properly. You can close this window after it opens.
- Obtain the IP Address: Back in the main WSA Settings window, under the “Developer” section, you’ll see an “IP address” field. Click the “Refresh” button next to it. If an IP address doesn’t appear immediately, try launching an Android app from the Amazon Appstore or the WSA’s Android settings page and then refreshing again. The IP address (e.g., 172.x.x.x) is crucial for ADB to connect to WSA. Make a note of it. If you close and reopen WSA, the IP address might change, so always double-check it.
Setting Up ADB (Android Debug Bridge) on Windows 11
ADB is a versatile command-line tool that allows you to communicate with an Android device or emulator (in this case, WSA). It’s an essential utility for developers and power users, enabling various functions from installing apps to debugging.
- Download SDK Platform Tools: ADB is part of Google’s Android SDK Platform Tools.
- Visit the official Android developer website:
developer.android.com/studio/releases/platform-tools - Download the ZIP file for “SDK Platform Tools for Windows.”
- Visit the official Android developer website:
- Extract the Files: Once downloaded, extract the contents of the ZIP file to an easily accessible location on your computer, such as
C:platform-tools. - Add to System PATH (Recommended for Productivity): Adding the
platform-toolsdirectory to your system’s PATH environment variable allows you to run ADB commands from any directory in Command Prompt or PowerShell, significantly improving your workflow and productivity.- Search for “Edit the system environment variables” in the Start menu and open it.
- Click “Environment Variables…”
- Under “System variables,” find and select “Path,” then click “Edit…”
- Click “New” and add the full path to your extracted
platform-toolsfolder (e.g.,C:platform-tools). - Click “OK” on all windows to save the changes.
- Alternatively, you can skip this step and always navigate to the
platform-toolsdirectory in Command Prompt before running ADB commands, but adding it to PATH is far more convenient for repeated use.
- Verify ADB Installation:
- Open Command Prompt or PowerShell (search for “cmd” or “powershell” in the Start menu).
- Type
adb --versionand press Enter. - If installed correctly, you should see the ADB version information. If you get an error like “`adb’ is not recognized as an internal or external command,” double-check your path settings or ensure you’re in the correct directory.
The Sideloading Process: Installing APKs via ADB
With WSA prepared and ADB set up, you’re ready to start sideloading APKs.
- Download Your Desired APK:
- Crucial Digital Security Note: Always download APK files from reputable and trusted sources. Unofficial or suspicious websites can host malicious APKs containing malware, viruses, or spyware. Websites like APKMirror are generally considered reliable as they verify the cryptographic signatures of APKs against official releases. Exercise extreme caution when sourcing APKs.
- Save the APK file to an easily accessible location, such as your Downloads folder or a dedicated “APKs” folder. For simplicity, you might consider placing it directly in your
C:platform-toolsdirectory if you didn’t add ADB to your system PATH.
- Connect ADB to WSA:
- Open Command Prompt or PowerShell.
- Type the following command, replacing
<WSA_IP_ADDRESS>with the IP address you obtained earlier from WSA Settings:
adb connect <WSA_IP_ADDRESS>:58526 - Press Enter. You should see a message like “connected to
:58526″. If it fails, double-check the IP address, ensure WSA is running, and that developer mode is enabled.
- Install the APK:
- Once connected, use the
adb installcommand. Replace<PATH_TO_YOUR_APK>with the full path to your downloaded APK file.
adb install <PATH_TO_YOUR_APK> - For example, if your APK is named
my_app.apkand is in your Downloads folder:
adb install C:UsersYourUsernameDownloadsmy_app.apk - If you placed the APK in the
platform-toolsdirectory and are running ADB from there, you can just use the filename:
adb install my_app.apk - Press Enter. The installation process might take a few moments.
- You should see a “Success” message if the installation is completed successfully.
- Once connected, use the
- Verify Installation:
- The newly installed Android app should now appear in your Windows 11 Start menu alongside your native Windows applications. You can pin it to your taskbar or Start menu for quick access.
- Launch the app to ensure it functions as expected.
Troubleshooting Common Issues and Optimizing Your Experience
While installing APKs on Windows 11 is generally straightforward, you might encounter some common hurdles. Understanding how to troubleshoot these issues and optimize your WSA experience can save you time and enhance your overall productivity.
Resolving Connection Problems and App Crashes
- ADB Not Connecting:
- WSA IP Address Changed: The IP address of WSA can change, especially after a restart. Always re-check the IP address in WSA Settings (Developer section) and refresh it if necessary before attempting
adb connect. - WSA Not Running: Ensure the Windows Subsystem for Android is actually running. You can check this by opening WSA Settings or by trying to launch an Amazon Appstore app. Sometimes, simply launching the WSA Settings window is enough to wake it up.
- Firewall Interference: Your Windows Firewall or third-party antivirus/firewall software might be blocking the connection on port 58526. Temporarily disable your firewall to test, or add an exception for the port or the
adb.exeexecutable. - Developer Mode Off: Double-check that Developer Mode is enabled in WSA Settings.
- Incorrect Port: Ensure you’re using port
58526for ADB connection (e.g.,adb connect 172.x.x.x:58526).
- WSA IP Address Changed: The IP address of WSA can change, especially after a restart. Always re-check the IP address in WSA Settings (Developer section) and refresh it if necessary before attempting
- App Installs but Doesn’t Launch or Crashes Immediately:
- Google Play Services Dependency: Many Android apps are heavily reliant on Google Play Services (GPS) for functions like push notifications, in-app purchases, location services, and authentication. WSA does not natively include GPS. Apps that require GPS to function might crash or exhibit limited functionality. There are unofficial methods to install GPS, but they are complex, unsupported, and carry risks. Research the app’s compatibility before attempting to install it.
- Compatibility Issues: Not all APKs are guaranteed to work perfectly with WSA, even without GPS dependencies. Some apps might be designed for specific hardware features or Android versions not fully emulated by WSA. Check online forums or communities for experiences with specific apps on WSA.
- Corrupt APK: The downloaded APK file might be corrupt. Try downloading it again from a reliable source.
- WSA Restart: Sometimes, simply restarting WSA (from its settings, click “Turn off,” then wait a moment and launch an app or open WSA settings again) can resolve transient issues. A full Windows restart can also help.
- App Performance Issues:
- Resource Allocation: In WSA Settings, you can control the amount of RAM allocated to the subsystem. If you have 16GB+ RAM, consider allocating more than the default for smoother performance, especially for demanding apps or games.
- Background Processes: Close other demanding applications on Windows 11 to free up system resources for WSA.
Performance Tips and Security Considerations
Running Android apps on Windows 11 offers immense flexibility, but it’s crucial to balance this with optimal performance and robust digital security practices.
- Optimizing Performance:
- Dedicated Resources: As mentioned, adjust RAM allocation in WSA Settings if your system allows.
- SSD is Key: Ensure WSA and your Android apps are installed on an SSD for maximum speed.
- Latest Updates: Keep both Windows 11 and WSA updated to the latest versions. Microsoft frequently releases performance improvements and bug fixes.
- Close Unused Apps: Just like on a smartphone, having too many Android apps running in the background within WSA can consume resources. Periodically close unused apps.
- Digital Security Best Practices for Sideloading:
- Source Your APKs Wisely: This cannot be stressed enough. The biggest security risk comes from untrusted APK sources. Always use reputable sites like APKMirror, F-Droid, or the official developer’s website. Avoid random websites found through search engines, as they are often vectors for malware.
- Verify App Permissions: When you install an app, pay attention to the permissions it requests. Does a simple calculator app really need access to your camera, contacts, and microphone? Be suspicious of apps asking for excessive permissions. While you can’t easily modify permissions during sideloading, you can check them after installation in the Android Settings within WSA.
- Use Antivirus/Antimalware Software: Ensure your Windows 11 system has robust and up-to-date antivirus/antimalware protection. This acts as a last line of defense against potentially malicious APKs.
- Regular Backups: Regularly back up your important Windows data. In the unlikely event of a malware infection through a sideloaded app, having a recent backup can be a lifesaver.
- Stay Informed: Keep an eye on tech news and security advisories regarding WSA and Android app compatibility.
By following these troubleshooting tips and security recommendations, you can enjoy a stable, performant, and secure experience while leveraging the vast world of Android applications on your Windows 11 PC.
Conclusion: Embracing the Cross-Platform Future
The ability to install APKs on Windows 11 represents a significant leap forward in cross-platform functionality, blurring the lines between desktop and mobile operating systems. By following the steps outlined in this guide – from setting up the essential Windows Subsystem for Android and configuring ADB, to carefully sideloading your desired applications – you gain unprecedented access to a diverse ecosystem of Android apps that can enhance your productivity, expand your entertainment options, and streamline your digital workflow.
This integration isn’t just about running apps; it’s about a more cohesive and versatile computing experience. It empowers users to choose the best tools for their tasks, regardless of their native platform, fostering a new era of digital freedom. However, with this power comes the responsibility of exercising caution, particularly when sourcing APK files. Adhering to robust digital security practices is paramount to ensure that your venture into the Android-on-Windows world remains safe and enjoyable.
As technology continues to evolve, the boundaries between operating systems will likely diminish further. Windows 11’s embrace of Android apps is a strong indicator of this trend, offering a glimpse into a future where seamless access to a universal application library is the norm. By mastering the techniques of APK sideloading, you are not just installing an app; you are actively participating in and shaping this exciting cross-platform future, making your Windows 11 device a truly comprehensive and adaptable digital companion.
aViewFromTheCave is a participant in the Amazon Services LLC Associates Program, an affiliate advertising program designed to provide a means for sites to earn advertising fees by advertising and linking to Amazon.com. Amazon, the Amazon logo, AmazonSupply, and the AmazonSupply logo are trademarks of Amazon.com, Inc. or its affiliates. As an Amazon Associate we earn affiliate commissions from qualifying purchases.