The transition to macOS often brings a sense of refinement and simplicity, yet for those migrating from different operating systems or those new to the digital ecosystem, the mechanics of software installation can feel uniquely distinct. Unlike the monolithic executable files found elsewhere, Apple’s ecosystem utilizes a variety of formats—ranging from the curated Mac App Store to disk images (DMG) and package installers (PKG). Understanding how to navigate these methods is not just about getting a program to run; it is about maintaining system integrity, ensuring digital security, and optimizing your hardware’s performance.
In this guide, we will explore the nuances of installing software on a Mac, delving into the technical underpinnings of each method and providing best practices for managing your digital toolkit.
1. The Mac App Store: Security and Seamless Integration
For the majority of users, the Mac App Store represents the primary and most secure method of acquiring software. Built on the foundation of Apple’s “Walled Garden” philosophy, the App Store ensures that every piece of software undergoes a rigorous review process before reaching your machine.
Navigating the App Store Ecosystem
The App Store is more than just a marketplace; it is a centralized management system. To install a program, one simply needs to search for the application, click “Get” or the price button, and authenticate via Touch ID or an Apple ID password. The technical advantage here is “sandboxing.” Applications downloaded from the App Store are isolated from the critical components of the macOS operating system. This means that even if an app malfunctions, it is restricted from causing systemic damage or accessing unauthorized user data.
Automatic Updates and Cross-Device Synchronization
One of the most significant benefits of using the App Store is the backend management of software versions. When a developer releases a patch or a new feature, macOS handles the update process quietly in the background. Furthermore, the “Purchased” tab allows users to synchronize software across multiple Mac devices linked to the same Apple ID. This level of integration is a hallmark of the Apple ecosystem, providing a friction-less transition between a desktop iMac and a portable MacBook Pro.
2. Direct Downloads: Navigating DMG and PKG Files
While the App Store is convenient, many professional-grade tools, open-source projects, and niche utilities are distributed directly by developers via their websites. These typically arrive in two formats: DMG and PKG.
The DMG “Drag-and-Drop” Workflow
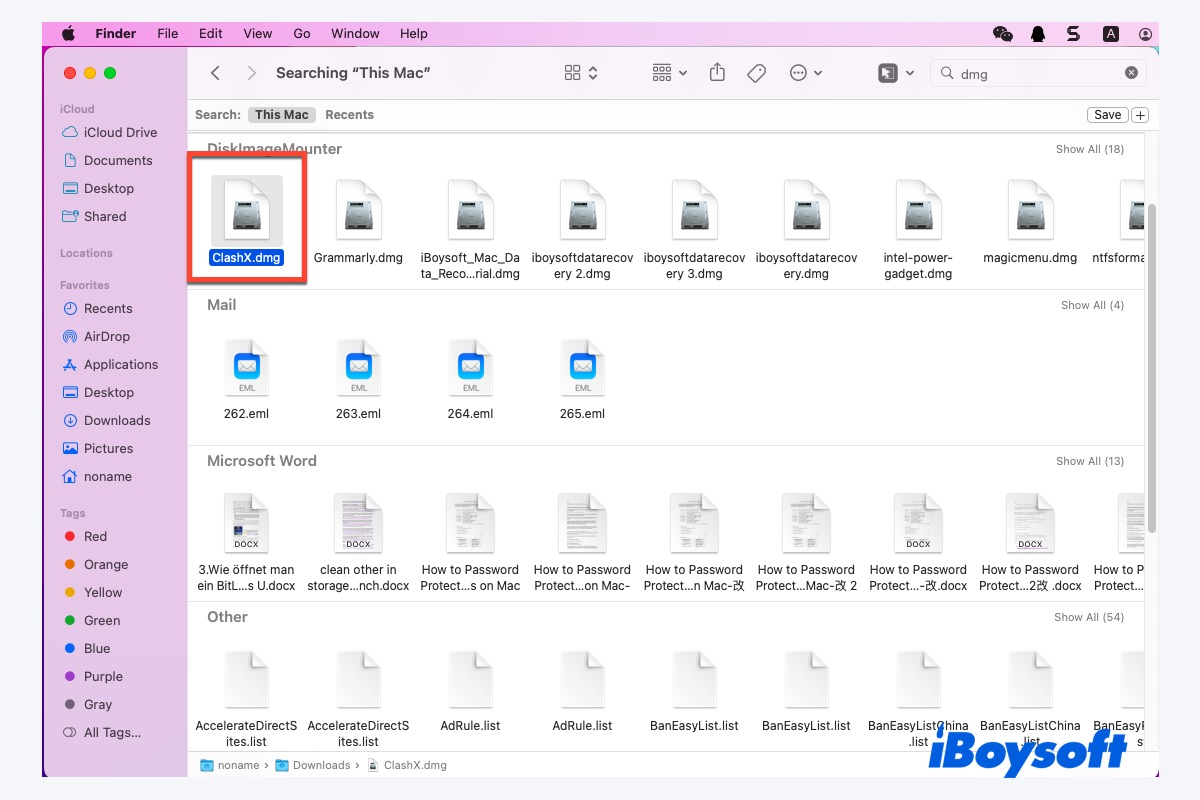
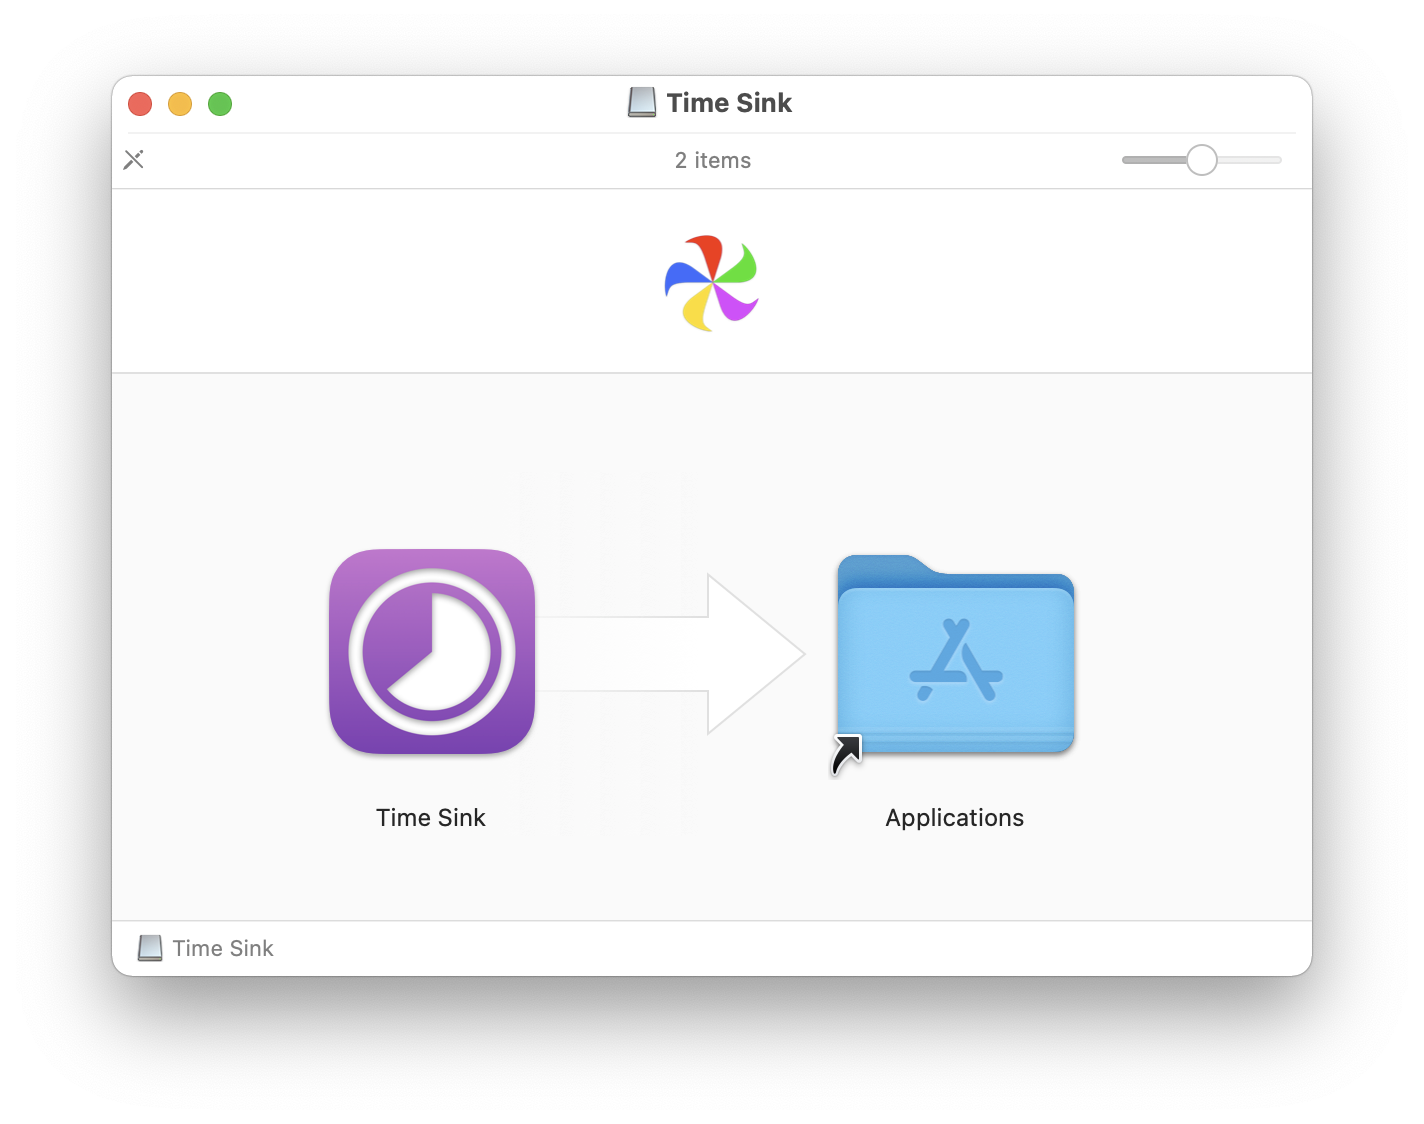
A DMG file is essentially a digital version of a physical disc. When you double-click a DMG file, macOS “mounts” it as a virtual drive on your desktop. Inside, you will usually find the application icon and a shortcut to your “Applications” folder.
Technically, many users make the mistake of running the program directly from the mounted disk image. This is inefficient and can lead to data loss. The correct procedure is to drag the application icon into the Applications folder. This action copies the entire application bundle—which is actually a specialized folder containing all necessary resources—onto your internal storage. Once the copy is complete, you must “eject” the virtual disk to clean up your workspace.
Using PKG Installers for Complex Software
Unlike the simple drag-and-drop nature of DMG files, a PKG file is a “package” that uses a guided installation wizard. These are typically reserved for more complex software suites—such as Adobe Creative Cloud or Microsoft Office—that require system-level permissions or need to install components in multiple directories (like scripts, plugins, or background services).
When running a PKG installer, macOS will often prompt for your administrator password. This is because the installer is writing data to protected areas of the disk. While PKG files offer more flexibility for developers, they require a higher level of trust from the user, as they bypass some of the isolation protocols found in App Store downloads.
3. Gatekeeper and Notarization: The Architecture of Digital Security
A common hurdle for users installing software from the web is the security message: “This app cannot be opened because it is from an unidentified developer.” This is a feature of Gatekeeper, Apple’s built-in security technology designed to ensure that only trusted software runs on your Mac.
Overcoming the “Unidentified Developer” Warning
Apple requires developers to “notarize” their software—a process where Apple scans the code for malicious content before it is distributed. If you attempt to install an older program or an indie utility that hasn’t been notarized, Gatekeeper will block it.
To bypass this safely, you should not simply disable your security settings. Instead, locate the app in your Finder, right-click (or Control-click) the icon, and select “Open.” This triggers a secondary dialogue box that allows you to grant a one-time exception for that specific application. This manual override ensures that you remain the final arbiter of what enters your system.
Best Practices for Software Verification
In an era of sophisticated phishing and malware, verifying the source of your software is paramount. Always ensure you are downloading from the developer’s official domain. Look for HTTPS encryption and, if possible, check the SHA-256 checksum of the download—a digital fingerprint that confirms the file has not been tampered with by a third party.
4. Advanced Installation: Homebrew and the Command Line
For developers, IT professionals, and power users, the graphical user interface (GUI) can sometimes be too slow. This is where the Terminal and package managers like Homebrew come into play.
Introducing Homebrew: The “Missing” Package Manager
Homebrew is a community-driven tool that allows users to install software via the command line. It is particularly useful for installing programming languages (like Python or Ruby), databases, and even standard GUI applications through “Homebrew Cask.”
Once Homebrew is installed, a program can be added to the system with a simple command: brew install [program-name]. The beauty of this method lies in dependency management. If a program requires five other libraries to function, Homebrew will automatically identify, download, and install those dependencies, saving the user from a manual “dependency hell.”
Using the Terminal for Direct Execution
Some specialized tech tools do not come with an installer at all. They might be distributed as binary files or scripts. Installing these involves moving the file to a directory within your system’s “PATH” (such as /usr/local/bin) and potentially changing the file permissions using the chmod command to make it executable. While this requires a deeper understanding of Unix-based systems, it offers a level of control and automation that GUI installers cannot match.
5. Maintenance and Management: Beyond the Installation
Installing a program is only the first step. To maintain a high-performing Mac, one must understand how to manage and eventually remove software properly.
Clean Uninstallation Techniques
On macOS, dragging an app from the Applications folder to the Trash removes the core executable, but it often leaves behind “residue”—support files, caches, and preferences hidden in the ~/Library folder. Over time, this “digital cruft” can accumulate and consume gigabytes of storage.
To ensure a clean uninstallation, tech-savvy users often utilize uninstaller utilities like AppCleaner or PearCleaner. These tools scan the system for all associated files linked to the application bundle, ensuring that when you delete an app, every trace of it is erased.
Managing Startup Items and Background Processes
Many programs, particularly communication tools like Slack or cloud services like Dropbox, configure themselves to launch automatically upon login. While convenient, an excess of startup items can significantly slow down your boot time and consume RAM.
To manage this, navigate to System Settings > General > Login Items. Here, you can toggle which applications are allowed to open at startup and view “Allow in Background” permissions. Managing these settings is essential for maintaining the snappy, responsive feel that macOS is known for, especially on machines with limited unified memory.
Conclusion
Installing a program on a Mac is a task that ranges from the trivial to the highly technical. By mastering the App Store, understanding the mechanics of DMG and PKG files, and respecting the security protocols of Gatekeeper, you can build a software environment that is both powerful and secure. Whether you are a casual user relying on the curated App Store or a power user leveraging Homebrew and the Terminal, the key to a healthy Mac lies in mindful installation and proactive maintenance. As software continues to evolve, staying informed about these fundamental processes ensures that your technology serves you efficiently and safely.
aViewFromTheCave is a participant in the Amazon Services LLC Associates Program, an affiliate advertising program designed to provide a means for sites to earn advertising fees by advertising and linking to Amazon.com. Amazon, the Amazon logo, AmazonSupply, and the AmazonSupply logo are trademarks of Amazon.com, Inc. or its affiliates. As an Amazon Associate we earn affiliate commissions from qualifying purchases.