In the contemporary digital landscape, our reliance on portable hardware has never been higher. From the ultra-thin ultrabooks that facilitate remote work to the specialized uninterruptible power supplies (UPS) that protect our data centers, the battery remains the lifeblood of modern technology. However, as devices become more integrated and compact, the process of “installing a battery” has evolved from a simple snap-in task to a precise technical procedure. Understanding how to correctly install and configure these power cells is essential for maximizing hardware longevity, ensuring device safety, and maintaining peak performance in a tech-driven world.
Understanding the Architecture of Modern Battery Technology
Before picking up a screwdriver, it is vital to understand the technology currently powering our devices. We have moved far beyond the alkaline cells of the past. Today’s tech ecosystem is dominated by Lithium-Ion (Li-ion) and Lithium-Polymer (Li-Po) technologies, which offer high energy density but require specific handling protocols.
The Rise of the Smart Battery System (SBS)
Modern battery installation is not just a physical connection; it is a digital handshake. Most contemporary batteries feature a Battery Management System (BMS). This is a small circuit board integrated into the battery pack that communicates with the device’s logic board. When you install a new battery, you are essentially introducing a new node to the device’s internal network. The BMS monitors voltage, temperature, and cycle counts, providing this data to the operating system to ensure the hardware doesn’t overheat or fail prematurely.
Internal vs. External Configurations
The “Right to Repair” movement has highlighted the shift from user-accessible external batteries to internal, integrated units. External batteries, often found in older ThinkPads or ruggedized laptops, utilize a simple rail-and-lock mechanism. Internal batteries, however, require a deeper understanding of hardware assembly, often involving the removal of the chassis, the management of delicate ribbon cables, and the navigation of proprietary adhesive strips.
Preparing the Digital and Physical Workspace
Successful battery installation in a tech environment requires more than just the replacement part. It requires a controlled environment to prevent damage to sensitive CMOS chips and integrated circuits.
Essential Tools for Tech Hardware
To perform an installation that meets professional standards, you need a specialized toolkit. This typically includes:
- Precision Drivers: Torx (T4, T5) and Pentalobe bits are standard for modern hardware like MacBooks and high-end Windows ultrabooks.
- Spudgers and Opening Tools: Non-conductive nylon tools are necessary to pry open casings without marring the finish or shorting out components.
- ESD (Electrostatic Discharge) Safety Gear: An anti-static mat and wrist strap are non-negotiable. A single static spark can ruin a motherboard during the battery installation process.
Software Pre-Requisites
Before powering down the device for installation, certain digital steps should be taken. Ensure that the device’s BIOS or UEFI is updated to the latest version. Manufacturers often release firmware updates that improve the compatibility and charging algorithms for newer replacement cells. Additionally, performing a full system backup is a critical safety measure, as hardware modification always carries a nominal risk of data loss.
Step-By-Step Technical Installation Procedures
The process of installing a battery varies significantly across different hardware categories. Below are the protocols for the most common tech gadgets.
Installing Internal Laptop Batteries
The most common “pro-sumer” tech task is the internal laptop battery replacement.
- Disassembly: Remove the bottom casing screws, noting that many manufacturers hide screws beneath rubber feet.
- Disconnection: Once the internals are exposed, the very first step—before touching any other component—is to disconnect the existing battery connector from the motherboard. This cuts the power “rails” and prevents accidental shorts.
- Removal: Remove the retaining screws or pull the adhesive “command strips.” If adhesive is used, a small amount of Isopropyl alcohol (90% or higher) can help dissolve the bond safely.
- Seating the New Cell: Align the new battery. Ensure the ribbon cable is not kinked or pinched.
- Reconnection: Plug the battery connector firmly into the socket. You should often feel or hear a tactile “click.”

Battery Installation for UPS and Networking Gear
In a home office or server room, installing a battery into a UPS (Uninterruptible Power Supply) is critical for digital security.
- Hot-Swappable Units: Many enterprise-grade UPS systems allow for “hot-swapping,” meaning you can install the battery while the tech remains powered.
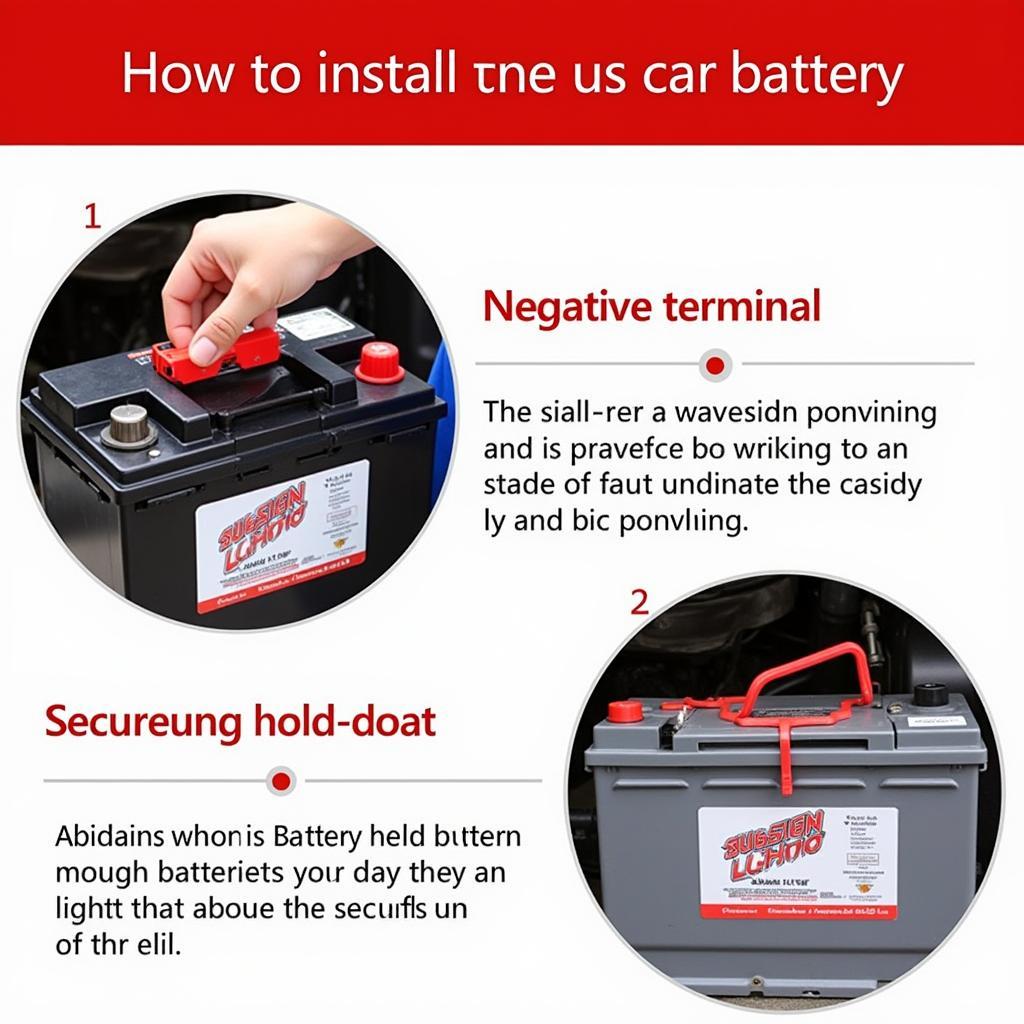
- Terminal Connection: Ensure the positive (red) and negative (black) terminals are connected securely. Loose connections in a high-draw environment like a server rack can lead to arcing and hardware failure.
- Resetting the Runtime: After installation, most UPS systems require a manual “battery constant” reset via the management software to ensure the estimated backup time is accurate.
Dealing with Specialized IoT and Peripheral Devices
For smaller tech like wireless keyboards, mice, or IoT sensors, the installation might involve small Li-Po cells with JST connectors. The key here is polarity. Reversing the connector on a small IoT board can instantly fry the microcontroller.
Post-Installation: Calibration and Software Optimization
Once the physical installation is complete, the job is only half-done. The “Tech” aspect of battery installation involves “teaching” the software how to use the new hardware.
The Calibration Cycle
New batteries often ship in a “hibernation” state or with an inaccurate chemical charge level. To calibrate the new battery:
- Charge the device to 100% and continue charging for at least two extra hours.
- Unplug the device and use it normally until it reaches a low-battery warning or shuts down automatically.
- Charge it back to 100% without interruption.
This process syncs the BMS with the operating system’s battery percentage indicator.
Driver and Firmware Management
In Windows environments, it is sometimes necessary to go into the “Device Manager” and uninstall the “Microsoft ACPI-Compliant Control Method Battery” driver. Upon restarting, the OS will rediscover the newly installed hardware and apply the correct power management profiles. For macOS users, a PRAM/NVRAM reset or an SMC (System Management Controller) reset is often recommended after a battery installation to ensure the system recognizes the new power parameters.
Monitoring Battery Health via Software
To ensure the installation was successful and the part is of high quality, use diagnostic tools.
- Windows: Use the
powercfg /batteryreportcommand in the terminal to view the design capacity versus the full charge capacity. - macOS: Use “System Report” or third-party tools like CoconutBattery to verify the manufacture date and cycle count of the new cell.
Security, Safety, and Longevity in Tech Power Management
Installing a battery is a task that carries inherent risks, both physical and digital. Adhering to professional tech standards ensures these risks are mitigated.
Thermal Management and Physical Safety
A poorly installed battery can become a fire hazard. Ensure that the battery is not bloated or punctured during installation. If a battery does not fit perfectly, do not force it. In the world of tech hardware, a forced fit often leads to a pinched cable, which can cause a thermal event. Ensure there is adequate thermal padding if the original manufacturer included it, as heat is the primary enemy of battery longevity.
The Digital Security of Replacement Parts
In an era of supply chain vulnerabilities, where you source your battery matters. “Smart” batteries contain microcontrollers. Using unverified, third-party batteries in high-security environments can theoretically introduce hardware-level vulnerabilities. Always source batteries from reputable tech vendors or Original Equipment Manufacturers (OEM) to ensure the firmware on the battery’s BMS has not been tampered with.

Environmental Stewardship and the Tech Lifecycle
The final step of any tech installation is the responsible disposal of the old component. Lithium batteries are hazardous waste and contain valuable rare-earth metals. Professional tech hubs should always utilize certified e-waste recycling programs. This not only protects the environment but also supports a circular tech economy where materials can be reclaimed for future hardware generations.
By following these professional protocols—from understanding the BMS architecture to executing a precise physical installation and performing software calibration—you ensure that your technology remains reliable, safe, and efficient. Proper battery installation is more than a repair; it is a critical maintenance skill that extends the lifecycle of our most important digital tools.
aViewFromTheCave is a participant in the Amazon Services LLC Associates Program, an affiliate advertising program designed to provide a means for sites to earn advertising fees by advertising and linking to Amazon.com. Amazon, the Amazon logo, AmazonSupply, and the AmazonSupply logo are trademarks of Amazon.com, Inc. or its affiliates. As an Amazon Associate we earn affiliate commissions from qualifying purchases.