
In today’s hyper-connected world, a stable and reliable network connection is not just a luxury; it’s a necessity. Whether you’re working remotely, streaming your favorite shows, gaming online, or managing your finances, a robust internet connection is paramount. While most modern computers come equipped with integrated network adapters, there are numerous scenarios where installing a new one becomes essential. Perhaps your existing adapter has failed, you need to upgrade to a faster standard, or you’re building a new PC from scratch.
This guide is designed to demystify the process of installing a network adapter, covering everything from identifying your needs to troubleshooting common issues. We’ll navigate through the technicalities, ensuring that even those with limited technical experience can successfully enhance their digital connectivity. Our focus will be on practical steps, clear explanations, and actionable advice, drawing upon the core principles of technology, branding, and even financial efficiency when considering hardware choices.
Understanding Your Networking Needs and Adapter Types
Before diving into the installation process, it’s crucial to understand what kind of network adapter you need and what your current networking landscape looks like. This foundational step ensures you purchase the right hardware and makes the installation smoother.
### Identifying Your Current Network Setup
The first question to ask is: what kind of network are you trying to connect to?
- Wired (Ethernet): If you have an Ethernet cable readily available and your router or modem has an open Ethernet port, a wired connection is generally the most stable and fastest option. This is ideal for stationary devices like desktop computers.
- Wireless (Wi-Fi): For flexibility and mobility, Wi-Fi is the standard. You’ll need to consider the Wi-Fi standard your router supports (e.g., Wi-Fi 4, 5, 6, 6E) to ensure your new adapter can take full advantage of your existing network’s capabilities.
### Types of Network Adapters
Network adapters come in various forms, each with its own advantages and typical use cases.
Internal Network Adapters
These are components that are installed directly inside your computer’s chassis.
- PCIe Network Cards: These are expansion cards that slot into a PCIe (Peripheral Component Interconnect Express) slot on your computer’s motherboard. They are common for desktops and offer excellent performance and connectivity options, including both wired Ethernet and wireless Wi-Fi. For those building a new PC, selecting a PCIe Wi-Fi card can often provide a more integrated and aesthetically pleasing solution than external adapters.
- M.2 Wi-Fi Modules: Increasingly, laptops and some small form-factor desktops use M.2 slots for Wi-Fi modules. These are compact and efficient, often integrated directly into the motherboard or available as add-on cards for specific M.2 slots.
External Network Adapters
These are plug-and-play devices that connect to your computer via an external port, typically USB.
- USB Wi-Fi Adapters: These are the most common type of external adapter. They are incredibly versatile, easy to install, and can be moved between different computers. They are an excellent solution for adding Wi-Fi capabilities to desktops that lack it or for replacing a faulty internal adapter without opening the computer. When choosing a USB Wi-Fi adapter, consider the USB version it uses (e.g., USB 2.0, 3.0, 3.1) as this will impact data transfer speeds. Newer standards like Wi-Fi 6 also have corresponding USB adapters.
- USB Ethernet Adapters: If your computer, particularly a modern ultrabook or tablet, lacks an Ethernet port, a USB-to-Ethernet adapter is a lifesaver for establishing a wired connection.
### Choosing the Right Adapter for Your Needs
When making your selection, consider these factors:
- Speed and Bandwidth: If you have a high-speed internet plan, ensure your network adapter can support it. Look for adapters that support the latest Wi-Fi standards (e.g., Wi-Fi 6/6E) for faster speeds and better performance in congested environments. For Ethernet, ensure it supports Gigabit speeds (10/100/1000 Mbps) or higher if your network infrastructure allows.
- Antenna Configuration (for Wi-Fi): External antennas can significantly improve Wi-Fi signal strength and range. Adapters with multiple antennas (e.g., 2×2, 3×3 MIMO) generally offer better performance.
- Compatibility: Ensure the adapter is compatible with your operating system (Windows, macOS, Linux). Most modern adapters are plug-and-play, but driver support is crucial.
- Brand and Reputation: Just as in the “Brand” section of our website, choosing reputable brands in technology often translates to better product quality, reliable performance, and stronger customer support. Researching reviews and brand reputation can save you headaches down the line.
- Budget: While the cheapest option might seem appealing, consider it an investment in your digital productivity and entertainment. A slightly more expensive adapter that offers better performance and reliability can save you money in the long run by preventing issues and ensuring you get the most out of your internet service. This ties into the “Money” aspect of our website – making smart tech purchases is a form of financial prudence.
Installing Your New Network Adapter: A Step-by-Step Guide
Once you’ve selected the right network adapter, it’s time for installation. The process varies slightly depending on whether you’re installing an internal or external adapter.
### Installing an Internal Network Adapter (PCIe or M.2)
This process requires opening your computer and is best suited for desktop users or those comfortable with hardware.
Preparation is Key

Before you begin, gather the following:
- Your New Network Adapter: Ensure it’s the correct type for your motherboard (PCIe or M.2).
- Screwdriver Set: You’ll likely need a Phillips head screwdriver.
- Anti-Static Wrist Strap (Recommended): This protects your computer’s components from electrostatic discharge.
- User Manual for your Motherboard and Network Adapter: These will provide specific slot locations and installation instructions.
Step-by-Step Installation:
- Power Down and Disconnect: Shut down your computer completely. Unplug the power cord from the wall outlet. For added safety, press and hold the power button for about 10-15 seconds to discharge any residual power.
- Ground Yourself: Wear your anti-static wrist strap and connect it to an unpainted metal part of your computer case. If you don’t have one, touch an unpainted metal part of the case periodically to discharge static electricity.
- Open the Computer Case: Consult your computer or case manual for instructions on how to remove the side panel.
- Locate the Correct Slot:
- For PCIe cards: Look for available PCIe slots on your motherboard. These are typically long slots, often colored differently from the smaller PCI slots. The length of the PCIe slot (e.g., PCIe x1, x16) matters, but most Wi-Fi cards use x1 or x4 slots.
- For M.2 modules: Locate an available M.2 slot. These are small, horizontal slots, often labeled “M.2” on the motherboard.
- Install the Adapter:
- PCIe: Carefully align the network card with the chosen PCIe slot and press down firmly until it’s fully seated. You may hear a click. Secure the card to the computer case using the screw that held the expansion slot cover.
- M.2: Insert the M.2 module into the slot at an angle, then gently push it down and secure it with the small screw provided (usually with your motherboard).
- Connect Antennas (for Wi-Fi cards): If your PCIe Wi-Fi card has external antennas, screw them into the designated ports on the card bracket.
- Reassemble and Reconnect: Carefully replace the computer case side panel. Reconnect the power cord, monitor, keyboard, and mouse.
- Power On: Turn on your computer.
### Installing an External Network Adapter (USB)
This is the simplest method, requiring no tools and minimal technical knowledge.
Step-by-Step Installation:
- Locate a Free USB Port: Find an available USB port on your computer. For best performance, especially with USB 3.0 or higher adapters, use a corresponding USB 3.0 or higher port.
- Insert the Adapter: Plug the USB network adapter into the selected port.
- Install Drivers (if prompted):
- Automatic Installation: Most modern operating systems will automatically detect the new hardware and attempt to install the necessary drivers. You might see a notification indicating that new hardware is being installed.
- Manual Installation: If your operating system doesn’t automatically install drivers, you’ll need to use the driver disc that came with the adapter or download the latest drivers from the manufacturer’s website. Navigate to the manufacturer’s support section, find your specific model, and download the appropriate drivers for your operating system. Run the installer and follow the on-screen prompts.
- Connect to Your Network: Once the drivers are installed, your computer should recognize the new network adapter. You can now connect to your Wi-Fi network as you normally would, or if it’s an Ethernet adapter, plug in your Ethernet cable.
Configuring and Testing Your New Network Adapter
After the physical installation, you’ll need to ensure your operating system recognizes and correctly uses the new adapter.
### Verifying Installation and Driver Status
- Windows:
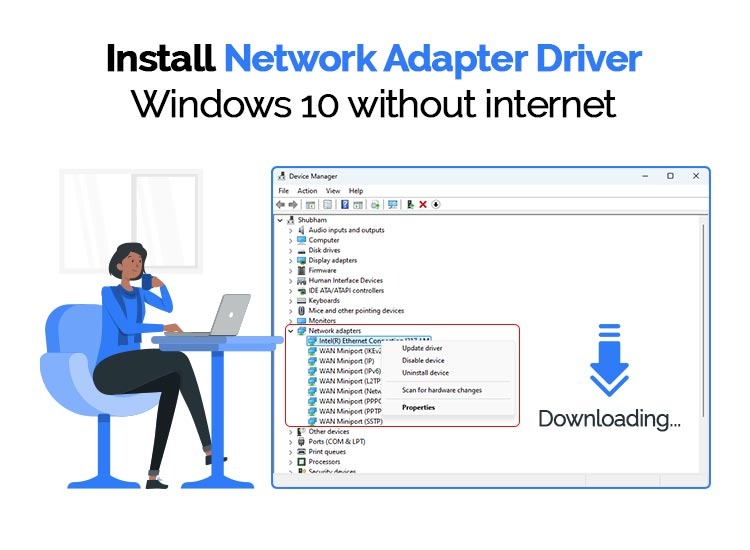
- Right-click the Start button and select Device Manager.
- Expand Network adapters.
- You should see your newly installed network adapter listed. Look for any yellow exclamation marks, which indicate a problem with the driver. If you see one, right-click the adapter, select Update driver, and choose to search automatically for drivers.
- macOS:
- Click the Apple menu and select About This Mac.
- Click System Report.
- Under the Network section, select Wi-Fi or Ethernet (depending on your adapter type). Your adapter should be listed here.
### Connecting to Your Network
- Wi-Fi: Click the Wi-Fi icon in your system tray (Windows) or menu bar (macOS) and select your desired Wi-Fi network. Enter your Wi-Fi password when prompted.
- Ethernet: If you’ve installed a wired adapter and connected an Ethernet cable, your computer should automatically establish a connection.
### Testing Your Connection
- Speed Test: Visit a reliable speed test website (e.g., Speedtest.net, Fast.com) to check your download and upload speeds. Compare these results to your internet service plan to ensure you’re getting the expected performance.
- Browse the Internet: Open a web browser and navigate to a few different websites to confirm general connectivity.
- Streaming/Online Activities: Try streaming a video, playing an online game, or making a video call to test the stability and responsiveness of your connection.
Troubleshooting Common Issues
Even with careful installation, you might encounter minor hiccups. Here are some common problems and their solutions.
### Adapter Not Recognized
- External (USB): Try a different USB port. If the issue persists, restart your computer. Ensure you’ve downloaded and installed the correct drivers from the manufacturer’s website.
- Internal (PCIe/M.2): Ensure the adapter is fully seated in its slot. Check that you’ve reconnected any necessary antenna cables. If using a PCIe card, try a different PCIe slot if available. Re-open the computer and re-seat the adapter.
### No Internet Connection
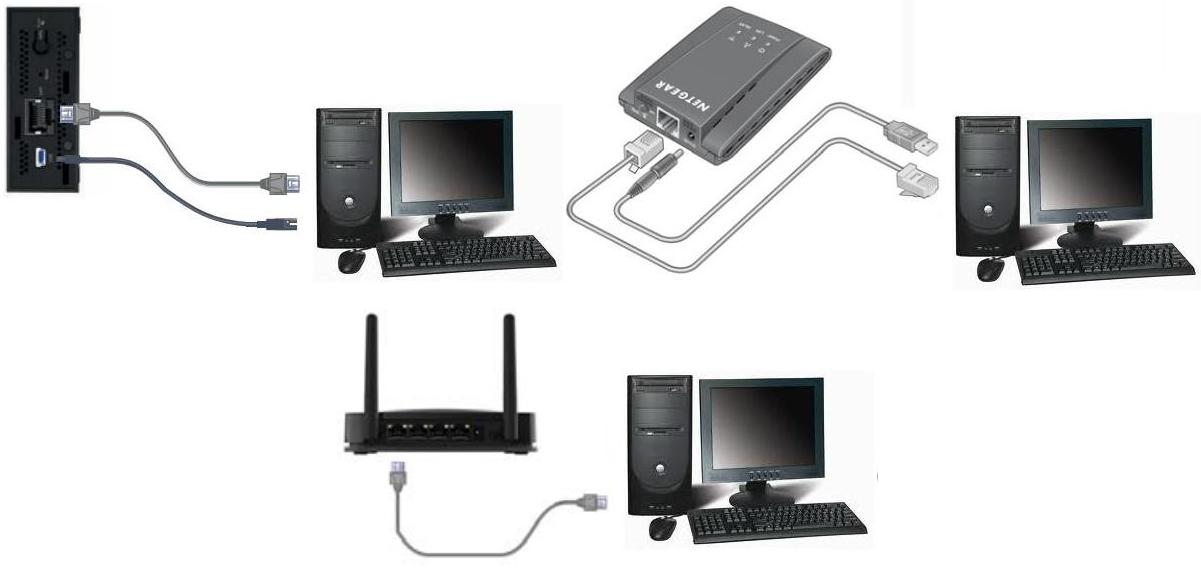
- Check Router/Modem: Ensure your router and modem are powered on and functioning correctly. Try restarting them.
- Wi-Fi Password: Double-check that you’ve entered the correct Wi-Fi password.
- Driver Issues: Reinstall the network adapter drivers. Visit the manufacturer’s website for the latest versions.
- IP Address Conflicts: In rare cases, your computer might not be receiving a valid IP address. You can try resetting your network settings. In Windows, search for “Network reset.”
### Slow or Unstable Connection
- Wi-Fi Signal Strength: For Wi-Fi, ensure you’re within a reasonable range of your router. Obstacles like walls and appliances can degrade the signal. Consider repositioning your router or adapter, or investing in a Wi-Fi extender.
- Driver Updates: Ensure you have the latest drivers installed.
- Network Congestion: If many devices are using your network simultaneously, speeds can decrease.
- Ethernet Cable: For wired connections, try a different Ethernet cable, as damaged cables can cause performance issues.
By following these steps, you can confidently install a network adapter and enjoy a more robust, faster, and reliable internet connection, enhancing your overall digital experience and productivity. Investing in the right hardware and understanding the installation process is a smart move that pays dividends in the long run.
aViewFromTheCave is a participant in the Amazon Services LLC Associates Program, an affiliate advertising program designed to provide a means for sites to earn advertising fees by advertising and linking to Amazon.com. Amazon, the Amazon logo, AmazonSupply, and the AmazonSupply logo are trademarks of Amazon.com, Inc. or its affiliates. As an Amazon Associate we earn affiliate commissions from qualifying purchases.