In the modern digital landscape, physical media like CDs, DVDs, and Blu-rays are rapidly becoming relics of the past. However, the data architecture used to store the information on those discs lives on in the form of ISO files. Whether you are looking to install a new operating system like Windows 11 or Linux, backup a rare software collection, or run high-end applications without a physical drive, understanding how to “install” or utilize an ISO file is a fundamental technical skill.
An ISO file, often called an ISO image, is a perfect “mirror” of an entire optical disc. It is a single file that encompasses every bit of data written on a disc, preserved in a format that computers can read as if a physical disc were inserted into a drive. This guide provides an in-depth exploration of the various methods to handle ISO files, ranging from simple mounting to creating bootable environment media.
Understanding the Architecture and Purpose of ISO Files
Before diving into the “how-to,” it is essential to understand what an ISO file actually is and why it remains a cornerstone of software distribution. The name “ISO” is derived from the ISO 9660 file system used with CD-ROM media, though modern images often use the Universal Disk Format (UDF).
What is an ISO Image?
An ISO image is a sector-by-sector copy of the data on an optical disc. Unlike a simple copy-paste of files from a folder, an ISO captures the file system metadata, boot code, and structure of the original media. This makes it the preferred format for distributing operating systems because it preserves the “bootable” nature of the software. When you download a Windows installer, it comes as an ISO because it contains the hidden instructions necessary for your motherboard to recognize it as a startup tool.
The Advantages of Using ISOs in Modern Computing
The primary advantage of the ISO format is portability. In an era where many laptops lack internal optical drives, the ISO file serves as a virtual bridge. It allows for high-speed data transfer, easy archiving, and the ability to “mount” the file as a virtual drive. Furthermore, ISO files are crucial for virtualization. If you are using software like VMware or Oracle VirtualBox to run a secondary operating system, the ISO file acts as the “installation disc” for your virtual hardware.
ISO vs. Compressed Archives (ZIP/RAR)
A common point of confusion for many users is the difference between an ISO and a ZIP file. While both are single files containing many others, a ZIP file is designed for compression—shrinking data to save space. An ISO is designed for replication—ensuring the structure and bootability of a disc remain intact. You should never “install” an OS from a ZIP file; always look for the ISO format to ensure technical integrity.
Method 1: Mounting ISO Files as Virtual Drives
For many users, “installing” an ISO simply means accessing the files within it to run a setup wizard. This is achieved through a process called “mounting.” Mounting tricks the operating system into believing there is a physical disc drive connected to the computer containing the contents of the ISO.
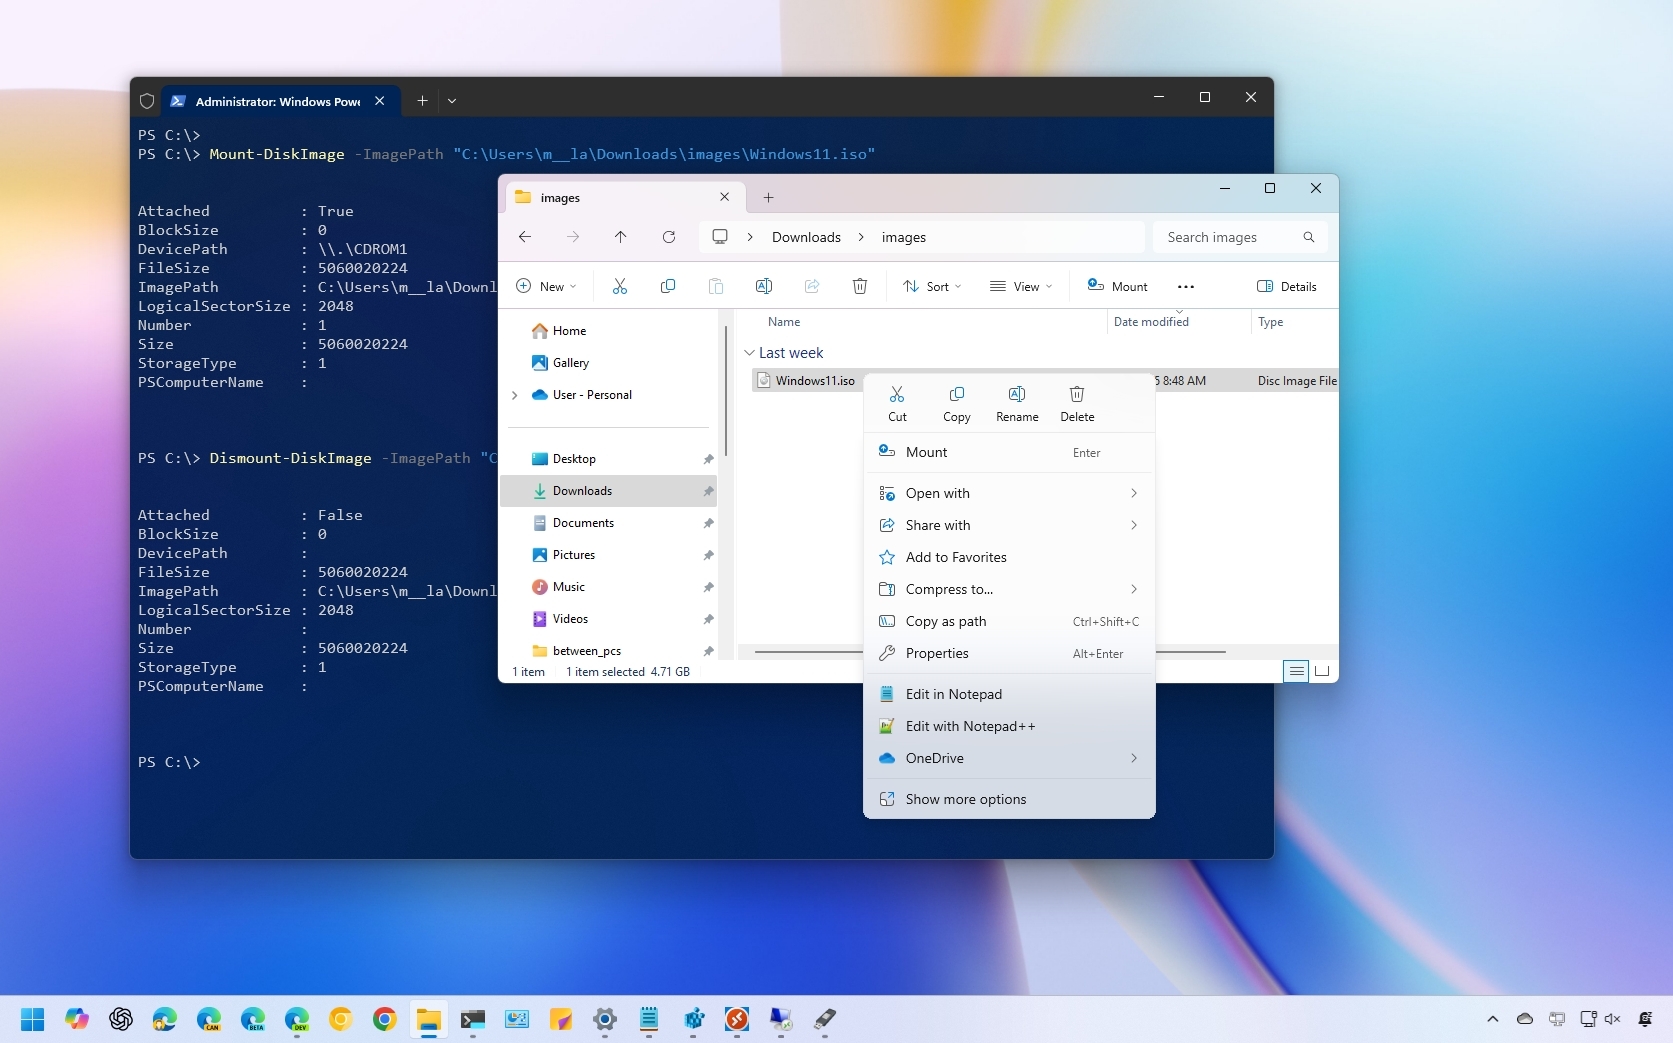
Native Mounting in Windows 10 and 11
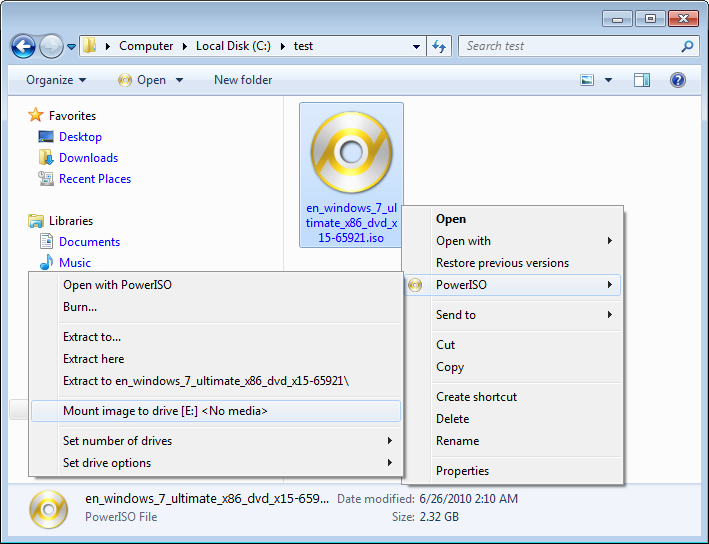
In previous decades, users required third-party software like Daemon Tools or PowerISO to open these files. However, modern versions of Windows have integrated this functionality directly into File Explorer.
- Locate the File: Navigate to the folder where your ISO is stored.
- Right-Click and Mount: Right-click the file and select “Mount.” Alternatively, you can simply double-click the file.
- Access the Virtual Drive: A new drive letter (like D: or E:) will appear in “This PC.” You can now open this drive and run
setup.exeor any other installation file as if you had inserted a physical disc. - Ejecting: Once the installation is complete, right-click the virtual drive and select “Eject” to unmount the file and free up system resources.
Mounting on macOS
Apple’s macOS handles ISO files with similar ease using the Disk Image Mounter.
- Double-Click: Simply double-click the ISO file.
- Desktop Icon: macOS will verify the file and mount it as a new volume on your desktop.
- Install: Open the volume and drag the application to your Applications folder or run the installer package inside.
- Unmount: Drag the mounted volume icon to the Trash (which turns into an Eject icon) to finish.
Third-Party Tools for Advanced Users
While native tools are sufficient for most, tools like WinCDEmu (open source) or Virtual CloneDrive offer advanced features. These are particularly useful if you need to mount multiple ISOs simultaneously or if you are working on an older operating system like Windows 7 that lacks native mounting capabilities.
Method 2: Creating Bootable Media for OS Installation
If your goal is to install an operating system (like Windows or a Linux distribution) on a clean hard drive, mounting the ISO within your current OS will not work. You must create “bootable media”—usually a USB flash drive—that the computer can read during the startup (POST) process.
Using Rufus for Windows Environments
Rufus is widely considered the gold standard for creating bootable USB drives. It is lightweight, fast, and provides granular control over partition schemes.
- Preparation: Insert a USB drive with at least 8GB of space. Note that this process will erase all data on the USB.
- Selection: Open Rufus, select your USB drive under “Device,” and click “Select” to choose your ISO file.
- Partition Scheme: This is a critical step. For modern computers (post-2012), choose GPT and UEFI. For older legacy systems, choose MBR and BIOS.
- Start: Click “Start.” Rufus will format the drive and expand the ISO contents while making the drive bootable.
BalenaEtcher for Cross-Platform Simplicity
If you find Rufus too complex, balenaEtcher is a streamlined alternative that works on Windows, macOS, and Linux. It features a “Flash-Protect” mechanism that prevents you from accidentally wiping your hard drive, making it a favorite for beginners looking to “install” Linux ISOs (like Ubuntu or Mint).
The Boot Process
Once your bootable USB is ready:
- Restart your computer.
- Enter the Boot Menu (usually by tapping F12, F11, or Esc during startup).
- Select the USB drive as the primary boot device.
- The installer contained within the ISO will now launch, allowing you to install the software or OS directly onto your hardware.
Method 3: Using ISO Files in Virtual Environments
In professional tech environments, ISO files are frequently “installed” within Virtual Machines (VMs). This allows developers and IT professionals to test software in a sandbox environment without risking the stability of their primary operating system.
VirtualBox and VMware
When creating a Virtual Machine in software like Oracle VM VirtualBox or VMware Workstation, the software will ask for an “Optical Disk.”
- In the VM settings, navigate to the “Storage” tab.
- Click on the empty optical drive icon.
- Select “Choose a disk file” and point it to your ISO.
- When you “Power On” the virtual machine, it will boot directly from that ISO. This is the most efficient way to “install” an ISO if you only need to use the software temporarily or for testing purposes.
Extracting ISO Contents
If you do not want to mount the file or create a bootable drive, you can treat an ISO like a folder. Using a file archiver like 7-Zip or WinRAR, you can right-click an ISO and select “Extract files.” This is useful if you only need one specific driver or document from inside a large disk image without going through a full installation process.
Ensuring Data Integrity and Security
When dealing with ISO files—especially those containing operating systems—security and integrity are paramount. Because an ISO can contain executable code that runs at a system level, installing a compromised ISO can lead to total system failure or data theft.
Verifying Checksums (SHA-256/MD5)
Most reputable software providers (like Microsoft or various Linux distros) provide a “Checksum” or “Hash” string on their download page. This is a unique alphanumeric fingerprint of the file. After downloading an ISO, you should use a tool like HashCheck or the built-in Windows PowerShell command Get-FileHash to ensure the file hasn’t been tampered with or corrupted during the download. If the hashes don’t match, do not install the file.
Sourcing ISOs Safely
Never download ISO files from unauthorized third-party “mirror” sites or torrents unless you have a way to verify their authenticity. Malicious actors often “slipstream” malware or keyloggers into ISO files of popular software. Always prioritize official sources, such as the Microsoft Media Creation Tool or official Linux mirrors (e.g., Ubuntu.com).
Storage and Maintenance
ISO files can be quite large, often exceeding 5GB. If you maintain a library of ISOs for tech support or software archiving, consider using a dedicated external drive formatted with the NTFS or exFAT file system. The older FAT32 system has a 4GB file size limit, which will cause errors when trying to move or save modern high-capacity ISO images.

Conclusion
Installing an ISO file is a versatile process that depends entirely on your end goal. Whether you are mounting a virtual drive for a quick software installation, creating a bootable USB to revive an old laptop, or deploying a new server in a virtual machine, the ISO format remains the most reliable way to handle disk images. By following the structured methods of mounting, burning, and verifying outlined in this guide, you can navigate the complexities of digital media with professional-grade proficiency. Always remember to verify your downloads and choose the right partition scheme for your hardware to ensure a seamless and secure installation experience.
aViewFromTheCave is a participant in the Amazon Services LLC Associates Program, an affiliate advertising program designed to provide a means for sites to earn advertising fees by advertising and linking to Amazon.com. Amazon, the Amazon logo, AmazonSupply, and the AmazonSupply logo are trademarks of Amazon.com, Inc. or its affiliates. As an Amazon Associate we earn affiliate commissions from qualifying purchases.