Building a new PC is a rewarding experience, but the physical assembly is only half the battle. Once the cables are managed and the side panels are secured, you are left with a powerful machine that, for the moment, is nothing more than a collection of metal and silicon. To bring your hardware to life, you need an operating system (OS). Windows remains the most popular choice for gamers, professionals, and casual users alike due to its vast software compatibility and user-friendly interface.
Installing Windows on a fresh build might seem daunting to the uninitiated, but the process has become significantly streamlined over the years. This guide provides a deep dive into the technical requirements, the preparation of installation media, and the step-by-step configuration needed to get your new system up and running smoothly.
1. Pre-Installation: Hardware Compatibility and Licensing
Before you even plug in your bootable drive, you must ensure your hardware is ready for the specific version of Windows you intend to install. With the release of Windows 11, Microsoft introduced stricter hardware requirements that differ from the legacy standards of Windows 10.
Understanding System Requirements
For a modern Windows 11 installation, your PC must meet several criteria: a compatible 64-bit processor, at least 4GB of RAM, and 64GB of storage. However, the most critical requirements are TPM 2.0 (Trusted Platform Module) and UEFI Secure Boot capability. Most motherboards manufactured after 2018 have these features built-in, but they may need to be enabled in the BIOS settings. If you are installing Windows 10, the requirements are more lenient, but sticking to modern hardware standards ensures a more secure and future-proof environment.
Securing a Windows License
While you can technically install Windows without a product key, you will face “Activate Windows” watermarks and restricted personalization settings. You have two primary options:
- Retail Licenses: These are more expensive but can be transferred to a different PC in the future.
- OEM Licenses: These are tied to the first motherboard they are installed on and are generally cheaper.
Ensure you have your 25-digit product key ready, though you can choose the “I don’t have a product key” option during installation to enter it later.
2. Creating the Windows Installation Media
Since new PCs do not come with an operating system pre-installed, you must create a “bootable” USB flash drive. This drive acts as the bridge between your hardware and the Windows installer.
Using the Media Creation Tool
Microsoft provides a free utility called the Media Creation Tool, available on their official website. To use this, you will need a working computer and a USB flash drive with at least 8GB of space.
- Download the tool for either Windows 10 or Windows 11.
- Run the .exe file and accept the license terms.
- Select “Create installation media (USB flash drive, DVD, or ISO file) for another PC.”
- Choose your preferred language, edition, and architecture (typically 64-bit).
- Select “USB flash drive” and follow the prompts to format the drive and download the necessary files.
Third-Party Alternatives: Rufus
For advanced users who want more control over the installation—such as bypassing Windows 11’s hardware checks or creating a local account by default—Rufus is a powerful alternative. Rufus allows you to take a Windows ISO file and “burn” it to a USB drive with customized parameters, such as switching between GPT (GUID Partition Table) and MBR (Master Boot Record) partition schemes. For modern PCs, GPT is the standard and is required for UEFI-based systems.
3. Configuring the BIOS/UEFI for Booting
With your USB drive prepared, it is time to turn on your new PC. However, the computer needs to be told to look at the USB drive for instructions rather than your empty internal storage.
Accessing the BIOS/UEFI Interface
Immediately after pressing the power button, you must tap a specific key on your keyboard repeatedly. This is usually Delete, F2, F10, or F12, depending on your motherboard manufacturer (e.g., ASUS, MSI, Gigabyte). Once inside the BIOS, you will see a dashboard detailing your CPU temperature, RAM speed, and storage devices.
Modifying the Boot Priority
Navigate to the “Boot” tab or “Advanced” settings. Here, you will find the Boot Priority list. You must move your USB flash drive (often labeled as “UEFI: [USB Drive Name]”) to the #1 position. This ensures that when the computer restarts, it initializes the Windows installer. Before exiting, ensure that Secure Boot is enabled and that the storage controller is set to AHCI or NVMe mode rather than the outdated IDE mode. Save your changes and exit (usually by pressing F10).
4. The Step-by-Step Windows Installation Process
Once the PC restarts, it should load the Windows logo and a setup wizard. This is where the actual software installation occurs.
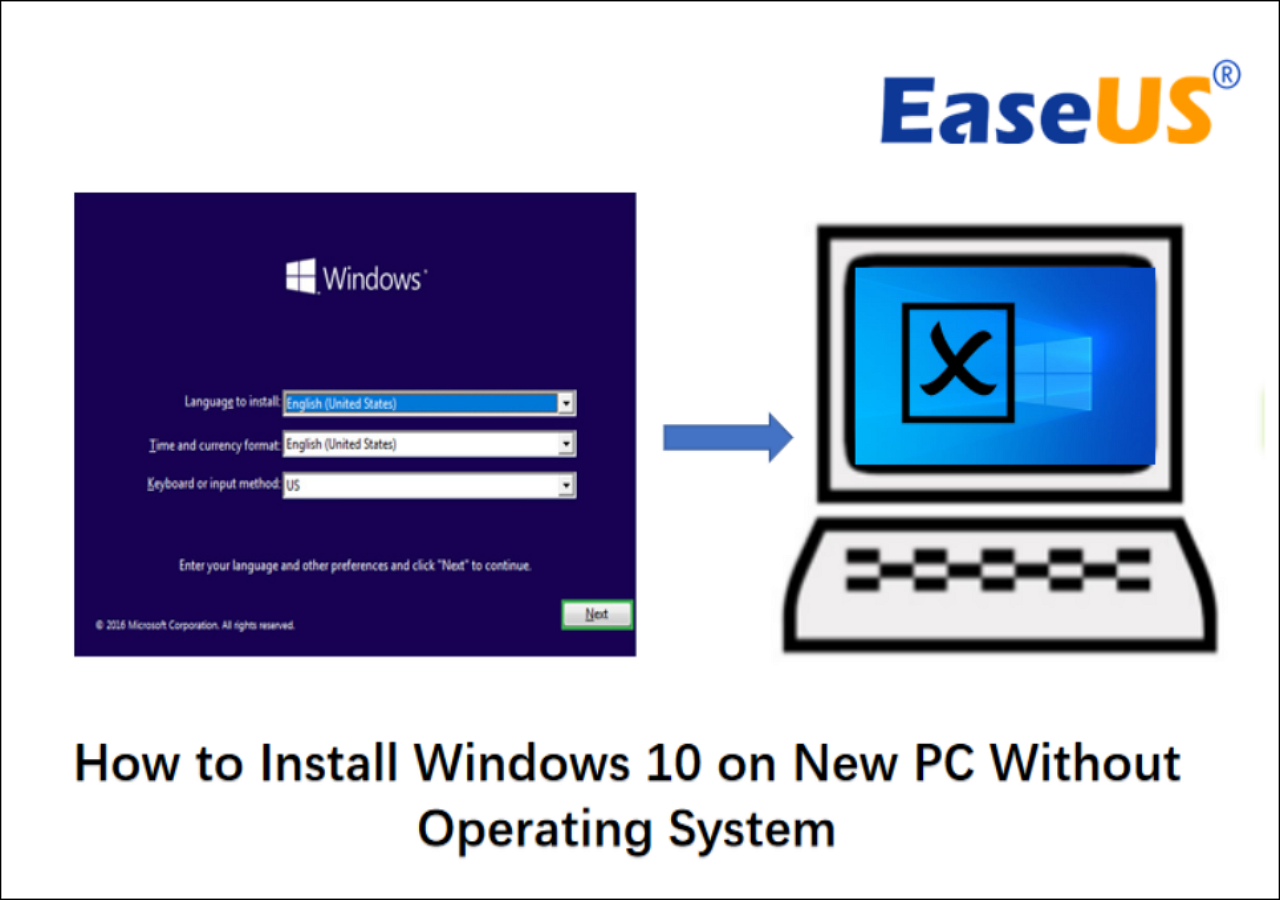
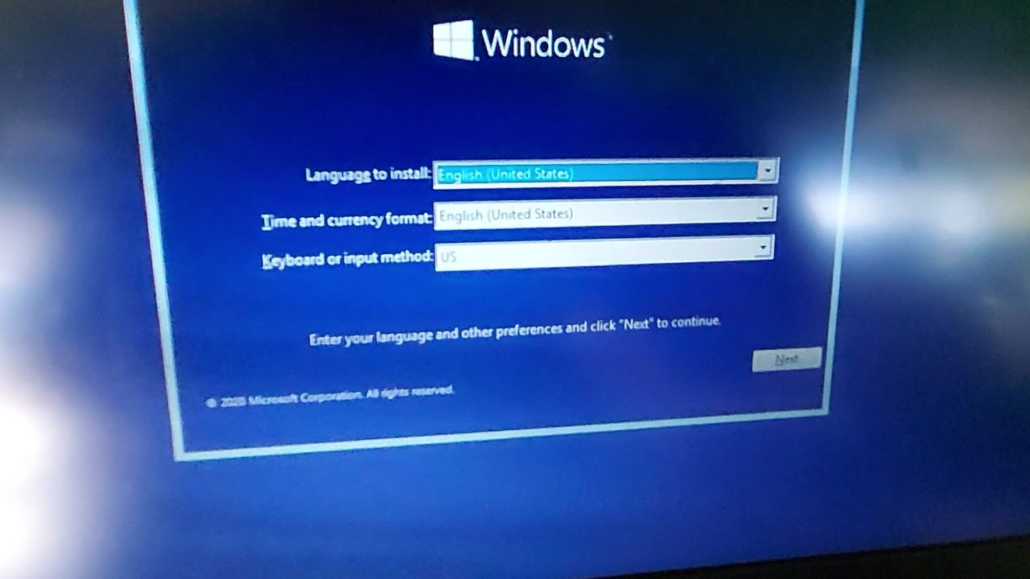
Initial Setup and Disk Partitioning
The first screen will ask for your language, time zone, and keyboard layout. After clicking “Install Now,” you will be prompted for your product key. If you are still waiting for a key, click “I don’t have a product key” to proceed.
When asked “Which type of installation do you want?”, always select “Custom: Install Windows only (advanced)”. This is crucial for a new PC, as there is no existing OS to upgrade. You will then see a list of drives. If your SSD is brand new, it will show as “Unallocated Space.” Select the drive where you want Windows to reside and click “Next.” Windows will automatically create the necessary system partitions (EFI, MSR, and Primary).
The Out-of-Box Experience (OOBE)
The computer will copy files and restart several times. Do not be alarmed if the screen goes black or the PC reboots; this is normal. Once finished, you will enter the Out-of-Box Experience (OOBE).
- Region and Keyboard: Confirm your location and input methods.
- Network Connection: Windows 11 strongly encourages a Microsoft account and an internet connection. If you prefer a local account, there are technical workarounds (like the “OOBEBYPASSNRO” command in the command prompt), but for most users, signing in with a Microsoft account simplifies synchronization and digital licensing.
- Privacy Settings: You will be presented with several toggles for location tracking, diagnostic data, and personalized ads. Review these carefully and toggle off what you do not need.
5. Post-Installation: Drivers and Optimization
Once you land on the desktop, the job isn’t quite finished. To ensure your hardware performs at its peak, you must install the correct drivers and updates.
Windows Update and Hardware Drivers
Windows is surprisingly good at finding basic drivers, but it rarely installs the latest versions. Your first move should be to go to Settings > Windows Update and click “Check for updates.” This will pull in essential security patches and basic hardware drivers.
However, for components like your Graphics Card (GPU), you should go directly to the manufacturer’s website (NVIDIA, AMD, or Intel). Download the latest “Game Ready” or “Studio” drivers to ensure your GPU is utilized correctly. Similarly, visit your motherboard manufacturer’s support page to download the latest Chipset drivers, Audio drivers, and LAN/Wi-Fi drivers. Keeping these updated prevents system crashes and ensures maximum throughput for your components.
Final System Optimization
After drivers are installed, it is time to clean up. Many motherboard manufacturers include “bloatware”—unnecessary software that can slow down your system. Uninstall any trial-ware or utility suites that you don’t plan on using.
Finally, check your Task Manager (Ctrl+Shift+Esc) under the “Startup” tab. Disable any programs that don’t need to run as soon as you turn on your computer. This keeps your boot times fast and your RAM available for heavy tasks like gaming or video editing. If you are using a high-refresh-rate monitor, don’t forget to go to Display Settings > Advanced Display and set your refresh rate to its maximum (e.g., 144Hz or 240Hz), as Windows often defaults to 60Hz.
By following this technical roadmap, you have transitioned from a pile of hardware to a fully functional, optimized digital workstation. Installing Windows is the final bridge in the PC-building journey, setting the stage for everything you intend to create or play on your new machine.
aViewFromTheCave is a participant in the Amazon Services LLC Associates Program, an affiliate advertising program designed to provide a means for sites to earn advertising fees by advertising and linking to Amazon.com. Amazon, the Amazon logo, AmazonSupply, and the AmazonSupply logo are trademarks of Amazon.com, Inc. or its affiliates. As an Amazon Associate we earn affiliate commissions from qualifying purchases.