In the modern era of computing, flexibility is the ultimate currency. Whether you are a system administrator troubleshooting a fleet of corrupted machines, a developer testing software across different environments, or a privacy-conscious traveler who prefers not to leave digital footprints on public computers, the ability to carry a fully functional operating system in your pocket is a game-changer.
Installing Windows on a USB drive—often referred to as creating a “Windows To Go” workspace—allows you to boot and run the Windows operating system directly from an external storage device. This is distinct from a “bootable USB” used merely to install Windows onto a hard drive; this is a live, persistent environment where your files, settings, and applications remain intact. In this comprehensive technical guide, we will explore the prerequisites, the tools required, and the step-by-step methodology to transform a standard USB flash drive into a high-performance portable workstation.

Understanding the Prerequisites and Hardware Requirements
Before diving into the installation process, it is critical to understand that not all USB drives are created equal. Running a complex operating system like Windows 10 or 11 requires significant data throughput. If you attempt this process with a generic USB 2.0 drive, you will likely encounter extreme latency, system freezes, and an overall unusable experience.
Selecting the Right Storage Media
To ensure a smooth experience, you should prioritize a USB 3.0 or 3.1 flash drive with a minimum capacity of 64GB. Ideally, look for drives specifically marketed as “Fixed Disk” types or those with high random read/write speeds. SSDs in an external enclosure (NVMe or SATA) are the gold standard for this task, offering speeds that rival internal drives and ensuring that Windows remains responsive even during heavy multitasking.
Software and System Prerequisites
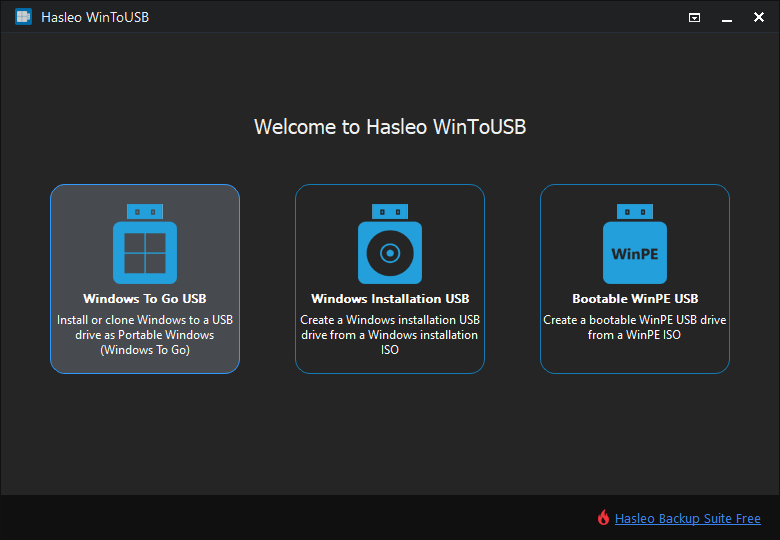
On the software side, you will need a Windows ISO file. This is the disk image containing the operating system files. You can download the latest ISO directly from Microsoft’s official website using the Media Creation Tool. Additionally, since Microsoft has officially deprecated the “Windows To Go” feature for standard users, we must rely on third-party utilities to bridge the gap. Tools like Rufus or Hasleo WinToUSB are the industry standards for this procedure.
BIOS and UEFI Considerations
Before you begin, ensure you understand your target computer’s firmware. Most modern systems use UEFI (Unified Extensible Firmware Interface), while older machines use Legacy BIOS. When configuring your USB drive, you must choose the partition scheme (GPT for UEFI or MBR for Legacy) that matches the hardware you intend to use.
Step-by-Step Installation Using Rufus
Rufus is a lightweight, open-source utility that has become the preferred choice for tech enthusiasts. It simplifies the complex process of making a USB drive “Windows To Go” compatible with just a few clicks.
Preparing the ISO and Rufus Configuration
First, connect your USB drive to your computer and launch Rufus. Under the “Device” dropdown, select your USB drive. Click the “Select” button to locate the Windows ISO file you downloaded earlier. The most crucial step occurs in the “Image option” dropdown menu. Instead of selecting “Standard Windows installation,” you must choose “Windows To Go.” This tells Rufus to extract the OS files in a way that allows them to run directly from the USB.
Partition Schemes and File Systems
For the “Partition scheme,” select GPT if you are using a modern computer with UEFI. If you need maximum compatibility with older machines, MBR may be necessary, though it is becoming increasingly obsolete. Set the “File system” to NTFS, as the FAT32 format cannot handle the large file sizes required by a Windows installation.
Finalizing the Creation Process
Once you click “Start,” Rufus may prompt you to select the specific version of Windows (Home, Pro, or Education) and offer various “Windows User Experience” options. These options allow you to disable data collection, skip the requirement for a Microsoft account, and prevent the OS from accessing internal disks. Once confirmed, the utility will format the drive and begin the extraction process. This can take anywhere from 10 minutes to an hour depending on the speed of your USB drive and the host computer’s interface.

Optimizing the Portable Windows Environment
Once the installation is complete, you aren’t quite finished. A portable OS behaves differently than an installed one, and certain optimizations are required to ensure longevity of the USB hardware and a fluid user interface.
Managing Drivers and Hardware Compatibility
When you boot Windows from a USB on a new piece of hardware, the OS will attempt to detect and install the necessary drivers. To make your USB drive truly universal, it is a professional best practice to carry a “Driver Pack” or a folder containing essential network drivers (Wi-Fi and Ethernet). Without internet access, Windows cannot download updates or specific hardware drivers, which could leave you without a functioning mouse or internet connection.
Performance Tweaks for External Media
Windows is designed with the assumption that it is running on a high-end internal SSD. When running from a USB, you should disable certain features that perform frequent small writes, which can wear out flash memory and slow down the system.
- Disable Search Indexing: This prevents Windows from constantly scanning files.
- Turn off the Page File: If your host machine has enough RAM (8GB+), disabling the virtual memory page file on the USB can significantly reduce lag.
- Disable Hibernation: This saves several gigabytes of space and reduces unnecessary disk writes.
Security and Data Integrity
Since a USB drive is easily lost or stolen, security is paramount. It is highly recommended to enable BitLocker Drive Encryption on your portable Windows installation. This ensures that even if someone gains physical possession of the drive, they cannot access your files without the decryption key. Furthermore, always use the “Safely Remove Hardware” option before unplugging the drive to prevent file system corruption.
Booting and Troubleshooting the USB Installation
The final step in the journey is successfully booting into your new portable environment. This requires a basic understanding of your computer’s boot priority settings.
Accessing the Boot Menu
To boot from the USB, restart your computer and repeatedly press the BIOS/Boot Menu key (usually F12, F2, F10, or Del, depending on the manufacturer). Select your USB drive from the list of bootable devices. If the drive does not appear, you may need to enter the BIOS settings and disable “Secure Boot” or enable “Legacy Support/CSM” if you used the MBR partition scheme.
Handling “Inaccessible Boot Device” Errors
One of the most common issues encountered is the “Inaccessible Boot Device” Blue Screen of Death (BSOD). This typically happens if the USB 3.0 drivers fail to load early enough in the boot process or if there is a conflict between the USB interface and the BIOS settings. Switching the USB drive to a different port (specifically moving from a USB 3.1 port to a USB 3.0 port or vice versa) often resolves this issue.
Updating the Portable OS
Treat your portable Windows drive like a standard computer. Regularly boot into it to run Windows Updates. This ensures that security patches are applied and that the OS remains compatible with newer hardware signatures. However, be cautious with major feature updates (such as moving from one version of Windows 11 to another), as these can sometimes disrupt the “Windows To Go” configuration. It is often safer to back up your data and recreate the drive for major version jumps.
Conclusion: The Power of a Mobile Workspace
Installing Windows on a USB drive is a sophisticated technical task that rewards the user with unparalleled digital mobility. By moving away from the “Standard Installation” mindset and utilizing tools like Rufus to create a “Windows To Go” environment, you unlock a professional-grade tool capable of handling everything from emergency system recovery to secure, remote work.
While the process requires careful attention to hardware selection and partition schemes, the result is a robust, persistent, and secure operating system that fits on a keychain. In an era where the workplace is no longer defined by a specific desk or a single machine, mastering the art of the portable OS is an essential skill for any modern tech enthusiast or professional. Through proper optimization and security practices, your USB-based Windows installation can serve as a reliable secondary workstation for years to come.
aViewFromTheCave is a participant in the Amazon Services LLC Associates Program, an affiliate advertising program designed to provide a means for sites to earn advertising fees by advertising and linking to Amazon.com. Amazon, the Amazon logo, AmazonSupply, and the AmazonSupply logo are trademarks of Amazon.com, Inc. or its affiliates. As an Amazon Associate we earn affiliate commissions from qualifying purchases.