The modern computing landscape is no longer a battle of “either-or.” For developers, cybersecurity enthusiasts, and power users, the choice between Windows and Linux is often a choice to use both. While Windows remains the dominant platform for proprietary software, AAA gaming, and creative suites like Adobe, Linux offers an unparalleled environment for programming, server management, and privacy-centric computing. Combining these two powerhouses on a single machine—a process known as dual-booting—allows users to leverage the strengths of both kernels without the performance overhead of a virtual machine.
However, installing two distinct operating systems on one hard drive requires precision. Missteps can lead to lost data or a broken bootloader. This guide provides a comprehensive, professional walkthrough on how to install Windows and Linux in a dual-boot configuration, ensuring system stability and peak performance.
Preparing Your System: Prerequisites and Pre-Installation Checks
Before diving into the installation, preparation is the most critical phase. Operating systems are jealous of their hardware, and forcing them to coexist requires a neutral ground.
Hardware Requirements and Compatibility
Modern hardware is generally compatible with both Windows 11 and major Linux distributions like Ubuntu, Fedora, or Linux Mint. However, you must ensure your system uses UEFI (Unified Extensible Firmware Interface) rather than the legacy BIOS. UEFI handles multiple boot entries much more gracefully. Additionally, ensure you have at least 100GB of storage space available to give both operating systems room to breathe, though 250GB or more is recommended for a professional workflow.
Backing Up Critical Data
The golden rule of system administration is that any operation involving partition tables carries a risk of data loss. Before proceeding, back up all essential documents, photos, and configurations to an external drive or cloud service. Tools like Windows Backup or third-party solutions like Macrium Reflect are excellent for creating a full system image that can be restored if the installation process goes sideways.
Creating Bootable Media for Both OSs
You will need two separate USB flash drives (at least 8GB each).
- Windows Media: Use the official Microsoft Media Creation Tool to flash the latest Windows ISO onto a USB drive.
- Linux Media: Download the ISO for your chosen distribution. Use a tool like Rufus (on Windows) or BalenaEtcher to create the bootable Linux drive. When using Rufus, ensure you select “GPT” as the partition scheme to match the UEFI standard.
The Windows Foundation: Setting Up Your Primary Partition
In a dual-boot setup, the order of operations matters. It is almost always better to install Windows first. Windows tends to assume it is the only OS on the disk and will often overwrite the bootloader of any existing Linux installation. By installing Windows first, we allow the Linux bootloader (GRUB) to take over later and detect the Windows partition.
Clean Installing Windows
If you are starting from scratch, boot from your Windows USB drive. During the installation, when asked “Where do you want to install Windows?”, delete all existing partitions on your target drive until you have “Unallocated Space.” Select this space and let Windows create its necessary partitions (System Reserved, MSR, and Primary). Follow the prompts to complete the installation, set up your user account, and reach the desktop.
Shrinking Partitions and Creating Unallocated Space
Once Windows is running, you must carve out a “home” for Linux.
- Right-click the Start button and select Disk Management.
- Locate your primary (C:) drive. Right-click it and select Shrink Volume.
- Enter the amount of space you want to dedicate to Linux (e.g., 50,000 MB for ~50GB).
- Once finished, you will see a block of “Unallocated Space” highlighted in black. Do not format this space. Linux will handle the formatting during its own installation.
Disabling Fast Startup and Secure Boot Considerations
Windows utilizes a feature called “Fast Startup,” which is essentially a hybrid hibernation mode. While it speeds up boot times, it “locks” the hard drive, making it inaccessible or read-only to Linux. To disable it, go to Control Panel > Power Options > Choose what the power buttons do and uncheck “Turn on fast startup.” Additionally, while most modern Linux distros support Secure Boot, some users find it easier to disable Secure Boot in the UEFI/BIOS settings to avoid driver signature issues with NVIDIA GPUs or specialized Wi-Fi cards.
Installing Linux: Configuring the Dual-Boot Environment
With Windows settled and a gap in the partition table ready, it is time to introduce Linux. For the purpose of this guide, we will focus on Ubuntu-based installers, as they are the industry standard for dual-booting.
Choosing the Right Distribution
Your choice of “distro” should match your technical needs. Ubuntu is highly recommended for its massive community support and ease of driver installation. Fedora is excellent for those who want the latest “bleeding edge” software, while Linux Mint provides a familiar UI for long-time Windows users. Regardless of the choice, the installation logic remains largely the same.
The Installation Process and Partitioning
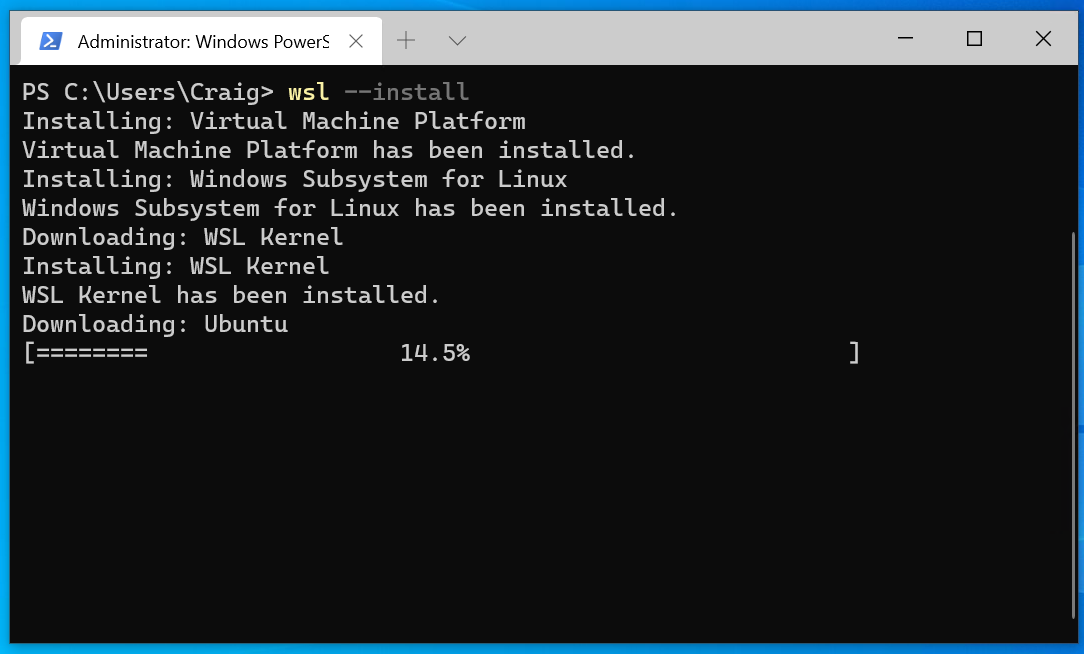
Insert your Linux USB and restart your computer, tapping the F12, F11, or Esc key (depending on your motherboard) to enter the Boot Menu. Select the USB drive. Once the Linux live environment loads, click “Install.”
When you reach the “Installation Type” screen, you have two main paths:
- Install Linux alongside Windows: This is the automated route. The installer will detect the unallocated space and configure everything for you.
- Something Else (Manual Partitioning): For power users, this is preferred. You can manually create a Root (/) partition for the OS (at least 30GB), a Swap partition (equivalent to your RAM size if you use hibernation), and a /home partition for your personal files. This ensures that if you ever need to reinstall Linux, your personal data remains untouched.
Setting Up GRUB: The Bootloader Management
The final step of the Linux installation is installing the bootloader (GRUB). Ensure the installer targets the physical drive (e.g., /dev/sda or /dev/nvme0n1) rather than a specific partition. GRUB is intelligent; it will scan your disk, find the Windows Boot Manager, and create an entry for it. When the installation finishes and you reboot, you will be greeted by a menu asking which OS you want to start.
Post-Installation Optimization: Maximizing Performance Across Platforms
A dual-boot system is functional once it boots, but a professional setup requires optimization to ensure the two systems work in harmony rather than in isolation.
Accessing Windows Files from Linux (NTFS Support)
One of the advantages of Linux is its ability to read and write to Windows NTFS partitions. Most modern distributions come with ntfs-3g or the newer ntfs3 kernel driver. You can “mount” your Windows C: drive within Linux to access documents or media. However, avoid running Windows-installed executable programs from Linux; instead, use this access for data sharing only.
Syncing Time Settings (RTC vs. UTC)
A common “tech gremlin” in dual-booting is the time discrepancy. Windows assumes the hardware clock (RTC) is set to local time, while Linux assumes it is set to UTC. This results in the Windows clock being off by several hours every time you switch back. To fix this, it is best to tell Linux to use local time by running the following command in the Linux terminal:
timedatectl set-local-rtc 1 --adjust-system-clock
This aligns Linux with Windows’ behavior, ensuring your timestamps remain accurate across both environments.
Driver Management and System Updates
In Windows, ensure you install the latest chipset and GPU drivers from the manufacturer’s website. In Linux, use the “Additional Drivers” tool to install proprietary drivers, especially if you have an NVIDIA graphics card. Keeping both systems updated is vital for security, as vulnerabilities in one OS could potentially be exploited to access data on the shared drive.
Troubleshooting and Security: Keeping Your Dual-Boot System Healthy
Even the most stable setups can encounter issues, particularly after major Windows updates which are notorious for resetting the boot priority.
Common Bootloader Issues and Fixes
Sometimes, after a Windows update, the computer will boot directly into Windows without showing the GRUB menu. To fix this, you don’t need to reinstall. Boot back into your Linux Live USB and use a tool called Boot-Repair. It can automatically scan your partitions and reinstall GRUB, restoring the dual-boot menu in minutes. Alternatively, you can use the Windows command prompt (Admin) to set the path back to GRUB using:
bcdedit /set {bootmgr} path EFIubuntugrubx64.efi (the path may vary by distro).
Security Best Practices for a Hybrid Setup
In a dual-boot configuration, the primary security risk is cross-partition access. If Windows is compromised by ransomware, it could potentially encrypt the Linux partitions if they are mounted. To mitigate this, consider using BitLocker for Windows and LUKS for Linux encryption. While this adds complexity to the boot process, it ensures that your data on one OS is shielded from the other in the event of a security breach.
By following this structured approach, you transform a single piece of hardware into a versatile, multi-platform workstation. Dual-booting provides the ultimate tech flexibility, allowing you to switch from a high-stakes gaming session on Windows to a secure, distraction-free coding environment on Linux with a simple reboot. With proper maintenance and partition management, your hybrid system will remain a robust tool for years to come.
aViewFromTheCave is a participant in the Amazon Services LLC Associates Program, an affiliate advertising program designed to provide a means for sites to earn advertising fees by advertising and linking to Amazon.com. Amazon, the Amazon logo, AmazonSupply, and the AmazonSupply logo are trademarks of Amazon.com, Inc. or its affiliates. As an Amazon Associate we earn affiliate commissions from qualifying purchases.