
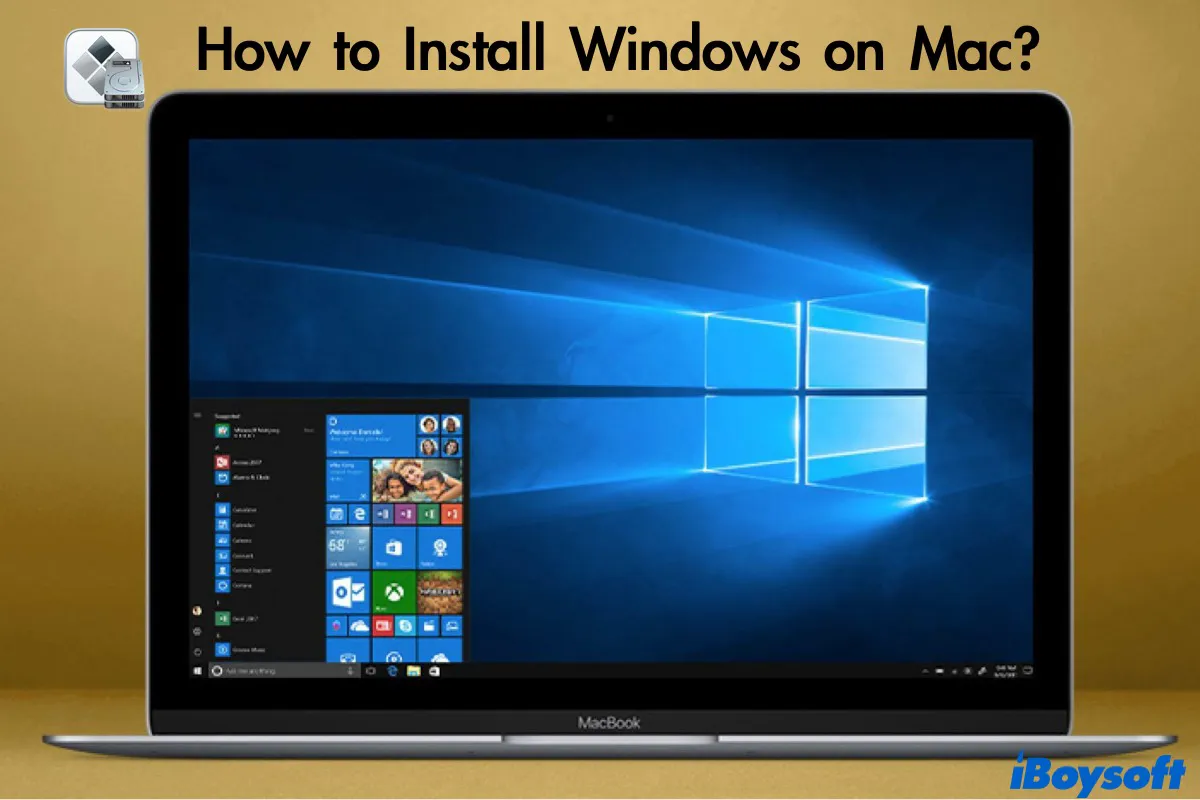
For years, the debate between macOS and Windows has divided the computing world. However, for many professionals, developers, and gamers, the choice isn’t binary. The modern computing landscape often requires the flexibility to run software exclusive to the Windows ecosystem while enjoying the premium hardware and ecosystem of a Mac. Whether you need to run specialized enterprise software, access Windows-only development tools, or play high-end PC games, installing Windows 10 on a Mac is a powerful way to bridge the gap between these two operating systems.
In this guide, we will explore the technical nuances of bringing Windows 10 to your Mac hardware. We will focus on the two primary methods: native installation via Apple’s Boot Camp Assistant and the use of virtualization software.
1. Preparing Your Mac for a Seamless Installation
Before diving into the installation process, it is critical to ensure that your hardware is ready for the transition. Running two operating systems on a single machine is resource-intensive and requires careful preparation to avoid data loss or system instability.
Understanding System Requirements and Compatibility
Not all Macs are created equal when it comes to running Windows. Native installation via Boot Camp is primarily supported on Intel-based Macs. If you are using a newer Mac with Apple Silicon (M1, M2, or M3 chips), the process differs significantly as Boot Camp is not supported; instead, you must rely on virtualization. For Intel-based Macs, you generally need:
- An Intel-based MacBook, iMac, or Mac Mini (2012 or newer).
- At least 64GB of free disk space (128GB is recommended for a smooth experience).
- A 16GB or larger USB flash drive (for older Mac models).
Securing Your Data with Backups
Modifying disk partitions carries inherent risks. Before you begin the installation, perform a full system backup using Time Machine or an external cloning tool like Carbon Copy Cloner. Ensure that your most critical files are synced to a cloud service as an extra layer of redundancy. If an error occurs during the partitioning process, having a verified backup is the only way to ensure you don’t lose years of data.
Acquiring the Windows 10 ISO Image
To install Windows, you need a “Disk Image” (ISO file). You can download the official Windows 10 ISO directly from Microsoft’s website. During the download process, ensure you select the 64-bit version, as macOS has long since abandoned 32-bit architecture. You do not necessarily need a product key to start the installation, but you will eventually need one to activate Windows and access full customization features.
2. Using Boot Camp Assistant for Native Performance
For users who require the maximum performance of their hardware—specifically for gaming or high-end video rendering—Boot Camp is the gold standard. Boot Camp allows Windows to run natively on your Mac’s hardware, meaning it doesn’t share resources with macOS while in use.
Configuring the Partition
Once you have your ISO file, open the “Boot Camp Assistant” found in the Utilities folder of your Mac. The software will guide you through the process of partitioning your solid-state drive (SSD). This step is crucial: you are essentially carving out a permanent space on your drive for Windows.
- Logical Allocation: Use the slider to determine how much space Windows will get. Keep in mind that Windows 10 itself takes up about 20GB–30GB, and you will need additional room for apps and updates.
- The Point of No Return: Once the partition is created, resizing it usually requires deleting the Windows partition and starting over. Therefore, it is wise to allocate more space than you think you need initially.
The Installation Walkthrough
After partitioning, your Mac will restart and boot from the Windows ISO. You will be greeted by the familiar Windows 10 setup screen. Follow the prompts:
- Select your language and keyboard layout.
- When asked for a product key, you can click “I don’t have a product key” to skip this for now.
- Crucial Step: When asked “Where do you want to install Windows?”, select the partition named “BOOTCAMP.” Do not select any other partition, as doing so could overwrite your macOS installation. Click “Format” if prompted, then proceed.
Installing Apple Support Software (Drivers)
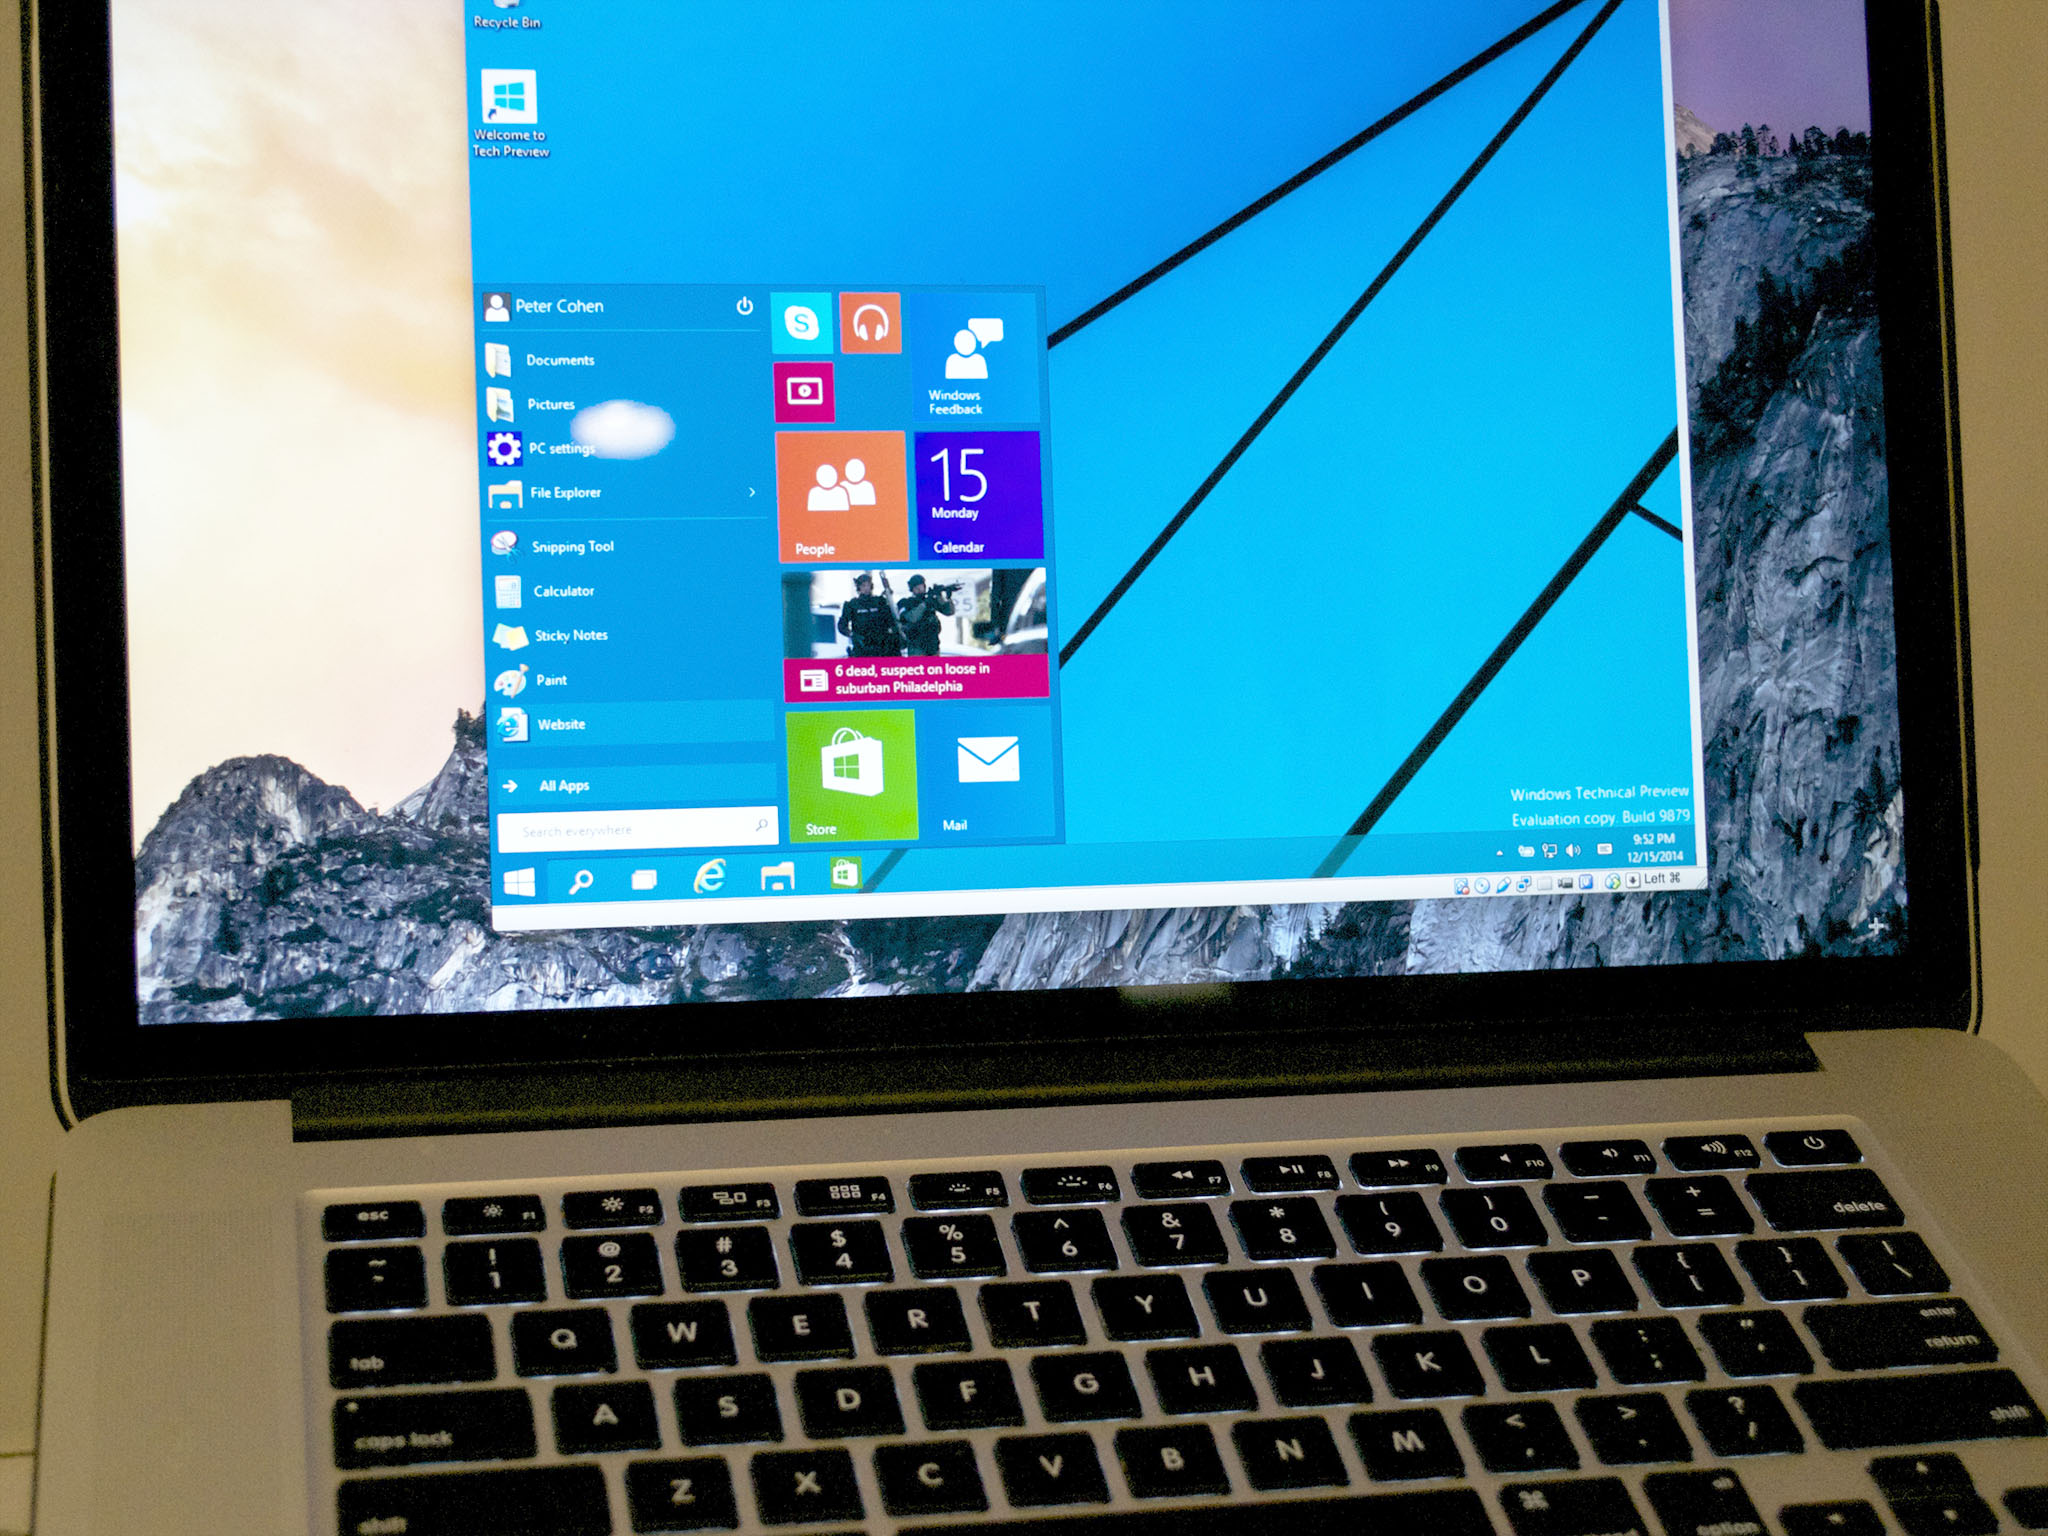
Once Windows 10 boots for the first time, you will notice that certain things—like the trackpad’s right-click, screen brightness, or Wi-Fi—might not work perfectly. This is because Windows needs specific drivers to communicate with Apple’s proprietary hardware.
A Boot Camp installer window should automatically appear on your Windows desktop. Run this installer; it will download and configure the necessary drivers for your graphics card, camera, keyboard, and audio. Once finished, restart the machine, and your Mac will function like a high-end Windows PC.
3. Alternative Approaches: Virtualization and Apple Silicon
While Boot Camp offers the best performance, it requires you to restart your computer every time you want to switch operating systems. For many users, this is an inconvenience. Furthermore, owners of the latest Apple Silicon Macs cannot use Boot Camp at all. This is where virtualization software comes into play.
Parallels Desktop and VMware Fusion
Virtualization apps like Parallels Desktop, VMware Fusion, or the open-source VirtualBox allow you to run Windows as if it were just another app window within macOS.
- Parallels Desktop: This is widely considered the best option for Mac users. On Apple Silicon (M1/M2/M3), Parallels allows you to run the ARM version of Windows 11 (which can emulate Windows 10 apps with high efficiency). It offers “Coherence Mode,” which hides the Windows desktop and lets you run Windows apps side-by-side with Mac apps.
- VMware Fusion: A robust professional choice that is now free for personal use. It offers excellent stability and is favored by IT professionals who need to manage virtual networks.
Comparing Performance: Native vs. Virtual
The choice between Boot Camp and virtualization depends on your specific use case:
- Native (Boot Camp): Best for gaming, 3D modeling, and CAD software. Since Windows has direct access to the GPU and CPU, there is zero overhead.
- Virtualization: Best for productivity tools, such as Microsoft Excel (for Windows-specific macros), tax software, or lightweight development. The trade-off is that because you are running two operating systems simultaneously, your RAM and CPU are split between them. If your Mac has only 8GB of RAM, virtualization may feel sluggish.
Windows on ARM: The New Frontier
For users on the newest Macs, you must install the ARM-based version of Windows. While this is technically different from the standard x86 Windows 10, Microsoft has built-in emulation that allows the majority of standard Windows apps to run seamlessly. This is the only official way to experience Windows on the latest MacBook Pro or MacBook Air models.
4. Optimizing and Troubleshooting Your Windows Environment
Once Windows 10 is up and running, there are several technical optimizations you should perform to ensure the software plays nicely with Apple’s hardware in the long run.
Managing System Resources and Updates
Windows 10 is notorious for background updates that can throttle performance. In a Boot Camp environment, ensure you run “Apple Software Update” within Windows regularly. This tool specifically updates the drivers that Apple provided. Simultaneously, keep Windows Update current to patch security vulnerabilities.
If you are using virtualization, go into the settings of your VM (Virtual Machine) and manually allocate at least 4 CPU cores and 8GB of RAM (if your hardware allows) to ensure Windows doesn’t “stutter” during heavy tasks.
Handling Thermal Management
Macs are designed with specific thermal profiles optimized for macOS. When running Windows 10, especially during gaming, you might find that the fans spin much louder or the device runs hotter. This is because Windows power management isn’t always as efficient as macOS. Using a utility like “Macs Fan Control” on the Windows side can help you manually adjust fan speeds to keep the hardware cool during intensive sessions.
Solving Common Audio and Connectivity Issues
A common technical hurdle after installation is the loss of Bluetooth connectivity or “crackling” audio. This is almost always a driver conflict. To fix this:
- Right-click the Start button and open Device Manager.
- Look for any items with a yellow exclamation mark.
- Right-click the item, select Update Driver, and point it to the “WindowsSupport” folder created during your initial Boot Camp setup.
For Bluetooth issues, ensuring that “Fast Boot” is disabled in Windows Power Settings often resolves the problem, as it prevents the hardware from being “locked” by one OS when you switch to the other.
5. Conclusion: Choosing the Right Path for Your Workflow
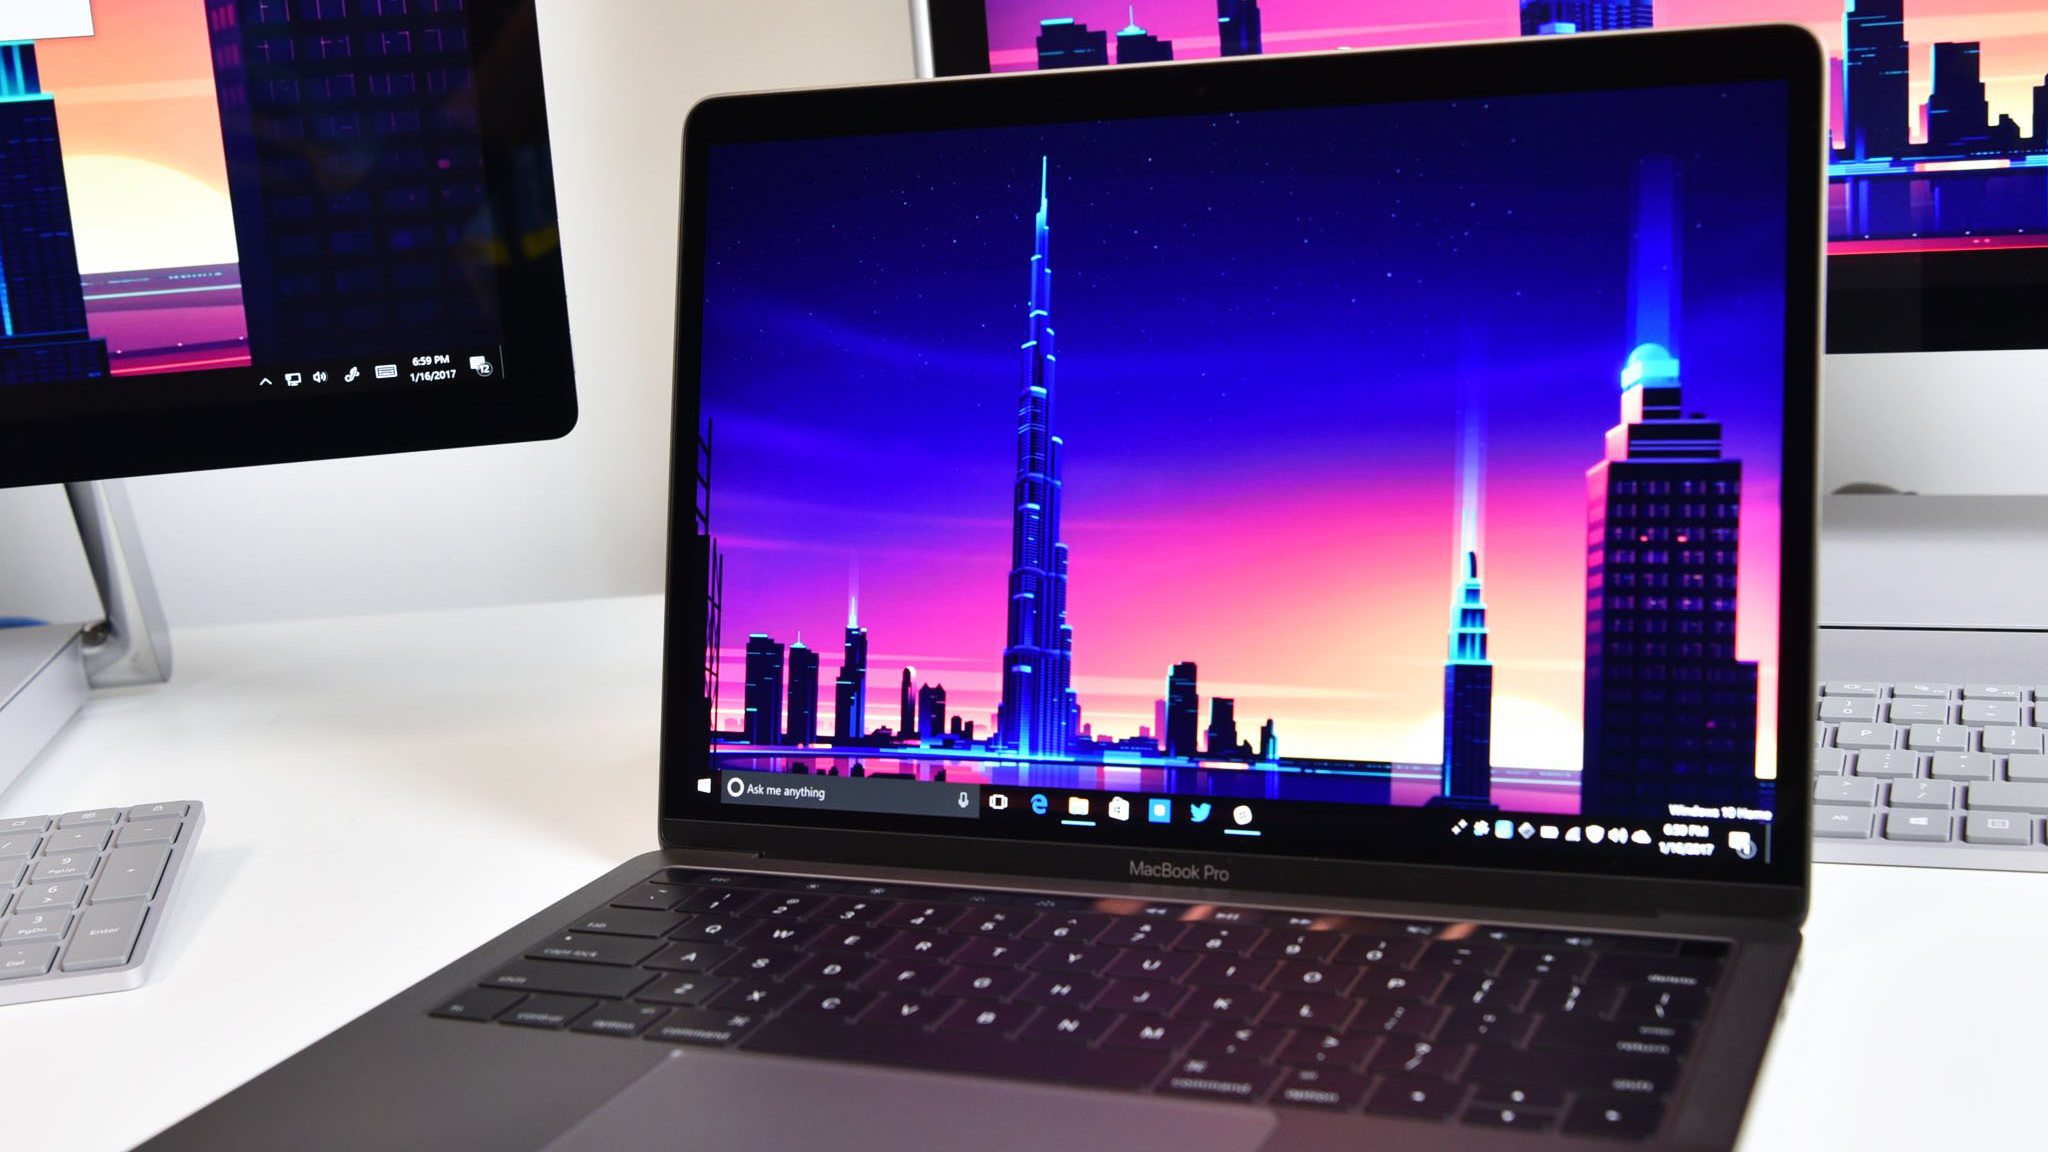
Installing Windows 10 on a Mac is a transformative process that turns a specialized machine into a versatile powerhouse. The path you choose depends entirely on your hardware and your performance needs.
If you own an Intel Mac and need every ounce of power for gaming or professional rendering, Boot Camp Assistant remains the most effective method. It provides a clean, native environment that treats your Mac like the high-performance PC it is. However, if you value convenience and the ability to drag and drop files between macOS and Windows, or if you have transitioned to the Apple Silicon ecosystem, virtualization through Parallels or VMware is the modern, sophisticated solution.
By following the steps outlined—from meticulous backup and partitioning to driver optimization—you can enjoy a stable, dual-OS environment. In the modern tech world, you no longer have to choose between the elegance of macOS and the massive software library of Windows 10; with the right technical approach, you can truly have both.
aViewFromTheCave is a participant in the Amazon Services LLC Associates Program, an affiliate advertising program designed to provide a means for sites to earn advertising fees by advertising and linking to Amazon.com. Amazon, the Amazon logo, AmazonSupply, and the AmazonSupply logo are trademarks of Amazon.com, Inc. or its affiliates. As an Amazon Associate we earn affiliate commissions from qualifying purchases.