
The allure of a Chromebook lies in its simplicity, cloud-centric approach, and affordability. For many, it’s the perfect device for web browsing, document editing, and light productivity. However, the ecosystem’s inherent limitations, particularly its reliance on web apps and Android applications, can be a hurdle for users who require the full power and versatility of a desktop operating system. This is where the question arises: can you install Windows 10 on a Chromebook? The answer, while not as straightforward as installing Windows on a traditional PC, is a resounding yes, with certain caveats. This comprehensive guide will walk you through the process, explore the implications, and help you determine if this endeavor is the right choice for your specific needs.
The desire to run Windows 10 on a Chromebook often stems from a need for specific software that isn’t available on Chrome OS. Whether it’s professional design applications, specialized development tools, or even certain PC games, these applications can be deal-breakers for users who are otherwise content with their Chromebook. While Chrome OS has expanded its capabilities with Linux app support and improved Android app integration, it still doesn’t fully bridge the gap for all Windows-exclusive software. Installing Windows 10 offers a potent solution, transforming your lightweight Chromebook into a more robust computing platform. However, it’s crucial to understand that this process is not officially supported by Google or Microsoft, and it requires a degree of technical proficiency and a willingness to potentially void warranties.
Understanding the Implications: Why Install Windows 10 on a Chromebook?
Before diving into the technicalities, it’s essential to grasp the fundamental reasons why someone would undertake this modification and what the potential downsides are. Chromebooks are designed with Chrome OS as their core operating system, and this is where their strengths lie. They are optimized for speed, battery life, and a secure, simplified user experience. When you opt to install Windows 10, you are essentially replacing that optimized experience with a more resource-intensive and versatile operating system.
The Advantages of a Dual Boot or Full Windows Installation
The primary motivation for installing Windows 10 on a Chromebook is software compatibility. Many professionals and hobbyists rely on applications that are exclusively developed for Windows. This can include:
- Professional Software: Adobe Creative Suite, AutoCAD, specialized engineering or scientific software.
- Development Tools: Certain Integrated Development Environments (IDEs) or specific programming languages and frameworks that have better support on Windows.
- Gaming: While cloud gaming services are evolving, a full Windows installation opens the door to a vast library of PC games that aren’t available on Chrome OS.
- Legacy Applications: Some users may have critical applications that are no longer supported on modern operating systems but are still essential for their workflow.
Beyond software, a Windows installation can also offer a more familiar computing environment for users accustomed to the Windows interface. This can simplify the transition for those who are used to a traditional desktop experience and find Chrome OS’s web-centric approach restrictive.
Furthermore, depending on the Chromebook’s hardware, installing Windows could potentially offer enhanced hardware utilization for certain tasks. While Chromebooks are generally not built for high-performance computing, a full Windows installation might allow certain hardware components to be accessed and utilized more effectively by Windows-specific drivers, leading to better performance in specific use cases.
The Trade-offs: What You Might Lose
It’s not all sunshine and roses. Installing Windows 10 on a Chromebook comes with significant trade-offs:
- Warranty Voiding: This is a major concern. Modifying your Chromebook’s firmware and operating system to install Windows will almost certainly void any manufacturer warranty.
- Performance Limitations: Chromebooks are typically built with lower-power processors and less RAM than standard Windows laptops. While they excel at Chrome OS tasks, running Windows 10, especially with demanding applications, can lead to sluggish performance. The experience might not be as smooth or responsive as on a dedicated Windows machine.
- Driver Compatibility: Finding and installing compatible drivers for all of your Chromebook’s hardware (Wi-Fi, Bluetooth, trackpad, keyboard, audio, webcam) can be a challenge. Some components might not have Windows drivers available, rendering them unusable. This is a common stumbling block, and the quality of the Windows experience heavily depends on driver support.
- Battery Life Degradation: Windows 10 is generally more power-hungry than Chrome OS. You can expect a noticeable decrease in battery life when running Windows on your Chromebook.
- Complexity and Risk: The installation process is not plug-and-play. It involves several technical steps, including disabling write protection, flashing custom firmware (in some cases), and partitioning the drive. Mistakes can lead to an unbootable device, requiring more advanced recovery methods.
- Loss of Chrome OS Features: You will no longer have access to the streamlined Chrome OS environment, its automatic updates, and its seamless integration with Google services.
Methods for Installing Windows 10 on a Chromebook
There are generally two primary approaches to installing Windows 10 on a Chromebook: a dual-boot setup and a full Windows installation. The best method for you will depend on your Chromebook’s hardware, your technical comfort level, and your specific needs.
Dual-Booting: The Flexible Approach
Dual-booting allows you to have both Chrome OS and Windows 10 installed on your Chromebook, giving you the flexibility to choose which operating system to boot into at startup. This is often preferred as it allows you to retain the benefits of Chrome OS for everyday tasks while having Windows available for specific applications.
The dual-boot process typically involves:
- Enabling Developer Mode: This is a prerequisite for most modifications on a Chromebook. It involves a specific key combination during boot-up and a powerwash (data wipe).
- Disabling Write Protection: Chromebooks have hardware write protection to prevent unauthorized firmware modifications. You’ll likely need to physically remove a screw from the motherboard or use a software method to disable this. This is a hardware intervention and requires opening your Chromebook.
- Flashing Custom Firmware (Optional but often Recommended): For a smoother dual-boot experience, it’s often recommended to flash custom firmware, such as UEFI firmware, which provides better compatibility with Windows. Projects like MrChromebox.tech offer scripts and firmware for many Chromebook models.
- Partitioning the Storage: You’ll need to create a separate partition on your Chromebook’s internal storage for Windows 10. This is typically done from within Chrome OS or a bootable Linux environment.
- Creating a Bootable Windows 10 USB Drive: You’ll need a USB drive with the Windows 10 installation media.
- Installing Windows 10: Boot from the USB drive and follow the standard Windows 10 installation prompts, ensuring you select the correct partition.
- Installing Drivers: This is the most critical and potentially challenging step. You’ll need to find and install drivers for all your Chromebook’s hardware components to function correctly in Windows.
Full Windows Installation: The Dedicated Experience
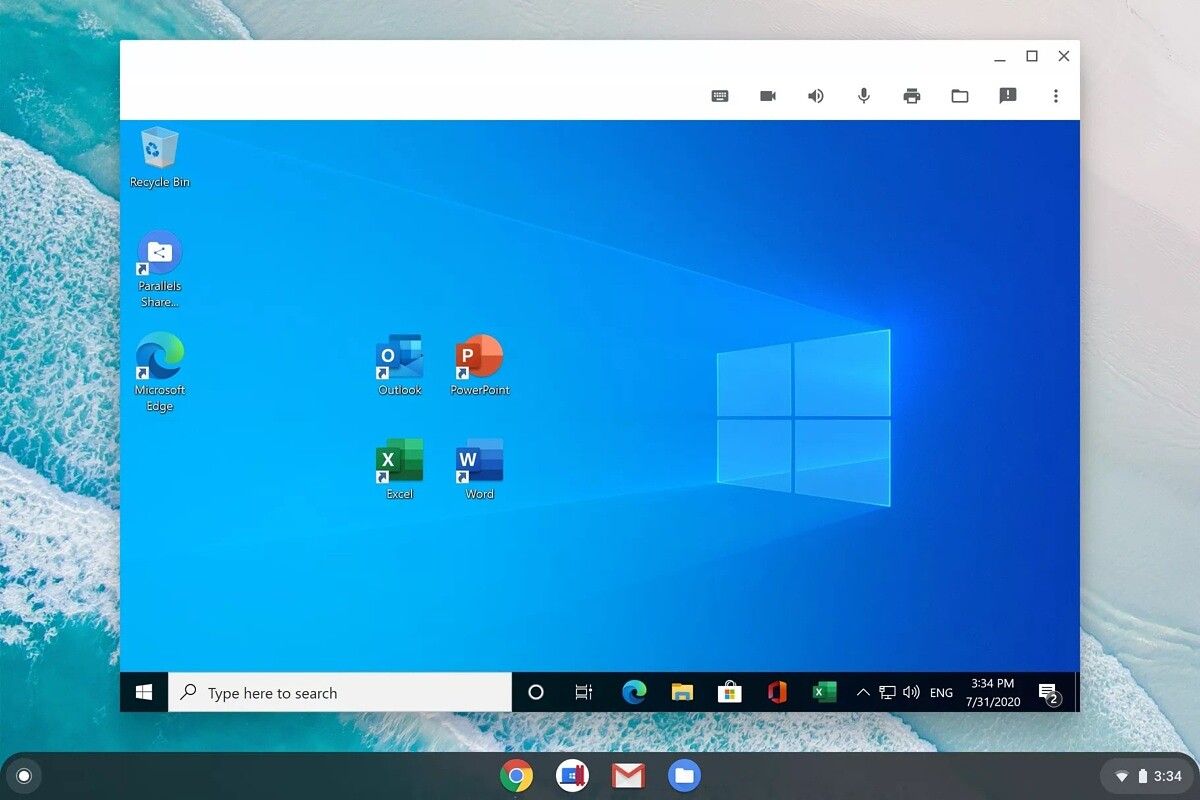
A full Windows installation means replacing Chrome OS entirely with Windows 10. This approach is simpler in terms of partitioning as you’ll be using the entire drive for Windows. However, it means you lose Chrome OS permanently unless you reinstall it.
The steps are largely similar to dual-booting, with the key difference being that you will format and install Windows on the entire drive, effectively removing Chrome OS.
Important Considerations for Both Methods:
- Chromebook Model Compatibility: Not all Chromebooks are created equal, and compatibility with Windows 10 varies significantly by model. Older or less powerful models may struggle, and some hardware components might never get proper driver support. Research your specific Chromebook model extensively before starting. Websites like the GalliumOS wiki (even though GalliumOS is Linux, it often lists hardware compatibility for alternative OSes) and community forums are invaluable resources.
- Storage Space: Windows 10 itself requires a significant amount of storage space, and installing applications will consume even more. Ensure your Chromebook has sufficient internal storage (64GB or more is highly recommended) or that you plan to use external storage extensively.
- CPU Architecture: Most modern Chromebooks use ARM-based processors, which are not compatible with standard x86 versions of Windows 10. You will need a Chromebook with an x86-based processor (Intel or AMD) to install the typical Windows 10. There are ways to run Windows on ARM, but it’s a more complex and limited experience.
The Step-by-Step Installation Process (General Outline)
This section provides a generalized outline of the process. It is crucial to find specific, detailed guides for your exact Chromebook model. Generic instructions can lead to errors.
Step 1: Preparation and Backups
- Back up your data: This process will wipe your Chromebook’s storage. Ensure all important files, documents, and photos are backed up to an external drive or cloud storage.
- Gather your tools: You will need a USB drive (8GB or larger) for the Windows 10 installation media, and potentially another USB drive for drivers or bootable utilities. A USB keyboard and mouse can be helpful, especially if your Chromebook’s trackpad drivers are problematic initially.
- Research your Chromebook model: Identify the CPU architecture (x86 is necessary for standard Windows 10), check for UEFI compatibility, and search for community guides specific to your model. MrChromebox.tech is an excellent starting point for firmware and compatibility information.
Step 2: Enabling Developer Mode and Disabling Write Protection
- Enter Recovery Mode: Typically by holding down the
Esc+Refreshkeys and pressing thePowerbutton. - Enable Developer Mode: Follow the on-screen prompts. This will perform a powerwash, erasing all local data.
- Disable Hardware Write Protection: This usually involves opening your Chromebook and removing a specific screw from the motherboard. Consult a guide specific to your model for precise instructions. Some newer Chromebooks might offer software-based write-protection disabling, but this is less common.
Step 3: Flashing Custom Firmware (Recommended)
- Boot into Chrome OS: After enabling developer mode.
- Access the Chrome OS Shell: Press
Ctrl+Alt+Tto open a Crosh terminal, then typeshelland press Enter. - Download and Run the MrChromebox Firmware Utility Script: This script can help you flash custom UEFI firmware, which is crucial for booting Windows. Follow the on-screen instructions carefully. Be absolutely certain you are using the correct script for your device.
Step 4: Preparing and Installing Windows 10
- Create a Bootable Windows 10 USB Drive: Use the Media Creation Tool from Microsoft on another Windows PC to download the latest Windows 10 ISO and create a bootable USB drive.
- Partition Your Chromebook’s Storage: This can be done using a live Linux USB drive or by using Windows installation tools if your firmware supports it. You’ll need to create a partition for Windows and potentially a smaller one for EFI.
- Boot from the Windows 10 USB Drive: Restart your Chromebook and use the custom firmware’s boot menu (often accessed by pressing a specific key like
EscorF2during boot) to select your Windows 10 USB drive. - Install Windows 10: Follow the standard Windows installation process. When prompted to choose an installation type, select “Custom: Install Windows only (advanced)”. Choose the partition you created for Windows and proceed with the installation.
Step 5: Installing Drivers and Post-Installation Setup
- Install Essential Drivers: After Windows is installed, you’ll likely have a very basic display and potentially no Wi-Fi or audio. You’ll need to find drivers for your specific Chromebook model. Search online communities and manufacturer support pages (though direct Chromebook driver support for Windows is rare). Some common sources for drivers include Chrome OS driver repositories that have been adapted for Windows, or generic drivers that might work.
- Install Windows Updates: Once you have basic connectivity, run Windows Update to install the latest patches and security updates.
- Configure Settings: Adjust display resolution, audio settings, power options, and other preferences to optimize your Windows 10 experience.

Final Thoughts: Is Installing Windows 10 on a Chromebook Right for You?
The decision to install Windows 10 on a Chromebook is a significant one, fraught with technical challenges and potential drawbacks. It’s a project best suited for tech-savvy individuals who understand the risks involved and are willing to troubleshoot extensively.
If your primary goal is to run specific Windows applications and you’re comfortable with the potential for performance limitations, driver issues, and the possibility of voiding your warranty, then this transformation might be a rewarding endeavor. It can breathe new life into an otherwise limited device, turning it into a more versatile computing tool.
However, if you are looking for a seamless, plug-and-play experience, or if your Chromebook is a critical device for work or study where stability is paramount, then sticking with Chrome OS or investing in a dedicated Windows laptop is likely the more prudent choice. The world of Chromebooks is evolving, and with the increasing capabilities of Chrome OS, web apps, and Android applications, many users find that their Chromebooks are more than capable of handling their daily computing needs without the complexities of a Windows installation. Always weigh the benefits against the potential pitfalls before embarking on this advanced modification.
aViewFromTheCave is a participant in the Amazon Services LLC Associates Program, an affiliate advertising program designed to provide a means for sites to earn advertising fees by advertising and linking to Amazon.com. Amazon, the Amazon logo, AmazonSupply, and the AmazonSupply logo are trademarks of Amazon.com, Inc. or its affiliates. As an Amazon Associate we earn affiliate commissions from qualifying purchases.