Python’s strength lies not only in its elegant syntax and versatility but also in its vast ecosystem of third-party libraries and frameworks, collectively known as packages. These packages extend Python’s core functionality, allowing developers to perform complex tasks – from web development and data analysis to machine learning and automation – with remarkable efficiency. Understanding how to effectively install and manage these packages is a fundamental skill for any Python developer, paving the way for robust, scalable, and maintainable projects. This guide will walk you through the essential methods and best practices for installing packages in Python, ensuring your development environment is always optimally configured.
Understanding Python Packages and Why They Matter
Before diving into the mechanics of installation, it’s crucial to grasp what Python packages are and the indispensable role they play in modern software development.
The Ecosystem of Python
Python’s appeal is significantly amplified by its rich ecosystem, comprising the Python Package Index (PyPI), a repository of thousands of publicly available open-source packages. These packages, often developed and maintained by a global community of developers, provide pre-built solutions for virtually any programming challenge you might encounter. From requests for making HTTP calls, pandas for data manipulation, and Django or Flask for web development, to NumPy for numerical computing and TensorFlow or PyTorch for artificial intelligence, the breadth of available tools is staggering. This collaborative spirit accelerates development, allowing engineers to build upon existing, well-tested solutions rather than reinventing the wheel.
Why Packages Are Indispensable for Modern Development
In the fast-paced world of technology, efficiency and productivity are paramount. Python packages are central to achieving both. They allow developers to:
- Accelerate Development: By reusing existing code, developers can significantly reduce development time and effort. Instead of writing complex functionalities from scratch, they can simply import and utilize a package.
- Improve Code Quality and Reliability: Open-source packages are often peer-reviewed, thoroughly tested, and actively maintained by a community of experts. This generally translates to higher code quality, fewer bugs, and more reliable solutions compared to bespoke implementations.
- Access Specialized Functionality: Many advanced domains, such as machine learning, scientific computing, and advanced data visualization, require complex algorithms and data structures. Specialized packages provide optimized implementations, making these powerful tools accessible to a wider audience without requiring deep domain-specific expertise from every developer.
- Foster Collaboration and Standardization: Using common packages within a team or project promotes consistency and easier collaboration. Everyone works with the same tools and conventions, simplifying code sharing, debugging, and maintenance.
- Stay Current with Tech Trends: The Python package ecosystem is dynamic, continually evolving with new advancements and best practices. Developers can quickly adopt new technologies, integrate cutting-edge AI tools, or leverage new data processing techniques simply by installing the relevant packages.
In essence, packages are the building blocks that allow Python to be a powerful, flexible, and high-productivity language, underpinning everything from small scripts to large-scale enterprise applications and pioneering AI research.
Setting Up Your Python Environment for Package Management
Effective package management begins with a properly configured Python environment. Two critical components are Python itself (with its built-in package installer, pip) and virtual environments.
Python Installation and pip: The Foundation
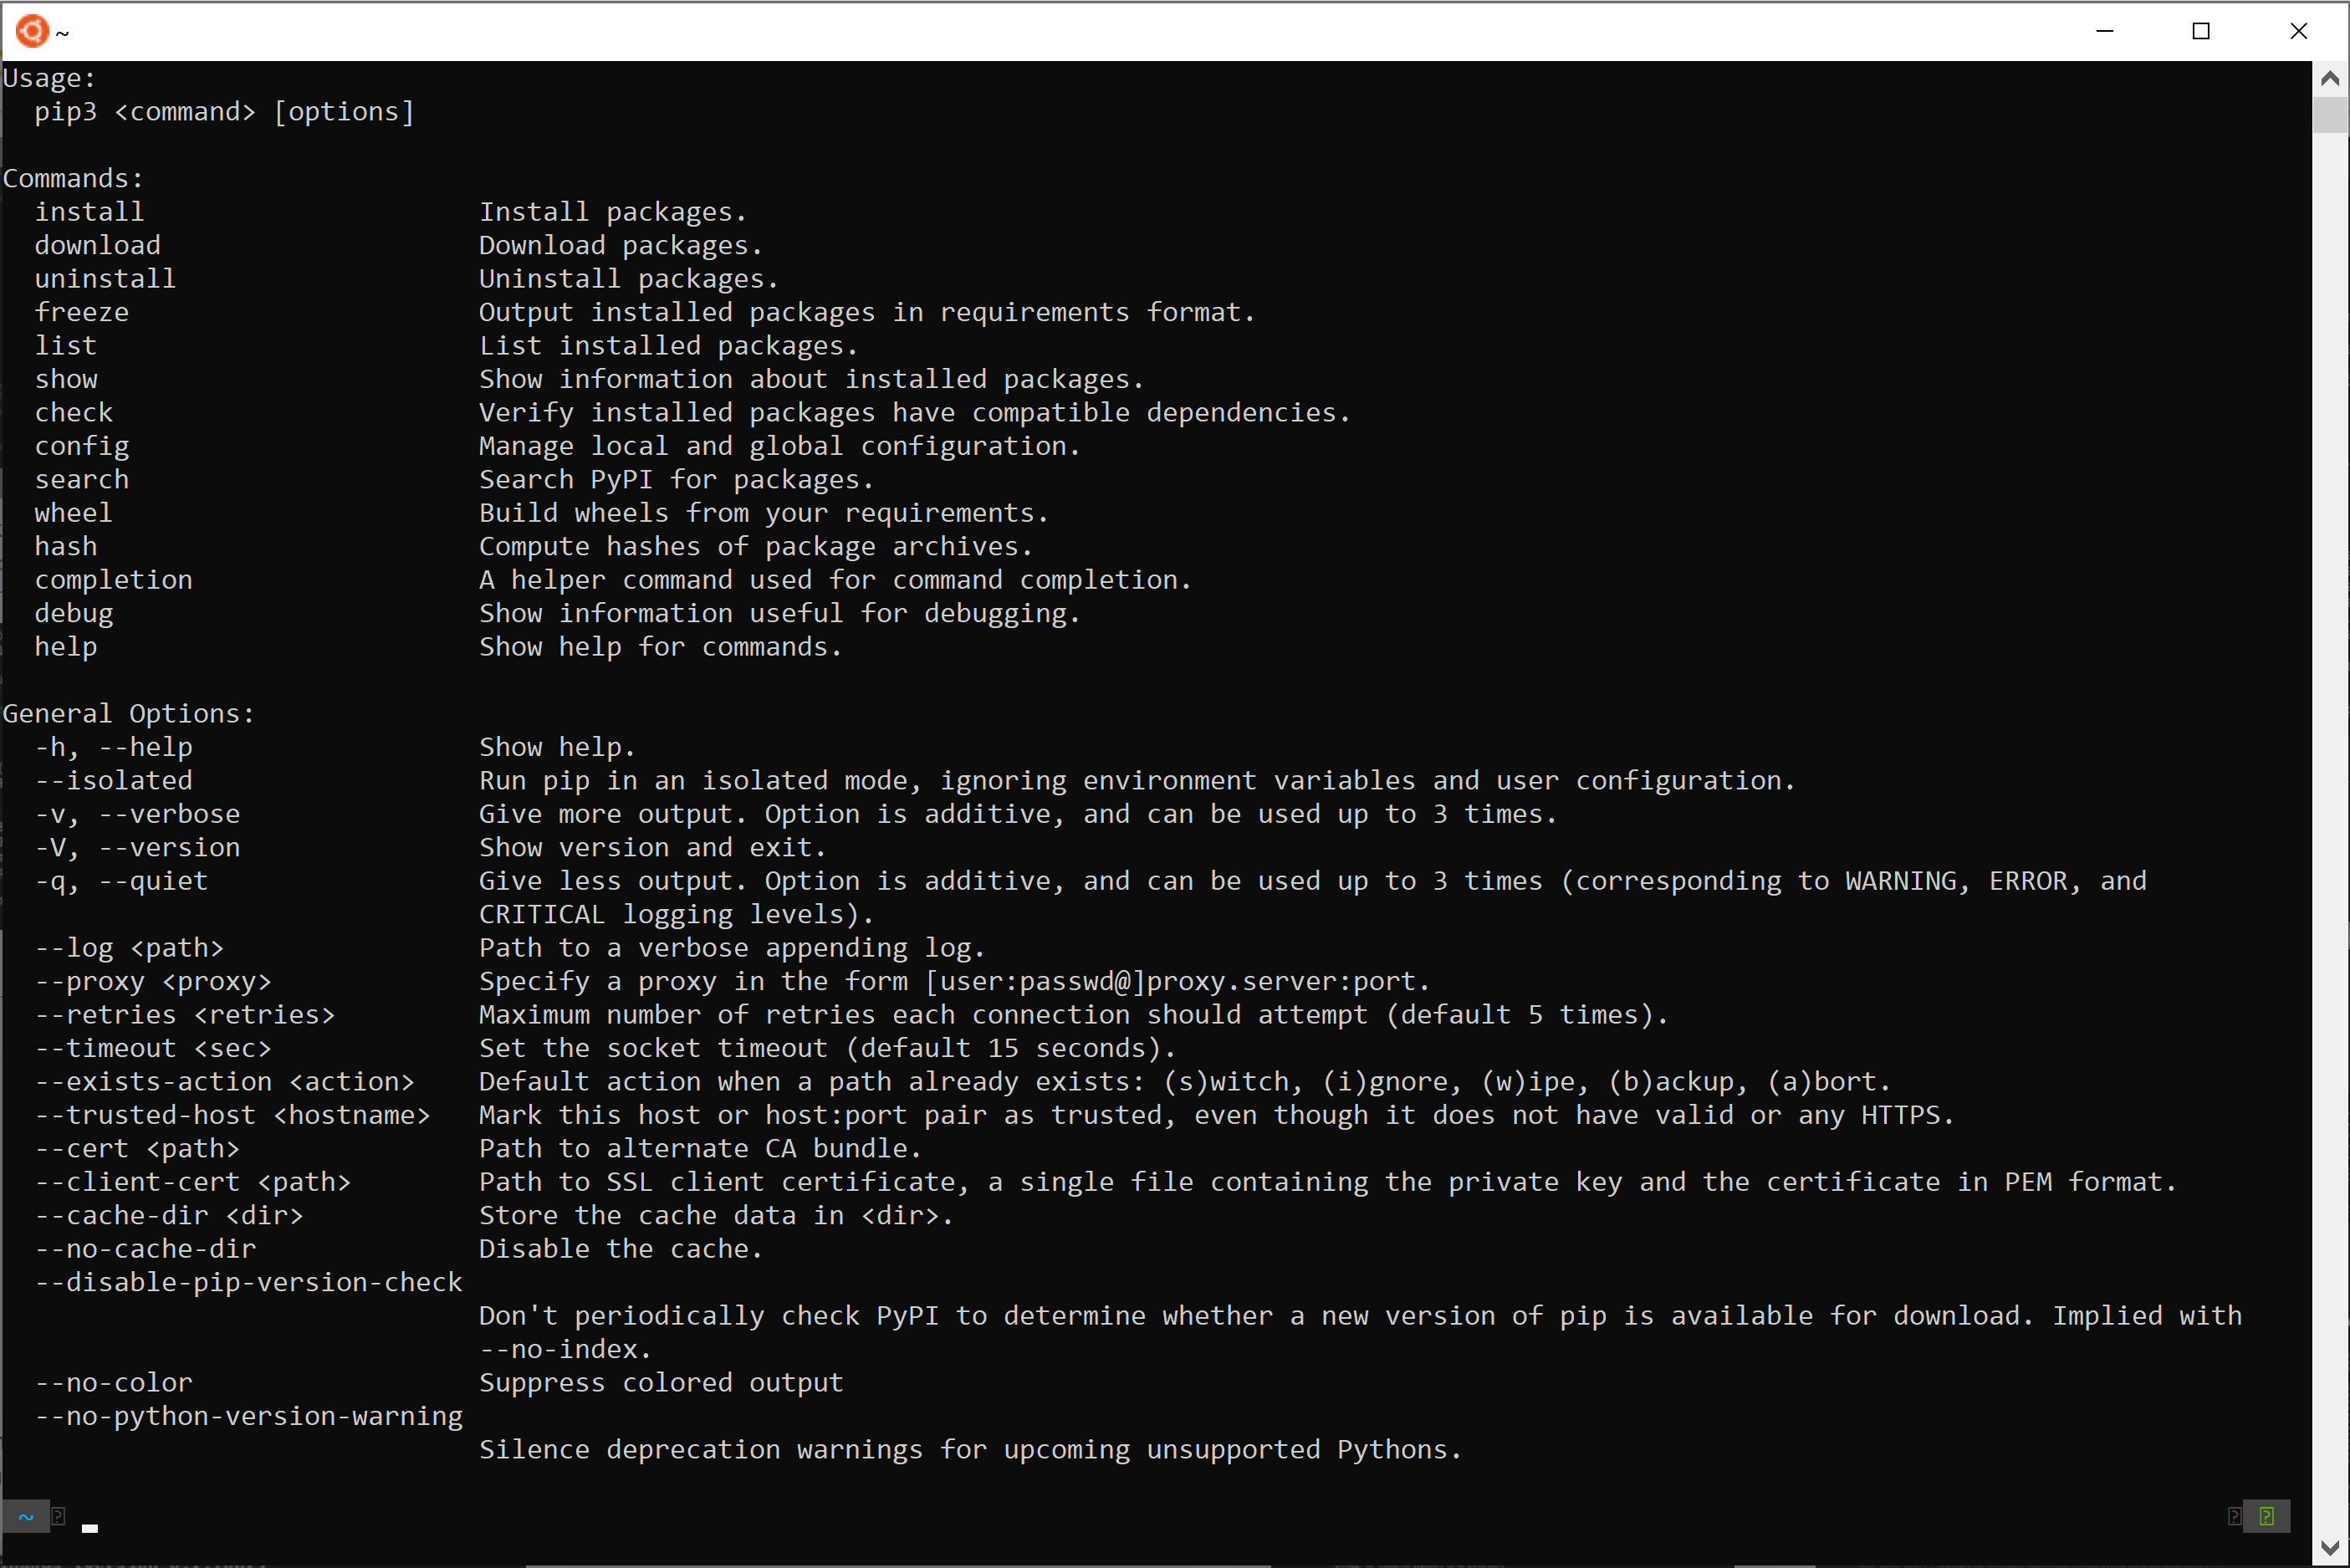
Every Python developer’s journey starts with installing Python on their system. When you install Python, especially recent versions (3.4+), the pip (package installer for Python) utility is automatically included. pip is the standard tool for installing and managing Python packages from PyPI.
Verifying Your Python and pip Installation:
Before proceeding, it’s a good practice to verify that Python and pip are correctly installed and accessible from your command line or terminal.
python --version
# or for some systems
python3 --version

pip --version
# or for some systems
pip3 --version
If these commands return version numbers (e.g., Python 3.9.7 and pip 21.2.4), you’re all set. If not, you might need to add Python to your system’s PATH environment variable or reinstall Python. Keeping pip updated is also a good habit to ensure you have the latest features and bug fixes:
python -m pip install --upgrade pip
The Power of Virtual Environments: Isolating Dependencies
One of the most crucial concepts in Python package management is the use of virtual environments. A virtual environment is a self-contained directory that holds a specific Python interpreter and its own set of installed packages, isolated from other Python projects and the global Python installation.
Why Virtual Environments are Essential:
Imagine you’re working on two Python projects. Project A requires an older version of a library (library_x version 1.0), while Project B requires a newer version (library_x version 2.0). Without virtual environments, installing library_x 2.0 for Project B would overwrite version 1.0, potentially breaking Project A. Virtual environments solve this “dependency hell” by:
- Preventing Conflicts: Each project gets its own isolated set of dependencies, so changes in one project’s packages won’t affect others.
- Reproducibility: You can easily define and share a project’s exact dependencies, ensuring that anyone working on the project or deploying it will have the same environment, enhancing collaboration and reducing “it works on my machine” issues.
- Cleaner Global Environment: Your global Python installation remains clean, only containing packages you explicitly install there, which is generally discouraged for project-specific work.
- Easier Project Management: When a project is complete, you can simply delete its virtual environment folder without impacting your system’s Python or other projects.
Creating and Activating a Virtual Environment:
Python 3.3+ includes the venv module, making virtual environment creation straightforward.
-
Navigate to your project directory:
cd my_project_folder -
Create a virtual environment: (A common name is
.venvorenv)python -m venv .venvThis creates a folder named
.venv(or whatever you choose) inside your project directory. -
Activate the virtual environment:
- On Windows:
bash

.venvScriptsactivate
- On macOS/Linux:
bash

source .venv/bin/activate
Once activated, your terminal prompt will usually change to indicate the active environment (e.g.,(.venv) user@host:~/my_project_folder$). Now, anypip installcommands will install packages exclusively into this virtual environment.
- On Windows:
-
Deactivate the virtual environment:
When you’re done working on the project, simply type:
bash

deactivate
Your terminal prompt will revert to its normal state.
Using virtual environments is a foundational best practice that every Python developer should adopt from the very beginning of any project.
Core Methods for Installing Python Packages
With your Python environment set up and a virtual environment activated, you’re ready to start installing packages. pip is your primary tool for this.
Basic Installation with pip
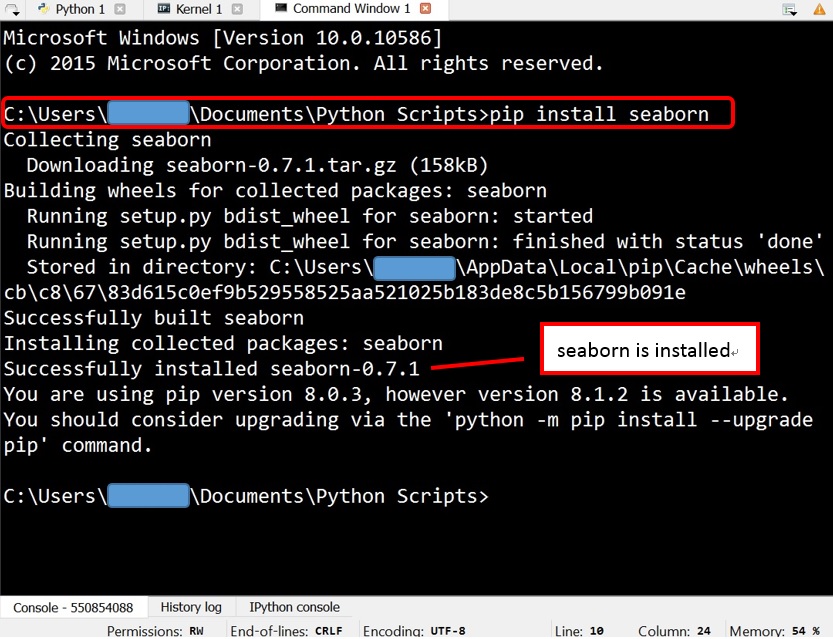
The most common way to install a package is using the pip install command followed by the package name.
pip install package_name
For example, to install the popular requests library for making HTTP requests:
pip install requests
pip will automatically download the package and its dependencies from PyPI and install them into your active virtual environment.
Installing Specific Versions or Upgrade/Downgrade
Sometimes you need a specific version of a package, or you might want to upgrade/downgrade an existing one.
-
Installing a specific version:
pip install package_name==1.2.3This ensures you get version 1.2.3 of
package_name. This is crucial for maintaining compatibility across development environments and for reproducing historical states of a project. -
Upgrading a package:
pip install --upgrade package_nameThis will upgrade
package_nameto the latest available version on PyPI. -
Downgrading a package:
Simply install the desired older version explicitly:
bash

pip install package_name==1.0.0
Managing Multiple Packages with requirements.txt
For any non-trivial project, you’ll likely have many dependencies. Manually installing each one is cumbersome and error-prone. The requirements.txt file is the standard way to declare and manage project dependencies.
Creating requirements.txt:
After you’ve installed all necessary packages for your project within your virtual environment, you can generate a requirements.txt file that lists them precisely:
pip freeze > requirements.txt
This command outputs the names and exact versions of all installed packages in your current virtual environment to requirements.txt. A typical requirements.txt file looks like this:
Django==3.2.10
psycopg2-binary==2.9.3
requests==2.27.1
beautifulsoup4==4.10.0
Installing from requirements.txt:
When you start a new project, share your project with others, or deploy it, they can set up the exact same environment by simply activating a virtual environment and running:
pip install -r requirements.txt
This command reads the file and installs all listed packages with their specified versions. This practice is fundamental for ensuring project reproducibility and seamless collaboration.
Installing from Local Files and Version Control Systems
While PyPI is the primary source, you might occasionally need to install packages from other sources:
-
From a local archive (wheel or sdist):
If you have a package file (e.g., a.whlor.tar.gzfile) downloaded locally, you can install it directly:pip install /path/to/your/package-name-1.0.0-py3-none-any.whl -
From a Git repository:
For packages hosted on GitHub, GitLab, or other Git repositories, you can install directly from the VCS:
bash

pip install git+https://github.com/username/repository.git#egg=package_name
You can also specify a branch, tag, or commit hash for more precise control:
bash

pip install git+https://github.com/username/repository.git@main#egg=package_name
These methods provide flexibility when dealing with private packages, development versions, or packages not yet published on PyPI.
Advanced Package Management Techniques
Beyond the basic pip commands, several advanced techniques offer greater control and efficiency, particularly for data science, continuous development, and complex project structures.
Leveraging conda for Data Science Environments
While pip is excellent for Python packages, conda (part of the Anaconda or Miniconda distribution) is a powerful, language-agnostic package, dependency, and environment manager. It’s particularly popular in the data science and scientific computing communities because it can manage not only Python packages but also packages written in other languages (like R, C, C++) and non-Python dependencies (like compilers or scientific libraries) that pip cannot handle.
When to use conda:
- When your project has complex non-Python dependencies (e.g., specific versions of BLAS/LAPACK for NumPy, or CUDA for GPU computing).
- When working with scientific libraries that often have binary dependencies not easily handled by
pipon all platforms. - When you prefer a unified environment management system across multiple programming languages.
Basic conda commands:
- Create a new environment:
bash

conda create --name my_data_env python=3.9
- Activate an environment:
bash

conda activate my_data_env
- Install packages (Python and non-Python):
bash

conda install numpy pandas matplotlib scipy
- Deactivate an environment:
bash

conda deactivate
It’s important to note that pip can be used inside a conda environment to install Python-specific packages not available on conda channels, but mixing pip and conda for the same package can sometimes lead to conflicts. Generally, prioritize conda install if the package is available via conda.
Editable Installations for Development
When you’re actively developing a package or library that’s part of a larger project, you often want changes to your library’s source code to be immediately reflected in the project that uses it, without having to reinstall it every time. This is where “editable” or “develop” installations come in handy.
pip install -e /path/to/your/local/package/source
# or if you are in the package's root directory:
pip install -e .
The -e or --editable flag tells pip to install the package in “editable” mode. Instead of copying the package files into your virtual environment’s site-packages directory, pip creates a link to the package’s source directory. Any modifications you make to the source code will be instantly available to your project. This significantly streamlines the development workflow for libraries and multi-package projects.
Installing from Source (Setup.py and Pyproject.toml)
For projects with more complex build requirements or those that need to be packaged for distribution, setup.py and pyproject.toml are essential.
-
setup.py(Traditional): This Python script defines how a package is built, installed, and distributed. It usessetuptoolsto declare metadata (name, version, author), dependencies, and entry points. You can install a package defined bysetup.pyfrom its source directory:pip install . # or for editable install pip install -e . -
pyproject.toml(Modern Standard – PEP 518/517/621): This file is becoming the preferred way to declare build system requirements and project metadata. It’s more declarative and less prone to side effects thansetup.py. Tools likePoetryandFlitleveragepyproject.tomlfor more streamlined and robust package management and building. When apyproject.tomlis present,pip(version 10.0+ for PEP 518) will use the specified build backend to build and install the package.
The installation command remains the same:
bash

pip install .
pipintelligently detectssetup.pyorpyproject.tomland uses the appropriate build process. Understanding these files is key if you plan to develop and distribute your own Python packages.
Troubleshooting Common Installation Issues
Even with robust tools like pip and venv, you might encounter issues. Knowing how to diagnose and resolve them is a critical skill.
Permission Errors
ERROR: Could not install packages due to an OSError: [Errno 13] Permission denied:
This is a very common error, especially on Linux/macOS, when you try to install packages globally (outside a virtual environment) without sufficient permissions.
Solution:
- ALWAYS use a virtual environment. This is the primary solution. When activated,
pipinstalls packages into a user-writable directory within your project, avoiding global permission issues. - If you absolutely must install globally (not recommended): Use
sudo pip install package_name(Linux/macOS) or run your terminal as administrator (Windows). However, this can lead to system-wide dependency conflicts and is generally discouraged. - User-specific installation:
pip install --user package_nameinstalls packages into your user’s home directory (~/.local/lib/pythonX.Y/site-packages), which doesn’t require administrator privileges but can sometimes still lead to conflicts with globally installed packages if not managed carefully.
Compiler Errors (Missing Build Tools)
ERROR: Failed building wheel for package_name or error: Microsoft Visual C++ 14.0 or greater is required.
Some Python packages include C, C++, or Fortran extensions that need to be compiled during installation. If you lack the necessary compilers, these installations will fail. This is common on Windows for packages like numpy, scipy, or pandas.
Solution:
- On Windows: Install “Build Tools for Visual Studio” from Microsoft’s website. During installation, select “Desktop development with C++”. This provides the necessary C++ compiler.
- On macOS: Install Xcode Command Line Tools:
xcode-select --install. - On Linux: Install build-essential packages:
sudo apt-get install build-essential(Debian/Ubuntu) orsudo yum groupinstall "Development Tools"(CentOS/RHEL). - Consider Pre-built Wheels: Many popular scientific packages offer pre-compiled binary distributions (wheels) on PyPI for various platforms, which
pipwill automatically prefer. Ensure yourpipis up-to-date, as newer versions are better at finding compatible wheels. - Use Conda: As mentioned,
condaexcels at providing pre-compiled binaries for complex scientific libraries, often bypassing the need for local compilers.
Network and Proxy Issues
Could not fetch URL https://pypi.org/simple/package_name/: There was a problem confirming the ssl certificate:
This indicates a network connectivity issue, often related to firewalls, corporate proxies, or SSL certificate problems.
Solution:
- Check internet connection: Ensure you have an active and stable internet connection.
- Configure proxy: If you’re behind a corporate proxy, you might need to configure
pipto use it:
bash

pip install --proxy http://username:password@proxy_host:proxy_port package_name
You can also set environment variables likeHTTP_PROXYandHTTPS_PROXY. - Trust insecure hosts (use with caution): In some locked-down environments, you might need to tell
pipto trust PyPI:
bash

pip install --trusted-host pypi.org --trusted-host files.pythonhosted.org package_name
Only use this if you understand the security implications.
Version Conflicts
ERROR: ResolutionImpossible: for the following conflicts:
This occurs when two packages you want to install have conflicting dependency requirements (e.g., package_A needs dependency_X==1.0 but package_B needs dependency_X==2.0).
Solution:
- Virtual Environments: This is why virtual environments are so important! They prevent these conflicts from spilling into your other projects.
- Review
requirements.txt: Carefully examine yourrequirements.txtfile (or individualpip installcommands) to identify the conflicting dependencies. - Find compatible versions: You may need to adjust the versions of your main packages to find a combination where all sub-dependencies are compatible. Tools like
pipdeptree(pip install pipdeptree) can help visualize your dependency tree to pinpoint conflicts. - Dependency resolvers: Newer versions of
piphave improved dependency resolvers, but sometimes manual intervention is required.
Best Practices for Python Package Management
Adopting a disciplined approach to package management is crucial for efficient development, easy deployment, and long-term project maintainability.
Always Use Virtual Environments
This cannot be stressed enough. From the smallest script to the largest application, make creating and activating a virtual environment the very first step in any new Python project. It protects your system, ensures reproducibility, and simplifies project isolation. For data scientists, consider conda environments for their added capabilities.
Keep pip Updated
Regularly update your pip installer to ensure you benefit from the latest features, bug fixes, and improved dependency resolution algorithms. A modern pip (pip install --upgrade pip) is a more powerful and reliable pip.
Regularly Audit Your Dependencies
Over time, projects accumulate dependencies, some of which might become outdated or even introduce security vulnerabilities.
pip list: Usepip listto see all installed packages in your active environment.pip check: Runpip checkto verify that all installed packages have compatible dependencies.- Tools for security auditing: Consider using tools like
safety(pip install safety) to check yourrequirements.txtagainst known vulnerability databases.safety check -r requirements.txt. - Prune unused dependencies: If you remove a feature that relied on a specific package, remove that package from your
requirements.txtand uninstall it from your environment (pip uninstall package_name).
Document Your Project’s Requirements
Always use a requirements.txt file (or pyproject.toml with tools like Poetry) to explicitly list all your project’s direct dependencies with their pinned versions. This is the blueprint for replicating your project’s environment and is vital for collaborative development, automated testing, and seamless deployment across different systems. Regularly update this file using pip freeze > requirements.txt after making significant changes to your environment.
Conclusion
Mastering Python package installation and management is a foundational skill that empowers developers to leverage Python’s vast ecosystem effectively. By understanding the importance of packages, embracing virtual environments, utilizing pip and potentially conda for diverse dependency needs, and adopting best practices, you can build and maintain Python applications with greater confidence, efficiency, and robustness. This comprehensive guide provides the blueprint for navigating the world of Python packages, ensuring you’re well-equipped to tackle any programming challenge and contribute effectively to the dynamic landscape of modern software development.