
Node.js has become an indispensable technology for modern web development, enabling developers to build scalable network applications using JavaScript on the server side. Its non-blocking, event-driven architecture makes it ideal for real-time applications, APIs, and microservices. If you’re working with web technologies, full-stack JavaScript, or simply exploring the vast ecosystem of modern development tools, installing Node.js on your Ubuntu system is a fundamental first step.
Ubuntu, a popular and robust Linux distribution, is a go-to choice for many developers and server administrators due to its stability, strong community support, and vast repository of software. This guide will walk you through various methods to install Node.js and its accompanying package manager, npm (Node Package Manager), ensuring you have a robust and functional development environment. We’ll cover the simplest apt method, the recommended NodeSource PPA for the latest stable releases, and the highly flexible Node Version Manager (NVM) for managing multiple Node.js versions. By the end of this tutorial, you’ll be well-equipped to choose the installation method that best suits your workflow and embark on your Node.js development journey.
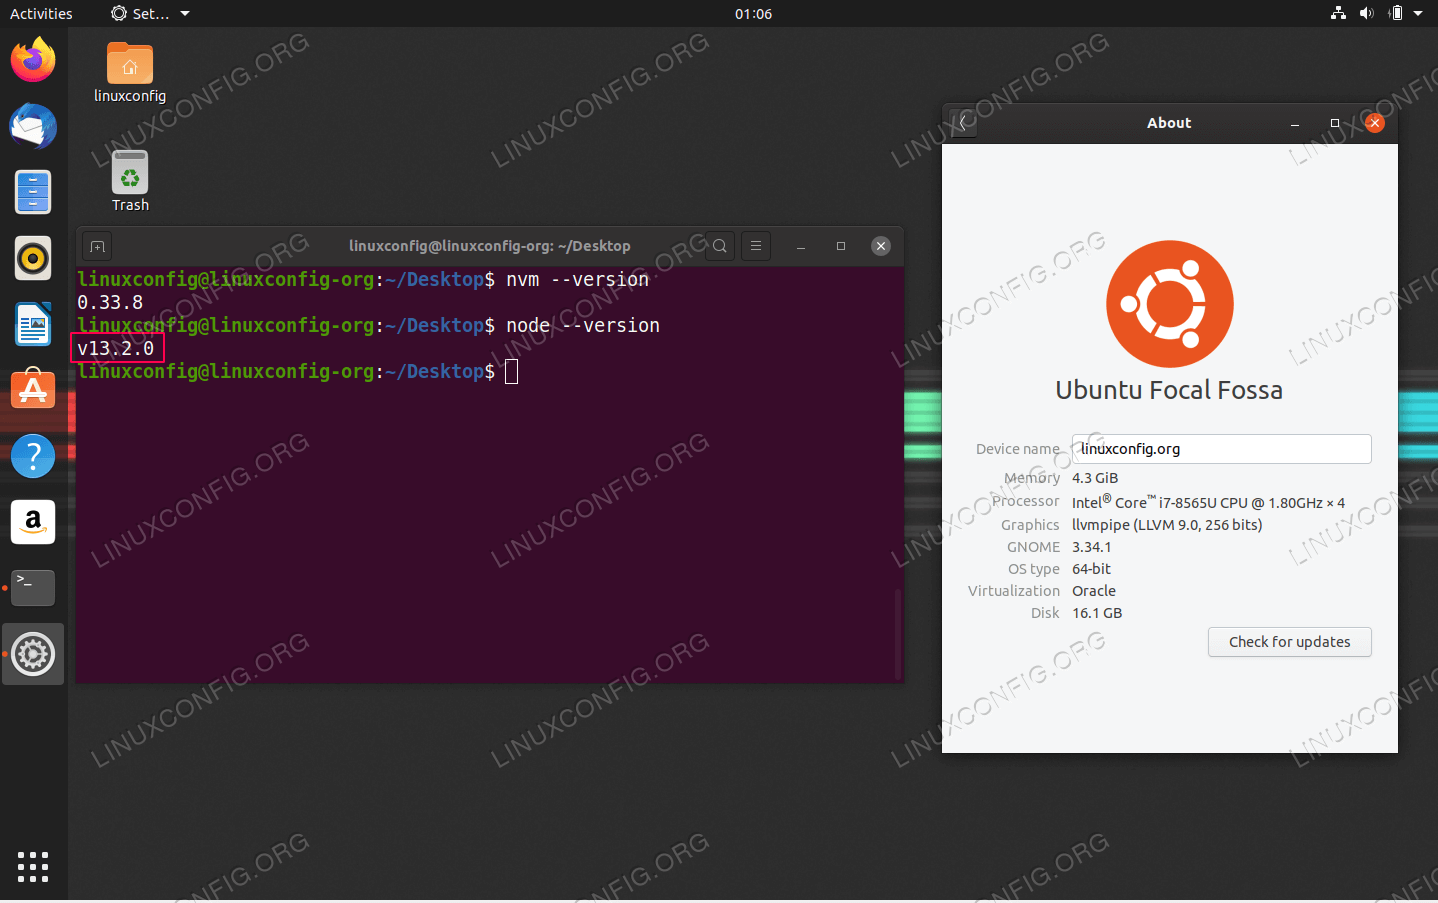
Setting Up Your Ubuntu Environment
Before diving into the installation process, it’s crucial to prepare your Ubuntu system. A well-prepared environment ensures a smooth installation and helps prevent common issues.
Prerequisites for a Smooth Installation
To follow this guide effectively, ensure you have:
- An Ubuntu System: This guide is specifically tailored for Ubuntu (versions like 20.04 LTS, 22.04 LTS, etc.). The commands might vary slightly for other Linux distributions.
- Sudo Privileges: You’ll need access to an account with
sudoprivileges to install software and make system-wide changes.sudostands for “superuser do,” allowing authorized users to execute commands as the root user. - Basic Terminal Familiarity: While we’ll provide exact commands, a basic understanding of how to navigate and execute commands in the Linux terminal (or command line interface) will be beneficial.
- Internet Connection: All installation methods require an active internet connection to download necessary packages and dependencies.
Before executing any installation commands, it’s always a good practice to update your system’s package list. This ensures you’re working with the latest information about available software and their versions, which can prevent dependency conflicts and ensure security patches are applied. Open your terminal (usually by pressing Ctrl + Alt + T) and run the following command:
sudo apt update
sudo apt upgrade -y
The sudo apt update command fetches the list of available updates from the Ubuntu repositories, while sudo apt upgrade -y actually installs those updates, with -y automatically confirming any prompts. This step ensures your system is up-to-date and ready for new software installations.
Understanding Node.js and npm
Before installing, let’s briefly clarify what Node.js and npm are:
- Node.js: At its core, Node.js is a JavaScript runtime built on Chrome’s V8 JavaScript engine. It allows developers to execute JavaScript code outside of a web browser, making it possible to build server-side applications, command-line tools, and even desktop applications. It’s renowned for its efficiency, thanks to its asynchronous, event-driven model.
- npm (Node Package Manager): When you install Node.js, npm is typically installed alongside it. npm is the world’s largest software registry, hosting millions of open-source packages and libraries that developers can use in their Node.js projects. It simplifies package management, allowing you to easily install, update, and remove project dependencies. Think of it as an app store for Node.js modules, essential for almost any Node.js project.
These two components form the backbone of modern JavaScript development outside the browser, enabling developers to leverage a vast ecosystem of tools and libraries.
Choosing Your Installation Method: apt, NodeSource PPA, or NVM
There are several ways to install Node.js on Ubuntu, each with its own advantages and ideal use cases. We’ll explore three primary methods, ranging from the simplest for basic use to the most flexible for advanced development workflows.
Method 1: Quick Installation with Ubuntu’s Default apt Package Manager
The simplest way to install Node.js and npm on Ubuntu is by using the apt package manager, which accesses Ubuntu’s default repositories. This method is straightforward and ideal for users who need Node.js for basic scripting or who are not concerned about having the absolute latest version.
Pros:
- Simplicity: It requires minimal commands and setup.
- Stability: Packages from Ubuntu’s official repositories are generally well-tested and stable.
- System Integration: Easily managed through the system’s package manager.
Cons:
- Older Versions: The versions of Node.js and npm available in the default Ubuntu repositories are often not the latest stable releases. This can be an issue if your project requires newer features or specific version compatibility.
- No Version Control: You can only install one version of Node.js at a time, making it unsuitable for projects requiring different Node.js versions.
Installation Steps:
-
Update Package Lists (if you haven’t already):
sudo apt update -
Install Node.js and npm:
sudo apt install nodejs npm -yThis command will install both the Node.js runtime and the npm package manager.
-
Verify the Installation:
After the installation completes, check the installed versions to confirm everything is working correctly:
bash

node -v

npm -v
You should see output similar tov12.x.xfor Node.js and6.x.xfor npm, indicating their respective versions. Remember, these might be older than the current stable releases.
If you decide this method doesn’t meet your needs later, you can uninstall Node.js and npm using:
sudo apt remove nodejs npm
sudo apt autoremove
Method 2: Installing the Latest Versions with NodeSource PPA
For most developers, especially those working on actively maintained projects, having access to the latest stable versions of Node.js is crucial. The default Ubuntu repositories often lag behind. NodeSource provides a Personal Package Archive (PPA) that offers more up-to-date Node.js versions, including Long Term Support (LTS) releases and current stable releases. This is generally the recommended method for production environments and active development.
Pros:
- Up-to-Date Versions: Provides access to the latest LTS and current Node.js releases.
- Reliable: NodeSource PPAs are well-maintained and widely used in the community.
- Stable: You can choose specific LTS versions which are thoroughly tested for stability and performance.
Cons:
- Slightly More Steps: Involves adding an external repository before installation.
- Still One Version: Like the
aptmethod, it typically allows only one version of Node.js to be installed system-wide at a time.
Installation Steps:
-
Remove Existing Node.js (if applicable):
If you’ve previously installed Node.js usingapt, it’s best to remove it before using the NodeSource PPA to avoid conflicts:sudo apt remove nodejs npm sudo apt autoremove -
Add the NodeSource PPA:
NodeSource provides different PPAs for various Node.js versions (e.g., Node.js 16, Node.js 18, Node.js 20). It’s generally recommended to install an LTS version for stability. For instance, to install Node.js 20 LTS (as of this writing, a common LTS):curl -fsSL https://deb.nodesource.com/setup_20.x | sudo -E bash -curl -fsSL: Downloads the setup script.https://deb.nodesource.com/setup_20.x: Specifies the PPA for Node.js version 20. Replace20.xwith18.x,16.x, etc., if you need a different LTS version.sudo -E bash -: Executes the downloaded script with root privileges, preserving your environment variables. This script adds the NodeSource repository to your system’saptsources and updates your package list.
-
Install Node.js and npm:
Once the PPA is added and your package list is updated, you can install Node.js and npm:sudo apt install nodejs -yNote that this command installs
nodejs. npm is included with thenodejspackage when installed via NodeSource PPA. -
Verify the Installation:
Check the installed versions:
bash

node -v

npm -v
You should now see the specific version you targeted (e.g.,v20.x.xfor Node.js and a corresponding9.x.xor10.x.xfor npm).
Method 3: Managing Multiple Node.js Versions with NVM (Node Version Manager)
For developers who work on multiple projects that might require different Node.js versions, or who need to switch between LTS and current releases frequently, Node Version Manager (NVM) is an indispensable tool. NVM allows you to install, manage, and switch between different Node.js versions on a per-user basis, without affecting system-wide installations. This is the most flexible and powerful method for advanced development workflows.
Pros:
- Version Flexibility: Easily install and switch between multiple Node.js versions.
- Per-User Installation: Installs Node.js in your home directory, avoiding
sudopermissions issues for global npm packages. - Project Specificity: Allows you to define specific Node.js versions for different projects.
- Latest Releases: Provides access to a wide range of Node.js versions, including the latest.
Cons:
- Slightly More Complex Setup: Requires installing NVM first, then using NVM to install Node.js.
- Not System-Wide: Node.js installed via NVM is for the current user; other users on the system would need their own NVM installations.
Installation Steps:
-
Remove Existing Node.js (if applicable):
If you have Node.js installed viaaptor NodeSource PPA, it’s highly recommended to remove them to avoid conflicts with NVM:sudo apt remove nodejs npm sudo apt autoremove -
Install NVM:
You can install NVM usingcurl. Always refer to the official NVM GitHub repository for the latest installation script to ensure you get the most up-to-date version.curl -o- https://raw.githubusercontent.com/nvm-sh/nvm/v0.39.7/install.sh | bash(Note:
v0.39.7is an example; check the NVM GitHub page for the latest version number.)This script clones the NVM repository to
~/.nvmand adds the necessary lines to your shell’s profile file (~/.bashrc,~/.zshrc, or~/.profile) to load NVM on startup. -
Source Your Shell’s Profile File:
After installation, you need to either close and reopen your terminal or source your profile file to make NVM available:
bash

source ~/.bashrc # Or ~/.zshrc or ~/.profile depending on your shell

-
Verify NVM Installation:
Check if NVM is correctly installed by running:nvm --versionYou should see the NVM version number.
-
Install Node.js Versions Using NVM:
Now that NVM is installed, you can use it to install Node.js.- To install the latest LTS version:
bash

nvm install --lts
- To install the latest stable version:
bash

nvm install node
- To install a specific version (e.g., Node.js 18.x.x):
bash

nvm install 18
- You can install multiple versions:
bash

nvm install 20

nvm install 16
- To install the latest LTS version:
-
List Installed Node.js Versions:
To see all Node.js versions installed via NVM:nvm lsThis will show a list of installed versions, indicating which one is currently active.
-
Switch Between Node.js Versions:
To use a specific installed version:nvm use 20 # To use Node.js version 20You can also use an alias like
nvm use ltsto switch to the current LTS version. -
Set a Default Node.js Version:
To automatically use a specific version every time you open a new terminal:nvm alias default 20 # Sets Node.js 20 as the default -
Verify Node.js and npm Installation:
After installing and selecting a version with NVM, verify:
bash

node -v

npm -v
You should see the version you just selected.
Post-Installation Verification and Essential Configuration
Regardless of the method you chose, there are a few essential steps to confirm your installation and configure your environment for optimal Node.js development.
Verifying Your Node.js and npm Installations
The most crucial step after any installation is to verify that Node.js and npm are correctly installed and accessible from your terminal.
node -v
npm -v
These commands should output the version numbers of Node.js and npm, respectively. If you receive an error like “command not found,” it means Node.js is not in your system’s PATH, or the installation was incomplete. In such cases, double-check your installation steps, especially the source command for NVM or ensuring your apt installation completed without errors.
Updating npm and Handling Permissions
npm is frequently updated, often more so than Node.js itself. It’s a good practice to keep npm updated to the latest version to benefit from new features, performance improvements, and security patches.
To update npm to its latest version, use:
npm install -g npm@latest
The -g flag indicates a “global” installation, meaning npm will be available across your system (or within your NVM environment).
Understanding Global vs. Local npm Packages and Permissions:
When installing npm packages globally, you might sometimes encounter permission errors, especially if you installed Node.js system-wide (using apt or NodeSource PPA) and attempt to install global packages without sudo.
- Local Packages: Most packages are installed locally within a project’s
node_modulesdirectory by simply runningnpm install <package-name>inside your project folder. These are specific to that project. - Global Packages: Packages installed with the
-gflag are available globally across your system (e.g., command-line tools likenodemon,create-react-app,vue-cli).
Best Practice for Permissions (without NVM):
If you didn’t use NVM, installing global packages might require sudo, which is generally discouraged due to security implications and potential permission conflicts. A better approach is to configure npm to install global packages in a user-specific directory.
-
Create a directory for global installations:
mkdir ~/.npm-global -
Configure npm to use this directory:
npm config set prefix '~/.npm-global' -
Add this directory to your PATH environment variable:
Open your shell’s profile file (~/.bashrc,~/.zshrc, etc.) with a text editor (e.g.,nano ~/.bashrc):nano ~/.bashrcAdd the following line at the end of the file:
export PATH=~/.npm-global/bin:$PATHSave and exit the editor (Ctrl+X, Y, Enter for nano).
-
Source your profile file:
bash

source ~/.bashrc
Now, you can install global packages without sudo: npm install -g <package-name>.
Note: If you are using NVM, these permission issues are typically handled automatically, as NVM installs Node.js and npm in your user’s home directory.
Troubleshooting Common Node.js Installation Issues
Even with careful steps, you might encounter issues during or after Node.js installation. Here are some common problems and their solutions.
Addressing Version Conflicts and Outdated Packages
- Old Node.js/npm version after installation: This often happens if you used
aptand your system picked up an older version from the default repositories. Ensure you’ve removed any prior installations before trying a newer method (like NodeSource PPA or NVM). For NVM, ensure younvm usethe desired version. npm installfails due to package-lock.json: If you’re working on an existing project, thepackage-lock.jsonfile might be out of sync or corrupted. Try deletingnode_modulesandpackage-lock.json, then runnpm installagain.
bash

rm -rf node_modules package-lock.json

npm install
- Outdated local
npmwithin a project: Sometimes a project might require a specific, oldernpmversion. Whilenpm install -g npm@latestupdates your global npm, a project might have its ownnpmversion. Usually, this is managed by thepackage-lock.jsonor by tools likecorepackif enabled.
Resolving Permissions Errors with npm
EACCES: permission deniederrors: This is the most common issue when installing global npm packages.- If using NVM: This typically means your NVM setup isn’t fully configured. Ensure NVM is correctly sourced in your shell’s profile (
.bashrc,.zshrc) and that you’re usingnvm use <version>before attemptingnpm install -g. You should never usesudowithnpm install -gwhen NVM is properly set up. - If not using NVM: Refer to the “Handling Permissions” section above to configure npm to use a user-specific directory for global packages, avoiding the need for
sudo.
- If using NVM: This typically means your NVM setup isn’t fully configured. Ensure NVM is correctly sourced in your shell’s profile (
- Corrupted npm cache: Sometimes, a corrupted npm cache can cause installation failures. Clearing the cache can resolve this:
bash

npm cache clean --force
Network and Proxy Considerations
npm installfails due to network issues/firewall: If you’re behind a corporate firewall or proxy, npm might not be able to reach the registry. You’ll need to configure npm to use your proxy settings:
bash

npm config set proxy http://proxy.example.com:8080

npm config set https-proxy http://proxy.example.com:8080

npm config set strict-ssl false # Only if absolutely necessary for internal proxies
Replacehttp://proxy.example.com:8080with your actual proxy address and port.- DNS resolution problems: If you’re having trouble reaching
registry.npmjs.org, ensure your system’s DNS settings are correct. You can try using public DNS servers like Google’s (8.8.8.8, 8.8.4.4) or Cloudflare’s (1.1.1.1).
Next Steps and Further Exploration with Node.js
With Node.js and npm successfully installed, you’re now ready to dive into the exciting world of server-side JavaScript development.
Running Your First Node.js Application
Let’s create a simple “Hello, Node.js!” application to confirm your setup.
-
Create a new file:
mkdir my-first-node-app cd my-first-node-app nano app.js -
Add the following code to
app.js:const http = require('http'); const hostname = '127.0.0.1'; // localhost const port = 3000; const server = http.createServer((req, res) => { res.statusCode = 200; res.setHeader('Content-Type', 'text/plain'); res.end('Hello, Node.js!n'); }); server.listen(port, hostname, () => { console.log(`Server running at http://${hostname}:${port}/`); });Save and exit (
Ctrl+X,Y,Enter). -
Run the application:
bash

node app.js
You should seeServer running at http://127.0.0.1:3000/in your terminal. Open your web browser and navigate tohttp://127.0.0.1:3000/. You should see “Hello, Node.js!” displayed.
Exploring Key Node.js Ecosystem Tools
The power of Node.js comes from its vast ecosystem of packages and frameworks:
package.json: This file is at the heart of every Node.js project. It describes your project (name, version, description) and lists all its dependencies. When you runnpm initin a new project directory, npm helps you create this file.- Express.js: A minimal and flexible Node.js web application framework that provides a robust set of features for web and mobile applications. It’s the de-facto standard for building APIs and web servers with Node.js.
bash

npm install express
- Other Popular Frameworks/Libraries: Consider exploring frameworks like Next.js or NestJS for full-stack development, or libraries like Lodash, Axios, and Mongoose for various utilities and database interactions.
Staying Updated with Node.js Best Practices
- Regular Updates: Periodically update your Node.js and npm versions, especially for security patches and performance improvements. If using NVM, it’s easy to install and switch to newer LTS versions.
- Security: Be mindful of the packages you include in your projects. Regularly check for known vulnerabilities using tools like
npm audit. - Documentation: The official Node.js documentation and npm documentation are excellent resources for learning and troubleshooting.

Conclusion
Installing Node.js on Ubuntu is a foundational step for any developer looking to leverage the power of JavaScript beyond the browser. We’ve explored three robust methods: the straightforward apt package manager for simplicity, the NodeSource PPA for access to the latest stable and LTS versions, and the highly flexible Node Version Manager (NVM) for managing multiple Node.js installations. Each method caters to different needs, from basic scripting to complex multi-project development.
By carefully following the steps outlined in this guide, you should now have a fully functional Node.js development environment on your Ubuntu system. Remember to verify your installation, keep npm updated, and understand the nuances of global versus local package management. With Node.js at your fingertips, you’re well-prepared to build everything from simple command-line tools to sophisticated, scalable web applications, opening up a world of possibilities in modern software development. Happy coding!
aViewFromTheCave is a participant in the Amazon Services LLC Associates Program, an affiliate advertising program designed to provide a means for sites to earn advertising fees by advertising and linking to Amazon.com. Amazon, the Amazon logo, AmazonSupply, and the AmazonSupply logo are trademarks of Amazon.com, Inc. or its affiliates. As an Amazon Associate we earn affiliate commissions from qualifying purchases.