In an increasingly digital world, the ability to control your computing environment, maintain privacy, and work efficiently across various machines is invaluable. Linux, a robust and open-source operating system, offers precisely this flexibility. While traditionally installed directly onto a computer’s hard drive, installing Linux on a USB drive unlocks an extraordinary level of portability and utility, transforming a simple flash drive into a powerful, bootable operating system. This comprehensive guide will walk you through every step of the process, from choosing the right tools to booting your new portable Linux system, ensuring you harness the full potential of this versatile solution.
This endeavor aligns perfectly with the “Tech” focus of our platform, offering practical insights into software installation, digital security, and productivity tools. By creating a bootable Linux USB, you gain access to a world of powerful applications, enhanced security features, and the freedom to carry your personalized computing experience wherever you go.
Why Install Linux on a USB Drive? Exploring the Benefits of Portability
The concept of a portable operating system might seem niche, but its advantages are extensive and cater to a wide range of users, from tech enthusiasts and developers to everyday users seeking enhanced privacy and control. Installing Linux on a USB drive isn’t just a tech trick; it’s a strategic move that offers unparalleled convenience and power.
Unlocking Unrivaled Portability and Flexibility
Imagine having your entire operating system, complete with your preferred applications, settings, and files, ready to boot on almost any computer you encounter. This is the primary allure of a USB-based Linux installation. Whether you’re traveling, using a shared computer, or working across multiple machines, your familiar environment is always just a USB stick away. This level of portability drastically reduces setup time and ensures a consistent user experience, regardless of the host machine’s configuration. It’s a game-changer for digital nomads, students, and professionals who require a consistent workflow on the go.
Enhancing Digital Security and Privacy
One of the most compelling reasons to use a portable Linux OS is the significant boost it provides to digital security and privacy. When you boot Linux from a USB, you bypass the host computer’s operating system, isolating yourself from its potential vulnerabilities, malware, or surveillance. This is particularly useful when using public computers, internet cafes, or machines with unknown security postures. For sensitive tasks like online banking, secure communication, or accessing confidential data, a clean, untampered Linux environment offers a sanctuary. Furthermore, many Linux distributions come with strong privacy features and encryption tools built-in, allowing you to encrypt your entire USB drive, adding another layer of protection for your data. This directly taps into the “Digital Security” aspect of our platform, empowering users with tools to safeguard their online presence.
System Rescue, Diagnostics, and Troubleshooting
A bootable Linux USB is an indispensable tool for system administrators, IT professionals, and anyone facing a compromised or non-booting computer. When a Windows or macOS system fails to start, a Linux USB can often be used to:
- Recover Data: Access the internal hard drive of the non-booting system to retrieve important files before a reinstallation or repair.
- Run Diagnostics: Utilize various Linux-based tools to diagnose hardware issues, check disk health, or identify software conflicts.
- Remove Malware: Scan and clean persistent viruses or malware that might be preventing the primary OS from booting.
- Reset Passwords: Access system files to reset forgotten passwords on other operating systems.
- Perform System Maintenance: Partition drives, format disks, or perform other low-level system tasks that are difficult or impossible from within a compromised OS.
It’s a versatile toolkit for emergency situations, making it a must-have for anyone responsible for computer maintenance.
Exploring Linux Without Commitment
For those curious about Linux but hesitant to commit to a full installation on their main hard drive, a USB installation provides the perfect sandbox. You can experiment with different distributions, learn the command line, test applications, and customize the environment without altering your primary operating system. This “try before you buy” approach minimizes risk and allows for a comfortable learning curve. If you don’t like a particular distribution, you can simply reformat the USB drive and try another. This educational aspect is crucial for expanding one’s technical horizons and falls squarely within the “Software” and “Tutorials” categories of our website.
Essential Preparations Before You Begin: Gathering Your Tools
Before diving into the technical steps of installing Linux on a USB, proper preparation is key. Gathering the necessary hardware and software, and making informed decisions about your Linux distribution, will ensure a smooth and successful process.
Choosing Your Linux Distribution
The Linux ecosystem is vast, offering a multitude of distributions (“distros”), each tailored for different user needs, technical proficiencies, and hardware configurations. Your choice will significantly impact your experience.
- Ubuntu: An excellent starting point for beginners, known for its user-friendliness, extensive documentation, and large community support. Variants like Kubuntu, Xubuntu, and Lubuntu offer different desktop environments.
- Linux Mint: Based on Ubuntu, Mint is highly praised for its traditional desktop feel, out-of-the-box multimedia support, and ease of use, making it another top choice for newcomers.
- Fedora: A cutting-edge distribution, often showcasing the latest open-source technologies. It’s a great choice for developers and those who like to stay current.
- Debian: The foundation for many other distributions (including Ubuntu), Debian is renowned for its stability, robustness, and strict adherence to free software principles. More suited for experienced users.
- Elementary OS: Focused on aesthetics and a macOS-like user experience, it’s a beautiful and intuitive option for those prioritizing design.
- Kali Linux: A specialized distribution packed with tools for penetration testing and ethical hacking. Not recommended for general desktop use, but powerful for security professionals.
Consider factors like desktop environment (GNOME, KDE, XFCE, Cinnamon), software availability, and community support when making your selection. Download the ISO file (the disc image of the operating system) from the official website of your chosen distribution. Always verify the integrity of the downloaded ISO using checksums (MD5, SHA256) to ensure it hasn’t been corrupted or tampered with.
Required Tools and Hardware
- A USB Flash Drive (or multiple):
- Capacity: For a live session, 8GB is usually sufficient. For a persistent installation or a full OS installation, 16GB or 32GB (or more) is highly recommended. The larger the drive, the more space you’ll have for files and additional software.
- Speed: This is crucial. A USB 3.0 or 3.1 drive will offer significantly faster read/write speeds compared to older USB 2.0 drives, drastically improving boot times and overall system responsiveness. Investing in a high-quality, fast USB drive will greatly enhance your portable Linux experience, especially if you plan to use it as a daily driver.
- A Computer with Internet Access: To download the Linux ISO and the USB creation software. This is your host machine.
- USB Bootable Creator Software: This is the application that will write the Linux ISO onto your USB drive, making it bootable. Popular choices include:
- Rufus (Windows Only): An excellent, fast, and feature-rich tool for creating bootable USB drives. It’s user-friendly and highly reliable.
- Balena Etcher (Cross-Platform: Windows, macOS, Linux): Known for its simplicity and safety, Etcher prevents you from accidentally writing to your main hard drive. It’s great for beginners.
ddCommand (Linux/macOS): A powerful command-line utility for advanced users. While effective, it’s unforgiving, and incorrect usage can lead to data loss on the wrong drive.- Ventoy (Cross-Platform): A unique tool that allows you to boot multiple ISO files from a single USB drive without reformatting. Simply copy ISO files to the USB, and Ventoy handles the rest. This is fantastic for those who want to test several distros.
Important Pre-Installation Note:
Back up your data! The process of creating a bootable USB will erase all data currently on the chosen USB drive. Ensure you have backed up any important files from the USB before proceeding. Also, while unlikely, it’s always good practice to back up critical data from your main computer before making significant changes like altering boot settings, just in case.
Step-by-Step Guide to Creating Your Bootable USB
With your Linux ISO downloaded and your USB drive ready, it’s time to create the bootable media. We’ll cover the most popular methods for different operating systems.
Method 1: Using Rufus (For Windows Users)
Rufus is a powerful and efficient utility designed specifically for Windows to create bootable USB drives.
- Download Rufus: Go to the official Rufus website (
rufus.ie) and download the latest portable version. - Insert USB Drive: Plug your chosen USB drive into your Windows computer.
- Launch Rufus: Run the downloaded Rufus executable. It usually doesn’t require installation.
- Configure Rufus:
- Device: Ensure the correct USB drive is selected from the “Device” dropdown menu. Double-check this to avoid accidentally wiping the wrong drive!
- Boot selection: Click the “SELECT” button and navigate to your downloaded Linux ISO file.
- Partition scheme: For most modern systems, leave this as “GPT” for UEFI. If you have an older system that only supports Legacy BIOS, you might need to select “MBR”. Rufus often automatically detects the correct scheme.
- Target system: This will usually auto-populate based on the partition scheme (e.g., UEFI (non CSM)).
- Volume label: You can leave this as default or give your USB a descriptive name (e.g., “Ubuntu Live”).
- File system and Cluster size: Leave these as default.
- Persistent Partition Size (Optional): This is a critical option for a truly portable system. If you want your changes (installed software, saved documents, system updates) to persist across reboots, drag the slider to allocate some space for “Persistent partition size”. The more space you allocate, the more data you can save. If you only want a “live” session (where all changes are lost on reboot), leave this at 0.
- Start the Process: Click the “START” button. Rufus may prompt you to download additional files (like Syslinux) if needed; confirm these downloads. It will also warn you that all data on the USB drive will be destroyed. Confirm to proceed.
- Wait for Completion: The process can take several minutes depending on the size of the ISO and the speed of your USB drive. Once it says “READY,” you can close Rufus and safely eject your USB drive.
Method 2: Using Balena Etcher (For Windows, macOS, and Linux Users)
Balena Etcher is praised for its incredibly simple, user-friendly interface and its safety features, which prevent accidental overwrites of system drives.
- Download Etcher: Visit the official Balena Etcher website (
balena.io/etcher) and download the version appropriate for your operating system (Windows, macOS, or Linux). - Insert USB Drive: Plug your USB drive into your computer.
- Launch Etcher: Install and open Balena Etcher.
- Select Image: Click “Flash from file” and choose your downloaded Linux ISO file.
- Select Target: Click “Select target” and carefully choose your USB drive from the list. Etcher typically hides system drives to prevent accidental selection, but always double-check.
- Flash! Click the “Flash!” button. Etcher will prompt you for administrative privileges (password) if necessary.
- Wait for Completion: Etcher will display a progress bar. Once it completes, it will automatically validate the written data to ensure integrity. When it says “Flash Complete!” you can safely eject your USB drive.
Method 3: Using the dd Command (For Linux and macOS Users – Advanced)
The dd command is a powerful, low-level utility available on Unix-like systems. It’s fast but requires extreme caution.
- Insert USB Drive: Plug your USB drive into your Linux or macOS machine.
- Identify USB Drive:
- Linux: Open a terminal and type
lsblkorsudo fdisk -l. Identify your USB drive by its size and device name (e.g.,/dev/sdb,/dev/sdc). It’s crucial to identify the correct device, as writing to the wrong one will lead to data loss on that drive. - macOS: Open a terminal and type
diskutil list. Look for your USB drive, noting its identifier (e.g.,/dev/disk2). You might need to unmount it first usingdiskutil unmountDisk /dev/diskX(replaceXwith your disk number).
- Linux: Open a terminal and type
- Run the
ddCommand:- Basic Syntax:
sudo dd if=/path/to/your/linux.iso of=/dev/sdX bs=4M status=progress- Replace
/path/to/your/linux.isowith the actual path to your downloaded ISO file. - Replace
/dev/sdXwith the device name of your USB drive (e.g.,/dev/sdb). DO NOT include a partition number like/dev/sdb1. bs=4Mspecifies the block size, which can speed up the process.status=progress(Linux only) shows the progress during the copy.
- Replace
- Example (Linux):
sudo dd if=~/Downloads/ubuntu-22.04.3-desktop-amd64.iso of=/dev/sdb bs=4M status=progress - Example (macOS):
sudo dd if=~/Downloads/ubuntu-22.04.3-desktop-amd64.iso of=/dev/rdisk2 bs=4m(Note:/dev/rdiskXfor raw disk access is often faster on macOS, and block size uses ‘m’ not ‘M’).
- Basic Syntax:
- Enter Password: You’ll be prompted for your user password.
- Wait for Completion: The command will run silently until it’s finished, unless
status=progressis used. Do not interrupt it. Once it returns to the command prompt, the process is complete. - Sync/Eject:
- Linux: Type
syncto ensure all data is written, then safely remove the USB. - macOS: Type
diskutil eject /dev/diskX(replaceXwith your disk number).
- Linux: Type
Booting and Exploring Your Portable Linux System
With your bootable USB ready, the next step is to boot your computer from it. This process typically involves accessing your computer’s BIOS or UEFI settings during startup.
Adjusting BIOS/UEFI Settings
- Insert USB: Plug your bootable Linux USB into the computer you wish to boot from.
- Restart Computer: Restart the computer.
- Access Boot Menu/BIOS/UEFI: As the computer starts up, you’ll need to press a specific key repeatedly to enter the BIOS/UEFI setup utility or a one-time boot menu. Common keys include:
- Dell: F2 (BIOS Setup), F12 (Boot Menu)
- HP: F10 (BIOS Setup), F9 (Boot Menu)
- Lenovo: F1 or F2 (BIOS Setup), F12 (Boot Menu)
- Acer: F2 (BIOS Setup), F12 (Boot Menu)
- Asus: Del or F2 (BIOS Setup), F8 (Boot Menu)
- Microsoft Surface: Volume Up button
- General: Esc, F1, F11, F12, Del
Refer to your computer’s manual or manufacturer’s website if you’re unsure.
- Select USB Drive:
- Boot Menu: If you accessed the one-time boot menu, simply select your USB drive (it might be listed as “USB-HDD,” “EFI USB Device,” or by the brand of your USB drive).
- BIOS/UEFI Setup: If you entered the setup utility, navigate to the “Boot” tab or section. You might need to:
- Change the “Boot Order” or “Boot Priority” to put your USB drive at the top.
- Disable “Secure Boot” if enabled (sometimes required for Linux, though many modern distros support Secure Boot).
- Switch from “UEFI” to “Legacy” or “CSM” mode if you encounter issues with a very old Linux ISO or hardware, though UEFI is generally preferred.
- Save and Exit: Save your changes (usually F10) and exit the BIOS/UEFI setup. The computer will restart and should now boot from your USB drive.
Understanding Live Sessions and Persistent Storage
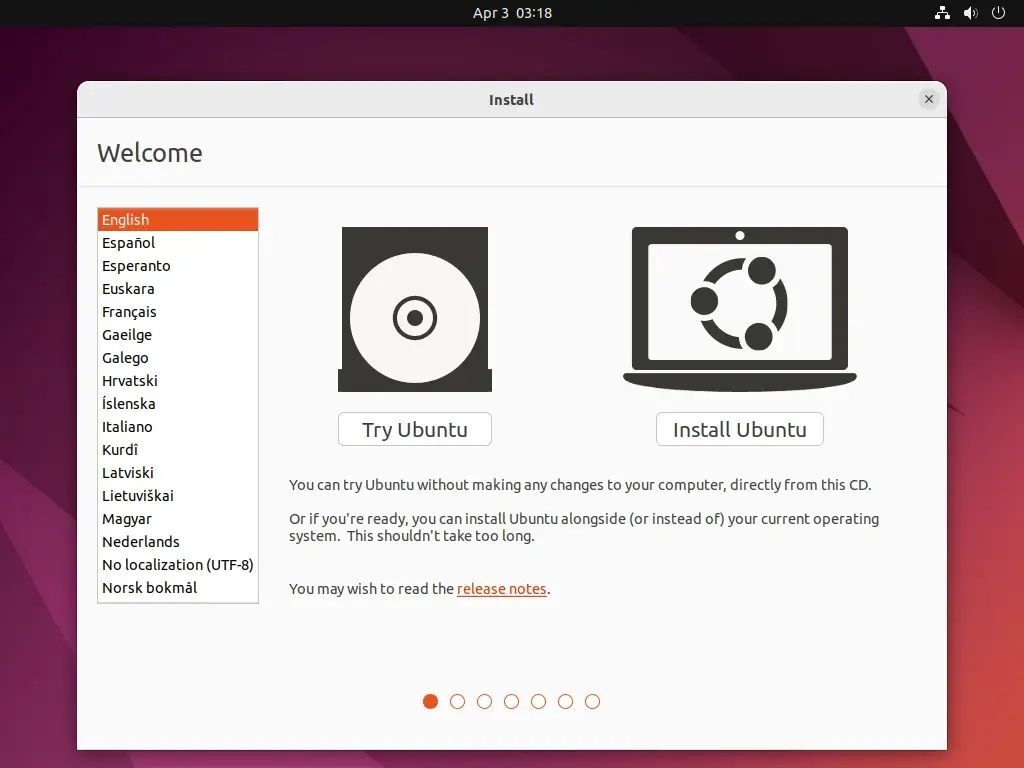
Once you’ve successfully booted from the USB, you’ll typically be presented with options, often including “Try Ubuntu without installing,” “Install Ubuntu,” or similar.
- Live Session (Default): Choosing “Try” or a similar option will boot into a fully functional Linux environment that runs entirely from RAM and the USB drive. Any changes you make, files you save, or software you install will be lost once you shut down or reboot the computer, unless you created a persistent partition (as discussed with Rufus). This is ideal for testing, system rescue, or temporary use where you don’t want to leave a trace.
- Persistent Storage: If you allocated space for a “persistent partition” during the USB creation process (e.g., using Rufus), then changes you make in the live session (like saving files, installing updates, or changing settings) will be saved to that dedicated partition on the USB drive. This allows for a more personalized and consistent portable experience, effectively making your USB a miniature, savable OS.
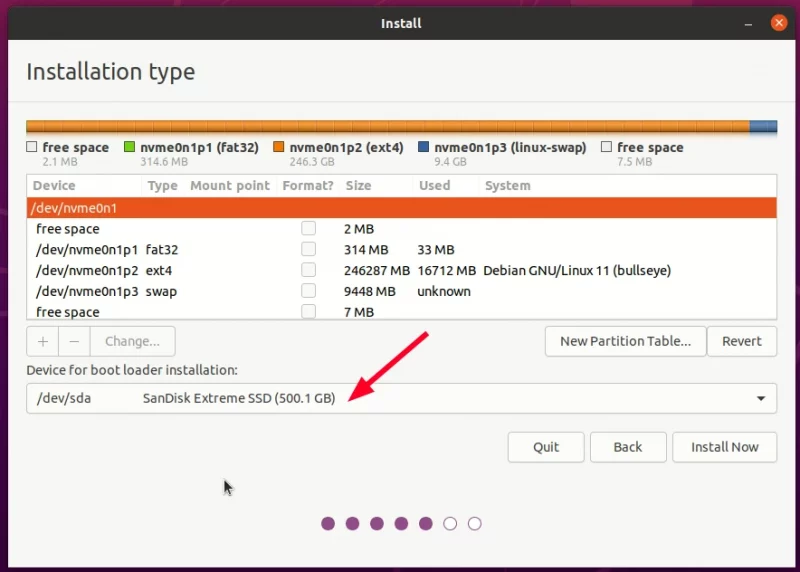
- Full Installation to USB: While less common, it’s also possible to perform a full installation of Linux onto a USB drive, treating it like a regular hard drive. This usually requires a second USB drive (one for the installer, one for the installation target) or an existing Linux installation to do the installation. This option offers maximum performance and functionality, but it’s more complex and requires more careful partitioning, ensuring you don’t accidentally install over your main hard drive. It essentially turns your USB drive into a complete, standalone computer.
Advanced Considerations and Troubleshooting
While installing Linux on a USB is generally straightforward, being aware of some advanced considerations and common troubleshooting tips can greatly enhance your experience.
Performance Tips for Your Portable OS
The performance of your Linux USB can vary significantly. Here’s how to optimize it:
- Fast USB Drive: As mentioned, a USB 3.0 or 3.1 drive (or even USB-C) is paramount. The faster the read/write speeds, the snappier your portable OS will feel.
- USB 3.0/3.1 Port: Always plug your fast USB drive into a corresponding USB 3.0/3.1 port on the host computer for maximum speed. Using a 3.0 drive in a 2.0 port will bottleneck performance.
- Allocate RAM: If you’re running a live session, the system uses RAM heavily. Ensure the host computer has sufficient RAM (8GB+ is ideal for a smooth experience).
- Lightweight Desktop Environments: For older or less powerful host computers, consider Linux distributions that use lightweight desktop environments like XFCE (Xubuntu), LXQt (Lubuntu), or MATE (Linux Mint MATE). These consume fewer resources than GNOME or KDE.
- Minimalist Distros: For ultra-portability and speed, distros like Alpine Linux, Puppy Linux, or Tiny Core Linux are designed to be extremely small and fast, though they might require a steeper learning curve.
- Use SSD-based USB Enclosures: For the ultimate performance, consider an external SSD drive in a USB enclosure. This will provide speeds comparable to an internal SSD, far outstripping typical flash drives.
Common Issues and Solutions
- USB Drive Not Recognized as Bootable:
- Solution: Double-check that you used a reputable USB creator tool (Rufus, Etcher) and followed the steps correctly. Re-download the ISO and verify its integrity. Ensure your BIOS/UEFI settings are correctly configured to boot from USB. Try a different USB port on the computer.
- “Secure Boot” Prevents Booting:
- Solution: Enter your BIOS/UEFI settings and disable “Secure Boot.” Some Linux distributions are signed for Secure Boot, but many are not, or older hardware might struggle.
- Slow Performance:
- Solution: This is often due to a slow USB drive or using a USB 2.0 port. Upgrade to a faster USB 3.0/3.1 drive and ensure it’s plugged into a compatible port. Use a lightweight desktop environment.
- No Persistent Changes:
- Solution: If you expected changes to save but they didn’t, you likely didn’t allocate a persistent partition during the USB creation process. Rufus is excellent for this. You’ll need to recreate the USB drive with persistence enabled.
- Graphics or Wi-Fi Issues in Live Session:
- Solution: Live sessions sometimes struggle with proprietary drivers. After booting, you can often find options in the desktop environment to install “additional drivers” or “proprietary drivers.” For Wi-Fi, ensure your adapter is supported; sometimes a newer kernel (available after a full install and updates) helps.
- “Installation Failed” During Full Install to USB:
- Solution: If you’re attempting a full installation onto a USB (rather than just a live session with persistence), ensure you have two USB drives: one for the installer, and one as the target for the installation. Carefully select the correct target drive during the installation process to avoid wiping your internal hard drive. Ensure the target USB has enough free space and consider creating an
EFI System Partitionif installing in UEFI mode.
- Solution: If you’re attempting a full installation onto a USB (rather than just a live session with persistence), ensure you have two USB drives: one for the installer, and one as the target for the installation. Carefully select the correct target drive during the installation process to avoid wiping your internal hard drive. Ensure the target USB has enough free space and consider creating an
Further Customization and Integration
Once your portable Linux system is up and running, the possibilities for customization are endless. You can:
- Install Your Favorite Software: From productivity suites like LibreOffice to web browsers, coding tools, and multimedia players, the Linux repositories offer a vast array of free and open-source software.
- Personalize Your Desktop: Change themes, icons, fonts, and wallpapers to make the environment truly your own.
- Set Up Cloud Sync: Integrate cloud storage services like Nextcloud, Dropbox, or Google Drive for easy file synchronization across devices.
- Enhance Digital Security: Install a VPN, configure a firewall, and use disk encryption to further protect your data and online activities.
- Explore Containerization: For developers, tools like Docker can be installed to create isolated environments for applications, enhancing productivity and consistency.
Conclusion: Empowering Your Digital Journey with Portable Linux
Installing Linux on a USB drive is more than just a technical exercise; it’s an act of digital empowerment. It provides you with a portable, secure, and customizable computing environment that can adapt to virtually any machine and situation. From ensuring privacy on public computers and rescuing ailing systems to exploring new operating systems without commitment, the advantages are clear and compelling.
By following this guide, you’ve equipped yourself with a powerful tool that expands your technological capabilities. This aligns perfectly with our platform’s mission to demystify complex “Tech” topics, offering “Tutorials” that enhance your “Productivity” and bolster your “Digital Security.” Whether you’re a seasoned IT professional or a curious beginner, embracing a portable Linux OS on a USB drive opens up a new realm of freedom and control over your digital life. Welcome to the world of truly portable computing!
aViewFromTheCave is a participant in the Amazon Services LLC Associates Program, an affiliate advertising program designed to provide a means for sites to earn advertising fees by advertising and linking to Amazon.com. Amazon, the Amazon logo, AmazonSupply, and the AmazonSupply logo are trademarks of Amazon.com, Inc. or its affiliates. As an Amazon Associate we earn affiliate commissions from qualifying purchases.