Java, a cornerstone of modern software development, continues to power a vast array of applications, from enterprise-level systems and Android apps to big data solutions and even components within AI frameworks. For Mac users, setting up Java correctly is a fundamental step, whether you’re a seasoned developer, a budding programmer, or simply need to run a specific application that relies on the Java Runtime Environment (JRE). Given the evolving landscape of Java distributions and Apple’s own system configurations, this guide provides a detailed, up-to-date walkthrough to ensure a smooth and efficient installation on your macOS device.

This tutorial dives deep into not just how to install Java, but also why certain choices are made, touching upon the nuances of JDK vs. JRE, OpenJDK providers, and environment variable configurations crucial for any tech enthusiast or professional navigating the digital security and productivity aspects of software.
Understanding Java on macOS: JDK, JRE, and the Ecosystem
Before diving into the installation process, it’s essential to grasp the key components of Java and how they interact with your macOS system. This foundational knowledge empowers you to make informed decisions about which Java version and distribution best suit your needs, aligning with broader technology trends and software development practices.
What is Java, and Why is it Important for Mac Users?
At its core, Java is a powerful, object-oriented programming language and computing platform first released by Sun Microsystems (now Oracle) in 1995. Its defining characteristic is its “write once, run anywhere” capability, achieved through the Java Virtual Machine (JVM). This means Java code compiled on one platform can run on any other platform that has a compatible JVM installed, including macOS.
For Mac users, Java’s importance spans several domains:
- Software Development: Many popular Integrated Development Environments (IDEs) like IntelliJ IDEA, Eclipse, and NetBeans are written in Java or heavily rely on it. Developers on macOS use Java to build everything from desktop applications to web servers, microservices, and mobile apps for the Android platform.
- Enterprise Applications: A significant number of mission-critical business applications, databases, and middleware are Java-based. If your work involves interacting with such systems, having Java installed is often a prerequisite.
- Educational Tools: Many computer science curricula use Java as a primary teaching language, making its installation crucial for students.
- Specialized Software: Certain niche applications, scientific tools, or even games might require a specific Java Runtime Environment to function.
Understanding Java’s pervasive nature underscores why its correct installation and management are vital for productivity and digital security on your Mac.
Decoding JDK vs. JRE
When you encounter Java, you’ll primarily hear two acronyms: JRE and JDK. Understanding the distinction is crucial for choosing what to install.
- JRE (Java Runtime Environment): The JRE is what you need if you only want to run Java applications. It contains the Java Virtual Machine (JVM), core libraries, and other components necessary to execute compiled Java code. Think of it as the engine that allows Java programs to operate on your system. If your primary goal is to use software that requires Java, the JRE is typically sufficient.
- JDK (Java Development Kit): The JDK is a superset of the JRE. It includes everything in the JRE, plus development tools like the Java compiler (javac), debugger, archiver (jar), and other utilities essential for writing and compiling Java applications. If you are a developer, a student learning Java, or someone who needs to compile Java code, the JDK is what you need. Installing the JDK implicitly includes the JRE.
Recommendation: For most Mac users, especially those involved in development, installing the JDK is the standard practice. This provides both the runtime environment and the necessary development tools.
The Rise of OpenJDK and Various Distributions
Historically, Oracle provided the official Java Development Kit (Oracle JDK). However, licensing changes surrounding Oracle JDK have led to a significant shift towards OpenJDK – an open-source implementation of the Java Platform, Standard Edition. OpenJDK is the foundation for most modern JDK distributions, and it’s generally recommended for most users due to its open-source nature, community support, and lack of commercial licensing restrictions for standard usage.
Several reputable vendors provide their own builds of OpenJDK, often with additional features, support, or optimizations. Popular OpenJDK distributions include:
- Adoptium (Eclipse Adoptium / Temurin): Widely regarded as a leading provider of OpenJDK builds. Adoptium offers high-quality, free, and open-source JDK builds (Temurin) with extensive community support. It’s an excellent choice for general development and production use.
- Azul Zulu: Azul Systems offers certified, commercial-grade OpenJDK builds, including free versions that are suitable for most users. They are known for robust performance and a commitment to Java innovation.
- Amazon Corretto: Amazon’s distribution of OpenJDK, backed by Amazon, offering long-term support (LTS) and production readiness. It’s especially popular for users working within the AWS ecosystem.
- Oracle OpenJDK: Oracle also provides free, open-source builds of OpenJDK, typically available for shorter support cycles compared to their commercial Oracle JDK.
Recommendation: For most Mac users, especially developers, Adoptium (Temurin) is an excellent starting point due to its strong community backing, reliability, and clear licensing. This guide will focus on installing Temurin from Adoptium, as it represents a common and recommended approach in the current tech landscape.
Pre-Installation Checks and Choosing Your Java Version
Before you proceed with the installation, a few preliminary steps will ensure a smooth process and help you select the appropriate Java version for your macOS. This section also touches upon how these choices can impact your productivity and digital security.
Checking for Existing Java Installations
It’s good practice to determine if Java is already installed on your Mac, and if so, which version. This prevents conflicts and helps you decide whether you need to update or install a fresh version.
-
Open Terminal: You can find Terminal in
Applications/Utilitiesor by searching with Spotlight (Cmd + Space, then type “Terminal”). -
Check Java Version: Type the following command and press Enter:
java -version- If Java is installed, you’ll see output similar to:
openjdk version "17.0.8" 2023-07-18 LTS

OpenJDK Runtime Environment Temurin-17.0.8+7 (build 17.0.8+7)

OpenJDK 64-Bit Server VM Temurin-17.0.8+7 (build 17.0.8+7, mixed mode, sharing)
This tells you the Java version (e.g., 17.0.8), the distribution (Temurin), and whether it’s an LTS (Long-Term Support) version. - If Java is not installed, or if the system can’t find it, you might see “command not found” or a prompt to install a legacy Apple Java 6 runtime. Avoid installing the outdated Apple Java 6 if prompted; it’s not the modern Java you need.
- If Java is installed, you’ll see output similar to:
-
Check for
javac(Java Compiler): If you plan to develop Java applications, check for the compiler:
bash

javac -version
- If
javacis installed, you’ll see its version. If not, it means you likely only have a JRE or no JDK installed.
- If
Selecting the Right Java Version (LTS vs. Short-Term Releases)
Java releases follow a predictable cadence, with new versions every six months. Within these, some are designated as Long-Term Support (LTS) releases, which receive extended maintenance and updates, making them ideal for production environments and long-term projects. Short-term releases offer newer features but have shorter support cycles.
- LTS Versions: Java 8, Java 11, and Java 17 are current LTS versions. Java 21 is the newest LTS version as of late 2023. For most users and enterprises, an LTS version is recommended due to its stability and long-term maintenance.
- Short-Term Releases: Versions like Java 12, 13, 14, 15, 16, 18, 19, 20 are short-term releases. They are useful for exploring new features or for projects that can quickly adapt to new versions, but generally not recommended for critical production systems.
Recommendation: For stability, security, and broad compatibility, Java 17 (LTS) or the latest Java 21 (LTS) is highly recommended. These versions offer modern features, performance improvements, and ongoing support, aligning with best practices in software development and digital security.
Downloading the Chosen Java Distribution (Adoptium Temurin)
Once you’ve decided on an LTS version (e.g., Java 17 or 21), it’s time to download the installer.
- Visit Adoptium Website: Open your web browser and go to
https://adoptium.net/. - Select Java Version and Operating System:
- On the homepage, you’ll typically see options for the latest LTS release. For example, “LTS 21” or “LTS 17”.
- Ensure “macOS” is selected as the Operating System. The architecture (x64 for Intel Macs, AArch64 for Apple Silicon M1/M2/M3 Macs) should be automatically detected or you can select it manually. If you are unsure, for Apple Silicon Macs, choose AArch64. For Intel Macs, choose x64.
- Make sure “JDK” is selected, not JRE.
- Download the Installer: Click the “Latest LTS Release” button (e.g., “JDK 21 (LTS)”). This will typically download a
.pkginstaller file, which simplifies the installation process on macOS. For example, it might be namedOpenJDK17U-jdk_x64_mac_hotspot_17.0.8_7.pkg.
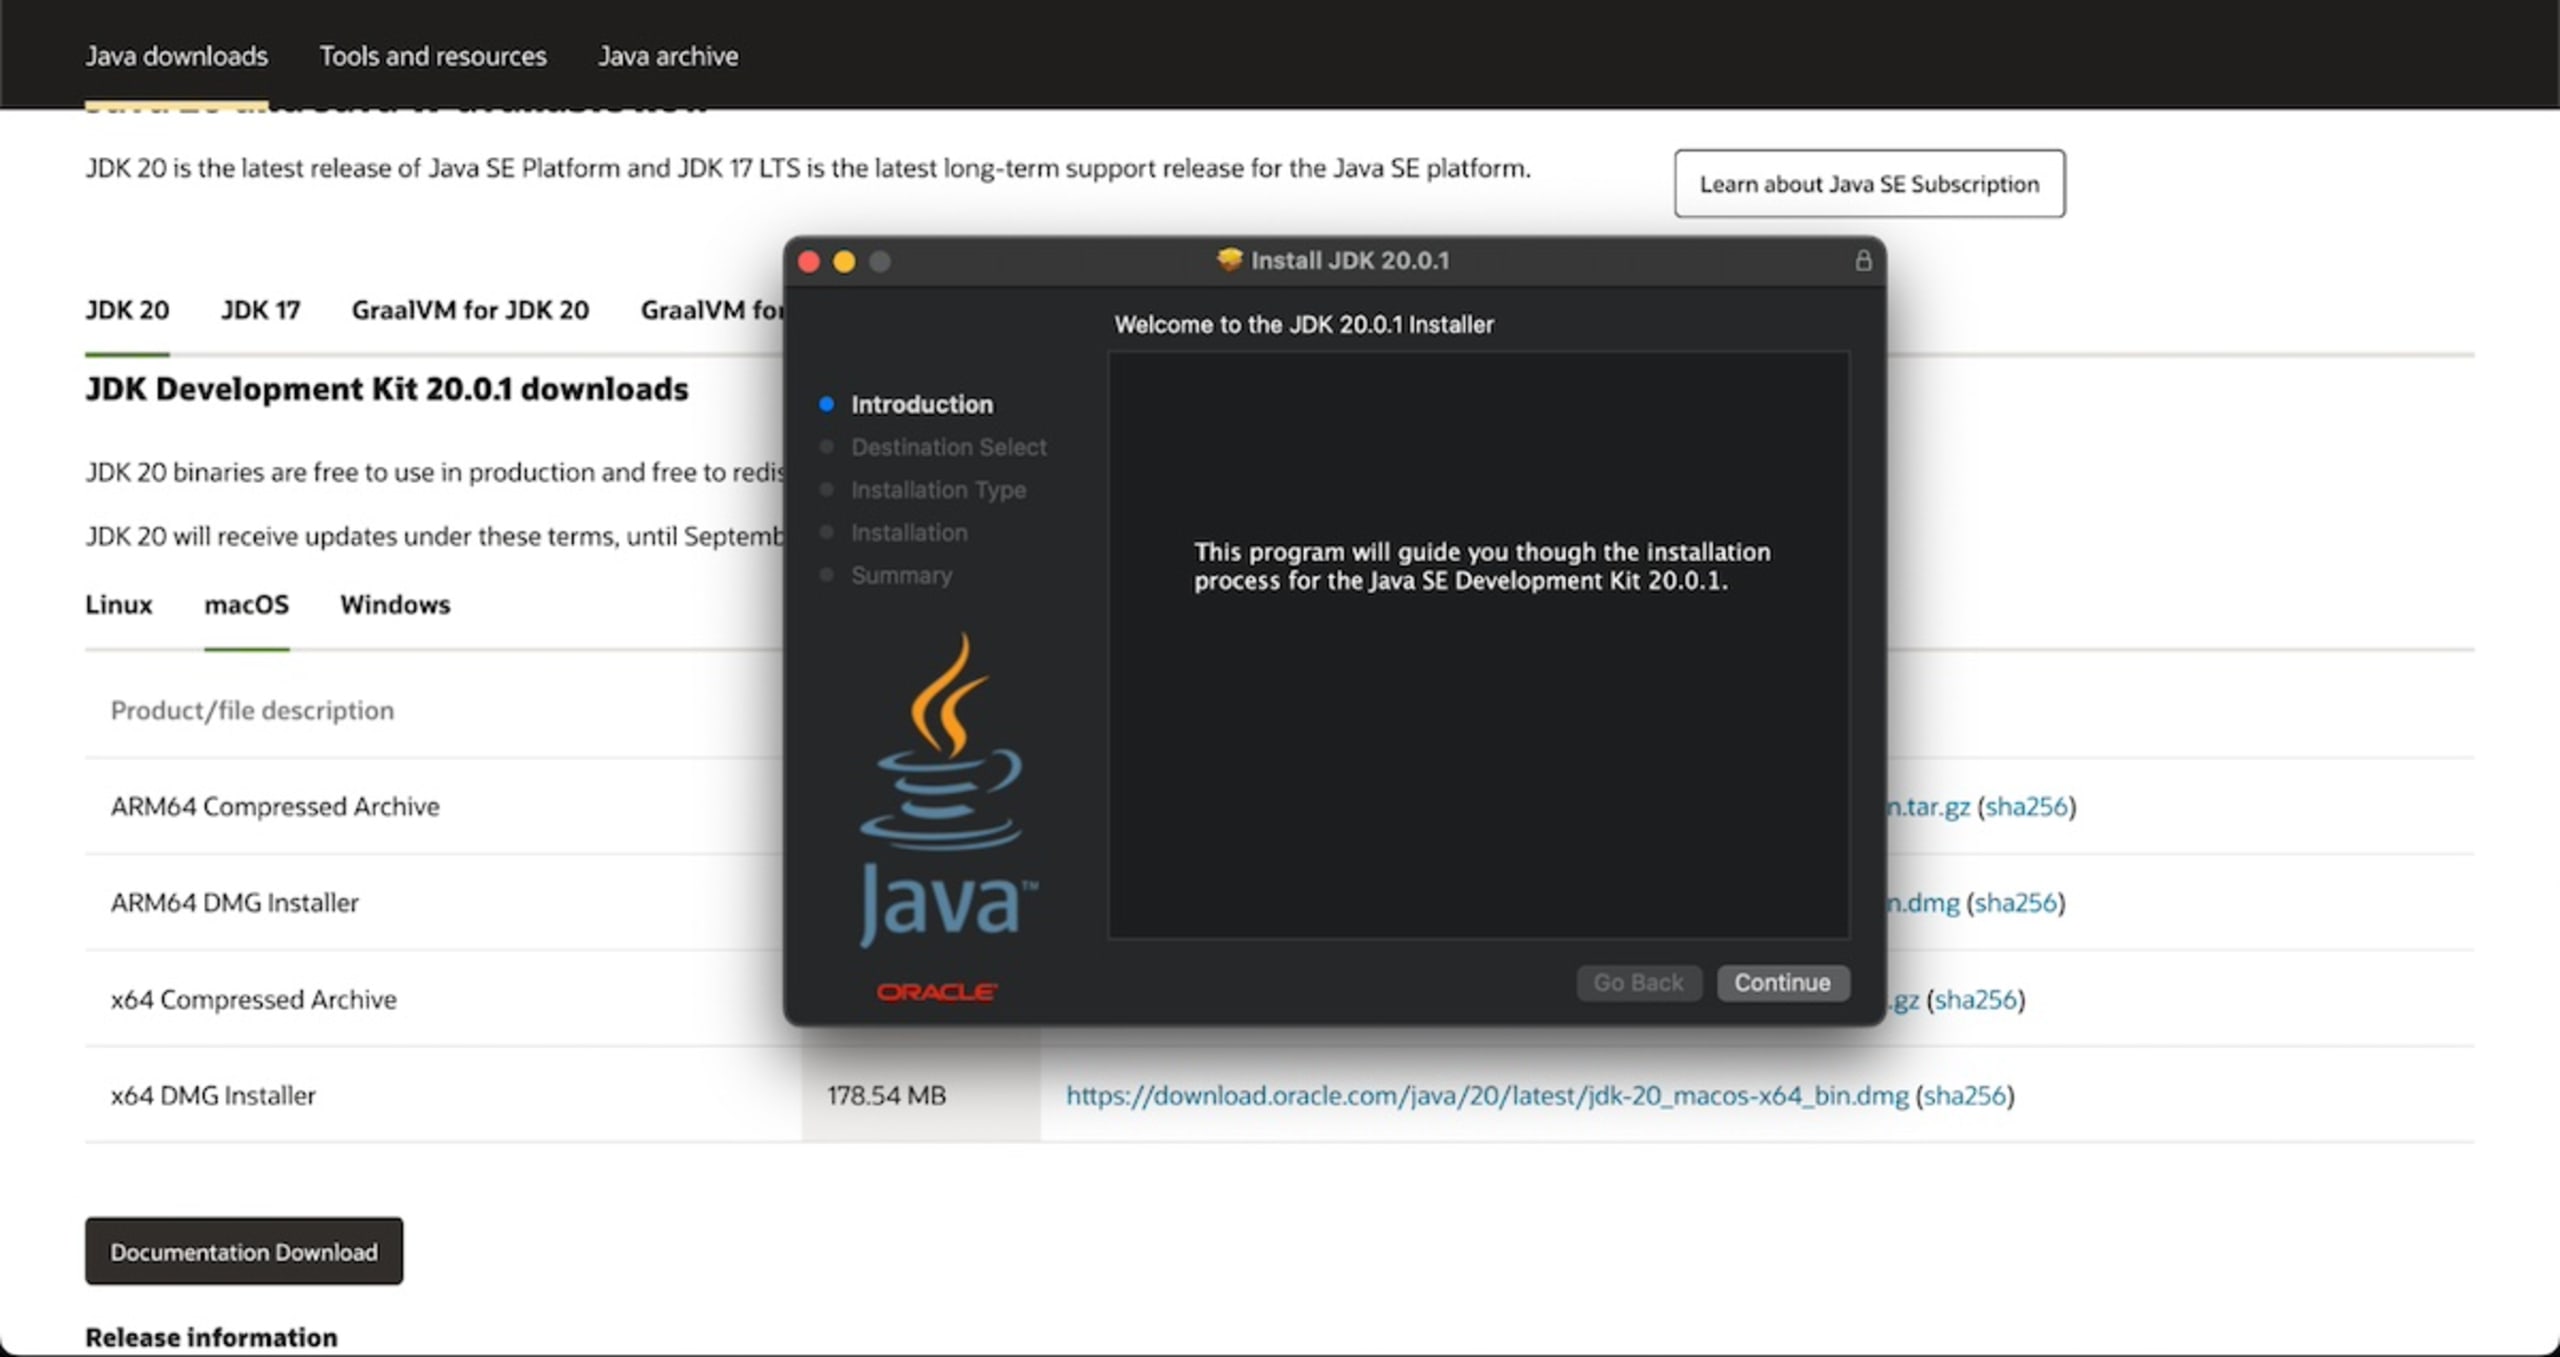
Step-by-Step Installation Process on macOS
With the installer downloaded, the actual installation process is straightforward, often requiring just a few clicks. This section details the steps, ensuring you follow proper procedures for software installation and configuration.
Running the PKG Installer
The .pkg file format is Apple’s standard installer package, similar to .exe on Windows.
- Locate the Downloaded File: Navigate to your
Downloadsfolder (or wherever you saved the.pkgfile). - Start the Installation: Double-click the
.pkgfile (e.g.,OpenJDK17U-jdk_x64_mac_hotspot_17.0.8_7.pkg). - Follow the Installer Prompts:
- A welcome screen will appear. Click
Continue. - Review the important information. Click
Continue. - Read the license agreement. You must click
Continueand thenAgreeto proceed. - Choose the installation location. The default location (
/Library/Java/JavaVirtualMachines/) is usually fine and recommended. ClickInstall. - You will be prompted to enter your macOS user password to authorize the installation. This is a standard security measure for system-level software.
- The installation will proceed. Once complete, you will see a “The installation was successful” message. Click
Close. You may be prompted to move the installer to the Trash, which you can do.
- A welcome screen will appear. Click
Verifying the Installation
After the installer finishes, it’s crucial to verify that Java was installed correctly and is accessible from your Terminal. This step confirms the integrity of your software setup.
- Open Terminal: If it’s not already open, launch Terminal from
Applications/Utilities. - Check Java Version Again: Run the
java -versioncommand:
bash

java -version
You should now see the version you just installed (e.g.,openjdk version "17.0.8"with Temurin details). - Check Javac Version: Since you installed the JDK, verify the Java compiler:
bash

javac -version
This should also display the corresponding version (e.g.,javac 17.0.8).
If both commands return the correct version information, Java has been successfully installed and is recognized by your system’s PATH. If not, proceed to the next section on environment variable configuration.
Setting Up JAVA_HOME and PATH Environment Variables
While the .pkg installer often configures Java correctly for most basic uses, explicitly setting JAVA_HOME and updating your PATH environment variable is a best practice, especially for developers. Many build tools (like Maven, Gradle), IDEs, and other Java-related applications rely on these variables to locate your Java installation. This step is critical for development productivity and ensuring your tools can find the correct Java version.
-
Locate
JAVA_HOME: The standard location for JDKs installed via.pkgon macOS is/Library/Java/JavaVirtualMachines/. You can find the exact path using:/usr/libexec/java_home -v 17 # Replace 17 with your Java version if different (e.g., 21)This command will output the full path, e.g.,
/Library/Java/JavaVirtualMachines/temurin-17.jdk/Contents/Home. This is yourJAVA_HOME. -
Configure Shell Profile: You need to add these environment variables to your shell’s configuration file.
- For Zsh (default for macOS Catalina and later): Edit
~/.zshrc - For Bash (default for macOS Mojave and earlier): Edit
~/.bash_profileor~/.profile
Open your relevant configuration file using a text editor. For example, for Zsh:
nano ~/.zshrcAdd the following lines to the end of the file. Make sure to replace
17with your installed Java version if different.# Set JAVA_HOME export JAVA_HOME=$(/usr/libexec/java_home -v 17) # Add Java bin to PATH export PATH=$JAVA_HOME/bin:$PATHExplanation:
export JAVA_HOME=$(/usr/libexec/java_home -v 17): This command dynamically setsJAVA_HOMEto the path of your specified Java version. Usingjava_homeutility is more robust than hardcoding the path, as it can handle multiple Java installations.export PATH=$JAVA_HOME/bin:$PATH: This adds thebindirectory of yourJAVA_HOMEto your system’sPATH. ThePATHvariable tells your shell where to look for executable commands. By adding$JAVA_HOME/binto it, you ensure that commands likejavaandjavacare found and executed from your installed JDK.
- For Zsh (default for macOS Catalina and later): Edit
-
Save and Exit:
- If using
nano: PressCtrl+Oto write out, thenEnterto confirm the filename, thenCtrl+Xto exit. - If using
viorvim: PressEsc, then type:wqand pressEnter.
- If using
-
Apply Changes: For the changes to take effect in your current Terminal session, you need to source the profile file:
source ~/.zshrc # Or source ~/.bash_profile for Bash usersYou can also simply close and reopen your Terminal.
-
Verify
JAVA_HOME: After sourcing the file or reopening Terminal, check ifJAVA_HOMEis set correctly:
bash

echo $JAVA_HOME
This should output the path to your Java installation, e.g.,/Library/Java/JavaVirtualMachines/temurin-17.jdk/Contents/Home.
With JAVA_HOME and PATH configured, your Mac is fully prepared for Java development and running Java applications, ensuring compatibility with a wide range of software tools and frameworks.
Managing Java on Your Mac: Updates, Uninstallation, and Troubleshooting
Effectively managing your Java installation is crucial for long-term productivity and maintaining digital security. This section covers how to keep Java updated, uninstall it cleanly, and address common issues you might encounter. These practices are essential for any tech-savvy individual or professional, aligning with the “Digital Security” and “Productivity” aspects of modern technology management.
Updating Your Java Installation
Java updates are released regularly, often bringing performance enhancements, bug fixes, and critical security patches. Keeping your Java installation up-to-date is vital for digital security and ensuring your applications run optimally.
Unlike some operating system components, Java doesn’t usually update automatically through macOS system updates. Instead, updating Java typically involves installing a newer version.
- Check for New Releases: Periodically visit the Adoptium website (
adoptium.net) or your chosen OpenJDK provider to check for newer LTS versions or security updates for your current LTS version. - Download the New Installer: Download the
.pkginstaller for the desired newer version, following the same steps as in “Downloading the Chosen Java Distribution.” - Install the New Version: Run the new
.pkginstaller. Modern Java installations are designed to coexist, meaning installing a new version usually won’t overwrite an older one. They will typically install side-by-side in the/Library/Java/JavaVirtualMachines/directory. - Update
JAVA_HOME(if necessary): If you’ve installed a completely new LTS version (e.g., upgrading from Java 17 to Java 21) and want to make it your default, update theJAVA_HOMEvariable in your~/.zshrcor~/.bash_profileto reflect the new version number (e.g.,-v 21). Remember tosourceyour profile file or restart Terminal. - Remove Older Versions (Optional but Recommended): While multiple Java versions can coexist, it’s often good practice to uninstall older, unused versions to free up disk space and reduce potential confusion. (See “Uninstalling Java” below).
Uninstalling Java from Your Mac
You might need to uninstall Java if you’re experiencing issues, want to revert to an older version, or simply no longer need it.
-
Identify Installed JDKs: List the Java Virtual Machines on your system:
ls -l /Library/Java/JavaVirtualMachines/This will show you directories like
temurin-17.jdk,temurin-21.jdk, etc. -
Remove the JDK Directory: To uninstall a specific JDK, use the
sudo rm -rfcommand. Be extremely careful withrm -rfas it permanently deletes files without confirmation. Ensure you specify the correct path. For example, to uninstalltemurin-17.jdk:sudo rm -rf /Library/Java/JavaVirtualMachines/temurin-17.jdkYou will need to enter your administrator password.
-
Clean Up Environment Variables: If you manually set
JAVA_HOMEandPATHin your~/.zshrcor~/.bash_profilefor the uninstalled version, remember to remove or update those lines. Thensourceyour profile file or restart Terminal. -
Remove Browser Plugins (if applicable, largely obsolete): Older versions of Java used browser plugins for applets. Modern browsers have largely phased out support for these. If you have a very old Java installation, you might find a Java Plugin.bundle in
/Library/Internet Plug-Ins/. You can remove it using:
bash

sudo rm -rf /Library/Internet Plug-Ins/JavaAppletPlugin.plugin

sudo rm -rf /Library/PreferencePanes/JavaControlPanel.prefPane
However, for modern Java installations, these steps are rarely necessary.
Troubleshooting Common Java Installation Issues
Even with a detailed guide, you might encounter issues. Here are some common problems and their solutions:
-
“java: command not found” or “javac: command not found”:
- Cause: Java is either not installed, or your
PATHenvironment variable isn’t correctly configured to point to its executable directory. - Solution:
- Verify installation with
ls -l /Library/Java/JavaVirtualMachines/. - Recheck your
~/.zshrcor~/.bash_profilefor correctJAVA_HOMEandPATHsettings. Ensure there are no typos. - Make sure you’ve
sourced the file or restarted Terminal. - Confirm you installed the JDK, not just the JRE, if
javacis missing.
- Verify installation with
- Cause: Java is either not installed, or your
-
Incorrect Java Version is Being Used:
- Cause: You have multiple Java versions installed, and your
PATHvariable is pointing to an older one, or an application is hardcoded to use a specific version. - Solution:
- Use
which javato see whichjavaexecutable is being found first in yourPATH. - Adjust your
JAVA_HOMEandPATHvariables in your shell profile to point to the desired version. - For specific applications, check their documentation; some might have their own configuration files to specify the Java path.
- Use
- Cause: You have multiple Java versions installed, and your
-
Applications Not Launching with Java Errors:
- Cause: The application might require a specific, often older, Java version, or there’s an issue with the application’s Java dependencies.
- Solution:
- Check the application’s system requirements for the recommended Java version.
- Consider installing the specific Java version the application requires (you can have multiple versions coexisting).
- Ensure the application is designed for your macOS architecture (Intel vs. Apple Silicon).
- Sometimes, older applications require the legacy Apple Java 6, which you can typically download from Apple’s support site, but it’s generally not recommended for modern usage.
-
Installer Fails or Permissions Issues:
- Cause: Corrupted download, insufficient permissions, or system interference.
- Solution:
- Redownload the
.pkgfile to rule out corruption. - Ensure you have administrator privileges and are entering your password correctly during installation.
- Temporarily disable any aggressive antivirus or security software if it’s interfering, then re-enable it.
- If persistent, try installing Java using a package manager like Homebrew (see below for an alternative).
- Redownload the
Alternative: Installing Java with Homebrew (for Advanced Users)
Homebrew is a popular package manager for macOS that simplifies the installation and management of various software, including Java. For developers and users comfortable with the command line, Homebrew offers a convenient alternative.
- Install Homebrew (if you haven’t already):
bash

/bin/bash -c "$(curl -fsSL https://raw.githubusercontent.com/Homebrew/install/HEAD/install.sh)"
- Install a Specific JDK (e.g., Temurin 17):
bash

brew install --cask temurin@17
To install a different version, replace17with21or another version. - Link to Default (Optional): Homebrew manages multiple versions gracefully. To make a specific version the default for Homebrew-installed software, you might use:
bash

brew link --force --overwrite temurin@17
This command might require careful use if you have conflicting installations. - Set
JAVA_HOMEandPATH: Homebrew installations are often located in/opt/homebrew/Caskroom/temurin/(for Apple Silicon) or/usr/local/Caskroom/temurin/(for Intel). Adjust yourJAVA_HOMEaccordingly in~/.zshrcor~/.bash_profileif you want to use the Homebrew-installed Java globally:
bash

# Example for Apple Silicon with temurin@17

export JAVA_HOME="/opt/homebrew/opt/openjdk@17/libexec/openjdk.jdk/Contents/Home"

export PATH="$JAVA_HOME/bin:$PATH"
Remember tosourceyour profile file.
Using Homebrew can streamline your workflow for managing multiple development tools, fitting perfectly within a broader strategy for productivity and keeping your tech environment organized.

Conclusion: Empowering Your Mac with Java
Successfully installing Java on your Mac is more than just running an installer; it’s about empowering your system for a vast range of technological possibilities. Whether you’re embarking on a journey into software development, maintaining critical business applications, or simply ensuring compatibility for essential tools, a properly configured Java environment is indispensable.
By understanding the distinctions between JDK and JRE, leveraging robust OpenJDK distributions like Adoptium’s Temurin, and meticulously configuring your environment variables, you ensure a stable, secure, and highly productive Java setup. As the digital landscape continues to evolve with new technology trends, keeping your Java installation updated and well-managed is a key aspect of maintaining digital security and maximizing your productivity. Now, your Mac is ready to compile code, run powerful applications, and contribute to the vibrant ecosystem powered by Java.
aViewFromTheCave is a participant in the Amazon Services LLC Associates Program, an affiliate advertising program designed to provide a means for sites to earn advertising fees by advertising and linking to Amazon.com. Amazon, the Amazon logo, AmazonSupply, and the AmazonSupply logo are trademarks of Amazon.com, Inc. or its affiliates. As an Amazon Associate we earn affiliate commissions from qualifying purchases.