Fallout 4, a sprawling post-apocalyptic RPG, offers a vast and engaging experience right out of the box. However, for many players, the true magic of the game lies in its robust modding community. Mods can transform your Wasteland adventure in countless ways, from graphical overhauls and new quests to entirely new gameplay mechanics and items. Whether you’re a seasoned gamer looking to revitalize your playthrough or a newcomer eager to customize your experience, understanding how to install mods is essential. This guide, drawing upon the core principles of technological exploration and practical application, will walk you through the process, ensuring you can successfully enhance your Fallout 4 journey.
Understanding the Modding Landscape
Before diving into the technical aspects of installation, it’s crucial to grasp the different types of mods available and the methods used to integrate them into the game. The world of Fallout 4 modding is diverse, catering to every conceivable desire for customization.
The Power of Modding: What Can Mods Do?
The impact of mods on Fallout 4 can be categorized into several key areas:
- Graphical Enhancements: These mods aim to improve the visual fidelity of the game. This can include higher resolution textures for characters, environments, and objects, enhanced lighting and weather effects, and even entirely new graphical presets that change the overall mood and atmosphere of the Wasteland. Players looking for a more immersive and visually stunning experience often start with these types of mods.
- Gameplay Mechanics: Mods can fundamentally alter how Fallout 4 plays. This might involve tweaking combat systems for a more challenging or arcade-like experience, introducing new survival mechanics like more realistic hunger and thirst systems, or even overhauling the crafting and settlement building systems. Some mods add entirely new character progression systems, allowing for deeper customization of your player character.
- New Content: Perhaps the most exciting category, these mods introduce fresh elements into the game. This can range from new weapons, armor, and creatures to entirely new questlines, storylines, and even companion characters. These content mods can significantly extend the lifespan of Fallout 4, offering hundreds of hours of new gameplay.
- Quality of Life Improvements: Not all mods are about flashy new features. Many focus on improving the user experience by addressing minor annoyances or streamlining certain aspects of the game. This could include better inventory management, improved UI elements, faster loading times, or fixes for bugs that weren’t addressed in official patches.
Modding Methods: The Foundation of Installation
There are generally two primary methods for installing mods in Fallout 4:
- Mod Managers: These are specialized applications designed to simplify the process of downloading, installing, enabling, disabling, and managing mods. They automate many of the complex steps involved in modding, making it much more accessible for beginners. Mod managers also help prevent conflicts between mods and allow for easy uninstallation.
- Manual Installation: This method involves manually placing mod files into specific folders within your Fallout 4 installation directory. While it offers more direct control, it is also more prone to errors and requires a deeper understanding of mod file structures. For most users, a mod manager is the recommended approach.
Getting Started: Essential Tools and Preparation
Before you embark on your modding journey, there are a few essential steps and tools you’ll need to have in place. These are foundational to a smooth and successful modding experience, akin to setting up a secure digital environment or understanding the financial tools needed for investment.
The Nexus Mods Ecosystem: Your Modding Hub
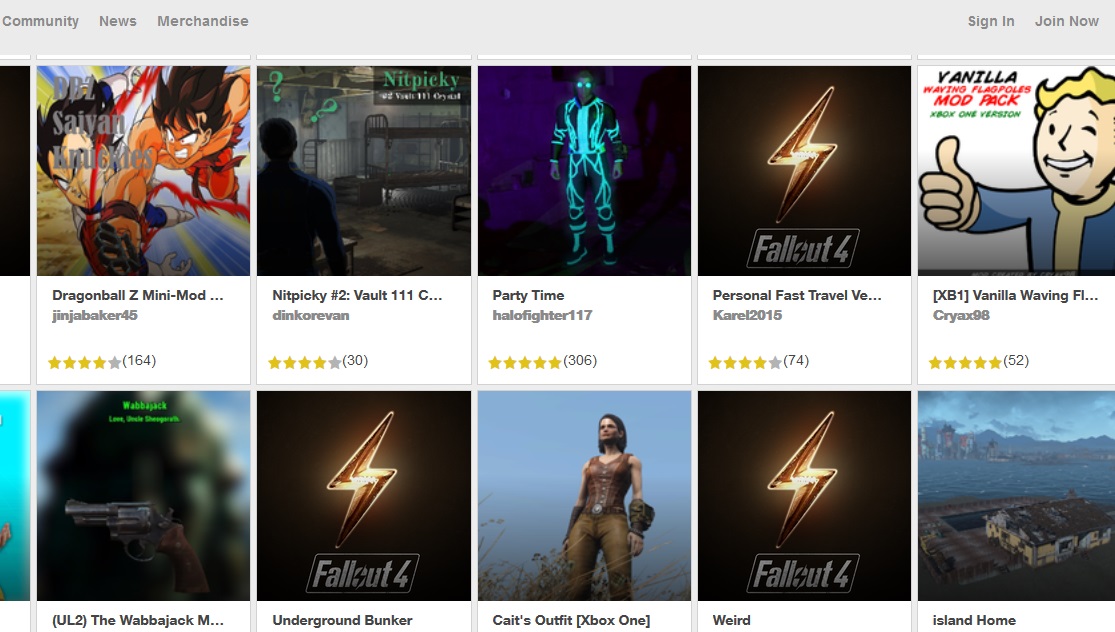
The vast majority of Fallout 4 mods are hosted on Nexus Mods. This website serves as the central repository for user-created content for countless games, and its Fallout 4 section is exceptionally rich.
- Account Creation: To download mods from Nexus Mods, you’ll need to create a free account. While many mods are available for free download, some authors may offer premium content or early access to patrons.
- Navigating the Site: Nexus Mods is well-organized, allowing you to browse mods by category, popularity, endorsements, or release date. It’s recommended to familiarize yourself with the site’s layout and search functions.
- Reading Descriptions and Requirements: Crucially, always read the full mod description before downloading. This will tell you what the mod does, its known issues, installation instructions, and most importantly, any dependencies – other mods that are required for the mod you want to install to function correctly.
Choosing Your Mod Manager: The Right Tool for the Job
As mentioned earlier, mod managers are your best friends in the modding world. The two most popular and recommended mod managers for Fallout 4 are:
- Vortex: Developed by Nexus Mods itself, Vortex is a modern, user-friendly mod manager that aims to simplify the modding process. It offers a visual interface for managing mods, profiles, and load orders. Vortex is often recommended for beginners due to its intuitive design and integration with the Nexus Mods website.
- Mod Organizer 2 (MO2): While it has a steeper learning curve than Vortex, MO2 is considered by many experienced modders to be the more powerful and flexible option. MO2 uses a virtual file system, meaning it doesn’t directly alter your game’s installation files. This makes it incredibly easy to troubleshoot conflicts and uninstall mods without leaving behind any residual files.
Recommendation: For new modders, Vortex is the recommended starting point. Its integrated approach and user-friendly interface will make the initial steps less daunting. As you gain experience and perhaps wish for more granular control, you can explore Mod Organizer 2.
Essential Tools for a Robust Setup
Beyond the mod manager, a couple of other tools are highly recommended for a smoother modding experience:
- Fallout 4 Modding Tools (FO4SE): The Fallout 4 Script Extender (FOSE) is a crucial utility for many advanced mods. It expands the scripting capabilities of the game, allowing mod authors to create more complex and sophisticated modifications. Many popular mods require FOSE to function. You’ll typically download this from its dedicated Nexus Mods page or its official website and install it into your Fallout 4 game directory.
- Bethesda.net Launcher (or Steam): Fallout 4 is available on both platforms. Ensure you have the game installed through either the Bethesda.net Launcher or Steam. Your chosen mod manager will interact with your game installation through these launchers.

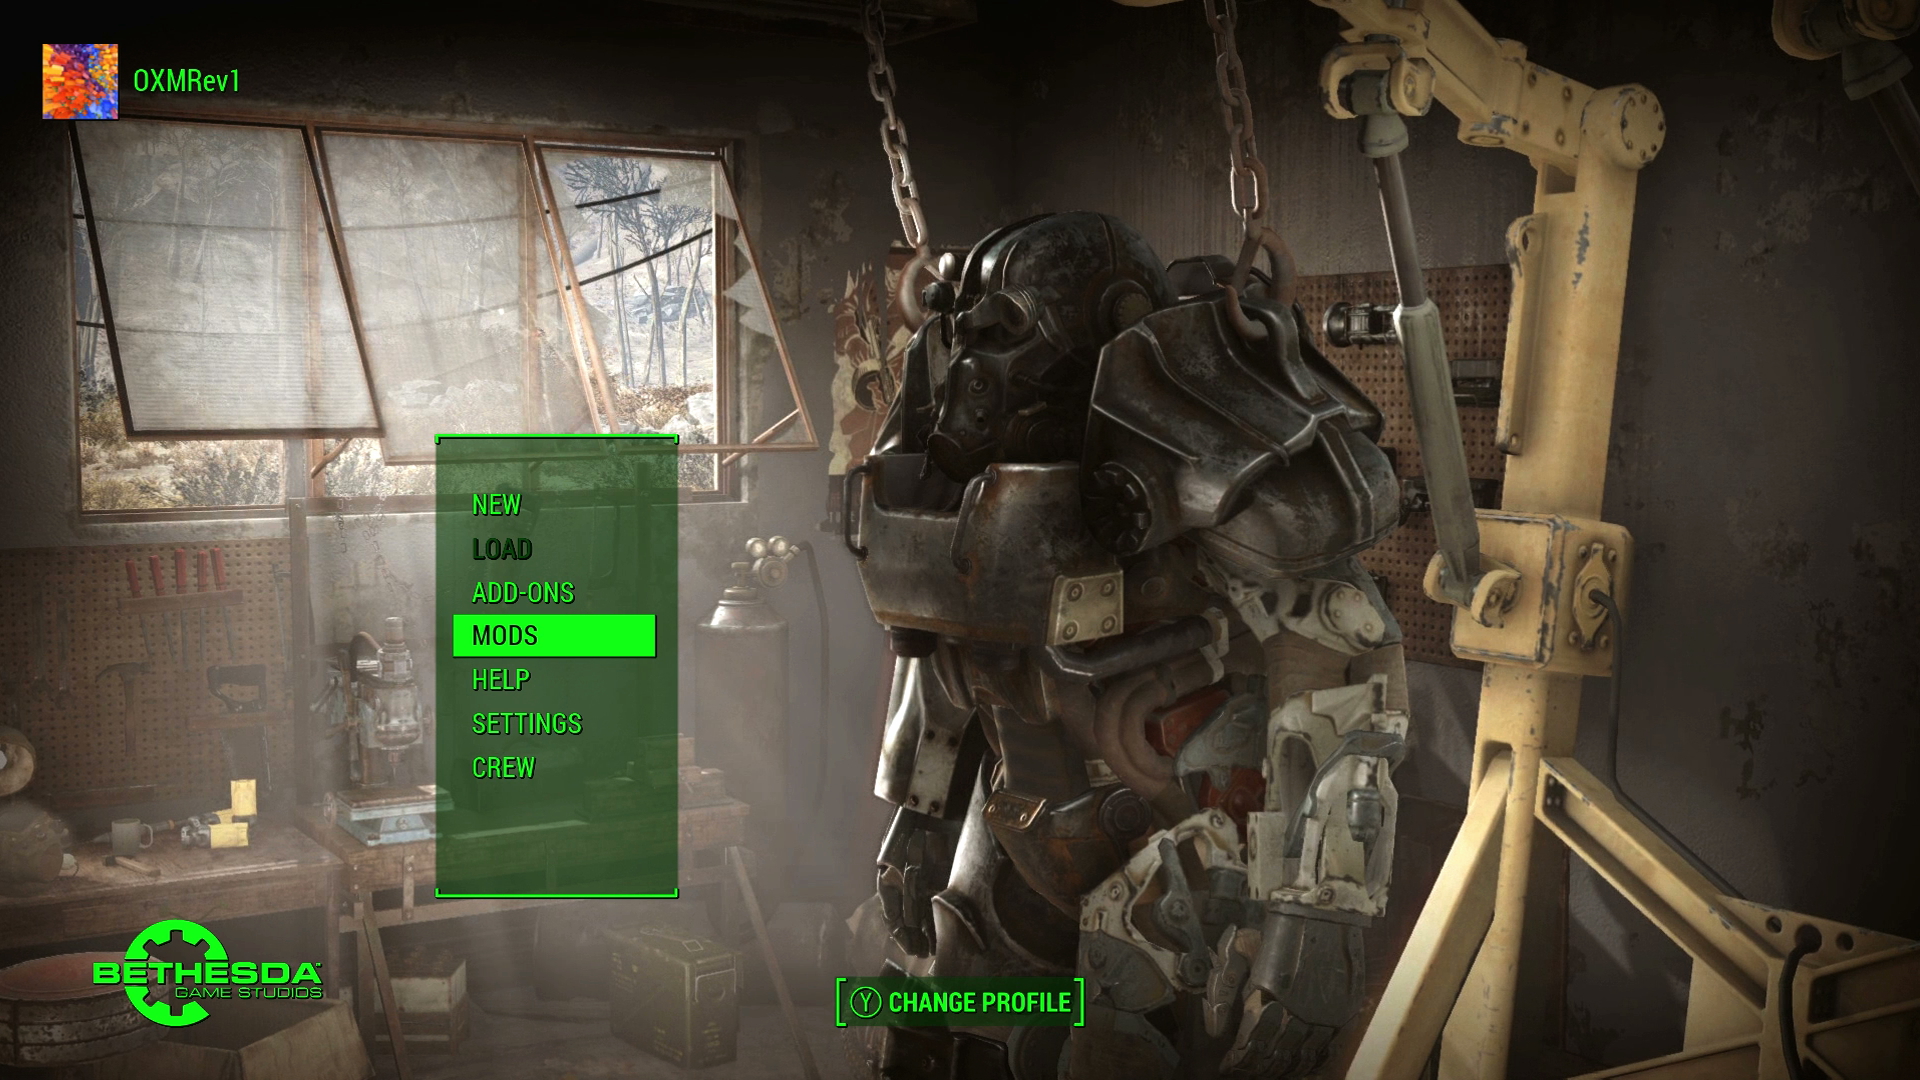
Step-by-Step Installation Guide
With the prerequisites in place, let’s dive into the actual installation process. This section will focus on using a mod manager, as it’s the most common and recommended method. We’ll use Vortex as the primary example due to its accessibility.
Installing Mods with Vortex (Beginner-Friendly Approach)
-
Install and Configure Vortex:
- Download Vortex from the official Nexus Mods website.
- Follow the on-screen instructions to install it.
- Launch Vortex. It will prompt you to connect it to your Nexus Mods account. Log in to authorize the connection.
- Vortex will then scan your system for installed games. Select Fallout 4 and click “Set up.” Vortex will guide you through setting up your game’s download and mod folders.
-
Downloading Mods from Nexus Mods:
- Open your web browser and navigate to the Fallout 4 section of Nexus Mods.
- Find a mod you’re interested in.
- On the mod’s page, look for the “Mod Manager Download” button. Click this.
- Vortex will automatically detect the download request and prompt you to open Vortex. Confirm the download within Vortex.
-
Installing Mods in Vortex:
- Once a mod is downloaded, it will appear in the “Mods” tab within Vortex.
- The mod will initially be in a “Not Installed” state. Click the “Install” button next to the mod.
- Vortex will then install the mod, making it available for deployment.
-
Enabling and Deploying Mods:
- After installation, the mod will be in an “Enabled” state (indicated by a green checkmark or similar icon). If it’s not, click the toggle to enable it.
- The most crucial step is Deployment. Vortex uses a virtual file system to manage mods. You need to “deploy” your changes for the game to recognize them. At the bottom of the Vortex window, you’ll see a “Deploy” button. Click it.
- Vortex will process the deployment, creating a specific load order for your mods. This is where potential conflicts are managed and resolved.
Managing Load Order and Conflicts
One of the most critical aspects of modding is managing your load order. This refers to the sequence in which mods are loaded by the game. If two mods alter the same game files, the mod loaded later in the order will overwrite the changes made by the mod loaded earlier.
- Vortex’s Auto-Sort: Vortex has an automatic load order sorter. After deployment, it attempts to sort your mods optimally. However, this isn’t always perfect.
- Manual Adjustments: For more complex mod setups, you might need to manually adjust the load order. Vortex provides tools to drag and drop mods into your preferred sequence. Always refer to individual mod descriptions for specific load order recommendations.
- Conflict Resolution: Vortex will highlight conflicts between mods. It will often provide tools to help you resolve these conflicts by choosing which mod’s changes should take precedence. Again, read mod descriptions carefully for guidance.
Installing FOSE and Other Dependencies
If a mod requires Fallout 4 Script Extender (FOSE) or any other prerequisite mod, you’ll need to install those first.
- Download Dependencies: Navigate to Nexus Mods and find the pages for FOSE and any other required mods. Download them using the “Mod Manager Download” option where available.
- Install Dependencies: Install these required mods within your mod manager, following the same steps as above.
- Launch FOSE Correctly: If you’re using FOSE, you must launch Fallout 4 through the
f4se_loader.exefile (located in your Fallout 4 game directory) for mods that require it to function. Do not launch the game directly through Steam or the Bethesda.net launcher if FOSE is a requirement.
Advanced Modding Techniques and Best Practices
As you become more comfortable with installing and managing mods, you might want to explore more advanced techniques and adhere to certain best practices to ensure a stable and enjoyable gaming experience.
Creating and Managing Mod Profiles
- Vortex Profiles: Vortex allows you to create different “profiles.” This is incredibly useful for testing new mod combinations or for having distinct setups for different playstyles. For example, you might have a “Vanilla+” profile for a subtle enhancement experience and another “Overhaul” profile for a complete transformation. Creating a new profile in Vortex is straightforward, and each profile can have its own unique load order and enabled mods.
Troubleshooting Common Modding Issues
- Crashes and Freezes: The most common issue. This is often due to conflicting mods, an incorrect load order, missing dependencies, or simply too many mods trying to alter the same game elements.
- Solution: Disable mods in batches to pinpoint the culprit. Start by disabling half your mods and see if the game runs. If it does, the problematic mod is in the disabled half. If not, it’s in the enabled half. Repeat this process until you isolate the issue. Always check mod descriptions for known conflicts.
- Missing Textures or Broken Graphics: This usually means a texture mod isn’t installed or deployed correctly, or another mod has overwritten its files improperly.
- Solution: Ensure all texture mods are installed and deployed. Check their load order to ensure they are not being overwritten by other texture mods. Reinstalling the problematic texture mod can sometimes resolve this.
- Game Won’t Launch: This can be caused by an incorrect FOSE installation, a corrupted game file, or a mod that’s fundamentally incompatible.
- Solution: Ensure FOSE is installed correctly and that you are launching the game through
f4se_loader.exe. Verify the integrity of your game files through Steam or the Bethesda.net launcher. If the problem persists, try disabling all mods and incrementally enabling them.
- Solution: Ensure FOSE is installed correctly and that you are launching the game through
Maintaining Your Modding Setup
- Regular Updates: Mod authors frequently update their mods to fix bugs, improve performance, or add new features. It’s good practice to check Nexus Mods periodically for updates to your installed mods. Your mod manager will usually notify you of available updates.
- Backup Your Save Files: Before making significant changes to your mod list, or even regularly, it’s a wise idea to back up your Fallout 4 save files. These are typically located in your “Documents” folder under “My GamesFallout4Saves.”
- Start Small: Don’t try to install hundreds of mods on your first attempt. Begin with a few well-regarded graphical mods or quality-of-life improvements. As you gain confidence and understanding, gradually add more complex mods.
By following these guidelines, you can transform your Fallout 4 experience, breathing new life into the familiar Wasteland and crafting a truly unique adventure tailored to your preferences. The power to reimagine the game lies at your fingertips, and with a little patience and the right tools, you’ll be a master of the Fallout 4 modding scene in no time.
aViewFromTheCave is a participant in the Amazon Services LLC Associates Program, an affiliate advertising program designed to provide a means for sites to earn advertising fees by advertising and linking to Amazon.com. Amazon, the Amazon logo, AmazonSupply, and the AmazonSupply logo are trademarks of Amazon.com, Inc. or its affiliates. As an Amazon Associate we earn affiliate commissions from qualifying purchases.