
In the lifecycle of any PC, there comes a point where the operating system begins to feel sluggish. Whether it is the result of years of accumulated “software rot,” fragmented registries, or the persistent presence of manufacturer-installed bloatware, a standard reboot often fails to provide the relief a power user needs. This is where a fresh installation—often referred to as a “clean install”—becomes the gold standard for system maintenance. Unlike a simple factory reset, a fresh installation wipes the slate entirely clean, replacing the existing OS with a pristine, updated version of Windows 10. This process not only optimizes performance but also provides a critical opportunity to harden your digital security and streamline your workflow.
Pre-Installation Essentials: Preparation and Data Safeguarding
Before committing to a fresh installation, meticulous preparation is required. Because a clean install involves formatting your primary drive, any data not backed up will be permanently lost. This stage is about more than just moving files; it is about ensuring your hardware is ready for the transition.
Comprehensive Data Backup Strategies
The most critical step is securing your personal data. Professional users should employ a redundancy-based backup strategy, such as the 3-2-1 rule: three copies of your data, on two different media types, with one copy off-site. For most, this involves moving essential folders—Documents, Pictures, and Desktop—to an external hard drive or a cloud service like OneDrive or Google Drive. Beyond personal files, remember to export browser bookmarks, saved passwords (if not synced to an account), and specific application configurations or “App Data” folders for specialized software like creative suites or development environments.
Identifying Hardware Requirements and Drivers
While Windows 10 is excellent at identifying hardware automatically, it is a professional best practice to download essential drivers beforehand. At a minimum, ensure you have the network (LAN/Wi-Fi) drivers for your specific motherboard or laptop model saved on an external USB drive. If Windows fails to recognize your network card during the install, you will be unable to download the remaining drivers. Additionally, verify that your hardware meets the modern demands of Windows 10: a minimum of 8GB of RAM and an SSD (Solid State Drive) are highly recommended for a fluid experience in a professional tech environment.
Managing Licenses and Digital Entitlements
In the era of Windows 10, product keys are largely tied to your hardware’s unique ID or your Microsoft Account through a “Digital License.” If your copy of Windows was previously activated, it will likely reactivate automatically once you sign in and connect to the internet. However, if you are moving from an older version or using a retail key, ensure you have that 25-character code documented. For those using a Microsoft Account, navigate to “Settings > Update & Security > Activation” to confirm that “Windows is activated with a digital license linked to your Microsoft account” before proceeding.
Creating the Windows 10 Installation Media
To perform a fresh install, you need a bootable medium. Microsoft provides a dedicated utility for this, ensuring you receive the most recent stable build of the OS, which minimizes the number of updates required after the installation is complete.
Utilizing the Windows Media Creation Tool
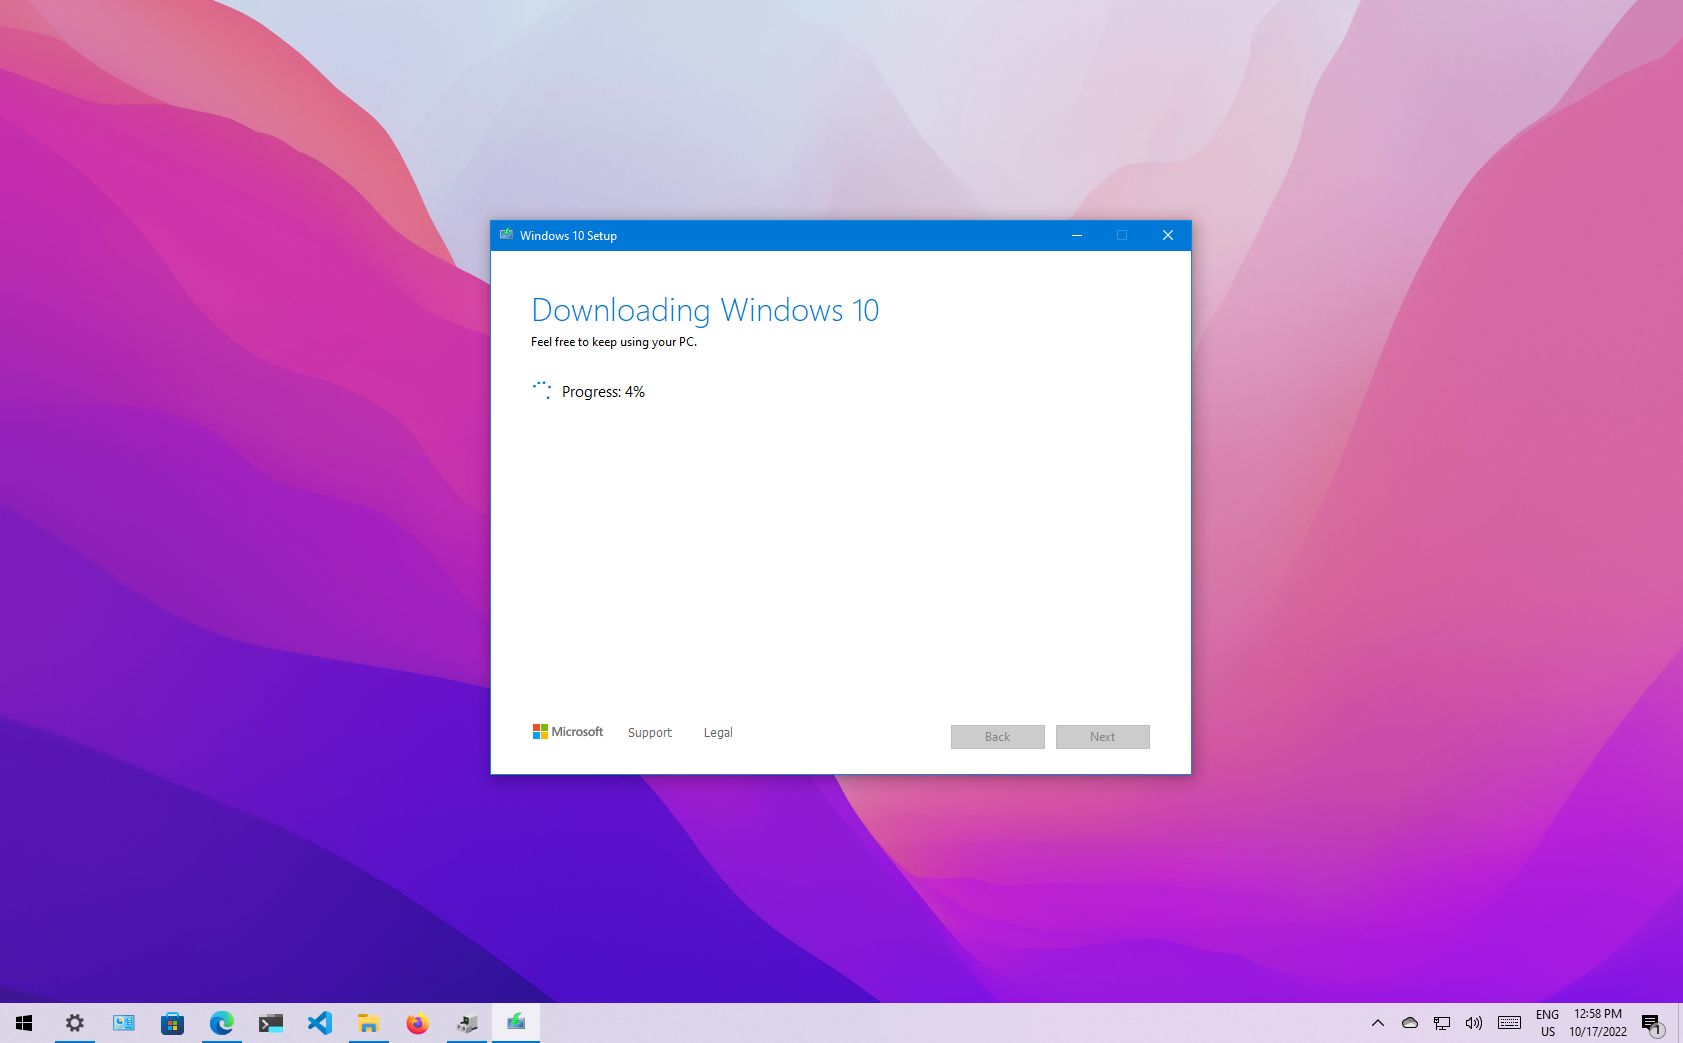
The official Windows 10 Media Creation Tool is the most reliable method for generating installation media. After downloading the tool from Microsoft’s official website, select “Create installation media (USB flash drive, DVD, or ISO file) for another PC.” Ensure you select the correct architecture (64-bit is standard for modern machines) and edition. The tool will then download the necessary files and prepare the media.
Preparing the USB Flash Drive
You will need a USB flash drive with at least 8GB of space. It is important to note that the Media Creation Tool will format the drive, erasing everything currently on it. A high-speed USB 3.0 or 3.1 drive is recommended to significantly reduce the time it takes to expand and install the Windows system files. Once the process is complete, you will have a “bootable” drive capable of initiating the setup process even if the current OS is non-functional.
ISO Files and Advanced Boot Options
For users who prefer more control, downloading the Windows 10 ISO file directly allows for the use of third-party tools like Rufus. Rufus is a favorite in the tech community because it allows for specific configurations, such as choosing between GPT (for UEFI systems) and MBR (for older BIOS systems) partition schemes. This is particularly useful if you are working with older enterprise hardware or specific server configurations where the standard Microsoft tool might face compatibility issues.

The Step-by-Step Fresh Installation Process
With your data backed up and your USB drive ready, it is time to perform the installation. This phase requires navigating the system’s firmware and making critical decisions about how your storage drives are structured.
Booting from External Media
To start the installation, you must instruct your computer to boot from the USB drive rather than the internal hard drive. This usually involves restarting the PC and repeatedly pressing a specific key—commonly F2, F12, Del, or Esc—to enter the BIOS/UEFI settings or the Boot Menu. Once inside, prioritize the USB device in the boot order. After saving and exiting, the computer should load the Windows 10 Setup environment.
Partitioning and the “Custom” Install Path
After selecting your language and keyboard preferences, you will reach a screen asking for an installation type. Crucially, select “Custom: Install Windows only (advanced).” This is what distinguishes a fresh install from an upgrade. You will see a list of partitions on your drive. For a truly clean slate, select each partition on your primary drive (Drive 0) and click “Delete” until you are left with “Drive 0 Unallocated Space.” Select this space and click “Next.” Windows will automatically create the necessary system partitions (Recovery, EFI, MSR) and begin the file copy process.
Navigating the Out-of-Box Experience (OOBE)
Once the files are expanded and the system restarts, you will enter the OOBE. This is the final setup phase where you choose your region, connect to Wi-Fi, and set up your user account. Tech-savvy users often prefer to set up a “Local Account” to avoid immediate integration with Microsoft’s cloud services, though using a Microsoft Account offers benefits like device syncing and BitLocker recovery key storage. During this stage, you will also be presented with various privacy settings (Location, Diagnostic data, Tailored experiences); many professionals choose to toggle most of these “Off” to minimize data telemetry.
Post-Installation Optimization and Security
The desktop appearing for the first time does not mean the job is over. The final phase of a fresh install involves refining the system, ensuring hardware compatibility, and layering on security measures to maintain long-term stability.
Drivers and Windows Update
Your first priority should be connectivity. Connect to the internet and run “Windows Update” immediately. Windows 10 is remarkably proficient at sourcing drivers for your GPU, chipset, and peripherals automatically. However, for specialized hardware—such as high-end graphics cards or professional audio interfaces—always visit the manufacturer’s website (NVIDIA, AMD, Intel, etc.) to download the latest “Game Ready” or “Studio” drivers. This ensures you are getting the full performance capabilities of your hardware.
System “Debloating” and Performance Tuning
Even a fresh install includes some “suggested” apps and background processes that may not be necessary. Professionals often use PowerShell scripts or tools like the “Windows 10 Debloater” to remove pre-installed Windows Store apps like Candy Crush or news widgets. Additionally, check the “Startup” tab in Task Manager (Ctrl+Shift+Esc) to ensure that only essential services are launching with your PC. This keeps boot times fast and minimizes background CPU and RAM usage.
Establishing a Security Baseline
With a clean OS, your security posture is at its strongest. Ensure Windows Defender is active and updated. For enhanced security, consider enabling “Core Isolation” and “Memory Integrity” in the Windows Security settings, provided your hardware supports it. Furthermore, this is the ideal time to install a reputable password manager and set up a standard (non-administrator) user account for daily tasks. Using a standard account limits the potential damage that malware can cause, as it lacks the permissions to modify system-level files without an admin password.
Conclusion: Sustaining the Clean Install Advantage
A fresh installation of Windows 10 is more than just a troubleshooting step; it is a comprehensive reset that clears the digital cobwebs and restores your machine to its peak potential. By following a structured approach—from rigorous data backups and the creation of optimized installation media to the granular control of the custom installation process—you ensure a stable foundation for your professional and personal projects.
The real value of this process lies in the aftermath. By carefully selecting which applications to reinstall and maintaining a lean startup list, you can prevent the gradual slowdown that necessitated the fresh install in the first place. Treat your freshly installed Windows 10 environment as a high-performance tool: keep it updated, keep it secure, and keep it free of unnecessary clutter to ensure it remains responsive for years to come.
aViewFromTheCave is a participant in the Amazon Services LLC Associates Program, an affiliate advertising program designed to provide a means for sites to earn advertising fees by advertising and linking to Amazon.com. Amazon, the Amazon logo, AmazonSupply, and the AmazonSupply logo are trademarks of Amazon.com, Inc. or its affiliates. As an Amazon Associate we earn affiliate commissions from qualifying purchases.