Node ComfyUI has rapidly emerged as a powerhouse for AI image generation, offering unparalleled flexibility and control to artists and tech enthusiasts alike. Its node-based interface allows for intricate workflows, enabling users to build complex pipelines for generating, editing, and manipulating images with an unprecedented level of precision. However, the question of where to install ComfyUI is paramount for unlocking its full potential. The optimal installation location isn’t a one-size-fits-all answer; it depends heavily on your hardware capabilities, your specific use case, and your overall technical setup. This guide will delve into the various installation options, weighing the pros and cons of each to help you make an informed decision that best suits your needs, whether you’re focused on cutting-edge technology, building a personal brand around AI art, or even exploring its financial potential.
Understanding the Hardware Demands of ComfyUI
Before diving into installation locations, it’s crucial to understand the resource demands of ComfyUI, particularly when generating AI images. At its core, ComfyUI relies heavily on your Graphics Processing Unit (GPU) for rapid computation. The larger and more powerful your GPU, the faster your image generation will be, and the more complex models and workflows you can handle.
GPU Power: The Engine of AI Art
The GPU is the single most critical component for ComfyUI. NVIDIA GPUs, with their CUDA cores, are generally preferred due to widespread software support and optimization. AMD GPUs are becoming increasingly viable, but compatibility and performance can sometimes be a bottleneck depending on the specific models and software versions.
- VRAM (Video RAM): This is the memory dedicated to your GPU. The amount of VRAM directly impacts the resolution of images you can generate, the size of the models you can load, and the speed of generation. For serious ComfyUI users, 8GB of VRAM is often considered a minimum, with 12GB, 16GB, or even 24GB offering significantly more headroom for complex tasks. Insufficient VRAM can lead to out-of-memory errors, slower generation times, and the inability to use larger, more sophisticated AI models.
- CUDA Cores/Stream Processors: These are the processing units within your GPU. More cores generally translate to faster processing speeds.
CPU and RAM: Supporting Roles in the Workflow
While the GPU is the star, your Central Processing Unit (CPU) and system Random Access Memory (RAM) play vital supporting roles.
- CPU: The CPU handles general computing tasks, loading models, managing the user interface, and preparing data for the GPU. A reasonably modern multi-core CPU will ensure a smooth experience, preventing the GPU from being held back by data processing bottlenecks.
- RAM: System RAM is used to store operating system processes, applications, and data that isn’t actively being processed by the GPU. For ComfyUI, having ample RAM (16GB is a good starting point, with 32GB or more being ideal for heavy multitasking or working with very large datasets) can prevent system slowdowns, especially when running ComfyUI alongside other demanding applications.
The better your hardware, the more options you have for installation. If you have a powerful machine, local installation becomes highly attractive. If your hardware is more modest, cloud-based solutions might be the only way to achieve satisfactory performance.
Local Installation: Maximum Control and Performance
Installing ComfyUI directly on your own computer offers the ultimate in control, privacy, and performance. This is the preferred method for users who have capable hardware and want to avoid recurring costs or reliance on external services.
Installing on Your Primary Workstation (Windows/macOS/Linux)
This is the most common and straightforward local installation method.
For Windows Users:
- Prerequisites: Ensure you have Python (preferably 3.10.x) and Git installed. You can download Python from the official Python website and Git from the Git SCM website.
- Clone the Repository: Open a command prompt or terminal and navigate to your desired installation directory. Then, clone the ComfyUI repository:
bash

git clone https://github.com/comfyanonymous/ComfyUI.git
- Navigate to the Directory:
bash

cd ComfyUI
- Run the Setup:
- For NVIDIA GPUs (highly recommended): Run
python main.py. This will automatically download necessary dependencies and PyTorch with CUDA support. - For AMD GPUs (may require manual PyTorch installation with specific ROCm support): You might need to install PyTorch separately with ROCm support. Refer to PyTorch’s official documentation for the latest instructions.
- For NVIDIA GPUs (highly recommended): Run
- Access ComfyUI: Once it’s running, ComfyUI will be accessible via your web browser, typically at
http://127.0.0.1:8188.
For macOS Users:
The process is similar to Windows, with a few macOS-specific considerations.
- Prerequisites: Install Python (preferably 3.10.x) and Git. Homebrew is an excellent package manager for macOS and can be used to install Python and Git if you don’t have them.
bash

brew install python git
- Clone the Repository:
bash

git clone https://github.com/comfyanonymous/ComfyUI.git
- Navigate to the Directory:
bash

cd ComfyUI
- Run the Setup:
- For Apple Silicon (M1/M2/M3 chips): ComfyUI often runs well on these due to PyTorch’s optimization for Metal Performance Shaders. Run
python main.py. - For Intel-based Macs with AMD GPUs: Similar to Windows, PyTorch installation might need specific configurations.
- For Apple Silicon (M1/M2/M3 chips): ComfyUI often runs well on these due to PyTorch’s optimization for Metal Performance Shaders. Run
- Access ComfyUI: Accessible via your web browser at
http://127.0.0.1:8188.
For Linux Users:
Linux offers excellent flexibility and is often a preferred platform for development and AI tasks.
- Prerequisites: Install Python (preferably 3.10.x) and Git. Package managers like
apt(Debian/Ubuntu) ordnf(Fedora) can be used.
bash

sudo apt update && sudo apt install python3 python3-pip git
- Clone the Repository:
bash

git clone https://github.com/comfyanonymous/ComfyUI.git
- Navigate to the Directory:
bash

cd ComfyUI
- Run the Setup:
- For NVIDIA GPUs: Ensure you have the NVIDIA drivers and CUDA Toolkit installed. Run
python main.py. - For AMD GPUs: Install the ROCm stack. Refer to AMD’s official documentation for your specific distribution. Then, install PyTorch with ROCm support.
- For NVIDIA GPUs: Ensure you have the NVIDIA drivers and CUDA Toolkit installed. Run
- Access ComfyUI: Accessible via your web browser at
http://127.0.0.1:8188.
Advantages of Local Installation:
- Maximum Performance: Leverages your full hardware capabilities without network latency.
- Privacy and Security: Your data and generated images remain on your machine. This is crucial for personal branding or sensitive projects.
- No Recurring Costs: Beyond your initial hardware investment, there are no subscription fees.
- Offline Access: You can use ComfyUI even without an internet connection (after initial setup and model downloads).
- Full Customization: Easily integrate custom nodes, models, and scripts.
Considerations for Local Installation:
- Hardware Requirements: Requires a powerful GPU, sufficient VRAM, and adequate system RAM.
- Setup Complexity: Can be more technically involved, especially for users unfamiliar with command lines or Python environments.
- Disk Space: AI models and generated images can consume significant storage space.
Cloud-Based Solutions: Scalability and Accessibility
For users with less powerful local hardware, or those who need to scale their AI art generation capabilities quickly, cloud-based solutions offer a compelling alternative. These services provide virtual machines with pre-configured environments, often equipped with high-end GPUs, accessible through a web browser.
Cloud GPU Platforms for ComfyUI
Several platforms allow you to rent virtual machines with powerful GPUs, making them ideal for running ComfyUI.
1. Google Colaboratory (Colab)

Colab is a popular free (with paid tiers for more resources) platform that allows you to write and execute Python code through your browser. It’s particularly well-suited for ComfyUI experimentation and learning.
- How to Use: You can find numerous Colab notebooks shared by the community that are pre-configured to download and run ComfyUI. These notebooks often handle dependency management and provide a clickable interface to launch ComfyUI.
- Advantages: Free tier offers access to GPUs (often NVIDIA T4 or P100), easy to start with, great for learning and testing. Paid tiers (Colab Pro/Pro+) offer better GPUs and longer runtimes.
- Disadvantages: Session limits, potential for disconnections, slower performance compared to dedicated instances, VRAM can be limited, not ideal for very large-scale or continuous generation.
2. Dedicated Cloud GPU Services
Platforms like Vast.ai, RunPod, Paperspace, AWS (EC2 instances with GPUs), Google Cloud Platform (GCP), and Azure provide dedicated virtual machines with a wide range of GPU options.
- How to Use: You’ll typically provision a virtual machine (instance) with your desired GPU and operating system. You can then SSH into this instance and install ComfyUI following the Linux installation steps. Some providers also offer pre-configured Docker images or managed Jupyter environments.
- Advantages:
- Scalability: Access to the most powerful GPUs available, allowing for massive scale and complex workflows.
- Control: More control over the environment compared to Colab.
- Performance: Often higher and more consistent performance.
- Flexibility: Choose the exact hardware configuration you need.
- Disadvantages:
- Cost: Can become expensive, especially for long-running tasks or high-end GPUs.
- Setup Complexity: Requires more technical expertise to set up and manage instances.
- Data Transfer: Moving large datasets or models to and from the cloud can incur costs and take time.
3. Managed AI Platforms
Some platforms offer more curated experiences for AI model deployment and inference, which might include ComfyUI or similar node-based interfaces. These are less common for direct ComfyUI installation but are worth exploring for specific business or advanced use cases.
When to Choose Cloud-Based Solutions:
- Limited Local Hardware: If your computer’s GPU is not powerful enough for AI image generation.
- Testing and Experimentation: To quickly try out ComfyUI without significant hardware investment.
- Scalability Needs: For projects requiring burstable compute power or access to top-tier GPUs for intensive tasks.
- Collaboration: Cloud instances can be shared among team members.
- Brand Building: If your brand relies on offering AI art generation services, cloud solutions provide the necessary infrastructure.
Optimized Installation for Specific Use Cases
Beyond the fundamental choice between local and cloud, the specific location within these environments can also be optimized.
For Personal Finance and Side Hustles
If you’re exploring ComfyUI as a side hustle, aiming to generate art for sale on platforms like Etsy or stock image sites, the financial aspect becomes important.
- Local Installation: If you have a capable PC, this is often the most cost-effective in the long run. Minimize electricity costs by optimizing your workflows and shutting down when not in use. Consider selling AI-generated assets or offering custom AI art services.
- Cloud (Budget-Friendly): For occasional high-demand tasks or testing new service ideas, look for cost-effective cloud options like Vast.ai. This platform offers competitive pricing for GPU rentals, allowing you to scale up only when needed, making it an efficient choice for a side hustle that has variable demand. You can also explore free tiers of Colab for initial testing before committing to paid services.
For Brand Strategy and Creative Agencies
For agencies or individuals building a brand around AI-generated art, consistency, quality, and the ability to showcase work are paramount.
- Dedicated Local Workstation: A powerful, dedicated workstation ensures control over the output quality and brand aesthetics. This is ideal for developing unique styles and maintaining brand identity.
- Private Cloud Infrastructure: For larger agencies requiring collaborative environments and consistent uptime, a private cloud setup or dedicated instances on GCP/AWS can provide the necessary control and scalability without the broad access of public cloud offerings. This allows for custom model training and fine-tuning, essential for differentiated brand offerings.
- Colab for R&D: While not for production, Colab can be excellent for research and development, allowing designers to quickly prototype new concepts and styles before implementing them on more robust infrastructure.
For Tech Enthusiasts and Developers
For those who love tinkering with technology and pushing the boundaries of AI tools, the most flexible and powerful options are usually preferred.
- Linux Server with High-End GPUs: Many tech enthusiasts opt for a powerful Linux server (either self-hosted or a dedicated cloud instance) where they can have complete control over the operating system, drivers, and software stack. This allows for custom compilations of libraries, experimentation with bleeding-edge features, and deep integration with other development tools.
- Docker Containers: Using Docker to containerize ComfyUI and its dependencies simplifies setup, management, and deployment, especially in cloud environments or when switching between different machines. This ensures consistency and portability.
Installation Workflow and Model Management
Regardless of where you install ComfyUI, effective management of models and custom nodes is key to a productive workflow.
Downloading Models
ComfyUI relies on various AI models, primarily Stable Diffusion checkpoints, LoRAs, and embeddings. These can be substantial in size (several gigabytes each).
- Location: Models are typically stored in the
ComfyUI/models/directory. You’ll find subfolders forcheckpoints,loras,embeddings, etc. - Best Practice: Organize your models logically. Create subfolders within the
checkpointsdirectory for different model types (e.g.,sd1.5,sdxl,custom_finetunes). This makes it easier to find and switch between them. - Disk Space: Ensure you have ample storage space. High-resolution models and a large collection of LoRAs can easily consume hundreds of gigabytes.
Custom Nodes
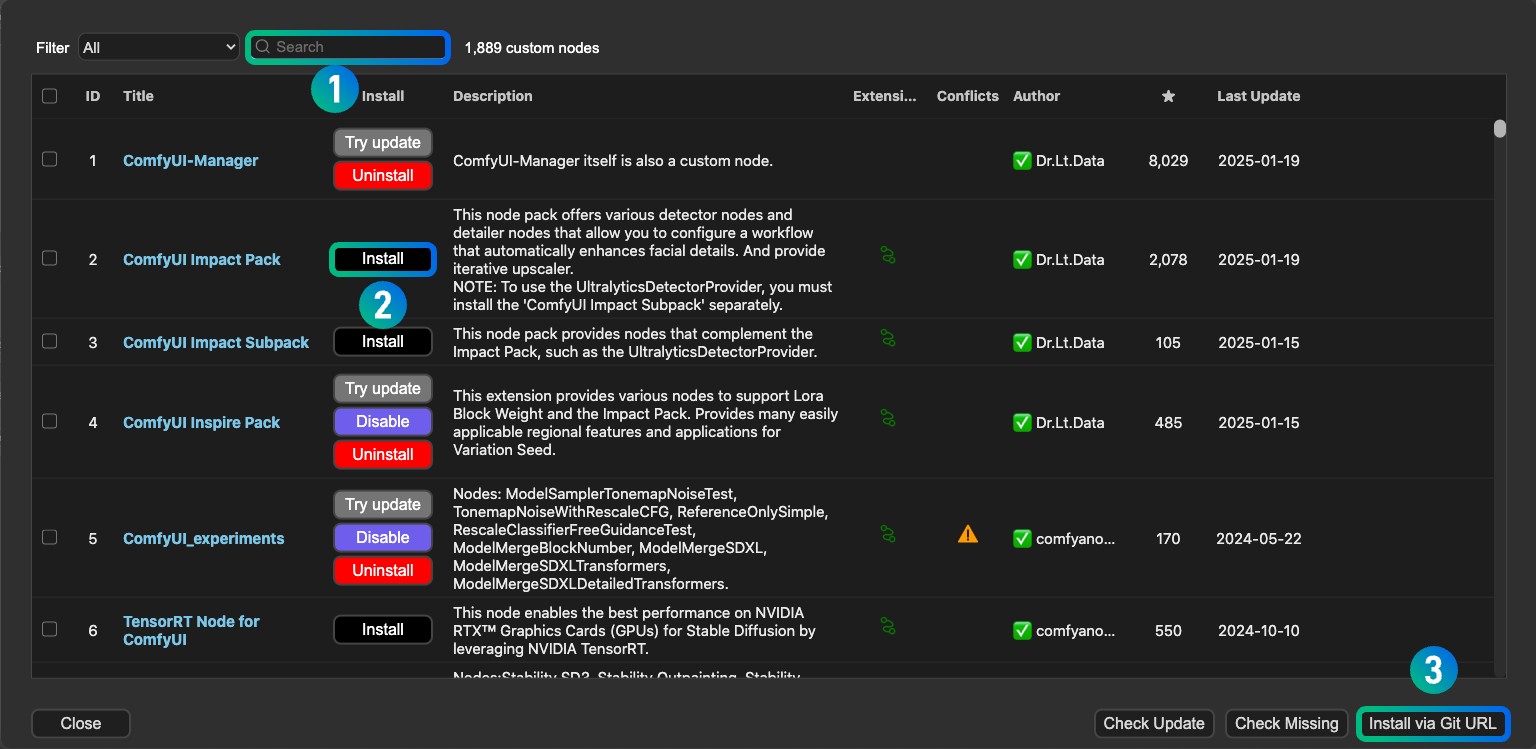
The power of ComfyUI is amplified by its vibrant community of developers who create custom nodes that extend its functionality.
- Installation: Most custom nodes are installed by cloning their Git repositories into the
ComfyUI/custom_nodes/directory. - Management: Keep your
custom_nodesfolder organized. Some nodes may have their own dependencies that need to be installed. Regularly check for updates to your custom nodes.
Conclusion: Choosing the Right Path for Your ComfyUI Journey
The question of “where to install Node ComfyUI” is multifaceted, with the best answer depending on your individual circumstances, technical prowess, and specific goals.
- For maximum control, privacy, and performance, and if you possess capable hardware, a local installation on your primary workstation (Windows, macOS, or Linux) is the ideal choice. This approach offers the deepest level of customization and avoids ongoing costs.
- If your local hardware is a limiting factor, or if you need to scale quickly for projects or professional services, cloud-based solutions are indispensable. Google Colab provides an accessible entry point for learning and experimentation, while dedicated cloud GPU platforms like Vast.ai, RunPod, or major cloud providers (AWS, GCP, Azure) offer the raw power and flexibility for serious development and production.
By carefully considering your hardware, budget, technical expertise, and the specific demands of your AI art generation projects, you can select the installation location that will best empower your creative and technological endeavors with Node ComfyUI. Whether you’re a budding artist building a personal brand, a tech innovator exploring new frontiers, or a savvy individual looking to monetize your skills, the right installation choice is the first step towards unlocking the full potential of this revolutionary AI tool.
aViewFromTheCave is a participant in the Amazon Services LLC Associates Program, an affiliate advertising program designed to provide a means for sites to earn advertising fees by advertising and linking to Amazon.com. Amazon, the Amazon logo, AmazonSupply, and the AmazonSupply logo are trademarks of Amazon.com, Inc. or its affiliates. As an Amazon Associate we earn affiliate commissions from qualifying purchases.