In the rapidly evolving landscape of web development, efficiency, consistency, and scalability are paramount. Developers and businesses alike are constantly seeking tools that can streamline their workflow, reduce development time, and ultimately deliver superior user experiences. Tailwind CSS has emerged as a frontrunner in this quest, offering a utility-first CSS framework that fundamentally changes how we approach styling web applications. Far from being just another CSS library, Tailwind empowers developers to build bespoke designs directly in their markup, fostering unprecedented speed and maintainability.
This comprehensive guide will walk you through the process of installing Tailwind CSS, from setting up your development environment to configuring its most powerful features. Beyond the technical steps, we’ll explore why Tailwind CSS is not just a technological advantage but also a strategic asset for brand consistency and financial efficiency, aligning perfectly with the core interests of modern tech practitioners, brand strategists, and astute financial planners.
Unlocking Efficiency: Why Tailwind CSS Matters for Your Projects
Before diving into the installation process, it’s crucial to understand the profound impact Tailwind CSS can have on your development ecosystem. It’s more than just a stylesheet; it’s a paradigm shift that touches upon technological innovation, brand integrity, and project economics.
The Utility-First Philosophy: A Game Changer
Tailwind CSS introduces a “utility-first” approach to styling. Instead of writing custom CSS classes like .card-header or .button-primary, you apply pre-defined, single-purpose utility classes directly to your HTML elements. For example, to style a button, you might use classes like bg-blue-500, hover:bg-blue-700, text-white, font-bold, py-2, px-4, and rounded. This approach might seem verbose at first glance, but it offers immense benefits:
- Rapid Development: You can build complex designs incredibly fast without leaving your HTML, eliminating context switching between HTML and CSS files. This significantly accelerates the prototyping and development phases of any project.
- No More Naming Woes: The endless struggle of naming CSS classes (BEM, SMACSS, OOCSS) becomes obsolete. Utility classes are self-descriptive and universally understood.
- Reduced CSS Bloat: Tailwind processes your code and only includes the CSS utilities you actually use, resulting in exceptionally small, optimized production stylesheets. This is a significant advantage for website performance and loading times.
- Consistent Design: By using a predefined set of utility classes, it becomes inherently easier to maintain design consistency across an entire application. Margins, paddings, colors, fonts, and breakpoints are all standardized through the utility classes, making it difficult to “go off-brand.”
Streamlining Your Design System for Brand Consistency
For any brand, maintaining a cohesive visual identity across all digital touchpoints is critical. Tailwind CSS is an invaluable tool for enforcing and scaling a brand’s design system. By working with a predefined set of design tokens (colors, spacing, typography, shadows, etc.) configured in tailwind.config.js, developers are naturally guided to use brand-approved styles.
Instead of custom CSS, where developers might inadvertently introduce slight variations in color hues, border radii, or spacing, Tailwind’s utility classes ensure uniformity. This standardization is a huge win for brand managers and designers. It means:
- Pixel-Perfect Accuracy: Designs translated from Figma or Sketch to code are more likely to be pixel-perfect, as developers select from a finite, predefined set of utilities that directly map to the brand’s design system.
- Easier Collaboration: Designers can speak the same language as developers, referencing utility classes directly in their mockups or design specifications, thereby bridging the notorious “design-to-development” gap.
- Scalable Brand Identity: As your product or website grows, maintaining a consistent brand identity across new features, pages, or even entirely new projects becomes significantly easier and less prone to errors. This capability is vital for businesses looking to scale their digital presence without compromising their brand integrity.
Accelerating Development and Reducing Costs for Financial Efficiency
Time is money, and in software development, this adage holds particularly true. Tailwind CSS significantly impacts project economics by accelerating the development lifecycle and reducing long-term maintenance costs.
- Faster Time-to-Market: By empowering developers to build UIs much faster, Tailwind CSS helps bring products and features to market more quickly. This speed can translate directly into competitive advantage, earlier revenue generation, and a faster return on investment (ROI).
- Reduced Development Hours: Less time spent writing custom CSS, debugging specificity issues, or refactoring stylesheets means fewer development hours. This directly translates to lower labor costs for projects, whether internal or client-facing.
- Lower Maintenance Overhead: The utility-first approach leads to more maintainable and predictable codebases. When a design needs to change, it’s often a matter of adding or removing classes in the HTML rather than digging through complex CSS files. This reduces the risk of unintended side effects and makes future updates and refactors less costly and time-consuming.
- Optimized Performance: As mentioned, Tailwind’s production build only includes the CSS you actually use, leading to smaller file sizes and faster page load times. Better performance can improve SEO rankings, reduce bounce rates, and enhance user satisfaction, all of which indirectly contribute to increased conversions and revenue.
In essence, by investing in a Tailwind-based workflow, companies are not just adopting a new technology; they are adopting a strategic framework that enhances their tech stack, reinforces their brand, and optimizes their financial outlay for web development.
Setting Up Your Environment: Prerequisites and Project Initialization
To embark on your Tailwind CSS journey, you’ll need a few foundational tools and a basic project structure. These prerequisites are standard for most modern front-end development, ensuring a smooth integration process.
Essential Tools: Node.js and npm/Yarn
Tailwind CSS, along with its post-processing tools, relies on Node.js and a package manager (npm or Yarn) for installation and build processes.
- Node.js: This is a JavaScript runtime environment that allows you to run JavaScript code outside of a web browser. It’s essential for executing server-side JavaScript, but more importantly for our purposes, it powers package managers and build tools.
- npm (Node Package Manager) or Yarn: These are package managers for JavaScript. They allow you to install, manage, and share libraries and dependencies for your projects. npm is bundled with Node.js, while Yarn is an alternative developed by Facebook.
How to check if you have them:
Open your terminal or command prompt and type:
node -v
npm -v
# or
yarn -v
If you see version numbers, you’re good to go. If not, you’ll need to install Node.js. The easiest way is to download the recommended LTS (Long Term Support) version from the official Node.js website (nodejs.org). Installing Node.js will automatically install npm alongside it. If you prefer Yarn, you can install it globally via npm: npm install -g yarn.
Starting Your Web Project
For this guide, we’ll assume a simple HTML/CSS project. If you’re integrating Tailwind into an existing framework like React, Vue, or Next.js, the core Tailwind installation steps remain similar, though the initial project setup might differ.
-
Create a Project Directory: Choose a suitable location on your computer and create a new folder for your project.
mkdir my-tailwind-project cd my-tailwind-project -
Initialize npm/Yarn: This command creates a
package.jsonfile in your project directory. This file will keep track of your project’s dependencies and scripts.npm init -y # or yarn init -yThe
-yflag answers “yes” to all prompts, creating a defaultpackage.json. You can edit it later if needed. -
Create Your HTML File: Create an
index.htmlfile in your project root. This will be the main entry point for your web application.<!DOCTYPE html> <html lang="en"> <head> <meta charset="UTF-8"> <meta name="viewport" content="width=device-width, initial-scale=1.0"> <title>Tailwind CSS Project</title> <!-- This is where our compiled Tailwind CSS will be linked --> <link href="./dist/output.css" rel="stylesheet"> </head> <body> <h1 class="text-3xl font-bold text-center my-8">Hello Tailwind!</h1> <div class="max-w-md mx-auto bg-white rounded-xl shadow-md overflow-hidden md:max-w-2xl my-4"> <div class="md:flex"> <div class="md:flex-shrink-0"> <img class="h-48 w-full object-cover md:w-48" src="https://images.unsplash.com/photo-1515711691167-9c9401777d5c?crop=entropy&cs=tinysrgb&fit=max&fm=jpg&ixid=MnwxfDB8MXxyYW5kb218MHx8d2ViIGRldmVsb3BtZW50LHByb2dyYW1taW5nfHw&ixlib=rb-1.2.1&q=80&w=1080" alt="Web Development"> </div> <div class="p-8"> <div class="uppercase tracking-wide text-sm text-indigo-500 font-semibold">Article</div> <a href="#" class="block mt-1 text-lg leading-tight font-medium text-black hover:underline">Learn to install Tailwind CSS</a> <p class="mt-2 text-gray-500">This guide provides a comprehensive walkthrough to get you up and running with Tailwind CSS for your modern web projects.</p> </div> </div> </div> </body> </html>Notice the
<link href="./dist/output.css" rel="stylesheet">line. We will configure Tailwind to output our final CSS todist/output.css.
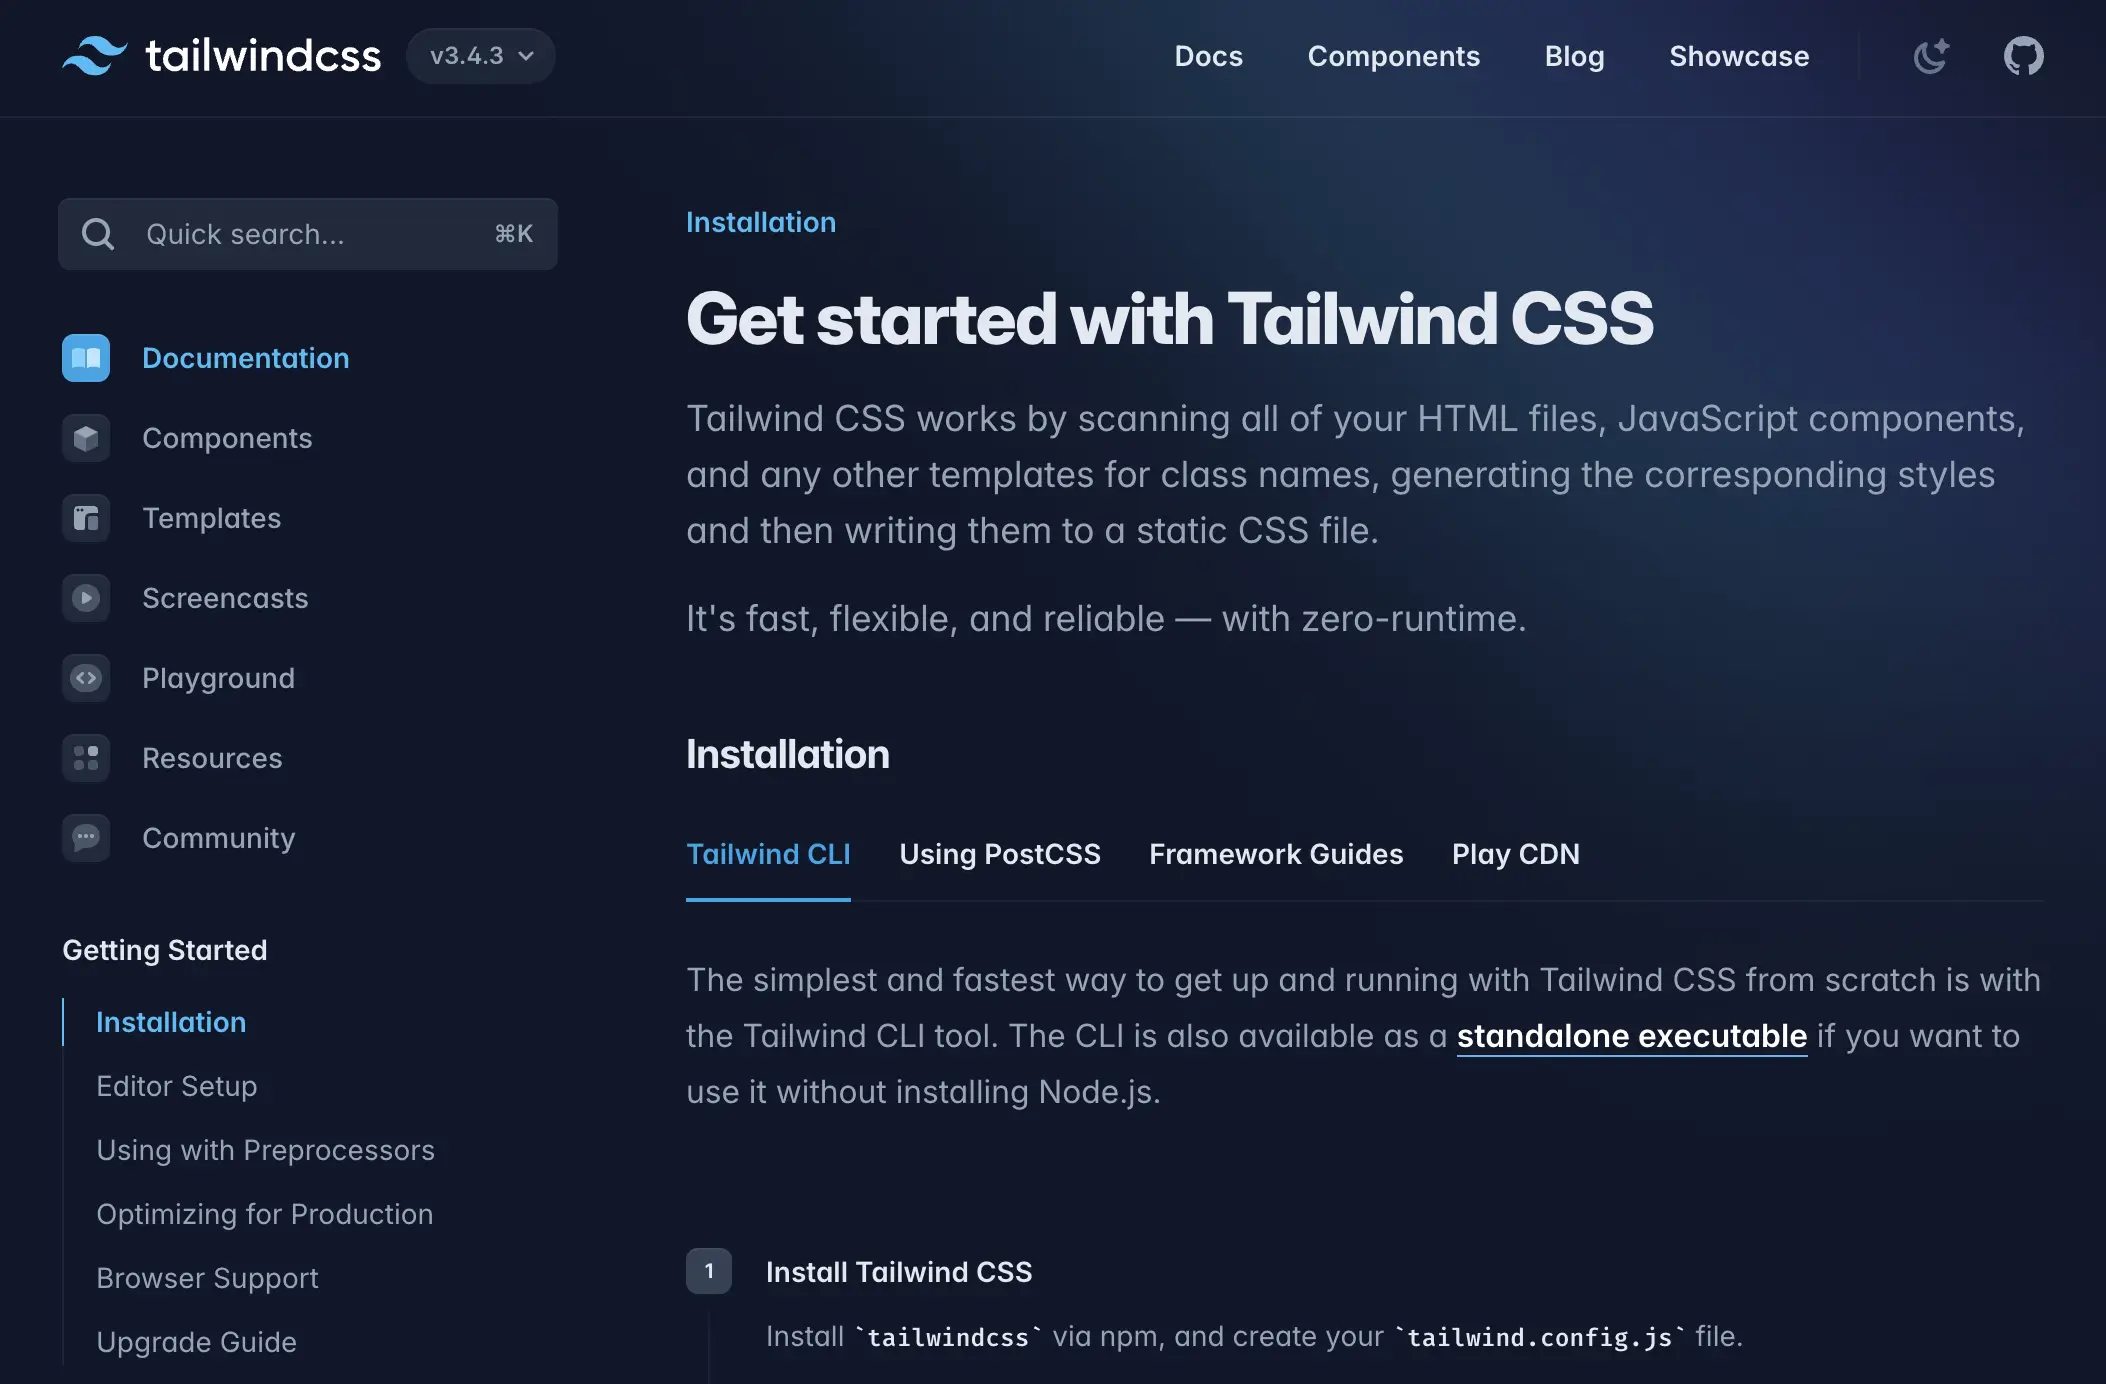
The Core Installation: Integrating Tailwind CSS into Your Workflow
With your environment set up, it’s time to install Tailwind CSS and its necessary dependencies. This process involves installing packages, generating configuration files, and defining where Tailwind should look for your utility classes.
Installing Tailwind CSS, PostCSS, and Autoprefixer
Tailwind CSS doesn’t just work in isolation. It relies on PostCSS for processing and transforming CSS with JavaScript plugins, and Autoprefixer to automatically add vendor prefixes to your CSS rules (e.g., -webkit-, -moz-) for wider browser compatibility.
Install these packages as development dependencies:
npm install -D tailwindcss postcss autoprefixer
# or
yarn add -D tailwindcss postcss autoprefixer
-Dor--devtells npm/Yarn to save these as “devDependencies” in yourpackage.json, meaning they are required for development but not for the final production build (as the CSS will be compiled).
Generating Configuration Files
After installation, you need to generate Tailwind’s configuration files. These files allow you to customize Tailwind’s default theme, add plugins, and crucial for modern Tailwind, define where it should scan for classes to include in your final CSS bundle.
Run the following command:
npx tailwindcss init -p
This command does two things:
tailwind.config.js: Generatestailwind.config.js. This is Tailwind’s primary configuration file, where you’ll define your design system, enable dark mode, and specify your content paths.postcss.config.js: Generatespostcss.config.js. This file tells PostCSS which plugins to use, including Tailwind CSS and Autoprefixer. The-pflag ensures this file is created.
You should now have two new files in your project root:
tailwind.config.jspostcss.config.js
Configuring Your tailwind.config.js
Open tailwind.config.js. It will look something like this:
/** @type {import('tailwindcss').Config} */
module.exports = {
  content: [], // This is crucial!
  theme: {
    extend: {},
  },
  plugins: [],
}

The most critical part for a modern Tailwind setup is the content array. This array tells Tailwind which files it should scan for Tailwind classes. Without correctly configuring this, your output CSS will be empty because Tailwind won’t know where to find the classes you’re using.
Update the content array to include paths to all your HTML, JavaScript, and any other template files where you plan to use Tailwind classes. For our simple project, it might look like this:
/** @type {import('tailwindcss').Config} */
module.exports = {
  content: [
    "./index.html", // Scan the main HTML file
    "./src/**/*.{html,js,ts,jsx,tsx}", // Example for future JS/TS files in a 'src' folder
  ],
  theme: {
    extend: {},
  },
  plugins: [],
}
"./index.html": Specifies that Tailwind should scanindex.htmlin the root directory."./src/**/*.{html,js,ts,jsx,tsx}": This is a common pattern for projects with asrcfolder. It tells Tailwind to scan all.html,.js,.ts,.jsx, and.tsxfiles within any subfolder ofsrc. Adjust these paths to match your project’s structure.
You can also use this file to customize Tailwind’s default theme (e.g., adding custom colors, fonts, spacing values), but for now, we’ll stick to the default.
Setting Up postcss.config.js
Next, open postcss.config.js. The npx tailwindcss init -p command should have already pre-filled it correctly:
module.exports = {
  plugins: {
    tailwindcss: {},
    autoprefixer: {},
  },
}
This configuration tells PostCSS to use the Tailwind CSS plugin first, followed by the Autoprefixer plugin. The order is important: Tailwind generates the CSS, and then Autoprefixer adds prefixes to it.
Injecting Tailwind into Your Styles and Building for Production
With the configuration files in place, the next step is to inform Tailwind where to inject its base styles, components, and utilities, and then compile your CSS.
Adding Tailwind Directives to Your CSS
You’ll need a main CSS file (often called input.css or main.css) where you’ll import Tailwind’s directives. Create a new directory called src and inside it, create a file named input.css:
mkdir src
touch src/input.css
Now, open src/input.css and add the following three lines:
@tailwind base;
@tailwind components;
@tailwind utilities;
@tailwind base;: Injects Tailwind’s base styles, which are a carefully considered set of opinionated default styles that “normalize” HTML elements and provide a solid foundation.@tailwind components;: Injects Tailwind’s component classes (e.g.,container,card). While Tailwind encourages utility-first, it also provides a few opinionated component styles and allows you to create your own reusable components using the@applydirective (though usually better to compose utilities directly).@tailwind utilities;: Injects all of Tailwind’s utility classes (e.g.,text-blue-500,flex,p-4). This is where the bulk of Tailwind’s power lies.
Compiling Your CSS with Tailwind CLI
Now that everything is configured, you can use the Tailwind CSS CLI (Command Line Interface) to process your input.css file and generate the final output.css that will be linked in your HTML.
Run the following command in your terminal from your project root:
npx tailwindcss -i ./src/input.css -o ./dist/output.css --watch
Let’s break down this command:
npx tailwindcss: Executes the Tailwind CSS CLI.npxis a tool that comes with npm (since version 5.2) and allows you to run Node.js package executables without explicitly installing them globally.-i ./src/input.css: Specifiessrc/input.cssas your input file, containing the Tailwind directives.-o ./dist/output.css: Specifiesdist/output.cssas the output file. This is the file you linked in yourindex.html.--watch: This is crucial for development! It tells Tailwind to continuously watch your input CSS,tailwind.config.js, and any files referenced in yourcontentarray for changes. Whenever you add or remove Tailwind classes in your HTML or modify your config, it will automatically recompile youroutput.css.
You should see a message indicating that Tailwind is building your CSS and watching for changes. If you open dist/output.css, you’ll see a generated stylesheet containing the Tailwind classes found in your index.html.
Linking Your Compiled CSS to HTML
We already included this step when creating index.html, but it’s worth reiterating. Ensure your index.html file correctly links to the compiled output.css:
<link href="./dist/output.css" rel="stylesheet">
It’s important that this link points to the output file, not your src/input.css.
Testing Your Setup
To confirm everything is working correctly:
- Make sure the
npx tailwindcss --watchcommand is still running in your terminal. - Open your
index.htmlfile in a web browser (you can usually just drag and drop it into the browser window or use a “Go Live” extension in VS Code). - You should see your “Hello Tailwind!” heading styled with
text-3xl,font-bold,text-center, andmy-8, and the card component styled according to the Tailwind classes you added. - Try adding a new class to an element in your
index.html, for example, changing theh1toclass="text-4xl font-extrabold text-indigo-700 text-center my-8". Saveindex.html, and you should see theoutput.cssrecompile almost instantly in your terminal. Refresh your browser, and the styles should update.
If you encounter issues, double-check your tailwind.config.js content paths, ensure the npx tailwindcss --watch command is running, and verify the paths in your HTML link.
Advanced Considerations and the Broader Impact of Tailwind CSS
Beyond the basic installation, there are several advanced considerations that enhance Tailwind’s power and efficiency. These aspects further solidify its position as a tool that contributes significantly to robust tech stacks, strong brand identities, and favorable financial outcomes.
Optimizing for Production (PurgeCSS/JIT)
One of Tailwind’s most celebrated features is its ability to produce incredibly small CSS bundles for production. In earlier versions, this was largely achieved through a separate tool called PurgeCSS. However, with the introduction of the JIT (Just-In-Time) engine and then its integration as the default compilation mode, this optimization is now handled automatically and far more efficiently.
When you configure the content array in tailwind.config.js, the JIT engine scans all those specified files for any instances of Tailwind classes. It then generates only the CSS required for those specific classes, rather than compiling the entire framework. This means:
- Tiny File Sizes: Your production CSS file will often be just a few kilobytes, drastically improving page load times.
- No Unused CSS: You never ship unnecessary CSS to your users, even if you use a wide variety of utilities during development.
- Blazing Fast Compilation: The JIT engine is incredibly fast, regenerating CSS almost instantly during development, making the
--watchexperience seamless.
This built-in optimization directly contributes to better website performance, which is a key metric for user experience, SEO, and ultimately, conversions and revenue. A faster website keeps users engaged and lowers operational costs associated with bandwidth.
Integrating with Frameworks (Tech Focus)
While we’ve focused on a simple HTML project, Tailwind CSS is incredibly versatile and integrates seamlessly with virtually any modern JavaScript framework or static site generator. Whether you’re working with:
- React / Next.js: Tailwind is a popular choice, often used with
create-react-appor alongside Next.js’s file-based routing and server-side rendering capabilities. - Vue / Nuxt.js: Vue CLI offers built-in PostCSS support, making Tailwind integration straightforward. Nuxt.js has dedicated modules for Tailwind CSS.
- Angular: Can be integrated into Angular projects via PostCSS.
- Svelte / SvelteKit: Svelte’s compiler plays nicely with PostCSS, making Tailwind a natural fit.
- Static Site Generators (e.g., Hugo, Jekyll, Eleventy): Tailwind can be easily piped into the build processes of these generators.
The installation steps for these frameworks typically involve adding Tailwind as a PostCSS plugin in their respective build configurations (e.g., webpack.config.js, vite.config.js, postcss.config.js). This wide compatibility underscores Tailwind’s technical flexibility and makes it an attractive choice for diverse tech stacks. It ensures that teams aren’t locked into a specific framework to leverage Tailwind’s benefits.
Long-Term Value and Scalability (Money & Tech Focus)
Adopting Tailwind CSS isn’t just about making development faster in the short term; it’s an investment in the long-term health and scalability of your projects.
- Reduced Technical Debt: The atomic nature of utility classes means less cascading, fewer overrides, and a more predictable stylesheet. This inherently reduces technical debt, which can be a significant cost sink over a project’s lifetime.
- Easier Onboarding: New developers joining a project can quickly understand the styling conventions because utility classes are universally consistent and self-documenting. This reduces onboarding time and gets new team members contributing faster.
- Scalable Architecture: As applications grow in complexity, managing traditional CSS often becomes a nightmare. Tailwind’s approach allows for a highly scalable design system where new components are composed from existing utilities, ensuring consistency and reducing the chances of introducing new, conflicting styles. This scalability means that your development team can grow and your product can expand without the styling layer becoming a bottleneck, protecting your initial investment and ensuring future growth efficiency.
- Future-Proofing Design: By configuring your design tokens in
tailwind.config.js, you create a centralized source of truth for your brand’s visual language. If your brand needs to update its primary color, you change it in one place (tailwind.config.js), and it propagates throughout your entire application. This is a powerful feature for maintaining brand relevance and adapting to market trends without costly, time-consuming refactors.
In conclusion, the decision to integrate Tailwind CSS into your workflow transcends mere technical preference. It’s a strategic move that enhances the efficiency of your tech operations, solidifies your brand’s visual identity, and optimizes your financial resources dedicated to web development.
Conclusion
Installing Tailwind CSS is a straightforward process that unlocks a world of efficiency, consistency, and scalability for your web development projects. By following the steps outlined in this guide – from setting up your Node.js environment and initializing your project to configuring tailwind.config.js and compiling your CSS – you’re equipping yourself with a powerful tool that modern developers are increasingly embracing.
Tailwind CSS offers a utility-first approach that not only speeds up development dramatically but also fosters strong brand consistency through its customizable design system. This technological advantage translates directly into financial benefits: reduced development hours, faster time-to-market, lower maintenance costs, and optimized website performance that can enhance user experience and drive conversions.
Whether you’re building a simple landing page or a complex enterprise application, Tailwind CSS provides a robust and flexible foundation. Its widespread adoption, excellent documentation, and thriving community make it an indispensable asset in today’s tech landscape. Now that you have successfully installed Tailwind CSS, the journey of building beautiful, performant, and brand-aligned web experiences awaits. Dive in, experiment with its vast array of utility classes, and transform the way you approach web styling.
aViewFromTheCave is a participant in the Amazon Services LLC Associates Program, an affiliate advertising program designed to provide a means for sites to earn advertising fees by advertising and linking to Amazon.com. Amazon, the Amazon logo, AmazonSupply, and the AmazonSupply logo are trademarks of Amazon.com, Inc. or its affiliates. As an Amazon Associate we earn affiliate commissions from qualifying purchases.