In the dynamic world of web development, Node.js stands as a cornerstone technology, powering everything from backend APIs to full-stack applications and command-line tools. Its versatility and robust ecosystem have made it an indispensable tool for developers globally. However, as projects evolve and new functionalities emerge, so too do the versions of Node.js. Developers frequently find themselves juggling multiple projects, each potentially requiring a different Node.js version. This is where the Node Version Manager, or NVM, becomes not just a convenience, but an essential utility for maintaining a streamlined, efficient, and error-free development workflow on your macOS machine.
Navigating disparate Node.js version requirements without a proper manager can quickly lead to what is colloquially known as “dependency hell.” Imagine starting a new project that demands Node.js v18, while an older, ongoing project is firmly rooted in v14. Manually installing and switching between these versions is cumbersome, time-consuming, and prone to errors. NVM elegantly solves this problem by allowing you to install multiple Node.js versions side-by-side, switch between them with a single command, and even set default versions for your terminal sessions. This level of control not only boosts individual developer productivity – a key tenet for any tech-savvy professional – but also ensures consistency across development teams, which is vital for brand integrity and project success. By adopting NVM, you safeguard your projects from version conflicts, ensuring a smoother development cycle and faster deployment, ultimately contributing to better time-to-market and potentially higher returns on investment in development efforts.
This comprehensive guide will walk you through every step of installing NVM on your Mac, from preparing your system with necessary prerequisites to mastering its core functionalities and troubleshooting common issues. By the end, you’ll be equipped to manage your Node.js environments like a seasoned pro, empowering you to tackle any development challenge with confidence and efficiency.
Understanding NVM and Its Indispensable Role
At its core, Node Version Manager (NVM) is a command-line tool designed to simplify the installation and management of multiple Node.js versions on a single system. Without NVM, installing Node.js typically involves downloading an installer package or using a system-wide package manager. While straightforward for a single version, this approach quickly becomes problematic when different projects demand different Node.js versions. A project built with features exclusive to Node.js v16 might break when run with v18, and vice versa.
The “why” behind NVM is rooted in the practical realities of modern software development. Consider these scenarios:
- Legacy Project Maintenance: You might need to maintain an older application that relies on an outdated Node.js version, which doesn’t perform well or is incompatible with the latest Node.js release.
- New Project Development: Simultaneously, you could be starting a new project that leverages the latest features and performance improvements of the most recent Node.js version.
- Team Collaboration: Different team members might be working on different parts of an ecosystem, each with unique Node.js version requirements, making a consistent environment crucial for avoiding “it works on my machine” syndrome.
- Experimentation: Developers often need to test their applications against various Node.js versions to ensure cross-compatibility or to explore new language features without affecting their primary development environment.
NVM provides an isolated environment for each Node.js version, allowing them to coexist without interfering with each other. This isolation extends to npm (Node Package Manager) and global packages installed for each Node.js version. This means you can have a completely separate set of global packages for Node.js v14, another for v16, and yet another for v18, all managed effortlessly through NVM. This level of control is paramount for productivity and consistency, directly impacting how efficiently you can build, maintain, and scale your applications. For businesses, this translates into reduced development time, fewer environment-related bugs, and a more robust software delivery pipeline, ultimately safeguarding project budgets and timelines.
Preparing Your macOS Environment: Essential Prerequisites
Before diving into the NVM installation, it’s crucial to ensure your macOS system is properly set up. NVM relies on certain foundational tools to function correctly. This preparatory phase is vital for a smooth installation and to prevent common issues down the line.
The Indispensable Role of Xcode Command Line Tools
The Xcode Command Line Tools are a collection of essential utilities that Apple provides for developers on macOS. These tools include compilers (like GCC and Clang), debuggers (like LLDB), and other fundamental build tools necessary for compiling source code and running various development scripts. NVM, and by extension Node.js, relies heavily on these tools for compiling modules and dependencies. Without them, you’re likely to encounter errors during the NVM installation process or when trying to install certain Node.js packages.
To install Xcode Command Line Tools, open your Terminal application (you can find it in Applications/Utilities or by searching with Spotlight CMD + Space and typing “Terminal”) and execute the following command:
xcode-select --install
A pop-up window will appear, prompting you to install the tools. Click “Install” and agree to the software license agreement. The download and installation process might take a few minutes, depending on your internet connection. Once completed, you should receive a notification that the software was installed successfully.
Streamlining Installations with Homebrew
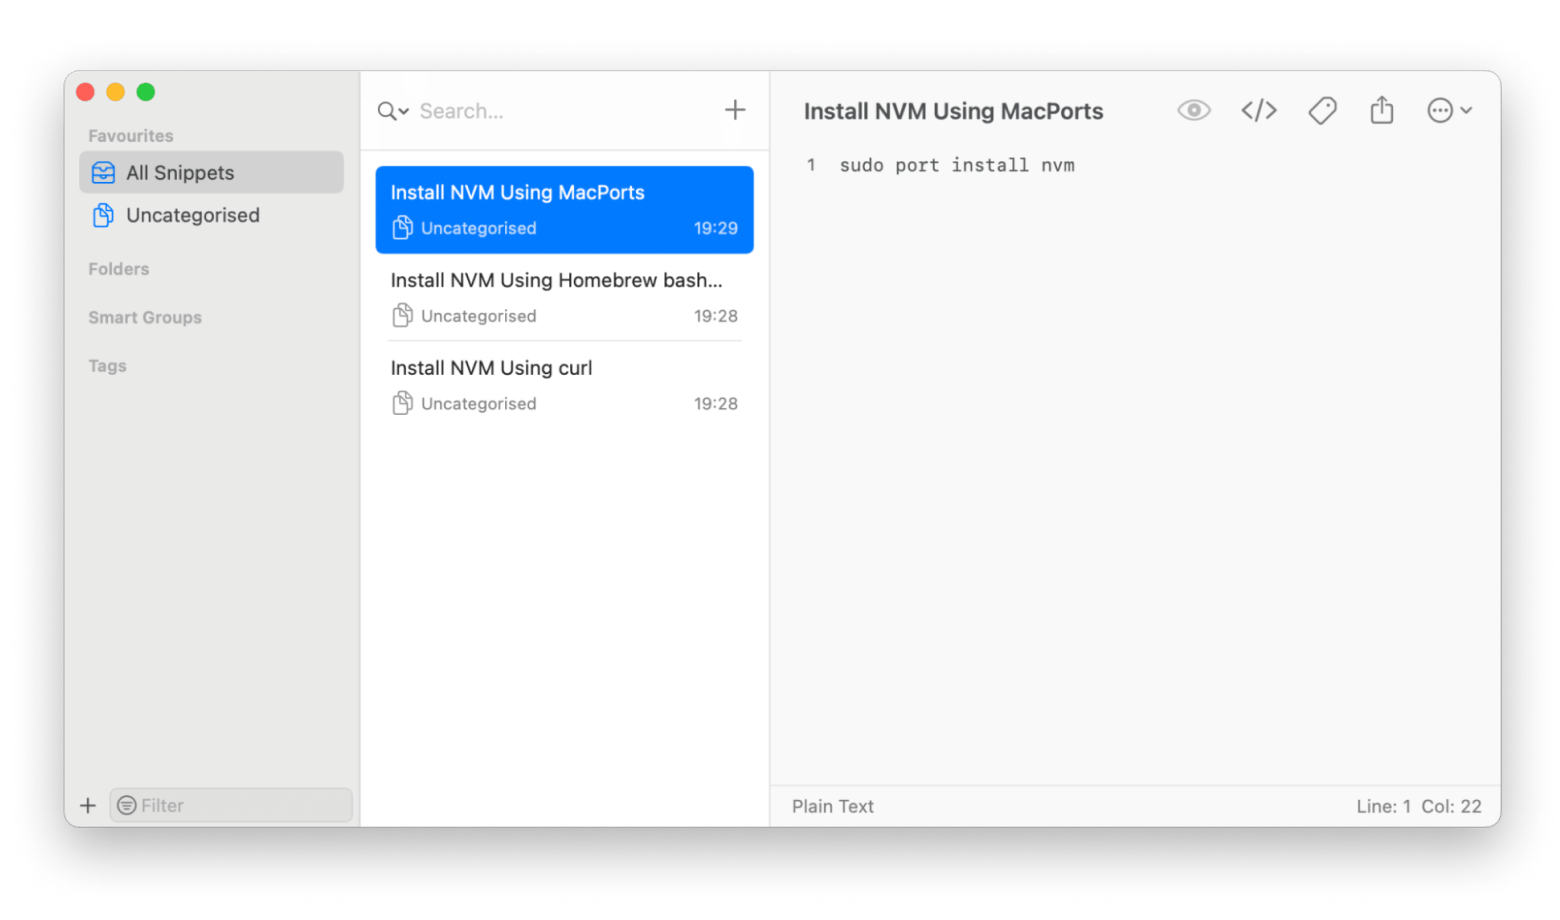
While not strictly required for NVM itself, Homebrew is the de facto package manager for macOS and is highly recommended for any developer. It simplifies the installation of thousands of open-source tools, including those that might be beneficial for your Node.js development workflow or even required by some Node.js modules. Homebrew can also be used to install NVM, though we’ll primarily focus on the official script method, as it often provides the most up-to-date and directly supported version of NVM.
If you don’t have Homebrew installed, you can do so by running this command in your Terminal:
/bin/bash -c "$(curl -fsSL https://raw.githubusercontent.com/Homebrew/install/HEAD/install.sh)"
This command downloads and executes the Homebrew installation script. Follow the on-screen instructions, which may include entering your macOS user password. Once Homebrew is installed, it’s a good practice to update it to ensure you have the latest packages and definitions:
brew update
brew upgrade
Having Homebrew ready will prove invaluable for managing other developer tools, enhancing your overall productivity and enabling a more robust development environment.
Step-by-Step NVM Installation on Your Mac
With your system prepped, you’re now ready to install NVM. The recommended and most common method involves using a simple installation script provided by the NVM project.
Method 1: Installing NVM with cURL
The cURL utility is a command-line tool for transferring data with URLs, widely available on macOS. It’s the most straightforward way to fetch and execute the NVM installation script.
Open your Terminal and run the following command:
curl -o- https://raw.githubusercontent.com/nvm-sh/nvm/v0.39.7/install.sh | bash
(Note: Replace v0.39.7 with the latest stable version of NVM available on their GitHub page if a newer version has been released.)
Let’s break down this command:
curl -o-: This tellscurlto fetch the content from the specified URL and output it to standard output (-o-).https://raw.githubusercontent.com/nvm-sh/nvm/v0.39.7/install.sh: This is the URL of the NVM installation script hosted on GitHub.| bash: The pipe (|) sends the output of thecurlcommand (the installation script) directly to thebashinterpreter, which then executes it.
The script will download NVM into a hidden directory within your home directory (~/.nvm) and add the necessary configuration lines to your shell’s profile file (e.g., .bash_profile, .zshrc, or .profile).
Method 2: Installing NVM with Wget (Alternative)
If for some reason you prefer or require wget (a non-interactive network downloader) over curl, the process is similar. First, ensure wget is installed (you can install it via Homebrew: brew install wget). Then, execute:
wget -qO- https://raw.githubusercontent.com/nvm-sh/nvm/v0.39.7/install.sh | bash
(Again, replace v0.39.7 with the latest stable version if different.)
wget -qO-: This tells wget to operate quietly (-q), output the file to standard output (-O-), and print no verbose output. The rest of the command is identical to the cURL method.
Configuring Your Shell for NVM Accessibility
After running the installation script, NVM needs to be loaded into your shell environment every time you open a new terminal session. The installation script attempts to do this automatically by adding lines to your shell’s configuration file.
The most common shell on modern macOS versions is Zsh (zsh), which uses .zshrc. Older macOS versions or custom setups might use Bash (bash), which typically uses .bash_profile or .profile.
The script will add lines similar to these to your configuration file:
export NVM_DIR="$HOME/.nvm"
[ -s "$NVM_DIR/nvm.sh" ] && . "$NVM_DIR/nvm.sh"  # This loads nvm
[ -s "$NVM_DIR/bash_completion" ] && . "$NVM_DIR/bash_completion"  # This loads nvm bash_completion
Important: For NVM to become active in your current terminal session, you need to “source” your configuration file. This reloads the file, applying its changes.
If you are using Zsh (default on macOS Catalina and later):
source ~/.zshrc
If you are using Bash:
source ~/.bash_profile
# Or, if you use .profile
source ~/.profile
It’s a good practice to ensure these lines are indeed in your shell configuration file. You can check this by opening the file with a text editor (e.g., nano ~/.zshrc or vi ~/.bash_profile) and verifying their presence. If they are missing for any reason, manually add them to the end of your file.
Verifying Your NVM Installation
Once you’ve sourced your shell configuration, you can verify that NVM is correctly installed and accessible.
Open a new terminal window (or tab) to ensure NVM is loaded correctly, then run:
command -v nvm
This command should output nvm. If it outputs nvm: command not found, it indicates that NVM is not correctly loaded into your shell path. In such a case, revisit the “Configuring Your Shell” section, ensuring the NVM export lines are present in the correct configuration file and that you’ve sourced it.
You can also check the NVM version:
nvm --version

This should display the version number of NVM you just installed, confirming its successful setup. Congratulations, NVM is now ready to manage your Node.js installations!
Harnessing NVM: Managing Node.js Versions with Ease
Now that NVM is installed, let’s explore its core functionalities to manage your Node.js environments effectively. This is where NVM truly shines, offering unparalleled flexibility and control over your development stack.
Installing Specific Node.js Versions
The primary use case for NVM is to install different versions of Node.js. NVM makes this incredibly simple.
To install the latest stable version of Node.js (often referred to as the ‘current’ version):
nvm install node
To install a specific major version (NVM will fetch the latest patch release for that major version):
nvm install 16
# This will install the latest 16.x.x version, e.g., 16.20.2
To install a precise version:
nvm install 14.17.0
# This installs Node.js version 14.17.0 exactly
You can install as many versions as your projects demand. NVM handles the isolation and storage of each version independently.
Listing and Switching Between Node.js Versions
Once you have multiple Node.js versions installed, you’ll need to know which ones are available and how to switch between them.
To see all installed Node.js versions and which one is currently active:
nvm ls
The output will list all versions, with an arrow (->) pointing to the currently active version and (default) indicating the version NVM will use in new shell sessions.
To switch to an installed Node.js version in your current terminal session:
nvm use 16
# Or, for a precise version:
nvm use 14.17.0
This command immediately changes the Node.js version accessible in your current terminal window. If you open a new terminal, it will revert to the default Node.js version (if one is set) or the system-wide Node.js (if NVM isn’t configured to load a default).
Setting a Default Node.js Version
To avoid manually switching versions every time you open a new terminal, you can set a default Node.js version. This version will automatically load when you start a new shell session.
nvm alias default 16
# This sets the latest Node.js v16 as the default for all new terminal sessions.
Now, any new terminal session will automatically use Node.js v16. You can still switch to other versions using nvm use <version> within that session, but the default will always be v16 upon startup.
Removing Unnecessary Node.js Versions
Over time, you might accumulate Node.js versions that are no longer needed. NVM allows you to easily uninstall them, freeing up disk space and keeping your environment tidy.
To uninstall a specific Node.js version:
nvm uninstall 14.17.0
Be careful not to uninstall the version currently in use. If you try, NVM will prompt you to switch to another version first.
Troubleshooting Common NVM Installation and Usage Issues
Even with the clearest instructions, sometimes things don’t go exactly as planned. Here are some common issues you might encounter during NVM installation or use, along with their solutions.
nvm: command not found
This is by far the most frequent issue and almost always points to an incomplete shell configuration.
Possible Causes & Solutions:
- Shell Configuration File Not Sourced: After installation, you must source your shell configuration file (
.zshrc,.bash_profile,.profile) for NVM to be active in your current terminal session.- Solution: Close your current terminal and open a new one. If the issue persists, manually run
source ~/.zshrc(for Zsh) orsource ~/.bash_profile(for Bash).
- Solution: Close your current terminal and open a new one. If the issue persists, manually run
- Missing NVM Export Lines: The installation script might not have successfully added the necessary lines to your shell configuration file.
- Solution: Open your shell configuration file (e.g.,
nano ~/.zshrc) and manually add the following lines at the end:
bash

export NVM_DIR="$HOME/.nvm"

[ -s "$NVM_DIR/nvm.sh" ] && . "$NVM_DIR/nvm.sh"

[ -s "$NVM_DIR/bash_completion" ] && . "$NVM_DIR/bash_completion"
Save the file, then open a new terminal orsourcethe file.
- Solution: Open your shell configuration file (e.g.,
- Incorrect Shell Profile: You might be editing
.bash_profilebut your shell is actually Zsh, or vice-versa.- Solution: Determine your active shell by running
echo $SHELL. If it’s/bin/zsh, edit~/.zshrc. If it’s/bin/bash, edit~/.bash_profileor~/.profile.
- Solution: Determine your active shell by running
Permissions Issues
Occasionally, NVM or Node.js installations might fail due to insufficient permissions. This usually happens if NVM was installed incorrectly (e.g., using sudo, which is strongly discouraged for NVM).
Possible Causes & Solutions:
- Incorrect
NVM_DIRPermissions: The~/.nvmdirectory might not have the correct user permissions.- Solution: Ensure your user owns the
~/.nvmdirectory. You can fix this with:
bash

sudo chown -R $(whoami) "$NVM_DIR"
Then, try the NVM command again.
- Solution: Ensure your user owns the
- Trying to
sudo nvm ...: NVM should never be run withsudo. It’s designed to install Node.js versions in your user’s home directory, not system-wide. Runningsudocan mess up permissions and break your NVM setup.- Solution: Avoid
sudowith NVM commands. If you accidentally ran it, you might need to fix permissions as described above or even reinstall NVM.
- Solution: Avoid
Node.js or NPM Command Not Found After nvm use
You’ve used nvm use <version>, but node -v or npm -v still shows the wrong version or command not found.
Possible Causes & Solutions:
- NVM Not Fully Initialized: This can happen if your
nvm.shscript isn’t properly sourced or if there’s another Node.js installation in your system’s PATH that takes precedence.- Solution:
- Ensure NVM is correctly initialized by checking
command -v nvm. - Check your system’s PATH variable for other Node.js installations that might be interfering:
echo $PATH. If you see/usr/local/bin/nodeor similar, it might be a system-wide Node.js. Consider uninstalling it or ensuring NVM’s path comes first. - Restart your terminal session after
nvm useto confirm.
- Ensure NVM is correctly initialized by checking
- Solution:
nvm install Fails with Compilation Errors
This often points to missing or outdated Xcode Command Line Tools or build dependencies.
Possible Causes & Solutions:
- Missing Xcode Command Line Tools: As discussed in prerequisites, these are crucial.
- Solution: Re-run
xcode-select --installto ensure they are fully updated and installed.
- Solution: Re-run
- Outdated System: Your macOS version might be too old to support the latest Node.js build tools.
- Solution: Update your macOS to the latest compatible version.
- Node.js Build Dependencies: Some Node.js modules or older versions might require specific build tools or libraries.
- Solution: Ensure Homebrew is updated (
brew update && brew upgrade) and try installing any suggested missing dependencies.
- Solution: Ensure Homebrew is updated (
NVM Cache Issues
Sometimes, corrupted or incomplete downloads can cause issues.
Possible Causes & Solutions:
- Corrupted Download: The NVM installation script or a Node.js version might have downloaded incompletely.
- Solution: Clear the NVM cache. You can find cached downloads in
~/.nvm/.cache. Manually delete the problematic files or the entire.cachedirectory, then try the installation again.
- Solution: Clear the NVM cache. You can find cached downloads in
By understanding these common pitfalls and their resolutions, you can quickly diagnose and fix issues, keeping your Node.js development workflow smooth and efficient.
Conclusion: Empowering Your Development Workflow with NVM
The journey to mastering Node.js development on macOS is significantly enhanced by adopting a robust version manager like NVM. From the initial installation of essential prerequisites like Xcode Command Line Tools and Homebrew, through the straightforward NVM setup process, to leveraging its powerful commands for installing, switching, and managing Node.js versions, you’ve now gained a critical tool in your developer arsenal.
The importance of NVM extends beyond mere convenience; it’s a foundational element for productivity, stability, and collaboration in modern software development. For individual developers, it eliminates the headaches of version conflicts, allowing you to seamlessly transition between diverse projects, experiment with new features, and maintain legacy applications without fear of breaking your entire development environment. This agility directly contributes to faster development cycles and a more enjoyable coding experience.
From a broader perspective, particularly in the context of technology trends and brand integrity, NVM plays a subtle yet significant role. Consistent development environments across a team are paramount for delivering high-quality software on time and within budget. NVM helps foster this consistency, reducing friction, minimizing debugging time related to environment differences, and ensuring that your team’s collective efforts are focused on building innovative solutions rather than battling dependency issues. This operational efficiency not only saves money by optimizing developer resources but also fortifies your brand’s reputation for delivering reliable and well-engineered products.
As Node.js continues to evolve, embracing NVM ensures your development setup remains flexible and future-proof. You are now equipped not just to install Node.js, but to command its versions, adapting to new project demands and technological shifts with confidence. Keep your NVM updated, explore its advanced features like .nvmrc files for project-specific versioning, and leverage its power to streamline your workflow. Your Mac is now a more capable and versatile development machine, ready to tackle any Node.js challenge you throw its way. Happy coding!