Node.js has become a cornerstone of modern web development, empowering developers to build everything from lightning-fast APIs to dynamic single-page applications. Its asynchronous, event-driven architecture makes it incredibly efficient for handling I/O-bound operations, a common bottleneck in many web services. Whether you’re a seasoned developer looking to expand your toolkit or a budding enthusiast eager to dive into server-side JavaScript, understanding how to install Node.js is your first crucial step. This guide will walk you through the process, covering various installation methods and best practices, ensuring you’re ready to harness the power of Node.js for your next project.

The versatility of Node.js extends far beyond its initial creation as a JavaScript runtime. Its vast ecosystem of packages, managed by npm (Node Package Manager) or its modern counterpart, Yarn, provides pre-built solutions for almost any development challenge. This allows developers to focus on core logic rather than reinventing the wheel for common functionalities like database interaction, authentication, or frontend framework integration. Furthermore, Node.js has fostered a vibrant community, constantly contributing to its growth and innovation.
In the realm of “Tech,” Node.js fits perfectly within the “Software” and “Tutorials” categories. It’s a fundamental tool for anyone venturing into “Productivity” through efficient web application development. For those interested in “Digital Security,” understanding how to manage dependencies and secure your Node.js applications is paramount. The “Brand” aspect might seem less directly related, but a well-performing and reliable application built with Node.js can significantly enhance a company’s or individual’s digital “Reputation” and contribute to effective “Marketing” through a seamless user experience. From a “Money” perspective, mastering Node.js can open doors to lucrative “Online Income” opportunities, “Side Hustles” as a freelance developer, and even inform better “Business Finance” decisions through the development of efficient and scalable applications.
Understanding Node.js and Its Installation Options
Before diving into the installation itself, it’s beneficial to understand what Node.js is and why its installation might seem to have multiple paths. Node.js is an open-source, cross-platform JavaScript runtime environment that executes JavaScript code outside of a web browser. It’s built on Chrome’s V8 JavaScript engine, which makes it fast and efficient.
The primary reason for different installation methods is to cater to diverse user needs and operating system specificities. Some users might prefer a simple, straightforward installation for immediate use, while others, particularly those working on multiple projects with varying dependency requirements, might benefit from more advanced version management.
The Official Installer: A Straightforward Approach
The most common and generally recommended method for installing Node.js is by using the official installer provided on the Node.js website. This approach is ideal for most users, especially beginners, as it’s straightforward and ensures you get a stable, well-tested version of Node.js.
Steps for Using the Official Installer:
-
Visit the Official Node.js Website: Navigate to nodejs.org.
-
Choose Your Download: You’ll typically see two download options:
- LTS (Long Term Support): This is the recommended version for most users. LTS releases are stable, reliable, and receive ongoing support for an extended period, making them ideal for production environments.
- Current: This version features the latest updates and features. It’s great for experimentation and for those who want to be on the cutting edge, but it might be less stable than the LTS version.
-
Download the Installer: Click on the appropriate installer for your operating system (Windows, macOS, or Linux). The website usually auto-detects your OS.
-
Run the Installer:
- Windows: Double-click the downloaded
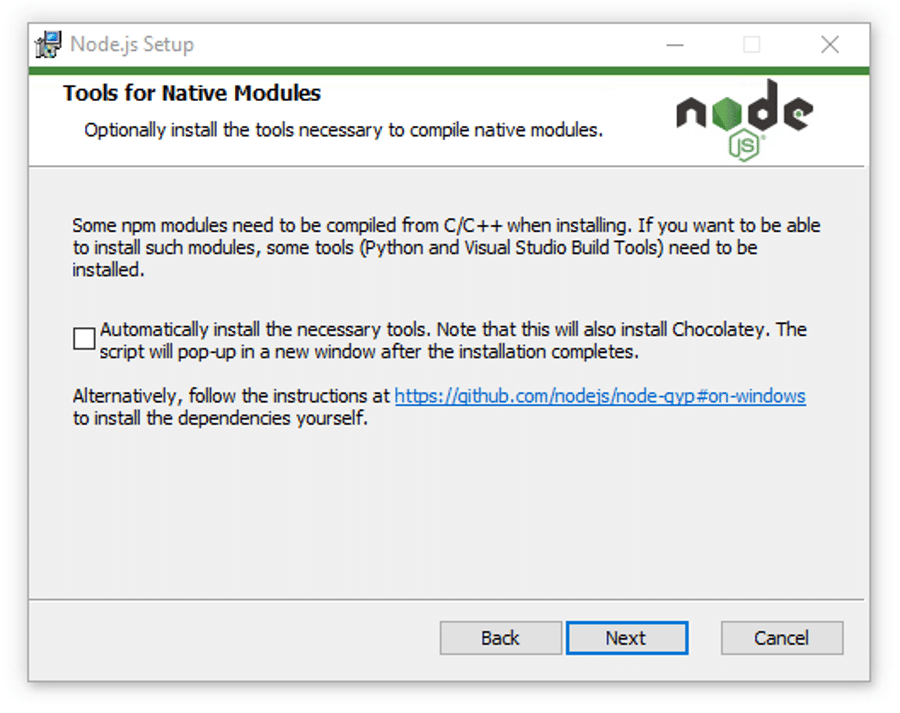
.msifile. Follow the on-screen prompts, accepting the license agreement and choosing the installation destination. The installer will typically include npm by default, which is essential for managing Node.js packages. You can usually accept the default settings, ensuring that “Add to PATH” is selected. This allows you to run Node.js and npm commands from any directory in your command prompt. - macOS: Open the downloaded
.pkgfile. The installation process is similar to Windows, with a step-by-step wizard guiding you through the installation. Again, ensure that Node.js and npm are added to your system’s PATH. - Linux: For Linux, you can download pre-compiled binaries or compile from source. However, the most common method is to use your distribution’s package manager. For example, on Debian/Ubuntu-based systems, you might use
sudo apt install nodejs npm. On Fedora, it would besudo dnf install nodejs. For detailed instructions specific to your Linux distribution, refer to the Node.js website’s installation guide.
- Windows: Double-click the downloaded
-
Verify the Installation: After the installation is complete, open your terminal or command prompt. Type the following commands to verify that Node.js and npm have been installed correctly:
node -v
npm -v
These commands should output the installed versions of Node.js and npm, respectively. If you encounter an error like “command not found,” it likely means that Node.js was not added to your system’s PATH during installation. You may need to manually add it or reinstall, ensuring the PATH option is selected.
Advanced Installation Methods: Version Management and Flexibility
While the official installer is excellent for most, developers often work on projects that require different Node.js versions. This is where version managers come into play, offering unparalleled flexibility and control over your Node.js environment.
Node Version Manager (NVM): The Developer’s Choice
Node Version Manager (NVM) is a script that allows you to install multiple active Node.js versions and switch between them on the fly. This is invaluable for testing your applications on different Node.js runtimes or working on projects that have specific version requirements. NVM is primarily used on macOS and Linux, though there’s a Windows equivalent.
Installing and Using NVM (macOS/Linux):
-
Install NVM: The easiest way to install NVM is using its installation script. Open your terminal and run the following command:
curl -o- https://raw.githubusercontent.com/nvm-sh/nvm/v0.39.3/install.sh | bash(Note: Check the official NVM GitHub repository for the latest version number.)
-
Load NVM: After installation, you might need to close and reopen your terminal or run the following commands to load NVM into your current shell session:
export NVM_DIR="$HOME/.nvm"
[ -s "$NVM_DIR/nvm.sh" ] && . "$NVM_DIR/nvm.sh"  # This loads nvm
[ -s "$NVM_DIR/bash_completion" ] && . "$NVM_DIR/bash_completion"  # This loads nvm bash_completion
These lines are usually added automatically to your shell’s profile file (e.g.,
.bashrc,.zshrc) during installation. -
Install a Node.js Version: To install a specific version of Node.js, use the
nvm installcommand. For example, to install the latest LTS version:nvm install --ltsTo install a specific version, like Node.js 18.17.0:
nvm install 18.17.0 -
Use a Node.js Version: Once installed, you need to tell NVM which version to use for your current session:

```bash
nvm use --lts # Use the latest installed LTS version
nvm use 18.17.0 # Use Node.js version 18.17.0
```
-
Set a Default Version: To have a specific version used automatically when you open a new terminal session, use the
nvm alias defaultcommand:nvm alias default node # Sets the latest installed Node.js as default nvm alias default 18.17.0 # Sets Node.js 18.17.0 as default -
List Installed Versions: To see all the Node.js versions you have installed:
nvm ls -
Uninstall a Version: To remove a Node.js version:
nvm uninstall 18.17.0
NVM for Windows:
For Windows users, a similar tool called nvm-windows is available. You can download the installer from its GitHub repository. The usage is very similar to NVM for macOS/Linux, with commands like nvm install <version> and nvm use <version>.
Other Version Managers (Yarn, Volta)
While NVM is extremely popular, other tools also offer Node.js version management alongside package management.
- Yarn: Primarily known as a package manager that competes with npm, Yarn also offers the ability to manage Node.js versions, especially when used with its built-in Yarn PnP (Plug’n’Play) features.
- Volta: Volta is a modern JavaScript toolchain manager that seamlessly handles Node.js versions, npm, and Yarn. It’s known for its speed and ease of use, automatically switching Node.js versions based on your project’s configuration without requiring explicit commands.
Post-Installation: Essential Next Steps
Once Node.js and npm are successfully installed, there are a few crucial steps to ensure you’re ready to start developing.
Understanding npm and Project Initialization
npm (Node Package Manager) is installed automatically with Node.js. It’s the default package manager for Node.js and is used to install libraries and tools.
Key npm Commands:
npm init: This command initializes a new Node.js project. It will create apackage.jsonfile, which is the manifest file for your project. This file stores metadata about your project, including its name, version, dependencies, and scripts. Runningnpm init -ywill skip the interactive prompts and create apackage.jsonwith default values.npm install <package-name>: This command installs a specific package (and its dependencies) from the npm registry. For example,npm install expresswould install the popular Express.js framework.npm install: If you have apackage.jsonfile in your project directory, runningnpm installwill install all the dependencies listed in thedependenciesanddevDependenciessections.npm update: This command updates all installed packages to their latest compatible versions according to yourpackage.json.npm uninstall <package-name>: This command removes a package from your project and its entry frompackage.json.
Global vs. Local Installations
It’s important to understand the difference between installing packages globally and locally.
- Local Installation: When you run
npm install <package-name>inside a project directory that has apackage.jsonfile, the package is installed locally within that project’snode_modulesfolder. This is the preferred method for most project dependencies, as it keeps your project self-contained and avoids version conflicts between different projects. - Global Installation: When you use the
-gflag (e.g.,npm install -g <package-name>), the package is installed globally on your system. Global packages are typically command-line tools that you want to access from anywhere on your system, such as build tools, linters, or task runners (e.g.,nodemon,create-react-app,eslint). Be mindful that installing too many packages globally can sometimes lead to conflicts or system clutter.
Setting Up Your Development Environment
With Node.js installed and npm at your fingertips, you’re ready to set up your development environment. This usually involves:
-
Choosing a Text Editor or IDE: Popular choices include Visual Studio Code (VS Code), Sublime Text, Atom, and WebStorm. VS Code, in particular, has excellent built-in support for Node.js development with features like debugging, IntelliSense, and integrated terminal.
-
Creating Your First Project: Navigate to your desired project directory in your terminal, run
npm init -yto create apackage.jsonfile, and then you can start installing dependencies or writing your code. -
Running a Simple Node.js Script: Create a file named
app.jswith the following content:console.log("Hello, Node.js!");Then, in your terminal, navigate to the directory where you saved
app.jsand run:node app.jsYou should see “Hello, Node.js!” printed to your console.
By following these steps, you’ve not only successfully installed Node.js but also laid the groundwork for building powerful and efficient applications. The Node.js ecosystem is vast and continually evolving, so embrace the learning process, explore its capabilities, and start coding!
aViewFromTheCave is a participant in the Amazon Services LLC Associates Program, an affiliate advertising program designed to provide a means for sites to earn advertising fees by advertising and linking to Amazon.com. Amazon, the Amazon logo, AmazonSupply, and the AmazonSupply logo are trademarks of Amazon.com, Inc. or its affiliates. As an Amazon Associate we earn affiliate commissions from qualifying purchases.