
Installing a motherboard is often cited as the most daunting phase of building a computer. As the primary printed circuit board (PCB) of a system, the motherboard acts as the central nervous system, facilitating communication between the CPU, memory, storage, and peripheral devices. A single error during installation can lead to hardware failure or suboptimal performance. However, with a systematic approach and an understanding of modern hardware standards, any enthusiast can master this essential tech skill. This guide provides a professional, deep-dive walkthrough into the preparation, physical installation, and post-setup configuration required to successfully integrate a motherboard into your build.
1. Preparation and Compatibility: Setting the Foundation
Before a single screw is turned, the success of your installation depends on rigorous preparation. In the world of technology, compatibility is king. A motherboard must not only fit within your chosen chassis but also support the specific architecture of your processor and memory.
Ensuring Component Synergy
The first step is verifying the “Socket Type” and “Chipset.” For instance, an Intel Alder Lake CPU requires an LGA 1700 socket, while an AMD Ryzen 7000 series chip necessitates an AM5 socket. Beyond the socket, the chipset (such as Z790 or B650) determines the features available, such as overclocking capabilities and the number of PCIe lanes. Furthermore, ensure your motherboard’s form factor—ATX, Micro-ATX, or Mini-ITX—is supported by your PC case. An ATX board will not fit in a Mini-ITX case, though the reverse is often true.
Pre-Installation of Core Components
It is a professional “best practice” to install the CPU, RAM, and M.2 NVMe SSDs onto the motherboard before placing the board inside the case. This “out-of-box” method provides a flat, stable surface (usually the motherboard’s own cardboard box) and prevents the cramped environment of the chassis from hindering your precision.
- CPU Installation: Handle the processor by its edges. For Intel, be extremely careful not to touch the pins in the socket. For AMD (PGA), ensure the pins on the CPU are straight. Align the triangle markers and let the chip drop into place without force.
- RAM Seating: Open the clips on the DIMM slots. Align the notch on the RAM stick with the rise in the slot and press down firmly until you hear a definitive “click.”
- M.2 Drives: Slide the SSD into its slot at a 30-degree angle, press it flat, and secure it with the provided tiny screw or tool-less latch.
Electrostatic Discharge (ESD) Safety
Modern electronics are sensitive to static electricity. While components are more resilient than they were a decade ago, a single discharge can cause “latent defects”—damage that doesn’t kill the part immediately but leads to instability later. Work on a non-conductive surface, avoid standing on carpet, and ideally, wear an anti-static wrist strap clipped to a grounded metal object (like your plugged-in but powered-off PSU).
2. Step-by-Step Hardware Installation: Seating the Motherboard
Once the core components are mounted on the board, it is time to transition into the PC chassis. This stage requires manual dexterity and attention to mechanical alignment.
The I/O Shield and Standoffs
Many high-end modern motherboards come with an integrated I/O shield. If yours does not, you must snap the rectangular metal plate into the rear slot of your case before doing anything else. Forgetting this step is a common rite of passage for new builders, necessitating a full disassembly to fix.
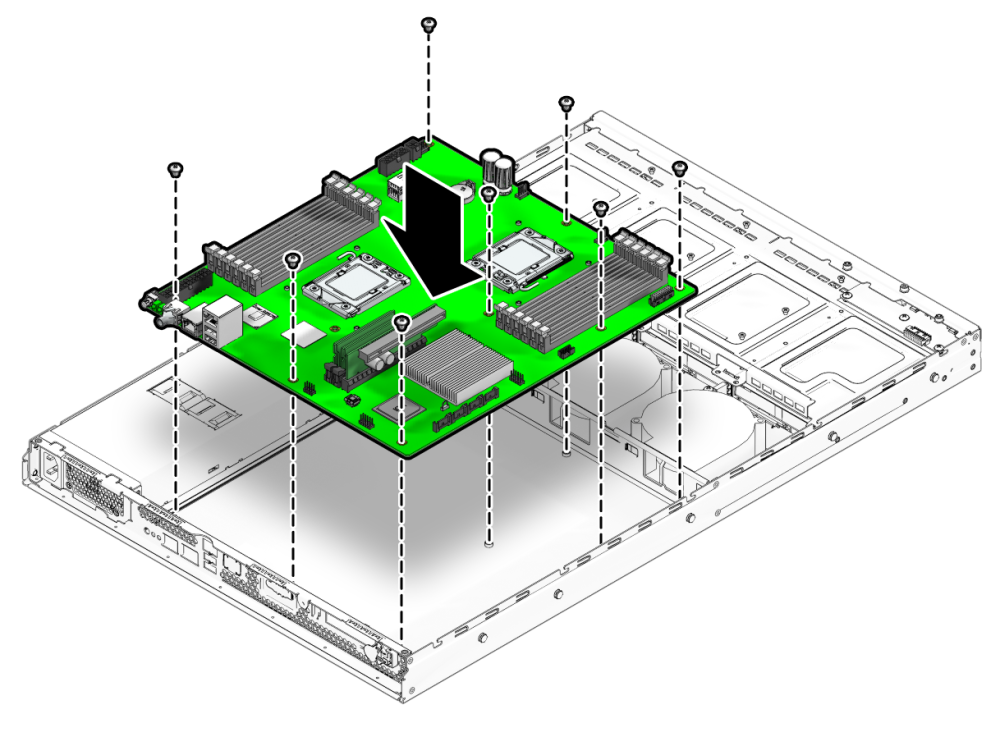
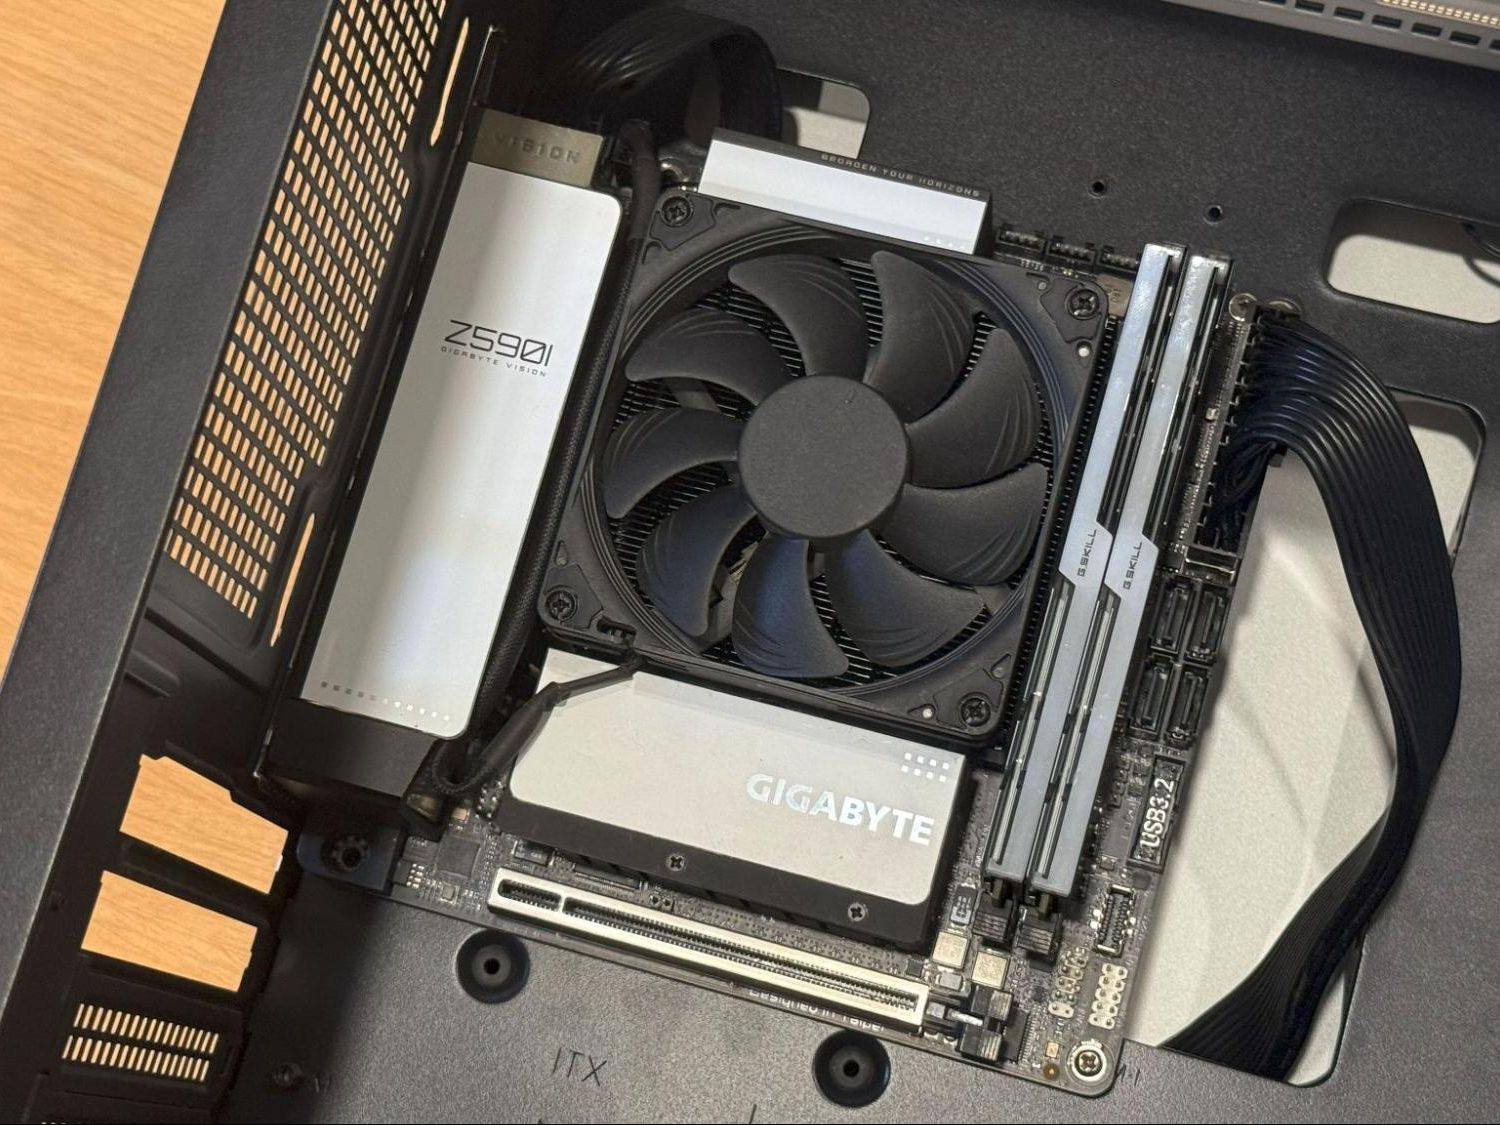
Next, examine the “standoffs”—the small brass spacers that keep the motherboard from touching the metal tray of the case. If the motherboard touches the tray directly, it will short-circuit. Ensure the standoff pattern in your case matches the holes on your motherboard. Most modern cases come with these pre-installed for ATX boards, but always double-check.
Positioning and Securing the Board
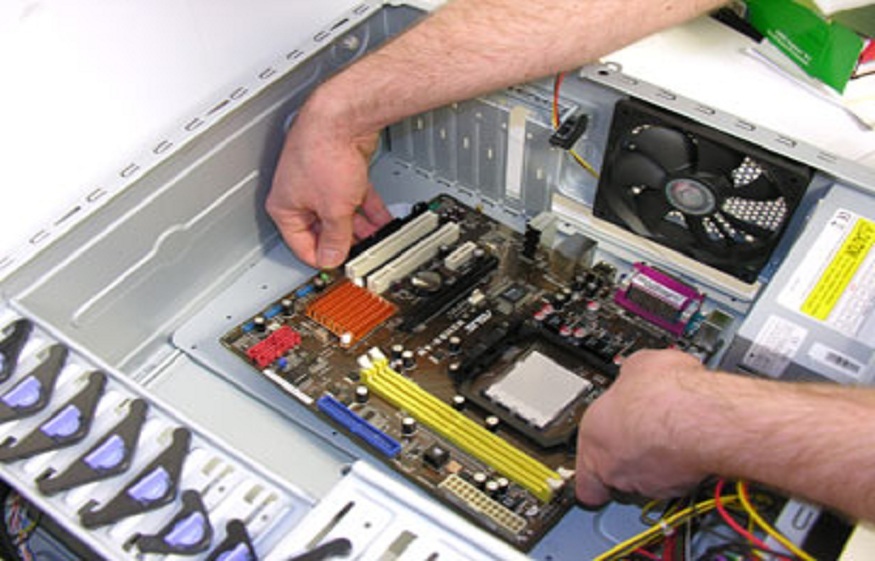
Lower the motherboard into the case at a slight angle, sliding the rear ports into the I/O shield. Once aligned, the center hole of the motherboard should fit over a centering pin or a standoff.
Use the screws provided with your case (not the motherboard) to secure it. Tighten them in a “cross-pattern” or “star-pattern”—similar to how you would tighten lug nuts on a car tire. This ensures even pressure across the PCB and prevents the board from warping. Do not over-tighten; a firm “finger-tight” plus a quarter-turn with a screwdriver is sufficient.
3. Connectivity and Wiring: Powering Up and Data Links
With the motherboard physically secured, the next phase is “The Great Plug-In.” This is where the motherboard is linked to the Power Supply Unit (PSU) and the case’s external interfaces.
Primary Power Delivery
The motherboard requires two main power inputs:
- 24-Pin ATX Power: This is the largest cable from your PSU. It provides power to the board’s various circuits and PCIe slots. It usually requires significant force to click into place.
- 8-Pin (or 4+4 Pin) EPS/CPU Power: Located at the top left of the motherboard, this dedicated line provides power specifically to the CPU VRMs (Voltage Regulator Modules). Without this, the system will not post.
The Front Panel Headers (JFP1)
This is often considered the most tedious part of the process. You must connect the tiny wires from the case—Power Switch, Reset Switch, HDD LED, and Power LED—to a specific set of pins on the bottom right of the motherboard. Refer strictly to your motherboard manual for the pinout diagram. If the Power Switch (PWR_SW) is not connected correctly, the PC simply won’t turn on when you press the button.
USB and Audio Interfacing
To use the ports on the front of your case, you must connect:
- USB 3.0/3.2 Header: A large, blue-tipped rectangular plug.
- HD Audio Header: Usually located at the bottom left, allowing you to use the case’s headphone and microphone jacks.
- USB-C Header: On newer cases and boards, this is a small, reversible internal connector.
4. Final Verification and Post-Installation Troubleshooting
The hardware is now installed, but the job isn’t finished until the system is stable and the software is communicating correctly with the hardware.
The First Boot and BIOS/UEFI
Flip the PSU switch to the “on” position and press the case power button. If the fans spin and you see a logo on the screen, you have successfully completed the hardware phase. Enter the BIOS (usually by tapping the ‘Delete’ or ‘F2’ key).
In the BIOS, check that your CPU temperature is stable (usually between 30°C and 45°C at idle) and that all your RAM is recognized. This is also the time to enable XMP (Extreme Memory Profile) or DOCP/EXPO for AMD systems. By default, RAM often runs at a lower speed; enabling these profiles allows the motherboard to automatically overclock the RAM to its advertised speed.
Driver Installation and Optimization
Once you have installed your Operating System (OS), the motherboard requires specific drivers to function at peak efficiency. While Windows 10/11 installs generic drivers automatically, it is highly recommended to visit the manufacturer’s website (ASUS, MSI, Gigabyte, ASRock) to download the latest:
- Chipset Drivers: Essential for proper CPU and PCIe communication.
- LAN/Wi-Fi Drivers: For stable networking.
- Audio Drivers: To enable high-fidelity sound features.
Troubleshooting Common Issues
If the system fails to boot, look for the “Debug LEDs” on the right side of the motherboard. Most modern boards have four lights: CPU, DRAM, VGA, and BOOT. If the DRAM light stays on, for example, it indicates a problem with the memory seating or compatibility. If no lights appear and there is no power, double-check the 24-pin ATX connection and the front panel Power Switch header.
Conclusion: The Heart of the Machine
Installing a motherboard is more than just a mechanical task; it is an exercise in technical precision. By carefully selecting compatible parts, ensuring a static-safe environment, and meticulously managing the intricate web of power and data cables, you create a robust foundation for your computing needs. Whether you are building a high-end workstation for AI development or a gaming rig to push the latest graphics to their limit, a properly installed motherboard ensures that every component performs at its theoretical maximum. With the hardware secured and the BIOS tuned, your system is no longer just a collection of parts—it is a cohesive, high-performance machine.
aViewFromTheCave is a participant in the Amazon Services LLC Associates Program, an affiliate advertising program designed to provide a means for sites to earn advertising fees by advertising and linking to Amazon.com. Amazon, the Amazon logo, AmazonSupply, and the AmazonSupply logo are trademarks of Amazon.com, Inc. or its affiliates. As an Amazon Associate we earn affiliate commissions from qualifying purchases.