In the dynamic world of technology, keeping your systems running optimally is paramount. For Apple users, macOS is the bedrock of their digital lives, underpinning everything from creative pursuits and professional endeavors to personal organization and entertainment. Whether you’re upgrading to the latest version, troubleshooting persistent issues, giving your Mac a fresh start, or preparing it for a new owner, knowing how to properly install or reinstall macOS is a fundamental skill.
This guide delves deep into the process, providing clear, actionable steps that cater to both novices and seasoned Mac users. We’ll explore the various methods, critical prerequisites, and essential post-installation practices that ensure your Mac runs smoothly, securely, and efficiently, ultimately contributing to your productivity and extending the value of your investment. By understanding the nuances of macOS installation, you’re not just performing a technical task; you’re proactively managing a key asset in your personal and professional toolkit, aligning perfectly with principles of sound tech management and financial prudence.

Preparing for a Seamless macOS Installation
Before diving into the technicalities of installing macOS, thorough preparation is key. This phase is arguably the most crucial, as neglecting any of these steps can lead to data loss, frustrating delays, or a compromised installation. Think of it as laying a solid foundation for a successful project – investing time here saves significant trouble down the line.
The Golden Rule: Back Up Your Data
This cannot be stressed enough: always back up your Mac before proceeding with any significant system changes, including installing macOS. Your personal files, creative projects, financial documents, and business data are irreplaceable. A clean installation will wipe your primary drive, and even an upgrade can encounter unforeseen issues. Losing years of memories or critical work can be a devastating blow, impacting not only your personal life but also potentially your financial standing or professional reputation.
Apple’s built-in Time Machine is an incredibly robust and user-friendly backup solution. Connect an external hard drive (ideally one with at least twice the capacity of your Mac’s internal storage), and Time Machine will automatically create incremental backups of your entire system. For added security and accessibility, consider cloud-based backup solutions like iCloud Drive, Google Drive, or Dropbox for your most critical files. While some offer free tiers, investing in a paid plan for sufficient storage can be a small price to pay for ultimate peace of mind and data redundancy, fitting squarely into a smart personal finance strategy. Regularly verify your backups to ensure they are complete and restorable.
Essential Pre-Installation Checklist
Beyond data backup, a few other items need your attention to ensure the installation process is as smooth as possible.
- Mac Compatibility: Not all macOS versions are compatible with all Mac models. Before you begin, check Apple’s official website for the specific macOS version you intend to install to confirm your Mac model supports it. Attempting to install an incompatible version will lead to errors and wasted time.
- Stable Internet Connection: Many macOS installations, especially when using Recovery Mode, require downloading the operating system files from Apple’s servers. A fast and stable Wi-Fi or, ideally, an Ethernet connection is vital. Interrupted downloads can corrupt the installer or cause the process to fail, forcing you to restart.
- Adequate Power Supply: For laptops, ensure your Mac is connected to a power outlet throughout the entire installation process. Running out of battery mid-installation can severely corrupt your system and potentially render your Mac unbootable, necessitating a more complex recovery. For desktops, a stable power supply is equally important.
- Sufficient Storage Space: While macOS itself has a relatively compact footprint, the installation process requires significant temporary space. Apple typically recommends at least 20-30 GB of free space. Before you begin, check your Mac’s storage (via Apple Menu > About This Mac > Storage) and free up space if necessary.
- Your Apple ID: You’ll need your Apple ID and password during the setup process to activate macOS, access the App Store, and sign into iCloud services. Make sure you remember these credentials or have access to two-factor authentication if enabled.
- Disable Find My Mac (If Selling or Transferring Ownership): If you’re reinstalling macOS because you’re selling or giving away your Mac, it’s crucial to disable “Find My Mac” and sign out of iCloud. This unlinks the device from your Apple ID, allowing the new owner to activate it without issues. Forgetting this step can turn your Mac into a “brick” for the next user, causing considerable hassle.
Choosing Your Installation Path: Recovery vs. Bootable USB
With your preparations complete, the next step is to decide which installation method best suits your needs. macOS offers two primary ways to install the operating system, each with distinct advantages and use cases. Understanding these methods will help you choose the most efficient and effective path for your specific situation.
Method 1: Installing macOS via Recovery Mode (The Easiest Route)
macOS Recovery is a built-in utility that allows you to reinstall macOS, repair your disk, restore from a Time Machine backup, and more, all without needing a separate installer. It’s the simplest and often the quickest way to get a fresh copy of macOS onto your machine, especially if you want to reinstall the version currently on your Mac or upgrade to the latest compatible version.
When to use it:
- You want to reinstall the macOS version that came with your Mac (or the closest available compatible version).
- You want to upgrade to the latest macOS version compatible with your Mac.
- You are troubleshooting system issues and need to reinstall macOS without erasing your data (though a clean install is often recommended for deep issues).
- You don’t have access to another Mac to create a bootable installer.
Step-by-step instructions:
- Shut Down Your Mac: Ensure your Mac is completely turned off.
- Access Recovery Mode:
- Cmd + R: Reinstalls the latest macOS that was installed on your Mac, or the factory-shipped version. This is the most common combination.
- Option + Cmd + R: Upgrades your Mac to the latest macOS compatible with it.
- Shift + Option + Cmd + R: Reinstalls the macOS version that came with your Mac or the closest version still available.
- For Apple Silicon (M1, M2, etc.) Macs: Press and hold the power button until you see “Loading startup options,” then click Options and Continue.
- Press and hold the chosen key combination immediately after pressing the power button (or during restart), and keep holding it until you see the Apple logo or a spinning globe.
- macOS Utilities Window: After a few moments (which may include a spinning globe if downloading recovery data), you’ll see the macOS Utilities window.
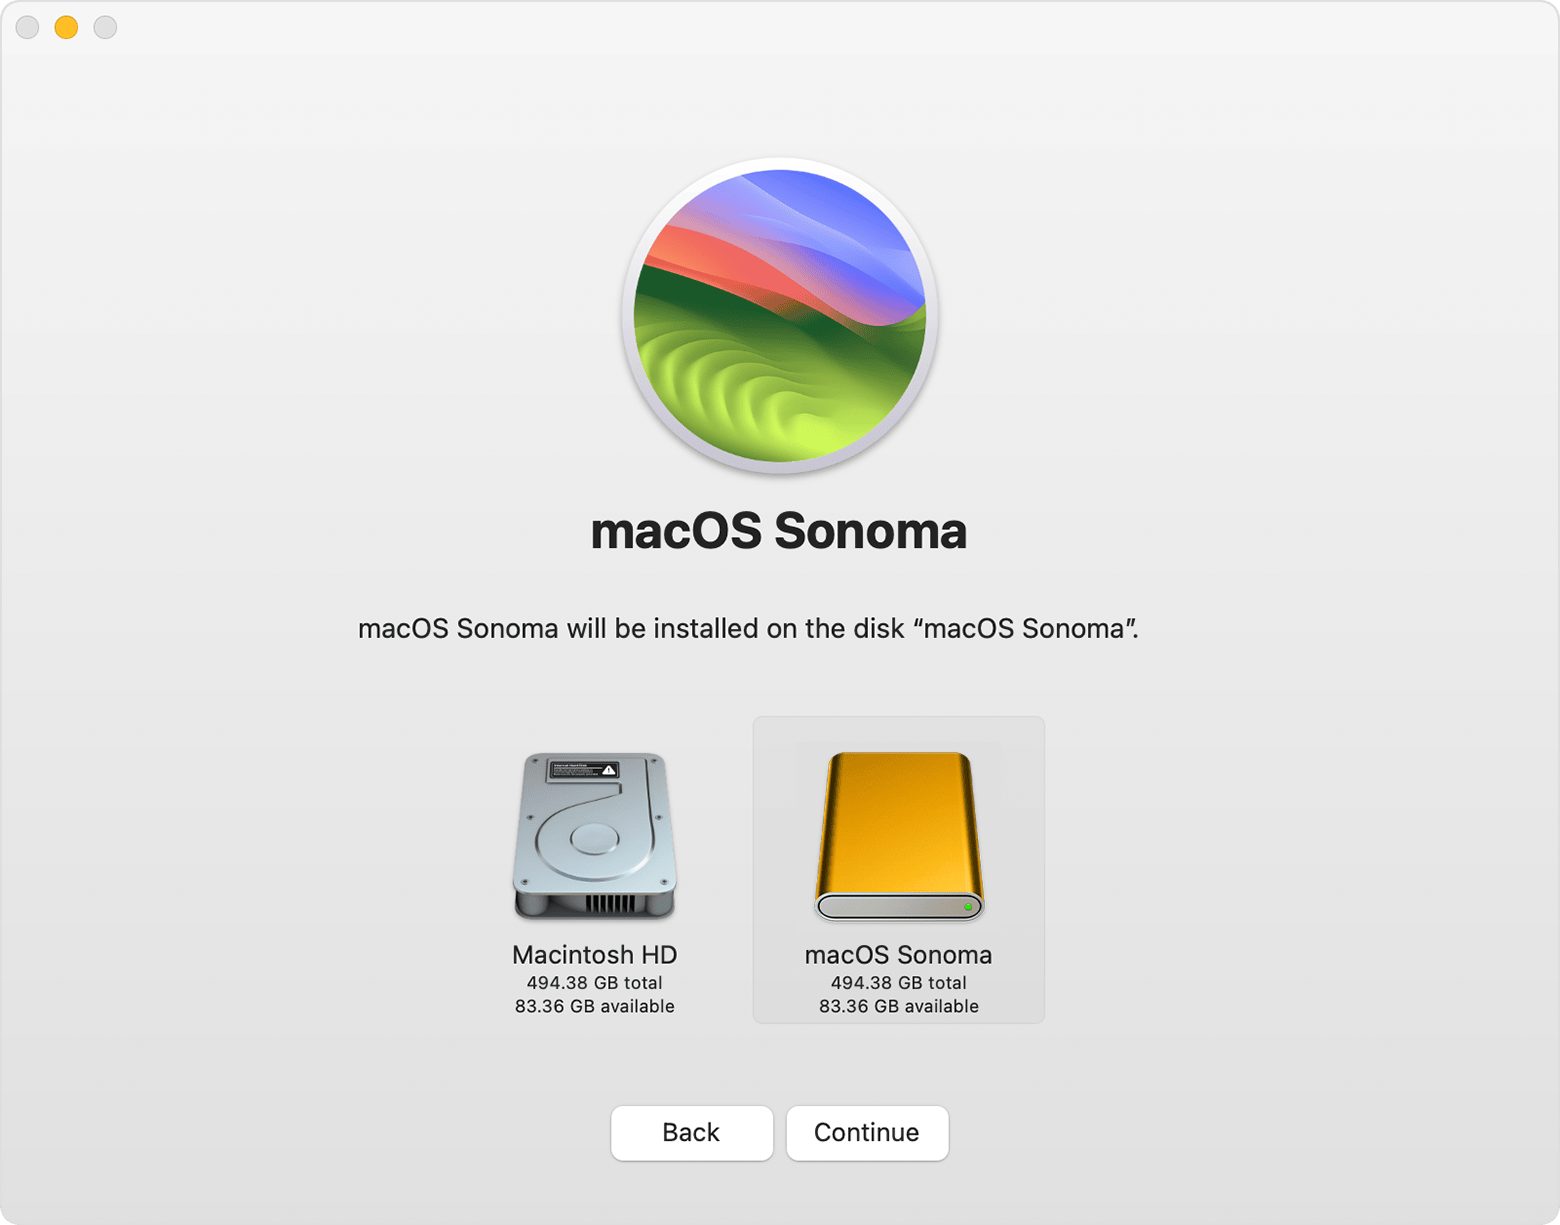
- Disk Utility (For a Clean Install): If you wish to perform a clean installation (which is highly recommended for troubleshooting or selling your Mac), select “Disk Utility” from the Utilities window and click “Continue.”
- In Disk Utility, select your main startup disk (e.g., “Macintosh HD”) from the sidebar.
- Click “Erase” in the toolbar.
- Name the drive (e.g., “Macintosh HD”).
- Format: Choose APFS for macOS 10.13 High Sierra or newer. For older macOS versions, choose Mac OS Extended (Journaled).
- Scheme: Select GUID Partition Map.
- Click “Erase” again to confirm. Once complete, close Disk Utility.
- Install macOS: Back in the Utilities window, select “Reinstall macOS” (or “Install macOS [Version Name]”) and click “Continue.”
- Follow On-Screen Prompts: Agree to the terms and conditions, select the erased drive (or your existing drive if not performing a clean install) as the destination, and let the installer do its work. Your Mac may restart multiple times during this process. The installation time can vary significantly based on your internet speed and Mac model, typically ranging from 30 minutes to several hours.
Method 2: Creating and Using a Bootable macOS Installer (For Advanced Control)
A bootable macOS installer on a USB drive offers greater flexibility and control. It’s particularly useful for performing clean installations, installing older versions of macOS, installing the OS on multiple Macs without re-downloading, or when your Mac’s internet recovery isn’t functioning correctly. This method requires a working Mac to create the installer.
When to use it:
- You want to perform a completely clean installation of macOS.
- You need to install a specific (older or newer) version of macOS that isn’t available via standard Recovery Mode.
- You’re installing macOS on multiple Macs.
- You have a Mac that cannot access internet recovery or has a damaged recovery partition.
- You need to troubleshoot a Mac that won’t start up.
Requirements:
- An external USB drive (or another partition) with at least 14 GB of available storage, formatted as Mac OS Extended (Journaled).
- A downloaded macOS installer application from the App Store or Apple’s support pages.
Step-by-step instructions:
- Download the macOS Installer:
- Open the App Store on a working Mac.
- Search for the desired macOS version (e.g., “macOS Ventura,” “macOS Monterey,” etc.).
- Click “Get” or “Download.” The installer will download to your Applications folder. Make sure it completes downloading, but do not run it. Quit the installer once downloaded. For older versions not available in the App Store, you might need to find direct download links from Apple Support articles.
- Prepare Your USB Drive:
- Connect your USB drive to your Mac.
- Open Disk Utility (Applications > Utilities).
- Select the USB drive from the sidebar (select the drive itself, not just a volume under it).
- Click “Erase.”
- Name: Give it a simple name, like “MyVolume.”
- Format: Choose Mac OS Extended (Journaled).
- Scheme: Select GUID Partition Map.
- Click “Erase” and confirm.
- Create the Bootable Installer via Terminal: This step uses a command-line utility.
- Open Terminal (Applications > Utilities).
- Type or paste the appropriate command for your macOS version. Replace
MyVolumewith the actual name of your USB drive.- For Ventura:
sudo /Applications/Install macOS Ventura.app/Contents/Resources/createinstallmedia --volume /Volumes/MyVolume - For Monterey:
sudo /Applications/Install macOS Monterey.app/Contents/Resources/createinstallmedia --volume /Volumes/MyVolume - For Big Sur:
sudo /Applications/Install macOS Big Sur.app/Contents/Resources/createinstallmedia --volume /Volumes/MyVolume - (General structure:
sudo /Applications/Install macOS [Version Name].app/Contents/Resources/createinstallmedia --volume /Volumes/MyVolume)
- For Ventura:
- Press Enter. You’ll be prompted for your administrator password. Type it (it won’t show on screen) and press Enter.
- You’ll be asked to confirm that you want to erase the volume. Type
Yand press Enter. - The process will take some time, copying the installer files to the USB drive. Once complete, you’ll see “Install media now available at…”
- Boot from the USB Installer:
- Connect the bootable USB drive to the Mac you want to install macOS on.
- Shut down your Mac.
- Turn on your Mac and immediately press and hold the Option (Alt) key.
- Keep holding Option until you see the Startup Manager, displaying available bootable drives.
- Select your bootable USB drive (e.g., “Install macOS [Version Name]”).
- Click the arrow or press Enter.
- Install macOS: Your Mac will boot into the macOS Utilities window, similar to Recovery Mode.
- If you want a clean install, use Disk Utility to erase your target drive (as described in Method 1, step 4).
- Select “Install macOS” and follow the on-screen prompts, choosing your erased drive as the destination.
Post-Installation: Optimizing Your Fresh macOS Experience
Successfully installing macOS is just the beginning. The steps you take immediately afterward can significantly impact your Mac’s performance, security, and your overall productivity. This post-installation phase is crucial for tailoring the system to your needs and ensuring it runs at its peak.
The Initial Setup Assistant
After the final restart, your Mac will greet you with the Setup Assistant. This guides you through essential initial configurations:
- Country/Region: Select your location.
- Keyboard Layout: Choose your preferred keyboard.
- Data & Privacy: Review Apple’s privacy policies.
- Transfer Information to This Mac: If you have a Time Machine backup or another Mac, you can migrate your data, applications, and settings now. For a truly fresh start, choose “Don’t transfer any information now.”
- Apple ID: Sign in with your Apple ID to enable iCloud services, App Store access, and synchronization across your Apple devices.
- Terms and Conditions: Agree to Apple’s software license.
- Create a Computer Account: Set up your user account with a name and password. Choose a strong, unique password to protect your data.
- Location Services/Time Zone: Enable location services for relevant apps and set your time zone.
- Analytics & Siri: Decide whether to share analytics with Apple and enable Siri.
- Screen Time: Configure parental controls or monitor your usage.
- Touch ID/Face ID: If applicable, set up biometric authentication.
Restoring Your Data and Essential Apps
If you performed a clean install, this is where your backup becomes invaluable.
- Time Machine Restoration: If you opted not to transfer data during the Setup Assistant, you can still use the “Migrate Assistant” tool (in Applications > Utilities) to restore from your Time Machine backup. You can choose to restore everything or selectively pick applications, user accounts, and files.
- Manual Data Transfer: For users who prefer a minimalist setup, manually copy essential documents, photos, and media files from your external backup drive.
- Reinstalling Applications:
- App Store: Re-download all apps previously purchased or downloaded from the Mac App Store.
- Third-Party Apps: For applications downloaded from the internet, visit the developer’s websites to download the latest versions. Keep your license keys handy for paid software. Consider installing productivity suites (e.g., Microsoft Office, Adobe Creative Suite) and security software first.
System Updates and Security
A fresh macOS installation usually comes with the most recent public version available at the time of its release, but it might not be the absolute latest patch.
- Software Updates: Go to System Settings (or System Preferences) > General > Software Update. Install any pending macOS updates, security patches, and app updates. Keeping your system up-to-date is critical for security, performance, and compatibility. It’s a core aspect of digital security, protecting against known vulnerabilities.
- Security & Privacy Settings: Review your Privacy & Security settings in System Settings. Configure your firewall, privacy permissions for apps, and ensure your Mac is protected. Strong security practices are essential for safeguarding your personal and financial data in an increasingly online world.
Personalization and Productivity Boosts
Now that your Mac is clean and secure, it’s time to make it truly yours and optimize it for your workflow.
- Dock and Desktop: Customize your Dock with frequently used apps. Organize your desktop, perhaps using Stacks to keep it tidy.
- Mission Control & Hot Corners: Configure Mission Control to manage multiple desktops and application windows. Set up Hot Corners for quick actions like showing the desktop, activating the screensaver, or displaying all windows.
- System Settings: Explore the various settings panels (Appearance, Control Center, Displays, Keyboard, Trackpad) to tailor the user interface and behavior to your preferences. A personalized and efficiently configured system can significantly boost your daily productivity.
Troubleshooting Common Installation Hurdles
Even with careful preparation, unexpected issues can arise during or after a macOS installation. Knowing how to approach these common problems can save you frustration and potentially avoid costly professional assistance.
“Installation Failed” or “Can’t Install on This Volume”
- Insufficient Space: Double-check that your target drive has enough free space.
- Disk Corruption: Run Disk Utility from Recovery Mode (First Aid) to check for and repair any errors on the disk.
- Internet Connection: If installing via Recovery, a flaky internet connection can interrupt downloads. Try a wired connection if possible.
- Compatibility: Ensure your Mac is compatible with the macOS version you’re trying to install.
- Date and Time: In rare cases, incorrect date and time settings can cause issues. In Terminal from Recovery Mode, type
dateto check, and if incorrect, usentpdate -u time.apple.comto fix.
Mac Won’t Boot After Installation
- Startup Disk Selection: Restart your Mac while holding the Option key to access the Startup Manager. Ensure your newly installed macOS volume is selected.
- Reset NVRAM/PRAM: Shut down your Mac, then power it on and immediately press and hold Option + Cmd + P + R. Release the keys after about 20 seconds. This can resolve startup issues.
- Reset SMC: For Intel Macs, specific key combinations (depending on desktop or laptop, with/without T2 chip) can reset the System Management Controller, which controls power and other hardware functions. For Apple Silicon Macs, simply restarting usually achieves a similar effect.
- Reinstall macOS: If all else fails, you might need to boot back into Recovery Mode or from your bootable USB and attempt the installation again, potentially erasing the drive first.
Download Issues
- Slow or Interrupted Downloads: If downloading the installer is taking too long or failing, ensure your internet connection is stable. Try connecting via Ethernet, or if using Wi-Fi, move closer to your router.
- Corrupted Installer: If you’re using a downloaded installer from the Applications folder or a bootable USB, delete the installer and re-download it. A corrupted file won’t install correctly.

Conclusion
Successfully installing macOS is more than just a technical procedure; it’s an investment in the longevity, performance, and security of your Apple device. By meticulously following the preparation steps, choosing the right installation method, and diligently completing the post-installation optimization, you ensure your Mac operates at its full potential.
A clean, up-to-date macOS installation provides a snappier, more stable user experience, reducing frustrating slowdowns and software glitches. This, in turn, enhances your productivity, protects your valuable data, and extends the lifespan of your hardware, providing excellent return on your time investment. In an era where technology constantly evolves, understanding how to maintain your devices optimally empowers you to get the most out of your digital tools, reflecting sound tech management and contributing positively to your overall digital well-being and financial acumen. Embrace your revitalized Mac, confident in its renewed performance and your enhanced mastery over its core functions.
aViewFromTheCave is a participant in the Amazon Services LLC Associates Program, an affiliate advertising program designed to provide a means for sites to earn advertising fees by advertising and linking to Amazon.com. Amazon, the Amazon logo, AmazonSupply, and the AmazonSupply logo are trademarks of Amazon.com, Inc. or its affiliates. As an Amazon Associate we earn affiliate commissions from qualifying purchases.