
Embarking on the journey of installing Linux on your laptop is a significant step towards unlocking a powerful, secure, and highly customizable computing experience. For tech enthusiasts, developers, privacy advocates, or anyone looking to breathe new life into an older machine, Linux offers an unparalleled alternative to conventional operating systems. This comprehensive guide will walk you through every essential step, from initial preparation to post-installation optimization, ensuring a smooth and successful transition to the world of open-source computing. Whether you aim for a clean single-boot setup or a dual-boot configuration alongside your existing OS, understanding these processes is key to leveraging Linux’s full potential for productivity, digital security, and system performance.

Preparing Your Laptop for a Seamless Linux Installation
Before you dive into the installation process, meticulous preparation is crucial to prevent data loss and ensure compatibility. This phase involves backing up your important files, selecting the right Linux distribution, verifying hardware requirements, and creating a reliable bootable installation medium.
Backup Everything Crucial
This cannot be stressed enough: back up all your important data before proceeding. While Linux installations are generally safe, unforeseen issues like accidental partition erasure can lead to irreversible data loss. Utilize cloud storage services (like Google Drive, OneDrive, Dropbox), an external hard drive, or a network-attached storage (NAS) device to secure your documents, photos, videos, and any other irreplaceable files. This proactive step provides peace of mind and safeguards your digital life, regardless of how the installation unfolds.
Choosing Your Linux Distribution (Distro)
The Linux ecosystem boasts hundreds of distributions, each tailored for different user needs and preferences. Choosing the right “distro” is paramount for a positive initial experience.
- Ubuntu: Often recommended for beginners, Ubuntu is user-friendly, features a vast community, and offers a polished desktop experience. Its derivatives like Linux Mint (known for its Windows-like interface and out-of-the-box multimedia support) are also excellent choices for those seeking familiarity.
- Fedora: For users who prefer cutting-edge software and a more vanilla GNOME experience, Fedora is a robust option backed by Red Hat. It’s popular among developers and those who appreciate rapid updates.
- Pop!OS: Developed by System76, Pop!OS is an Ubuntu-based distribution optimized for developers and gamers, offering excellent driver support and a streamlined workflow.
- Debian: If stability and robust performance are your top priorities, Debian is the foundational distribution for many others (including Ubuntu). It’s incredibly reliable but might involve a slightly steeper learning curve for absolute beginners.
Consider your technical comfort level, hardware specifications, and what you primarily intend to use Linux for (e.g., general browsing, coding, graphic design, gaming) when making your selection.
Checking System Requirements and Compatibility
While Linux is famously lightweight compared to Windows or macOS, ensuring your laptop meets basic requirements is wise. Most modern distributions recommend:
- RAM: At least 2GB (4GB or more for a smoother experience, especially with heavier desktop environments like GNOME or KDE Plasma).
- CPU: A dual-core processor from the last decade should suffice for most tasks.
- Storage: Minimum 25GB of free disk space (50GB+ recommended for comfort and future software installations).
Beyond these basics, pay close attention to hardware compatibility:
- Wi-Fi Cards: Some proprietary Wi-Fi chipsets (especially older Broadcom or Realtek models) might require specific driver installations post-setup, though modern kernels support most out-of-the-box.
- Graphics Cards: While Intel integrated graphics generally work flawlessly, dedicated NVIDIA GPUs often necessitate installing proprietary drivers for optimal performance, particularly for gaming or intensive graphical tasks. AMD GPUs usually fare better with open-source drivers.
- UEFI vs. Legacy BIOS: Most modern laptops use UEFI (Unified Extensible Firmware Interface) for booting. You might need to disable Secure Boot in your laptop’s BIOS/UEFI settings to allow Linux to boot correctly. Instructions for accessing these settings vary by manufacturer (common keys include F2, F10, F12, Del during startup).
Downloading the ISO Image
Once you’ve chosen your distribution, navigate to its official website and download the .iso file. This file is a disk image containing the entire operating system. Always download from official sources to ensure authenticity and prevent malware. After downloading, it’s good practice to verify the integrity of the ISO file using its provided checksum (MD5 or SHA256 hash). This confirms that the file hasn’t been corrupted during download and hasn’t been tampered with.
Creating a Bootable USB Drive
With the ISO downloaded, the next step is to create a bootable USB drive, which will serve as your installation medium. You’ll need a USB flash drive with at least 8GB of storage.
- For Windows users:
- Rufus: A popular, fast, and reliable utility. Select your USB drive, then select your ISO file, and click “Start.”
- Etcher (BalenaEtcher): A cross-platform tool known for its user-friendly graphical interface. Select your ISO, select your USB drive, and click “Flash!”
- For macOS users: Etcher is also an excellent choice.
- For existing Linux users: The
ddcommand in the terminal is a powerful option, but use with extreme caution as incorrect usage can wipe the wrong drive.sudo dd if=/path/to/your/image.iso of=/dev/sdX bs=4M status=progress(replace/dev/sdXwith your USB drive’s identifier, e.g.,/dev/sdb).
Ensure you select the correct drive for flashing, as this process will erase all data on the chosen USB stick.
The Step-by-Step Linux Installation Process
With your bootable USB drive ready, you’re prepared to initiate the installation. This section details the critical stages from booting to partitioning and user setup.
Booting from Your USB Drive
- Insert the USB drive: Plug your newly created bootable USB into your laptop.
- Restart your laptop: As your laptop powers on, repeatedly press the designated key to enter your BIOS/UEFI firmware settings or the boot menu. Common keys include F2, F10, F12, or Del, but consult your laptop’s manual if unsure.
- Change Boot Order: In the BIOS/UEFI settings, navigate to the “Boot” tab or section. Locate your USB drive in the boot order list (it might be labeled as “USB-HDD,” “Removable Device,” or by the brand of your USB drive). Move it to the top of the boot priority list. Alternatively, use the one-time boot menu (often F12) to select your USB drive directly without altering the permanent boot order.
- Save and Exit: Save your changes and exit the BIOS/UEFI. Your laptop should now attempt to boot from the USB drive.
Upon successful booting from the USB, you’ll typically be presented with an option to “Try Linux” (run a live session) or “Install Linux.” It’s often recommended to “Try” first to ensure your hardware (especially Wi-Fi) works out-of-the-box before committing to an installation. Once you’re ready, double-click the “Install” icon on the desktop or select “Install” from the boot menu.
Navigating the Installer
The installation wizard will guide you through several basic steps:
- Language Selection: Choose your preferred language for the installation process and the installed system.
- Keyboard Layout: Select your keyboard layout. You can often test it within the installer.
- Network Connection: Connect to a Wi-Fi network if available. This allows the installer to download updates and third-party software during installation, which can save time later.
- Updates and Other Software: This is a crucial step.
- “Normal installation” vs. “Minimal installation”: “Normal” includes a web browser, office suite, media players, and utilities. “Minimal” only includes basic utilities. For most users, “Normal” is preferred.
- “Install third-party software for graphics and Wi-Fi hardware and additional media formats”: Always check this box. It’s vital for getting proprietary drivers (especially for NVIDIA GPUs or some Wi-Fi cards) and media codecs (MP3, MP4) working immediately.
Partitioning Your Drive
This is arguably the most critical step, especially if you’re dual-booting.
- “Erase disk and install Linux” (Single Boot): This is the simplest option. It will wipe your entire hard drive, erase all existing operating systems and data, and dedicate the entire disk to Linux. Only choose this if you are absolutely sure you want to remove everything else on your drive.
- “Install alongside Windows” (Dual Boot): If you wish to keep Windows (or another OS) and have Linux as a secondary option, this is your choice. The installer will typically detect your existing OS, shrink its partition (if there’s enough free space), and create new partitions for Linux in the freed space.
- Crucial detail: Before starting the installation, it’s highly recommended to manually shrink your Windows partition from within Windows using its built-in Disk Management tool. This ensures Windows’ integrity and allows you to specify exactly how much space you’re allocating to Linux. The Linux installer’s automatic shrinking can sometimes be less graceful. The installer will then automatically configure GRUB (GRand Unified Bootloader), which allows you to choose between Linux and Windows at startup.
- “Something else” (Manual Partitioning – Advanced): This option provides full control over partition creation and management. It’s recommended for experienced users or those with specific partitioning needs.
- Root (
/): This is where the operating system files reside. A minimum of 20-30GB is recommended, but 50GB+ is safer. Set the mount point to/and select an appropriate file system (e.g., Ext4). - Home (
/home): This partition stores your personal files and user configurations. Creating a separate/homepartition is beneficial because you can reinstall the OS without losing your personal data. Allocate the majority of your remaining space here. Set the mount point to/homeand file system to Ext4. - Swap Area (
swap): Used as virtual memory when your RAM is full. A common recommendation is to set its size equal to your RAM, or 1.5x RAM for systems with less than 4GB RAM. For modern systems with ample RAM (8GB+), a smaller swap (e.g., 4GB) or even a swap file (managed by the OS) can suffice. - EFI System Partition (ESP): If you are installing on a UEFI system, you must have an existing or create a small (100-500MB) FAT32 partition with the “boot” or “EFI System Partition” flag. If you are dual-booting with Windows, use the existing ESP that Windows created.
- Root (
User Setup and Time Zone
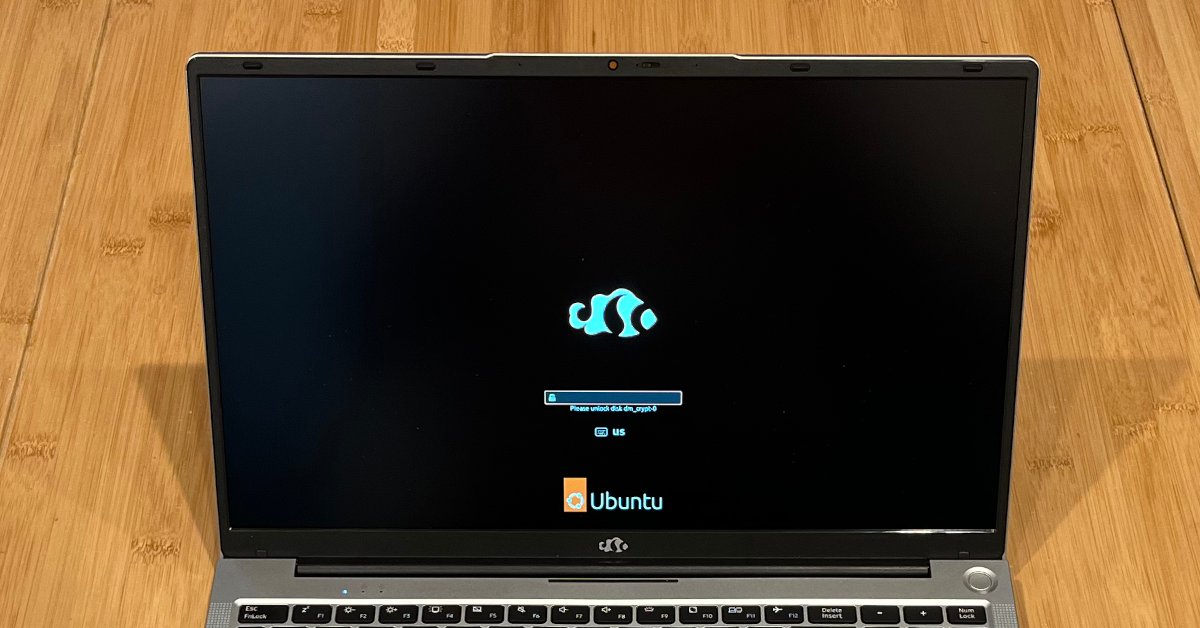
- Who are you? Enter your full name, the computer’s name (hostname), a username, and a strong password. You’ll use this username and password to log in.
- Require password to log in: Choose whether to automatically log in or require a password. For security, requiring a password is recommended.
- Time Zone: Select your geographical location to set the correct time zone.
Completing the Installation
The installer will now begin copying files to your hard drive, installing the system, and configuring the bootloader. This process can take anywhere from 15 minutes to an hour, depending on your system’s speed and the chosen distribution. Once complete, you’ll be prompted to restart your computer. Remember to remove the USB installation media when prompted or before the laptop restarts, otherwise, it might boot back into the installer.
Post-Installation Essentials and Optimization
Congratulations! You’ve successfully installed Linux. The journey, however, doesn’t end here. The following steps are crucial for securing your system, installing necessary software, and optimizing your experience.
Updating Your System
The very first thing you should do after booting into your new Linux system is to update all software packages. This ensures you have the latest security patches, bug fixes, and performance improvements.
Open your terminal (usually by pressing Ctrl + Alt + T or searching for “Terminal”) and run the following commands (for Debian/Ubuntu-based systems):
sudo apt update
sudo apt upgrade
sudo apt updaterefreshes the list of available packages.sudo apt upgradeinstalls the newer versions of installed packages.
You might be prompted to enter your password for sudo (SuperUser DO), which grants administrative privileges. Repeat this process regularly to keep your system secure and up-to-date.
Installing Essential Software and Drivers
While many distributions come with a decent set of pre-installed applications, you’ll likely want to add more to suit your needs.
- Proprietary Graphics Drivers: If you have an NVIDIA GPU, installing its proprietary drivers is often necessary for optimal performance. Most distributions provide a “Drivers” or “Software & Updates” utility that can detect and install these drivers automatically. For example, in Ubuntu, search for “Software & Updates,” then navigate to the “Additional Drivers” tab.
- Web Browsers: Beyond the default, you might prefer Chrome, Firefox (if not already default), or Brave.
- Office Suite: LibreOffice is usually pre-installed and is a robust open-source alternative to Microsoft Office.
- Media Codecs: If you didn’t install third-party codecs during setup, you might need to add them to play various media formats (MP3, MP4, etc.). A quick search for “install multimedia codecs [your distro name]” will usually yield the specific commands.
- Communication Tools: Zoom, Slack, Discord, Skype – most have Linux clients or excellent web app support.
- Development Tools: If you’re a developer, set up your preferred IDE (VS Code, IntelliJ IDEA), version control (Git), and programming language runtimes.
- Package Managers: Familiarize yourself with your distribution’s package manager (
aptfor Debian/Ubuntu,dnffor Fedora,pacmanfor Arch Linux). These are powerful tools for installing, updating, and removing software.
Customization and Personalization
One of Linux’s greatest strengths is its unparalleled customization.
- Desktop Environment: Explore themes, icon packs, fonts, and widgets. GNOME, KDE Plasma, XFCE, MATE, Cinnamon – each offers a distinct look and feel. Many distros allow you to switch desktop environments, though this is a more advanced step.
- Terminal: Customize your terminal prompt, colors, and add aliases for frequently used commands to boost productivity.
- Productivity Tools: Explore task managers, note-taking apps, and other utilities available in your distro’s software center.
Enhancing Security and Privacy
Linux is inherently more secure than some other operating systems, but a few steps can further enhance your digital security and privacy.
- Firewall: Enable and configure a firewall. Most distributions come with
ufw(Uncomplicated Firewall). You can enable it withsudo ufw enableand then configure rules to allow or deny specific connections. - VPN: Consider using a Virtual Private Network (VPN) for encrypted internet traffic, especially on public Wi-Fi networks.
- Disk Encryption: If you didn’t opt for full disk encryption during installation, consider encrypting your home directory or sensitive files.
- Password Management: Use a strong, unique password for your login and consider a password manager for other accounts.
- Permissions: Understand file and directory permissions (
chmod,chown) to control who can read, write, and execute files.
Troubleshooting Common Issues and Further Resources
While the Linux installation process is generally robust, you might encounter issues. Don’t be discouraged; the Linux community is vast and incredibly helpful.
Boot Issues
- GRUB Rescue: If you end up in
grub rescue>prompt, it often indicates a problem with the GRUB bootloader. This can happen if partitions are moved or deleted. There are many online guides for recovering GRUB. - UEFI vs. Legacy Boot: Ensure your BIOS/UEFI settings consistently match how you installed Linux (e.g., if you installed in UEFI mode, ensure UEFI boot is enabled).
Wi-Fi/Graphics Card Not Working
- Wi-Fi: Check if your Wi-Fi card is detected using
lspci -kin the terminal. If it shows “kernel driver in use: none,” you might need to manually install drivers or firmware. - Graphics: For NVIDIA, use the “Additional Drivers” tool mentioned above. For AMD, ensure your system is updated, as open-source drivers often improve with kernel updates.
Performance Problems
If your system feels sluggish, consider:
- Lightweight Desktop Environments: If you’re running a resource-heavy DE like GNOME or KDE Plasma on older hardware, consider switching to XFCE, LXDE, or MATE.
- Monitor System Resources: Use tools like
htop(in terminal) or your system monitor app to identify resource-hungry processes.
Where to Find Help
- Official Documentation: Most distributions have excellent official documentation.
- Community Forums: Ubuntu Forums, Ask Ubuntu, Linux Mint Forums, Fedora Project Discussion.
- Stack Exchange: Ask questions on sites like Ask Ubuntu or Unix & Linux Stack Exchange.
- Reddit: Subreddits like r/linux, r/linuxquestions, and distro-specific subs are great for quick help.
The journey into Linux is an empowering one. It offers unparalleled control over your computing environment, fosters a deeper understanding of technology, and promotes a philosophy of openness and collaboration. By following these steps and embracing the learning process, you’ll be well-equipped to make the most of your new Linux-powered laptop, enhancing your digital security, productivity, and overall tech experience. Welcome to the vibrant world of Linux!
aViewFromTheCave is a participant in the Amazon Services LLC Associates Program, an affiliate advertising program designed to provide a means for sites to earn advertising fees by advertising and linking to Amazon.com. Amazon, the Amazon logo, AmazonSupply, and the AmazonSupply logo are trademarks of Amazon.com, Inc. or its affiliates. As an Amazon Associate we earn affiliate commissions from qualifying purchases.