In today’s increasingly connected world, the convenience of a wireless printer is a game-changer for both home and office environments. Gone are the days of wrestling with tangled USB cables and being tethered to a single computer. An HP wireless printer offers the freedom to print from any device on your network, streamlining your workflow and enhancing productivity. However, setting up this technology can sometimes feel like navigating a complex maze, especially if you’re not particularly tech-savvy. This guide aims to demystify the process, providing clear, step-by-step instructions to get your HP wireless printer up and running smoothly, drawing upon the core themes of technology, brand reliability, and the financial benefits of efficient printing.
Understanding Your HP Wireless Printer Setup
Before diving into the installation process, it’s crucial to understand what makes your HP wireless printer tick and what you’ll need to have on hand. HP, a brand synonymous with reliable printing solutions, has designed its wireless printers with user-friendliness in mind, offering various connection methods to suit different network infrastructures. The core principle behind a wireless setup is establishing a communication link between your printer and your Wi-Fi network, and subsequently, between your devices and the printer.
Essential Prerequisites for Installation
To ensure a seamless installation, gather the following items and information:
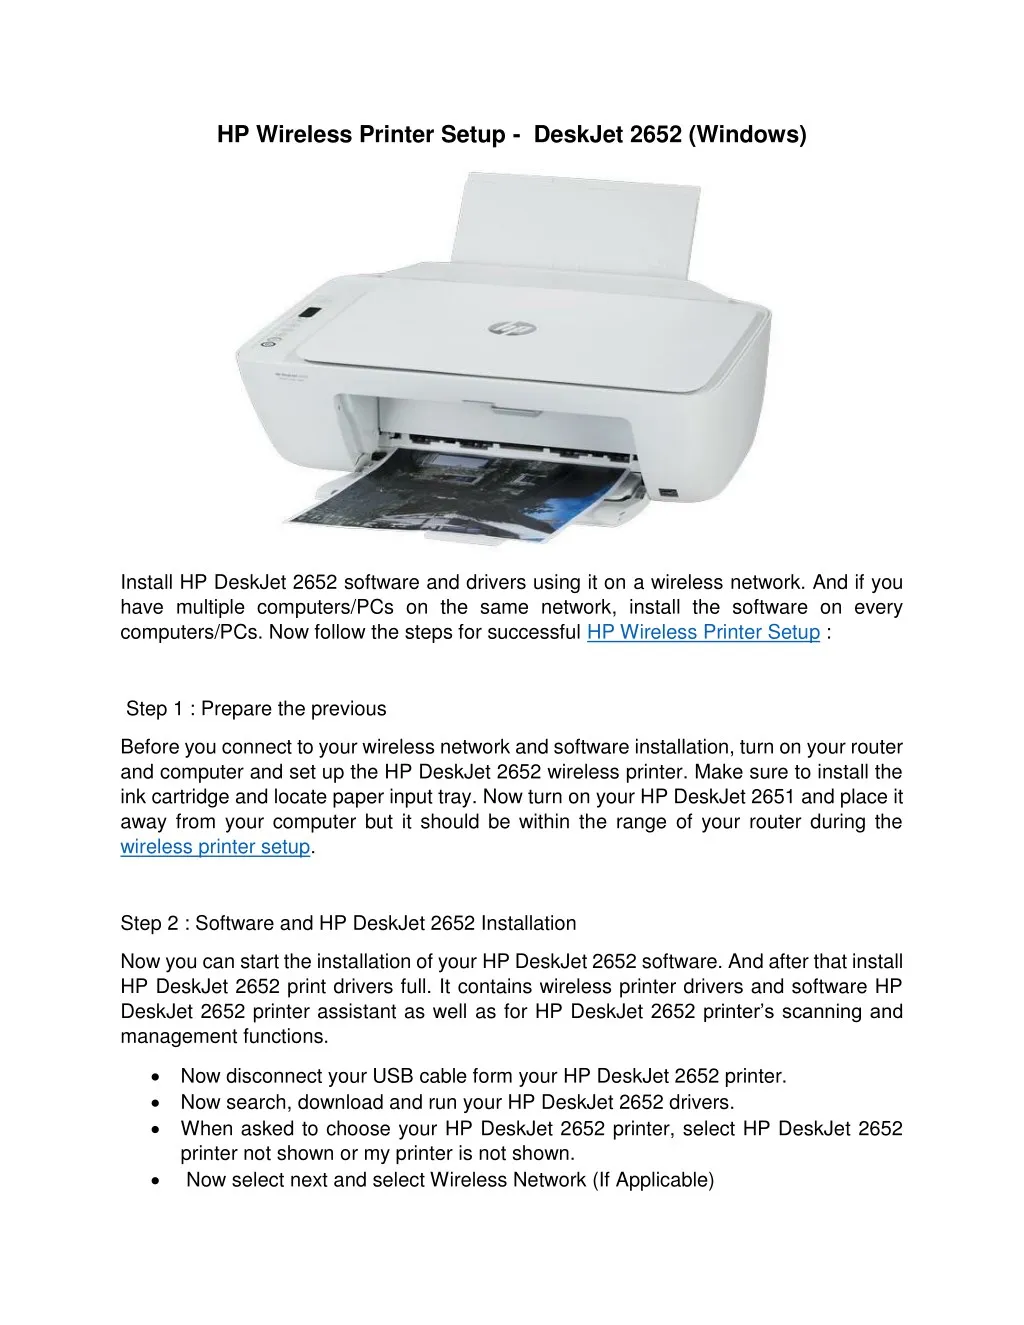
- Your HP Wireless Printer: Unbox your printer, remove all packing materials (including any tape or protective film inside the ink cartridge area), and connect it to a power source. Ensure it’s powered on.
- Ink Cartridges: Install the ink cartridges according to your printer’s manual. Most HP printers will guide you through this initial setup step.
- Wi-Fi Network Name (SSID) and Password: This is paramount. You’ll need to know the exact name of your wireless network and its corresponding password. Case sensitivity matters, so ensure you enter it precisely.
- A Computer or Mobile Device: This will be your primary tool for initiating the installation process. It should be connected to the same Wi-Fi network you intend to connect your printer to.
- HP Smart App or Installation Software: HP strongly recommends using the HP Smart app, available for Windows, macOS, iOS, and Android. Alternatively, you might use the software that came with your printer (if any) or download it from the HP support website.
- Printer’s USB Cable (Optional but Recommended): While the goal is wireless, having the USB cable that came with your printer can be invaluable for the initial setup on some models. It often helps the computer recognize the printer for the first time and then facilitates the wireless configuration.
- Printer’s Manual or Quick Start Guide: This document is your best friend. It contains model-specific instructions and troubleshooting tips.
Navigating Connection Methods
HP printers typically offer several ways to connect wirelessly. Understanding these options will help you choose the most suitable method for your setup:
- Wi-Fi Protected Setup (WPS) Button: This is the easiest method if your router supports WPS. It allows you to connect your printer to your network with the press of a button, without needing to enter your Wi-Fi password.
- HP Smart App or HP Wireless Setup Wizard: This is the most common and recommended method. The HP Smart app guides you through the entire process, detecting your printer and helping you connect it to your Wi-Fi network. Many HP printers also have an on-screen setup wizard that achieves a similar result.
- Manual Wireless Connection: This method involves manually entering your network name and password directly on the printer’s control panel or through the computer’s printer settings. This is useful if WPS is not available or if you prefer a more hands-on approach.
Step-by-Step Wireless Installation with HP Smart App
The HP Smart app is designed to simplify the setup process for your HP wireless printer, making it accessible even for those who are less familiar with technology. This app acts as a central hub for managing your printer, printing, scanning, and accessing ink services.
Initial Setup and Printer Detection
- Download and Install HP Smart App: If you don’t already have it, download the HP Smart app from your device’s app store (Google Play Store for Android, App Store for iOS) or from 123.hp.com for desktop installations on Windows or macOS.
- Launch the HP Smart App: Open the app on your computer or mobile device.
- Add a Printer: Look for an option like “Add Printer,” “Set Up a New Printer,” or a “+” icon. Click on it.
- Printer Discovery: The app will begin searching for printers on your network. Ensure your printer is powered on and within range of your Wi-Fi signal.
- Select Your Printer: Once your printer is detected, it will appear in the list. Select your printer model. If your printer is not automatically detected, you might need to initiate a wireless setup from the printer’s control panel first, or use the USB cable method as a fallback.

Connecting Your Printer to the Wi-Fi Network
The HP Smart app will guide you through connecting your printer to your wireless network. The exact steps may vary slightly depending on your printer model, but the general process is as follows:
- Network Selection: The app will likely prompt you to select your Wi-Fi network from a list of available networks. Choose your network name (SSID).
- Enter Wi-Fi Password: You will be asked to enter your Wi-Fi password. Type it carefully, paying attention to uppercase and lowercase letters.
- Connection Confirmation: The app will then attempt to connect your printer to the network. This may involve sending the network credentials to the printer. You might see a “Connecting to Wi-Fi” message on your printer’s display or in the app.
- Driver Installation: Once the printer is successfully connected to your Wi-Fi network, the HP Smart app will typically automatically download and install the necessary drivers and software for your computer or mobile device. This is a crucial step that allows your devices to communicate with the printer.
- Finalize Setup: Follow any on-screen prompts to complete the setup. This might include naming your printer, setting it as the default printer, or signing up for HP services like Instant Ink.
Using the USB Cable for Initial Setup (If Needed)
In some cases, especially with older printer models or if the wireless setup via the app proves challenging, using a USB cable for the initial connection can be a helpful workaround.
- Connect Printer via USB: Connect your HP printer to your computer using the USB cable that came with it.
- Follow On-Screen Prompts: Your computer should detect the new hardware. Follow the instructions provided by your operating system or any HP installation software that launches automatically.
- Access Wireless Settings: During the installation process, you will likely be given the option to set up the printer for wireless use. Choose this option.
- Configure Wireless: The installer will then guide you through connecting the printer to your Wi-Fi network, often by temporarily using the USB connection to transfer your network credentials. Once the wireless connection is established, you can disconnect the USB cable.
- Complete Installation: Finish the remaining steps in the HP installer, which will include installing drivers and any additional software.
Troubleshooting Common Installation Issues
Despite the user-friendly design of HP printers and their setup software, encountering issues during installation is not uncommon. Being prepared with troubleshooting steps can save you a significant amount of time and frustration.
Network Connectivity Problems
- Incorrect Wi-Fi Password: This is the most frequent culprit. Double-check your Wi-Fi password for accuracy, including case sensitivity. Try entering it again.
- Router Issues: Ensure your Wi-Fi router is powered on and functioning correctly. Try restarting your router by unplugging it for 30 seconds and then plugging it back in.
- Printer Out of Range: Make sure your printer is within a reasonable range of your Wi-Fi router. Thick walls or other electronic devices can sometimes interfere with the signal. Try moving the printer closer to the router, at least temporarily, for setup.
- Network Compatibility: Verify that your Wi-Fi network is compatible with your printer. Most modern HP printers support 2.4 GHz Wi-Fi networks. If you have a dual-band router (2.4 GHz and 5 GHz), ensure you are trying to connect to the 2.4 GHz band, as some printers have limitations.
- Firewall or Antivirus Interference: Your computer’s firewall or antivirus software might be blocking the communication between your computer and the printer. Temporarily disable your firewall and antivirus software during the installation process, and re-enable them afterward.
Printer Not Detected
- Printer Not Powered On: A simple but often overlooked issue. Ensure your printer is switched on and the power light is illuminated.
- Printer Not in Setup Mode: If you’re trying to connect wirelessly for the first time, ensure your printer is in its initial setup mode or has its wireless radio enabled. Refer to your printer’s manual for instructions on how to put it into setup mode (often involves pressing specific buttons on the control panel).
- Device Not on the Same Network: Ensure the device you are using to install the printer (computer or mobile) is connected to the exact same Wi-Fi network as the one you are trying to connect the printer to.
- Bluetooth or Wi-Fi Direct Interference: If your printer or device has Bluetooth or Wi-Fi Direct enabled, it might interfere with the standard Wi-Fi connection. Try disabling these features temporarily during installation.
Software and Driver Issues
- Outdated Drivers: If you’re trying to connect an existing printer, ensure you have the latest drivers installed. You can download them from the official HP support website by searching for your specific printer model.
- Corrupted Installation Files: If the installation process fails, try uninstalling any partially installed HP software and then download a fresh copy of the HP Smart app or the full software package from HP’s website.
- Operating System Updates: Ensure your operating system (Windows, macOS, iOS, Android) is up to date. Sometimes, older OS versions may have compatibility issues with newer printer software.
By systematically addressing these common issues, you can overcome most obstacles encountered during the installation of your HP wireless printer. Remember, patience and consulting your printer’s manual are key. The convenience and efficiency gained from a properly installed wireless printer are well worth the initial effort. This technological integration not only saves time but also contributes to a more organized and productive environment, aligning with the efficiency sought in both personal and professional spheres.
aViewFromTheCave is a participant in the Amazon Services LLC Associates Program, an affiliate advertising program designed to provide a means for sites to earn advertising fees by advertising and linking to Amazon.com. Amazon, the Amazon logo, AmazonSupply, and the AmazonSupply logo are trademarks of Amazon.com, Inc. or its affiliates. As an Amazon Associate we earn affiliate commissions from qualifying purchases.