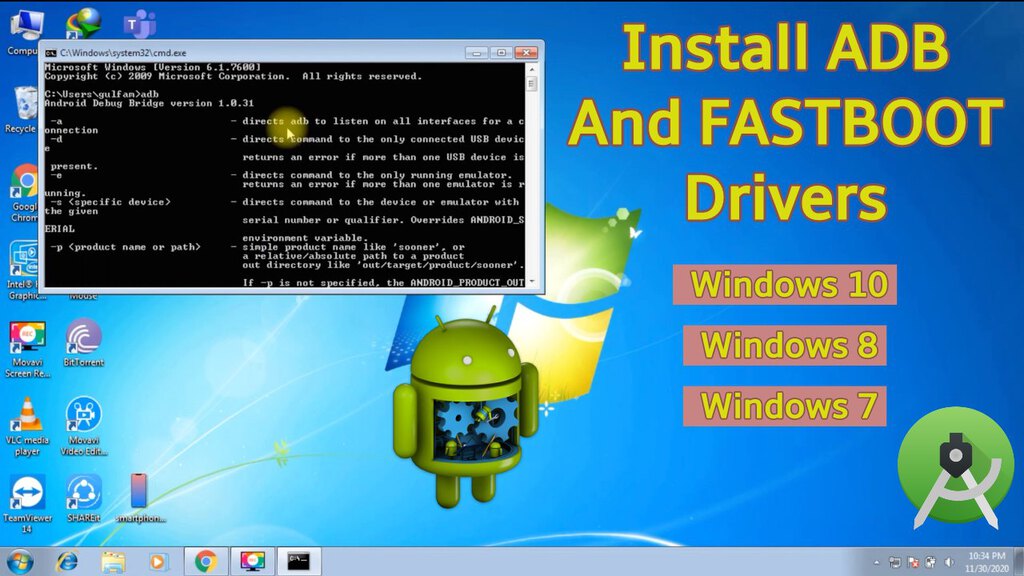
The world of Android development and advanced device management often hinges on a powerful, albeit sometimes intimidating, tool: the Android Debug Bridge (ADB). Whether you’re a budding developer looking to test your creations, a power user eager to unlock hidden device functionalities, or a tech enthusiast troubleshooting persistent issues, understanding how to install and utilize ADB is a foundational skill. This comprehensive guide will walk you through the process, demystifying its installation across different operating systems and offering insights into its practical applications within the broader tech landscape.

Understanding ADB: The Bridge to Your Android Device
At its core, the Android Debug Bridge (ADB) is a versatile command-line utility that facilitates communication between your computer and an Android device. It acts as a crucial intermediary, allowing you to send commands to your device, install apps, transfer files, and, most importantly, debug applications directly. This capability makes it indispensable for anyone serious about working with Android beyond basic user interactions.
ADB is part of the Android SDK (Software Development Kit), the comprehensive suite of tools and resources that developers use to build Android applications. However, its utility extends far beyond just app development. For the tech-savvy individual, ADB opens up a world of possibilities, from custom ROM installations and rooting to advanced troubleshooting and system modifications. Its command-line interface, while initially daunting, offers a level of control and flexibility that graphical interfaces simply cannot match.
The power of ADB lies in its ability to interact with your device at a deeper level. It allows you to:
- Install and Uninstall Applications: Effortlessly push APK files onto your device and remove them without needing the Google Play Store.
- Access Device Logs: View real-time system and application logs, invaluable for debugging crashes and performance issues.
- Transfer Files: Move files between your computer and your Android device’s storage.
- Execute Shell Commands: Run commands directly on the Android device’s operating system, providing granular control.
- Reboot Devices: Force a device reboot into different modes, such as recovery or bootloader.
- Screen Mirroring and Recording: Capture your device’s screen and stream it to your computer.
Given its significance, mastering ADB installation is the first step towards unlocking these advanced capabilities. The process can vary slightly depending on your operating system, but the underlying principles remain the same.
Setting the Stage: Prerequisites for ADB Installation
Before diving into the installation process itself, ensuring you have the necessary prerequisites in place will make the journey much smoother. These are generally straightforward and involve a few key components.
1. Java Development Kit (JDK)
While not always strictly required for just ADB installation on modern systems, having the Java Development Kit (JDK) installed is a good practice, especially if you plan to do any Android development. ADB is deeply intertwined with the Java ecosystem that underpins Android. You can download the latest JDK from Oracle or explore OpenJDK distributions.
- Verification: After installation, open your command prompt or terminal and type
java -versionandjavac -version. If the versions are displayed, your JDK is correctly installed and configured.
2. Android SDK Platform Tools
The core components of ADB, including the adb executable itself, are bundled within the Android SDK Platform Tools. This is the essential package you need to download. Google provides these tools as a standalone download, meaning you don’t necessarily need to install the entire Android Studio IDE if all you want is ADB.
- Download Location: You can find the latest SDK Platform Tools for Windows, macOS, and Linux directly from the official Android developer website. Search for “SDK Platform Tools download.”
3. USB Drivers (Primarily for Windows)
For Windows users, installing the correct USB drivers for your specific Android device is crucial. Without these drivers, your computer won’t be able to recognize your phone or tablet when connected via USB, and ADB won’t be able to establish a connection.
- Sources for Drivers:
- Manufacturer Websites: The most reliable place to find drivers is your device manufacturer’s official support website. Look for “downloads,” “support,” or “developer” sections.
- Google USB Driver: For Google Pixel devices and some Nexus models, Google provides a universal USB driver through the SDK Manager within Android Studio. If you installed Android Studio, you can use its SDK Manager to download this.
- Generic Drivers: In some cases, generic USB drivers might work, but it’s always best to use the manufacturer-specific ones for optimal compatibility.
Once these prerequisites are met, you’re ready to proceed with the actual installation of ADB.
Installing ADB: A Platform-Specific Approach
The installation process for ADB involves downloading the SDK Platform Tools and then making the adb executable accessible from your system’s command line. This typically means adding the directory containing the tools to your system’s PATH environment variable.
Installing ADB on Windows
Windows users have a few common methods for installing ADB, ranging from a simple manual setup to using more integrated solutions.
1. Manual Installation of SDK Platform Tools
This method gives you the most control and understanding of the process.
-
Download and Extract:
- Download the latest SDK Platform Tools ZIP file for Windows from the official Android developer website.
- Create a dedicated folder for these tools. A common and recommended location is
C:platform-tools. Avoid placing it in directories that require administrator privileges for modification (like Program Files) unless you understand the implications. - Extract the contents of the downloaded ZIP file into this
C:platform-toolsfolder. You should see files likeadb.exe,fastboot.exe, and various DLLs.
-
Add to PATH Environment Variable: This is the critical step that allows you to run ADB from any command prompt window, regardless of your current directory.
- Search for “Environment Variables” in the Windows search bar and select “Edit the system environment variables.”
- In the System Properties window that appears, click the “Environment Variables…” button.
- In the “System variables” section, find the variable named
Pathand select it. Then, click the “Edit…” button. - In the “Edit environment variable” window, click “New” and add the full path to your
platform-toolsfolder (e.g.,C:platform-tools). - Click “OK” on all open windows to save the changes.
-
Install USB Drivers (If Necessary): As mentioned in the prerequisites, ensure you have the correct USB drivers installed for your device. If you’re unsure, connect your device and open Device Manager. Look for your device (it might appear under “Other devices” or as an Android device). Right-click and select “Update driver,” then “Browse my computer for drivers” and point it to the driver files you downloaded.
-
Verification:
- Open a new Command Prompt window (important, as existing ones won’t recognize the updated PATH).
- Type
adb versionand press Enter. If ADB is installed correctly and the PATH is set up, you’ll see the ADB version information.
2. Using Android Studio
If you plan to develop Android apps, installing Android Studio is the most straightforward way to get ADB.
- Download and Install Android Studio: Get the latest version from the official Android developer website and follow the installation prompts.
- Launch SDK Manager: Once Android Studio is installed, open it. Go to
Tools > SDK Manager. - Install SDK Platform-Tools: In the SDK Manager, navigate to the “SDK Tools” tab. Ensure “Android SDK Platform-Tools” is checked. Click “Apply” to download and install it.
- Locate ADB: Android Studio installs the platform tools in a specific directory within its SDK folder. The exact path varies, but it’s usually something like
C:Users[YourUsername]AppDataLocalAndroidSdkplatform-tools. - Add to PATH (Recommended): While Android Studio might have its own ways of interacting with ADB, adding the
platform-toolsdirectory to your system’s PATH as described in method 1 will allow you to use ADB from any command prompt.
Installing ADB on macOS
The process on macOS is very similar to the manual installation on Windows, focusing on extracting the tools and adding them to your system’s PATH.
-
Download and Extract:
- Download the SDK Platform Tools ZIP file for macOS from the official Android developer website.
- Create a dedicated folder for these tools. A common location is
~/Library/Android/sdk/platform-tools. If these directories don’t exist, you might need to create them. You can also choose a simpler path like~/platform-tools. - Extract the contents of the downloaded ZIP file into your chosen folder.
-
Add to PATH Environment Variable: macOS uses shell configuration files to manage the PATH. The most common files are
.zshrc(for Zsh, the default in newer macOS versions) or.bash_profile(for Bash).- Open the Terminal application.
- If you’re using Zsh, type
nano ~/.zshrcand press Enter. If you’re using Bash, typenano ~/.bash_profileand press Enter. - At the end of the file, add the following line, replacing
~/platform-toolswith the actual path to your extractedplatform-toolsfolder:
bash

export PATH=$PATH:~/platform-tools
- Press
Ctrl + X, thenY, andEnterto save the file.
-
Verification:
- Close and reopen your Terminal window.
- Type
adb versionand press Enter. You should see the ADB version information.
Installing ADB on Linux
Linux users will find the installation process familiar to macOS, primarily involving extraction and modifying shell configuration files.
-
Download and Extract:
- Download the SDK Platform Tools ZIP file for Linux from the official Android developer website.
- Create a dedicated folder, perhaps in your home directory, for these tools (e.g.,
~/platform-tools). - Extract the contents of the downloaded ZIP file into this folder. You might need to use
unzip platform-tools-latest-linux.zipin your terminal within the directory where you downloaded the file.
-
Add to PATH Environment Variable: Similar to macOS, you’ll modify your shell’s configuration file. This is typically
.bashrcfor Bash or.zshrcfor Zsh.- Open your Terminal.
- Type
nano ~/.bashrc(ornano ~/.zshrc) and press Enter. - Add the following line at the end of the file, adjusting the path if necessary:
bash

export PATH=$PATH:~/platform-tools
- Save the file (
Ctrl + X,Y,Enter). - To apply the changes without closing and reopening the terminal, run
source ~/.bashrc(orsource ~/.zshrc).
-
Verification:
- Type
adb versionin your Terminal. The ADB version should be displayed.
- Type
Connecting Your Device and Enabling Debugging
With ADB installed, the next crucial step is to connect your Android device to your computer and enable USB debugging. This is what allows ADB to communicate with your device.
Enabling Developer Options and USB Debugging
Developer options are hidden by default on Android devices to prevent accidental changes. You’ll need to enable them first.
-
Find Your Build Number:
- Go to
Settingson your Android device. - Scroll down to
About phoneorAbout tablet. - Look for
Build number. The exact location might vary slightly depending on your device manufacturer and Android version.
- Go to
-
Tap the Build Number:
- Tap the
Build numberentry repeatedly (usually 7 times). - You’ll see a toast message counting down to “You are now a developer!” or “Developer options enabled.”
- Tap the
-
Access Developer Options:
- Go back to the main
Settingsmenu. - You should now see a new option called
Developer options. It might be underSystemor directly in the main settings list.
- Go back to the main
-
Enable USB Debugging:
- Open
Developer options. - Scroll down to find the
USB debuggingtoggle. - Enable it. You’ll likely see a warning message explaining what USB debugging is and its potential security implications. Confirm that you want to enable it.
- Open
Establishing the ADB Connection
Once USB debugging is enabled, you can connect your device to your computer.
-
Connect via USB: Use a reliable USB cable to connect your Android device to your computer.
-
Authorize the Computer: On your Android device, you should see a prompt asking “Allow USB debugging?” with your computer’s RSA key fingerprint. This is a security measure.
- Check the box that says “Always allow from this computer.”
- Tap “Allow” or “OK.”
- If you don’t see this prompt, try disconnecting and reconnecting your device, or revoke existing authorizations in Developer Options (there’s usually an option for “Revoke USB debugging authorizations”).
-
Verify the Connection:
- Open your command prompt or Terminal.
- Type
adb devicesand press Enter. - If everything is set up correctly, you should see a list of connected devices with their serial numbers and a status of “device.” For example:
List of devices attached

XXXXXXXXXX    device
- If it shows “unauthorized,” you need to go back to your device and accept the RSA key prompt. If it doesn’t show up at all, double-check your USB drivers (on Windows), ensure USB debugging is enabled, and try a different USB cable or port.
Advanced ADB Commands and Practical Applications
With ADB installed and your device connected, you can start using its powerful commands. While this guide focuses on installation, understanding a few fundamental commands will highlight ADB’s utility.
Essential ADB Commands
adb devices: Lists all connected devices and emulators.adb install <path/to/your/app.apk>: Installs an application package (.apk file) onto your device.adb uninstall <package_name>: Uninstalls an application. You can find thepackage_nameby looking at the app’s details or using commands likeadb shell pm list packages.adb push <local_path> <remote_path>: Copies a file from your computer to your device.adb pull <remote_path> <local_path>: Copies a file from your device to your computer.adb shell: Opens an interactive shell on your Android device, allowing you to run Linux commands.adb reboot: Reboots your device. You can useadb reboot bootloaderoradb reboot recoveryto boot into specific modes.adb logcat: Displays device log messages in real-time, essential for debugging.
ADB in the Tech Ecosystem
ADB’s influence spans various aspects of technology:
- Software Development & Testing: The primary use case. Developers use ADB to deploy apps for testing, inspect logs, and debug issues directly on physical devices or emulators.
- Digital Security: Security researchers and ethical hackers use ADB to analyze app behavior, inspect system configurations, and test device vulnerabilities.
- Productivity & Customization: Power users leverage ADB to automate tasks, install custom ROMs (though this often involves
fastbootas well), tweak system settings that aren’t exposed through the UI, and manage apps more efficiently. - Gadget Enthusiasts: For those who love tinkering with their devices, ADB provides a gateway to advanced customizations and deeper understanding of how their gadgets work.

Conclusion: Empowering Your Android Experience with ADB
Installing and mastering the Android Debug Bridge (ADB) is a significant step for anyone looking to go beyond the surface-level usage of their Android devices. It democratizes control, offering a powerful command-line interface for development, troubleshooting, and customization. By following the platform-specific installation guides and understanding the basic connection steps, you’ve laid the groundwork for unlocking a wealth of advanced functionalities. As you delve deeper into ADB’s command set, you’ll find it an invaluable tool for enhancing your productivity, understanding your technology better, and truly making your Android device work for you.
aViewFromTheCave is a participant in the Amazon Services LLC Associates Program, an affiliate advertising program designed to provide a means for sites to earn advertising fees by advertising and linking to Amazon.com. Amazon, the Amazon logo, AmazonSupply, and the AmazonSupply logo are trademarks of Amazon.com, Inc. or its affiliates. As an Amazon Associate we earn affiliate commissions from qualifying purchases.