In the modern landscape of software engineering, maintaining a clear distinction between different stages of the development lifecycle is paramount. Whether you are a solo developer or part of a massive enterprise team, the transition from writing code on a local machine to deploying it for millions of users requires a robust mechanism for configuration management. At the heart of this mechanism in the JavaScript ecosystem lies a specific environment variable: NODE_ENV.
While it originated in the Node.js runtime, NODE_ENV has become an industry standard that ripples through the frontend world, particularly within React applications. Understanding how to leverage this variable effectively is the difference between a buggy, slow development experience and a streamlined, high-performance production deployment.

Understanding NODE_ENV in the Modern Development Lifecycle
To understand NODE_ENV, one must first understand the concept of environment variables. Environment variables are dynamic-named values that can affect the way running processes will behave on a computer. In the context of Node.js, NODE_ENV is a convention popularized by the Express framework to designate the current environment in which the application is running.
The Philosophy of Environment Selection
The primary purpose of NODE_ENV is to toggle specific behaviors in libraries and build tools. By convention, there are three primary values used:
- development: Used when the developer is writing code locally. It prioritizes helpful error messages, hot-reloading, and debugging tools.
- production: Used when the application is deployed to the end-users. It prioritizes performance, security, and minification.
- test: Used during the execution of automated test suites (like Jest or Mocha) to ensure the application behaves predictably without triggering side effects like external API calls or analytics.
How Node.js Interprets the Variable
Strictly speaking, NODE_ENV is not a “magic” keyword built into the core of Node.js. Instead, it is a property accessed via the global process.env object. However, because almost every major library in the NPM ecosystem looks for this specific variable, it has become the de facto standard. When a library sees production, it may skip certain validation checks to save CPU cycles; when it sees development, it might log extra metadata to the console to assist in troubleshooting.
The Shift from Server to Client
In a standard Node.js backend, process.env.NODE_ENV is available at runtime because the server has access to the operating system’s environment. However, a React application runs in the user’s browser, which has no concept of “Node.” Therefore, the “use” of NODE_ENV in a React app involves a build-time transformation where tools like Webpack or Vite replace references to process.env.NODE_ENV with actual string literals before the code ever reaches the browser.
Integrating NODE_ENV within a React Ecosystem
When building a React application, you are rarely writing “raw” JavaScript that goes straight to the browser. Instead, you are using a build pipeline. This pipeline is responsible for transpiling JSX, bundling assets, and—crucially—handling environment variables.
The Role of Bundlers: Webpack, Vite, and Create React App
Different tools handle NODE_ENV in slightly different ways.
- Create React App (CRA): CRA automatically sets
NODE_ENVfor you. When you runnpm start, it is set todevelopment. When you runnpm test, it istest. When you runnpm run build, it isproduction. You cannot manually override this within the CRA framework, which ensures consistency across projects. - Vite: Vite uses a different approach, leveraging
import.meta.env.MODE. However, it still maps the environment toproductionordevelopmentbased on the command (vitevs.vite build). - Custom Webpack/esbuild: If you are configuring your own build pipeline, you must use a plugin like
DefinePluginto manually search forprocess.env.NODE_ENVin your source code and replace it with a string.
How process.env.NODE_ENV Works in the Browser
It is a common misconception that the browser has a process object. If you were to type console.log(process) in a Chrome DevTools console, you would likely get an error. The magic happens during the “bundling” phase. The bundler scans your code for the string process.env.NODE_ENV. If it finds it and knows you are building for production, it replaces the code snippet with the literal string "production".
This leads to a process called “Dead Code Elimination” or “Tree Shaking.” If your code says if (process.env.NODE_ENV === 'development') { showDebugPanel(); }, the bundler turns this into if ("production" === 'development') { showDebugPanel(); }. Since that condition is always false, the minifier deletes the entire showDebugPanel function from the final JavaScript bundle, reducing the file size for your users.
Security Considerations and Variable Prefixing
One critical rule in React development: Never store secrets in environment variables that are accessed via process.env in the frontend. Because these variables are “inlined” into the JavaScript bundle, anyone who visits your website can view them by inspecting the source code. While NODE_ENV is safe because it only describes the environment type, variables like STRIPE_SECRET_KEY or DATABASE_PASSWORD must never be exposed this way. Most tools, like CRA or Vite, require a specific prefix (e.g., REACT_APP_ or VITE_) to even allow a variable to be bundled, acting as a safety gate.
Practical Implementation: Strategies for Managing Environments

Beyond just telling a library to run faster, NODE_ENV allows you to write conditional logic that adapts your application’s behavior based on where it is currently running.
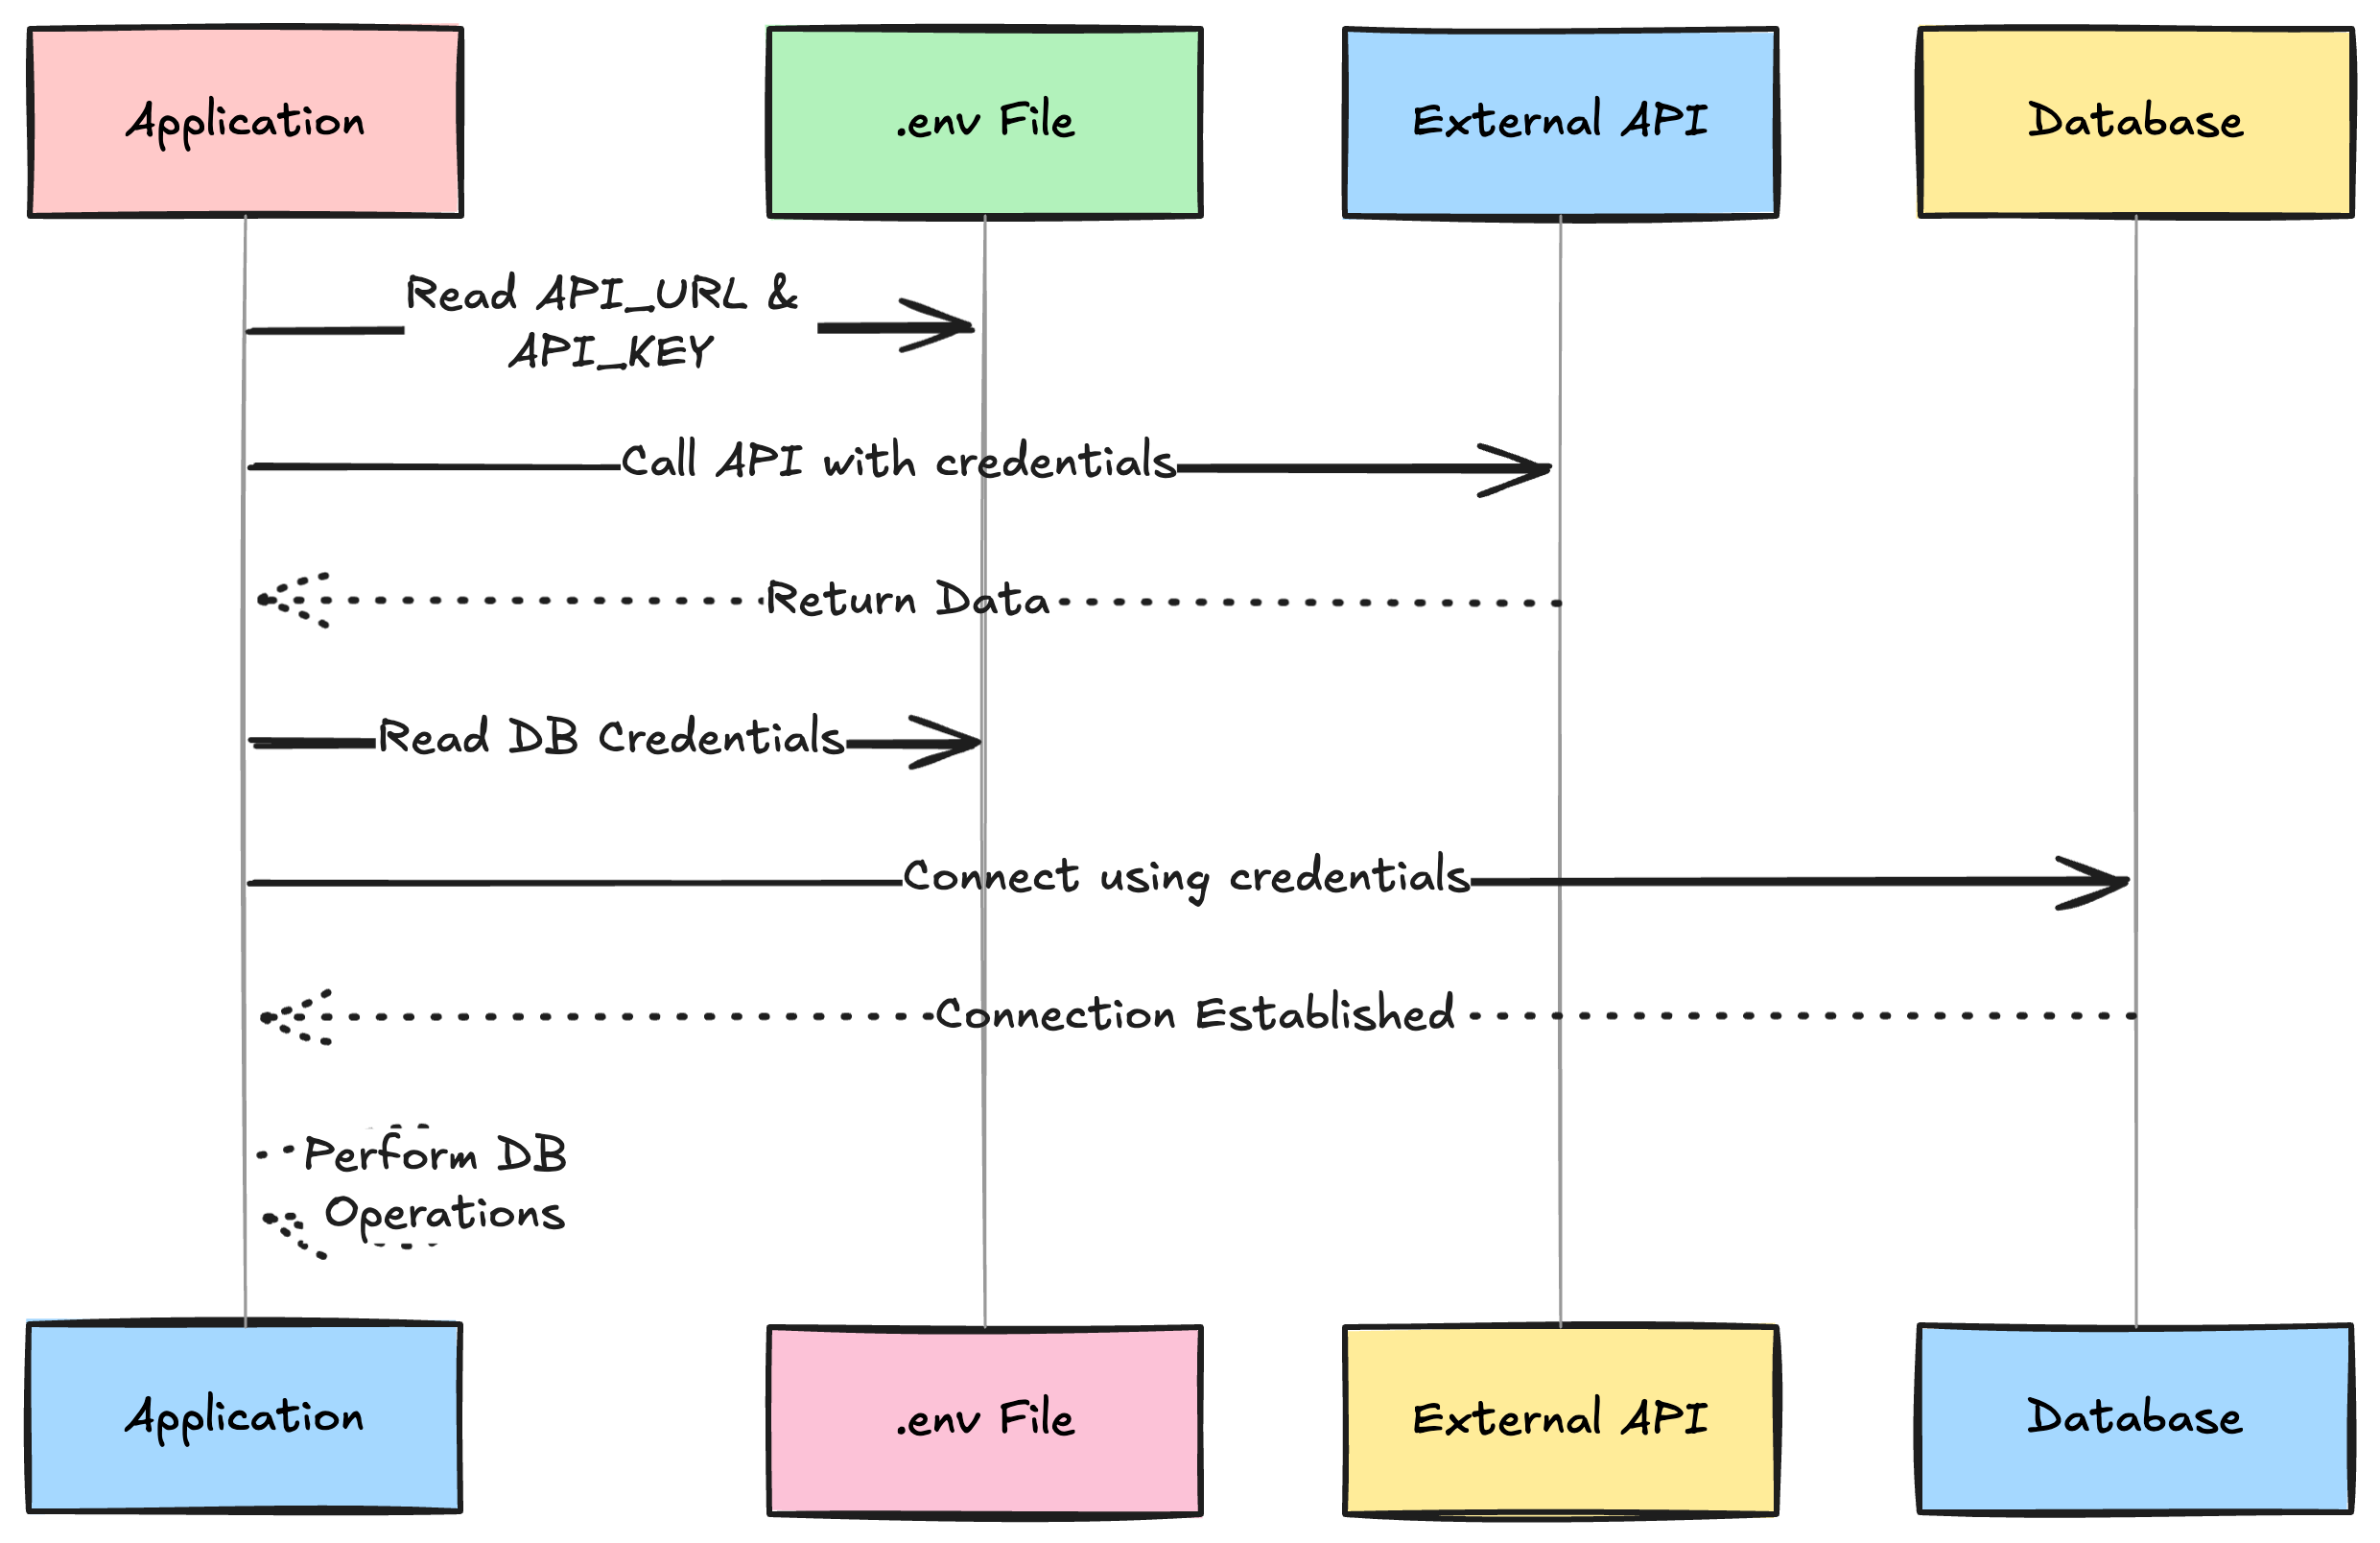
Using .env Files for Configuration
While NODE_ENV is usually set by the build command, you often need other variables that change based on that environment—such as your API base URL. The industry standard is to use .env files:
.env.development: ContainsREACT_APP_API_URL=http://localhost:5000.env.production: ContainsREACT_APP_API_URL=https://api.myapp.com
By leveraging NODE_ENV, your React app automatically knows which file to pull from, ensuring that you never accidentally send test data to your production database.
Conditional Logic in React Components
You can use NODE_ENV to enable or disable features. For example, you might want a specialized “Developer Toolbar” that only appears while you are coding.
function App() {
  return (
    <div>
      <Header />
      <MainContent />
      {process.env.NODE_ENV === 'development' && <DevToolsDrawer />}
    </div>
  );
}
In this scenario, the DevToolsDrawer component will be completely absent from the production build, ensuring that end-users have a clean experience and the bundle remains lightweight.
Managing API Endpoints and Analytics
Analytics is another area where NODE_ENV is vital. You don’t want your local testing sessions or your CI/CD automated tests to pollute your Google Analytics or Mixpanel data.
const trackEvent = (event) => {
  if (process.env.NODE_ENV === 'production') {
    analytics.send(event);
  } else {
    console.log('Skipping analytics for non-production environment:', event);
  }
};
This ensures that your business metrics reflect real user behavior rather than developer activity.
Optimization and Production Readiness
The impact of NODE_ENV on performance cannot be overstated. React itself behaves very differently depending on this variable.
Minification and Performance Overheads
When React is in development mode, it includes a significant amount of extra code designed to help you. This includes:
- PropType Validation: Checking if the data passed to components matches the expected types.
- Component Stacks: Detailed error messages that point to the exact line in your JSX.
- Warnings: Alerts about deprecated methods or potential memory leaks.
These features are incredibly useful during development but are computationally expensive. When NODE_ENV is set to production, React strips all of these checks away. The result is a library that is not only smaller in size but significantly faster in rendering speed.
Build-Time Optimizations
Modern build tools use NODE_ENV to determine the level of optimization to apply. In a production build, the bundler will perform:
- Uglification: Renaming variables to single letters to save space.
- Scope Hoisting: Speeding up the execution of your code by wrapping modules differently.
- Terser Minification: Removing whitespace, comments, and unreachable code.
If you accidentally deploy a React app built with NODE_ENV=development, your users will experience a version of your site that is roughly 3-5 times larger and significantly slower than it should be.
Advanced Configuration and Best Practices
As your application grows, the binary choice between “development” and “production” may not be enough. You might have a “staging” environment that mirrors production but is used for final QA.
Handling Custom Environments
While NODE_ENV should generally remain as either development or production (to keep libraries happy), you can use secondary variables to handle sub-environments. For instance, you might set NODE_ENV=production for your staging server (to ensure performance is tested) but set a custom variable like REACT_APP_STAGE=staging to point to a staging database.
Integration with CI/CD Pipelines
In a professional workflow, you don’t manually run npm run build on your laptop and upload files to a server. Instead, you use CI/CD tools like GitHub Actions, Jenkins, or Vercel. These tools allow you to inject NODE_ENV at the moment of the build.
For example, in a GitHub Action, you might specify:
- name: Build React App
  run: npm run build
  env:
    NODE_ENV: production
This ensures that every build that goes to your web server is consistently optimized and correctly configured.
Conclusion: The Silent Architect
NODE_ENV is often the silent architect of a React application. It sits in the background, influencing how your code is compiled, how your libraries behave, and how your data is routed. By mastering its use, you ensure that your development workflow remains agile and your production environment remains performant and secure. In the world of modern web development, it isn’t just a variable—it is a fundamental bridge between the code you write and the experience your users receive.