
In the intricate world of computing, where software meets hardware, there exists a foundational layer that dictates how your computer boots up and interacts with its core components. This critical piece of software is known as the BIOS (Basic Input/Output System), or its modern successor, UEFI (Unified Extensible Firmware Interface). For most users, it operates silently in the background, a forgotten hero ensuring their system springs to life with every power button press. However, there are times when this fundamental software needs an update – a process colloquially known as “flashing the BIOS.”
The idea of “flashing” your BIOS might sound intimidating, conjuring images of complex technical maneuvers reserved only for seasoned IT professionals. And while it demands respect and careful execution, understanding what it entails, why it’s done, and the potential risks involved can demystify the process. In essence, flashing the BIOS is like giving your computer’s most basic instruction manual a crucial revision, potentially unlocking new capabilities, fixing persistent issues, or bolstering its security. This article will delve deep into the world of BIOS flashing, exploring its purpose, the benefits it offers, the significant risks it carries, and the best practices for undertaking this vital, yet delicate, maintenance task.
Understanding the BIOS: The Motherboard’s Foundation
Before we can appreciate the act of flashing, it’s essential to grasp the role and importance of the BIOS itself. Often likened to the computer’s “brain stem,” it’s the very first software that runs when you power on your machine, acting as the crucial intermediary between your hardware and the operating system.
What is BIOS (Basic Input/Output System)?
At its core, BIOS is firmware – a type of software permanently stored on a small, non-volatile memory chip (like a flash memory chip, hence “flashing”) on your computer’s motherboard. Its primary purpose is to perform what’s called a Power-On Self-Test (POST). During POST, the BIOS initializes and tests all the crucial hardware components, including the CPU, RAM, graphics card, storage drives, and input devices, ensuring they are present and functioning correctly. If any critical component fails the test, the BIOS typically emits a series of beeps (known as beep codes) to indicate the nature of the problem.
Once POST is successfully completed, the BIOS then searches for a bootable device (like your hard drive or SSD) containing the operating system. It reads the boot sector from that device and hands over control to the operating system’s bootloader, allowing Windows, macOS, or Linux to load and take over. Without the BIOS, your computer would be nothing more than a collection of inert components, unable to communicate or initiate the complex process of running an operating system.
The modern evolution of BIOS is UEFI (Unified Extensible Firmware Interface). While performing the same fundamental functions, UEFI offers significant advancements over traditional BIOS. It supports larger hard drives (over 2.2 TB) through GUID Partition Table (GPT), provides faster boot times, offers a more graphical and user-friendly interface with mouse support, and includes enhanced security features like Secure Boot, which helps prevent malicious software from loading during startup. Most modern computers released in the last decade utilize UEFI rather than the legacy BIOS, though the term “BIOS” is often still used interchangeably to refer to this low-level firmware.
Why is the BIOS So Crucial?
The BIOS is crucial for several reasons that extend beyond merely initiating the boot process:
- Hardware Compatibility and Initialization: It ensures that your CPU, RAM, storage, and other essential components are correctly identified and configured before the operating system even begins to load. Without proper BIOS support, newer hardware might not be recognized or function optimally.
- System Settings and Configuration: The BIOS/UEFI setup utility (accessible by pressing a specific key like Del, F2, F10, or F12 during startup) allows users to configure fundamental system settings. These include boot order, date and time, CPU settings (like enabling virtualization or overclocking features), memory timings (XMP profiles), power management options, and security features like setting a BIOS password or enabling Secure Boot.
- Foundation for Stability: As the first layer of software, a stable and well-optimized BIOS is fundamental to the overall stability and performance of your computer system. Bugs or inefficiencies at this level can lead to various issues, from unpredictable crashes to reduced hardware performance.
Understanding this foundational role highlights why flashing the BIOS, while potentially risky, can also be a necessary and beneficial undertaking for maintaining or upgrading your system.
The Core Process: What “Flashing” Actually Means
Having established the significance of the BIOS, let’s turn our attention to the act of “flashing” it. This term, though a bit technical, simply describes the process of updating or replacing the firmware stored on the motherboard’s BIOS chip.
What is BIOS Flashing?
BIOS flashing refers to the act of writing a new version of the firmware onto the BIOS chip. Think of it less like installing a new application and more like updating the very operating system of a specialized microcontroller within your computer. Your motherboard manufacturer periodically releases updated BIOS versions, much like software developers release updates for Windows or your favorite apps. These updates are designed to improve functionality, fix bugs, or add support for new hardware.
The term “flashing” originates from the type of memory chip used, which is typically a “flash memory” chip. This type of memory can be electronically erased and reprogrammed. When you “flash” the BIOS, you are essentially replacing the old firmware code stored on this chip with a newer, potentially improved, version. This is a profound change because it modifies the very instructions your computer uses to wake up and interact with its components. Unlike a regular software update, if something goes wrong during a BIOS flash, your computer might be unable to start at all – a state often referred to as “bricking” the motherboard.
How BIOS Updates Are Delivered (and Performed)
BIOS updates are always provided by your motherboard manufacturer (e.g., ASUS, MSI, Gigabyte, ASRock) or, for pre-built systems, by the system manufacturer (e.g., Dell, HP, Lenovo). They are typically downloaded from the official support section of their websites. The update file itself is often a compressed archive containing the new firmware image and sometimes a flashing utility.
The actual performance of a BIOS flash usually involves one of several methods:
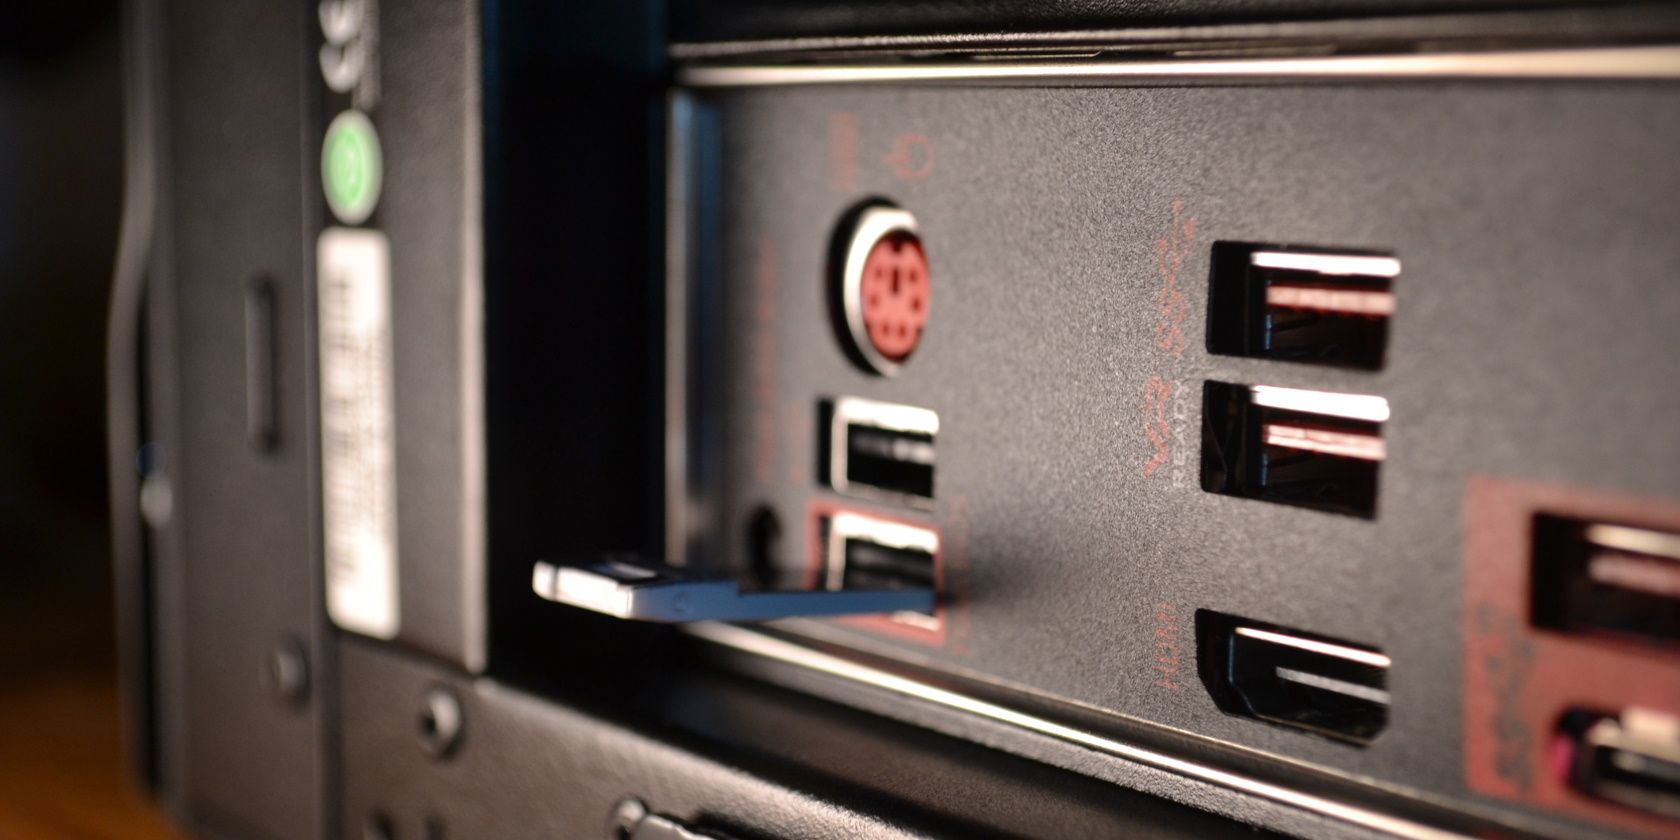
- USB Flash Drive (Most Common and Recommended): This method involves downloading the BIOS update file, extracting it to a specially formatted USB drive, and then accessing a built-in “Flash Utility” (often named Q-Flash, M-Flash, EZ Flash, or similar) within the BIOS/UEFI setup menu itself. This is generally considered the safest method as it operates outside of the operating system, minimizing potential conflicts.
- Built-in BIOS Utility (often via network connection): Some advanced motherboards include features that allow them to download and update the BIOS directly from the internet, or even from a specific server, without needing an OS or external USB.
- From within Windows: Some manufacturers provide Windows-based utilities that can flash the BIOS while the operating system is running. While convenient, this method is often less recommended due to the increased risk of interruption or conflicts with running software, which can lead to a corrupted flash.
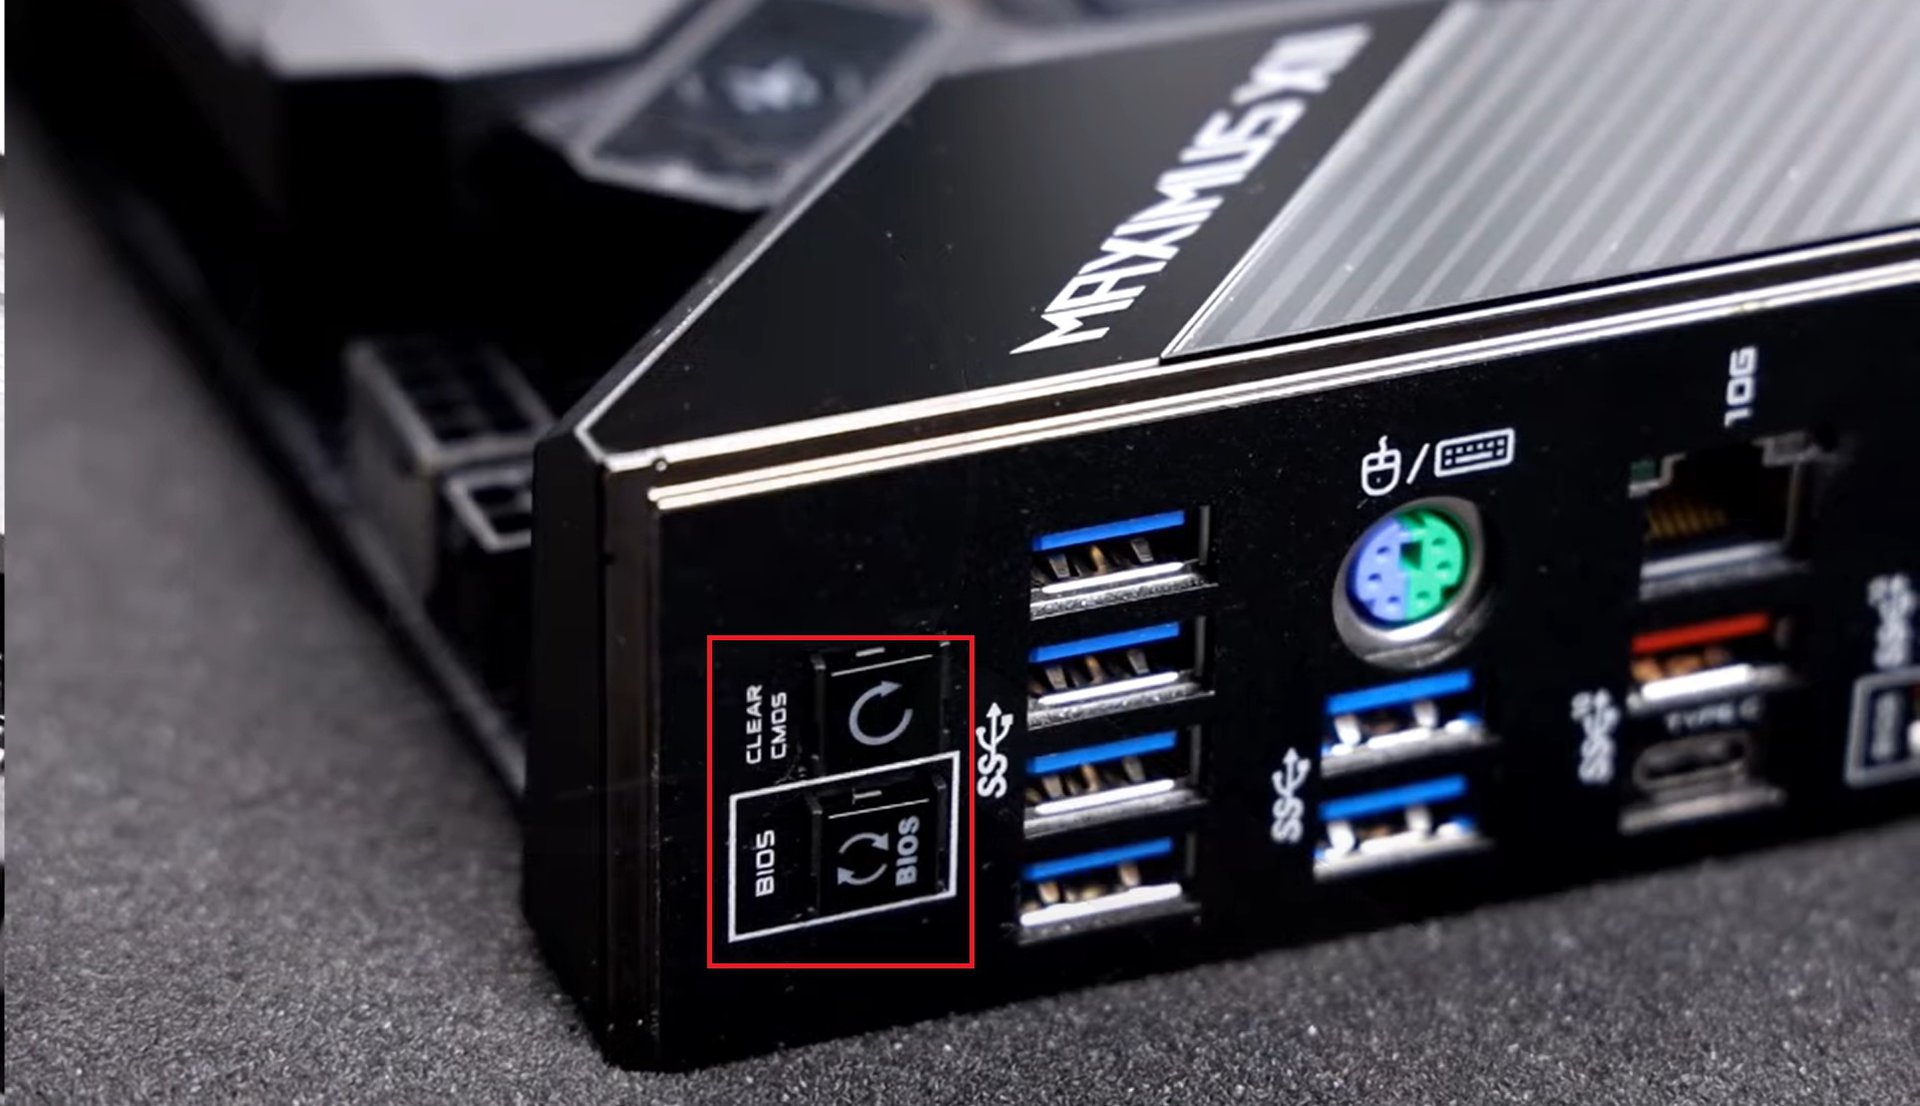
- Dedicated Hardware Buttons (e.g., BIOS Flashback): Premium motherboards sometimes feature a dedicated “BIOS Flashback” button (or similar nomenclature) that allows updating the BIOS even without a CPU or RAM installed. This is particularly useful for building new systems with CPUs that might be newer than the motherboard’s initial BIOS version.
Regardless of the method, the core principle remains the same: load the new firmware onto the BIOS chip. The critical takeaway is that this is not a routine software installation; it requires a precise procedure and an understanding of the potential implications.
Why You Might (or Might Not) Flash Your BIOS: Benefits and Risks

Deciding whether or not to flash your BIOS is a balance between potential gains and significant risks. It’s not an update that should be undertaken lightly, but there are compelling reasons why it might be necessary.
The Compelling Reasons to Update Your BIOS
While the “if it ain’t broke, don’t fix it” adage often applies to the BIOS, there are several scenarios where an update becomes highly beneficial, if not essential:
- Support for New Hardware: This is arguably the most common and crucial reason. Newer CPUs, especially those released after your motherboard, often require a BIOS update to be fully recognized and utilized. Similarly, updated BIOS versions can provide better compatibility with newer RAM modules (e.g., higher frequencies, more stable XMP profiles), certain GPUs, or NVMe SSDs. If you’re upgrading your CPU, checking for a required BIOS update is often the first step.
- Performance Improvements: BIOS updates can sometimes optimize system performance and stability. This might include:
- Improved Boot Times: Streamlining the POST process.
- Enhanced Power Management: Better control over power states, leading to reduced energy consumption or cooler operation.
- CPU Microcode Updates: Often bundled with BIOS updates, these can improve CPU stability, fix errata, or even provide minor performance tweaks.
- Memory Compatibility and Stability: Better handling of various RAM kits, reducing stability issues.
- Bug Fixes and Stability Enhancements: Like any software, BIOS firmware can contain bugs. Manufacturers often release updates to address known issues such as:
- System crashes or freezes under specific loads.
- Incorrect fan speed readings or controls.
- Issues with certain peripherals or expansion cards.
- Resolving sleep/wake cycle problems.
- Improving overall system reliability.
- Security Vulnerabilities: In an age where digital security is paramount, BIOS updates can be critical for patching security vulnerabilities discovered in the firmware itself. These vulnerabilities could potentially be exploited by malware to gain low-level control of your system, bypass operating system security, or steal sensitive data. UEFI updates, in particular, often include patches related to Secure Boot or other firmware-level security mechanisms.
- New Features and Interface Improvements: Less common but still possible, a BIOS update might introduce new features to the UEFI interface, such as improved fan control options, new overclocking profiles, better diagnostic tools, or a more user-friendly graphical interface.
The Significant Risks and When to Avoid Flashing
Despite the potential benefits, flashing your BIOS carries inherent and significant risks. It’s a procedure that, if done incorrectly or interrupted, can have severe consequences.
- Bricking the Motherboard: This is the primary and most dreaded risk. If the BIOS flash fails or is interrupted, the BIOS chip can become corrupted, rendering your motherboard unable to boot. Without a functional BIOS, the computer cannot even begin to initialize, effectively turning your motherboard into an expensive paperweight (“bricked”). Recovering from a bricked motherboard usually requires specialized equipment (a hardware programmer) or replacing the motherboard entirely.
- Power Loss or Interruption: A sudden loss of power during the BIOS flashing process is one of the most common causes of a failed flash. Since the old firmware is being erased and the new one written, any interruption at this critical stage can leave the chip with incomplete or corrupted data. Using a UPS (Uninterruptible Power Supply) during the process is highly recommended to mitigate this risk.
- Incorrect BIOS File: Downloading and attempting to flash the wrong BIOS file for your specific motherboard model and revision can lead to corruption. Motherboard models often have multiple revisions (e.g., “REV 1.0” vs. “REV 2.0”) that may require different BIOS files. Using an incorrect file guarantees a failed and potentially bricked board.
- Corrupted Download: The downloaded BIOS file itself might be corrupted during transfer or storage. Flashing a corrupted file will inevitably lead to a failed update and a bricked motherboard. Always verify the integrity of the downloaded file if possible (e.g., by checking checksums if provided by the manufacturer).
- Unnecessary Risk: If your system is stable, performing well, and you don’t need to support new hardware or fix a known, critical issue, then flashing the BIOS might be an unnecessary risk. The “if it ain’t broke, don’t fix it” philosophy is particularly relevant here. A successful flash won’t necessarily make an already perfectly functioning system feel faster or more stable, but a failed one will definitely make it unusable.
Therefore, the decision to flash your BIOS should always be a carefully weighed one, driven by a specific need rather than a casual whim.
Best Practices and Essential Precautions for BIOS Flashing
Given the critical nature and potential risks involved, approaching a BIOS flash with diligence and precision is paramount. Following best practices can significantly minimize the chances of encountering issues.
Pre-Flashing Checklist
Preparation is key to a successful BIOS update. Before you even think about starting the flashing process, go through this checklist:
- Identify Your Exact Motherboard Model and Revision: This is the most crucial step. Use tools like CPU-Z or HWInfo, or physically inspect your motherboard, to determine the precise model name (e.g., “ASUS ROG Strix Z690-F Gaming WiFi”) and its revision number (e.g., “REV 1.01”). This information is usually printed on the motherboard itself or on its packaging.
- Download the Correct BIOS Version from the Official Manufacturer’s Website: Navigate to the support section of your motherboard manufacturer’s website. Locate your specific model and revision, and download the latest recommended BIOS update. Avoid third-party sites or unofficial sources. Read the release notes for the BIOS version to understand what it fixes or adds, and if it’s necessary for your situation. Sometimes, you might need to flash an intermediate BIOS version before jumping to the latest.
- Read the Update Instructions Thoroughly: Every motherboard manufacturer provides specific instructions for flashing their BIOS. These instructions might vary between models and methods. Read them multiple times to ensure you understand every step and nuance. Don’t assume.
- Ensure a Stable Power Supply: This cannot be stressed enough. A sudden power outage during the flash can brick your board. Connect your computer to a UPS (Uninterruptible Power Supply) if available. If not, ensure your power source is stable and avoid flashing during storms or periods of unstable electricity. For laptops, ensure the battery is fully charged and the AC adapter is securely connected.
- Backup Important Data: While a BIOS flash typically doesn’t affect your hard drive or SSD, it’s always good practice to back up critical files before performing any major system-level maintenance. In the rare event of a catastrophic failure, your data will remain safe.
- Close All Unnecessary Applications: If you’re using a Windows-based flashing utility, ensure all other programs are closed to prevent conflicts or resource contention. For USB-based flashing, this isn’t relevant as you’ll be operating outside the OS.
- Prepare Your USB Drive (if using USB method): Format a clean USB flash drive (8GB or 16GB is usually sufficient) to FAT32. Extract the downloaded BIOS file to the root directory of this USB drive. Some manufacturers require specific folder structures or renaming the BIOS file to a particular name (e.g., “MSI.ROM”).
The Flashing Procedure (General Steps)
While specific steps vary by manufacturer, a typical USB-based BIOS flashing procedure generally follows these steps:
- Extract and Place BIOS File on USB: As mentioned above, format your USB drive to FAT32 and copy the extracted BIOS file to its root. Ensure it’s the only file, or clearly identifiable.
- Reboot and Enter BIOS/UEFI Settings: Restart your computer and repeatedly press the designated key (commonly Del, F2, F10, or F12) to enter the BIOS/UEFI setup utility.
- Locate the “Flash Utility”: Navigate through the BIOS menus to find the integrated flashing utility. Manufacturers often give it specific names like “Q-Flash” (Gigabyte), “M-Flash” (MSI), “EZ Flash” (ASUS), “Instant Flash” (ASRock), or “Flash Utility.”
- Select the BIOS File and Initiate the Update: Within the utility, select your USB drive as the source and then choose the correct BIOS file. The utility will usually verify the file’s integrity and compatibility. Confirm the update.
- DO NOT INTERRUPT: This is the most critical phase. The system will begin erasing the old BIOS and writing the new one. During this time, the screen might go blank, the system might reboot multiple times, and it might seem unresponsive. DO NOT power off, reset, or unplug the computer. Wait patiently for the process to complete and for the system to automatically reboot. This can take several minutes.
- Automatic Reboot: Once the flash is successful, the system will typically reboot automatically. The first boot after a BIOS flash might take a little longer than usual as the new firmware initializes.
Post-Flashing Steps
After a successful BIOS flash, there are a few important steps to take:
- Verify the BIOS Version: Once your system boots into the OS, use a system information tool (like
msinfo32in Windows, CPU-Z, or HWInfo) or re-enter the BIOS/UEFI settings to confirm that the new BIOS version has been successfully installed. - Reset BIOS Settings to Optimized Defaults: After a BIOS update, it’s often recommended to load “Optimized Defaults” or “Factory Defaults” within the BIOS/UEFI settings. This ensures that any old, potentially conflicting settings from the previous BIOS version are cleared, and the system starts with a clean slate.
- Reconfigure Any Custom Settings: If you had previously configured specific settings (e.g., boot order, XMP profiles for RAM, fan curves, overclocking settings, Secure Boot, virtualization options), you will need to re-enter the BIOS/UEFI and reapply them.
- Monitor System Stability: For the next few days or weeks, pay close attention to your system’s stability and performance. Ensure it’s not experiencing unexpected crashes, performance degradation, or new hardware conflicts. If you encounter issues, you might need to troubleshoot or even consider flashing back to an older, stable BIOS version (though this should only be done if necessary and with extreme caution).
Conclusion
Flashing the BIOS is a potent tool in the arsenal of any PC enthusiast or diligent system owner. It’s a procedure that reaches into the very core of your computer’s operation, capable of breathing new life into older hardware, unlocking support for cutting-edge components, squashing annoying bugs, and shoring up crucial security vulnerabilities. For many, it’s a necessary step when upgrading a CPU or troubleshooting persistent system instability.
However, the power of BIOS flashing is directly proportional to its inherent risks. The potential to “brick” a motherboard with a single misstep or an ill-timed power flicker transforms it from a routine update into a high-stakes operation. This is why the common mantra of “if it ain’t broke, don’t fix it” holds particular weight when contemplating a BIOS update. It should not be undertaken out of casual curiosity but rather a specific, well-researched necessity.
By understanding what the BIOS does, why updates are issued, the clear benefits they can provide, and the severe consequences of failure, users can make informed decisions. Furthermore, meticulously following manufacturer instructions and adhering to a strict set of best practices – from correctly identifying your hardware to ensuring a stable power supply – are not mere suggestions but absolute commandments for a successful flash.
In the ever-evolving landscape of technology, maintaining your system’s core firmware is a testament to mindful digital security and smart productivity. When executed correctly, flashing the BIOS is a rewarding act of system maintenance that ensures your machine remains robust, compatible, and ready for the future.
aViewFromTheCave is a participant in the Amazon Services LLC Associates Program, an affiliate advertising program designed to provide a means for sites to earn advertising fees by advertising and linking to Amazon.com. Amazon, the Amazon logo, AmazonSupply, and the AmazonSupply logo are trademarks of Amazon.com, Inc. or its affiliates. As an Amazon Associate we earn affiliate commissions from qualifying purchases.