In today’s digitally interconnected world, efficient communication is the cornerstone of both personal and professional success. For many, this means relying on a robust email client to manage correspondence, schedule meetings, and stay organized. Microsoft Outlook, a powerful and versatile application, stands as a leading choice for millions worldwide. Whether you’re a new user embarking on your digital journey or looking to upgrade your existing setup, understanding how to install Outlook is a fundamental step towards harnessing its full potential. This guide will walk you through the process, covering various scenarios and offering insights relevant to technology, personal branding, and even financial considerations.

Understanding Outlook and Its Installation Pathways
Before diving into the installation steps, it’s crucial to understand what Outlook is and the different ways you can access and install it. Outlook isn’t just an email client; it’s a comprehensive personal information manager that integrates email, calendar, contacts, and tasks into a single, unified interface. This integration makes it an invaluable tool for productivity, allowing you to manage your digital life efficiently.
The installation process for Outlook largely depends on how you intend to use it and which Microsoft services you subscribe to. Generally, Outlook is available through several primary channels:
- Microsoft 365 (formerly Office 365): This is the most common and recommended way to get the latest version of Outlook, bundled with other Microsoft Office applications like Word, Excel, and PowerPoint. A subscription provides continuous updates and access to cloud-based services.
- Standalone Office Suites: You can also purchase perpetual licenses for Microsoft Office suites (e.g., Office Home & Student, Office Home & Business) which include Outlook. These versions receive security updates but not feature updates.
- Outlook.com (Web Version): For basic email access without installing any software, you can use the web version of Outlook through your browser. This is free for personal use and offers a streamlined experience.
- Mobile Apps: Outlook is also available as dedicated apps for iOS and Android devices, allowing you to manage your email on the go.
Understanding these options is the first step in determining the most suitable installation method for your needs. This choice can also have financial implications, as subscription models differ from one-time purchases.
Installing Outlook with Microsoft 365: The Modern Approach
For users who have or are considering a Microsoft 365 subscription, installing Outlook is typically straightforward and integrated with the broader Office suite. This method ensures you always have the latest features and security patches, which is crucial for digital security.
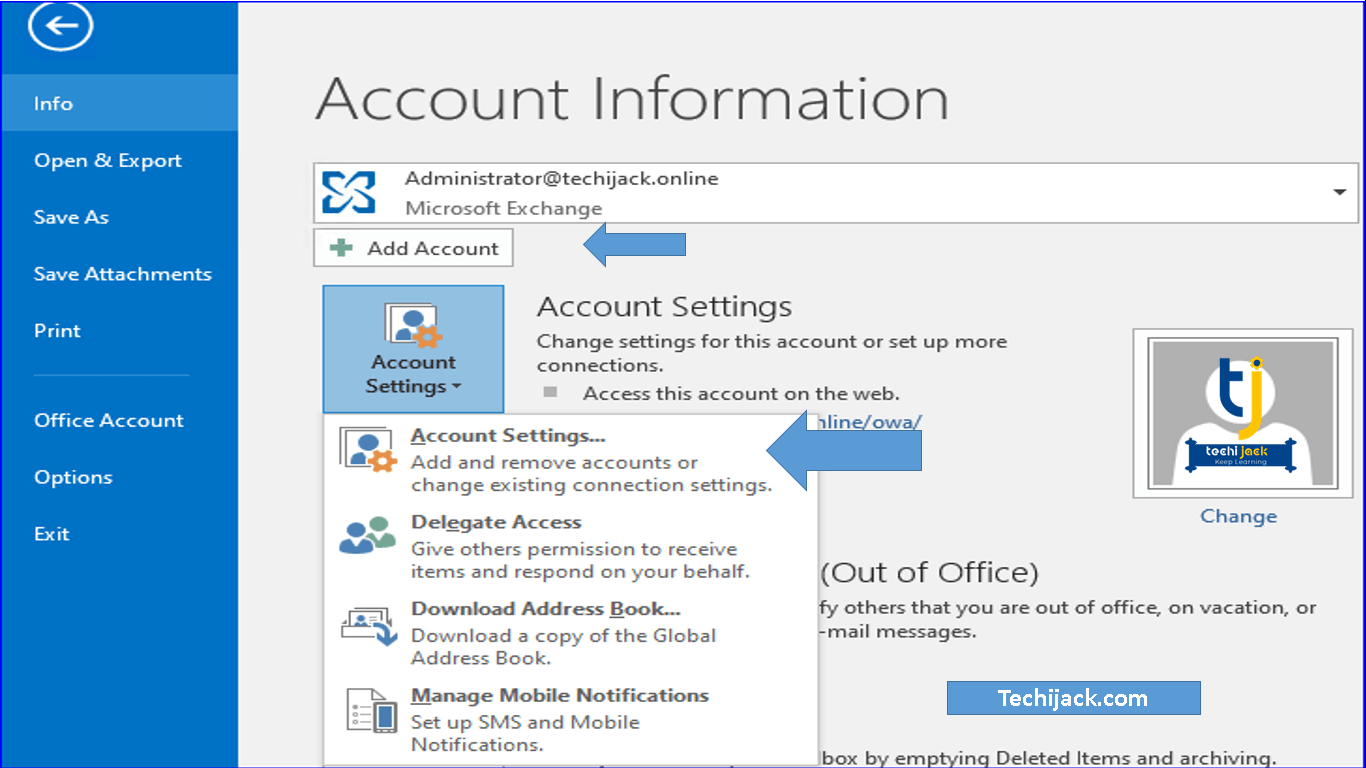
Step 1: Accessing Your Microsoft Account and Subscriptions
Your Microsoft account is the gateway to your subscriptions and purchased software.
- Navigate to the Microsoft Account Page: Open your web browser and go to account.microsoft.com.
- Sign In: Log in using the Microsoft account associated with your Microsoft 365 subscription. If you’ve forgotten your password, follow the on-screen prompts to recover it.
- Locate Your Subscriptions: Once logged in, navigate to the “Services & subscriptions” section. Here, you will see all the Microsoft products and services linked to your account.
- Find Your Microsoft 365 Subscription: Identify your active Microsoft 365 subscription. It might be named “Microsoft 365 Personal,” “Microsoft 365 Family,” or a business-specific plan.
Step 2: Downloading and Installing the Microsoft 365 Suite
Once you’ve confirmed your subscription, you can download and install the entire Microsoft 365 suite, which includes Outlook.
- Initiate Download: On the “Services & subscriptions” page, beside your Microsoft 365 subscription, you should see an “Install” or “Install Office” button. Click on it.
- Choose Install Options: A pop-up or new page will appear, allowing you to select installation options. Usually, you can choose the language and version (32-bit or 64-bit). For most modern computers, the 64-bit version is recommended.
- Download the Installer: Click the “Install” button again to download the Office setup file to your computer. This file is typically small as it acts as a downloader for the full suite.
- Run the Installer: Locate the downloaded file (usually in your “Downloads” folder) and double-click it to start the installation process.
- Follow On-Screen Prompts: The Microsoft Office installer will launch. It will download and install all the included applications, including Outlook. This process can take some time depending on your internet speed and computer’s performance. You’ll see a progress bar indicating the installation status.
- Complete Installation: Once the installation is finished, you’ll receive a confirmation message. You can now close the installer.
Step 3: Launching and Setting Up Outlook for the First Time
After the installation is complete, it’s time to open Outlook and configure your email account(s).
- Open Outlook: You can find Outlook in your Start Menu, or by searching for “Outlook” in the Windows search bar. Click to launch it.
- Welcome Screen and Account Setup: The first time you open Outlook, it will likely prompt you to set up an email account. Click “Next.”
- Enter Your Email Address: Type in the email address you want to add to Outlook (e.g., your Outlook.com, Gmail, or work email address). Click “Connect.”
- Provide Account Credentials: Outlook will attempt to automatically configure the account settings. For most common email providers (like Outlook.com, Gmail, Yahoo), this is quite seamless. You may be prompted to enter your email password again or sign in through a provider-specific portal.
- Automatic Configuration: For many accounts, Outlook will automatically detect the server settings (IMAP/POP and SMTP). If it doesn’t, or if you’re setting up a business or less common email account, you might need to manually enter server details. This is where understanding IMAP, POP, and SMTP is beneficial.
- IMAP (Internet Message Access Protocol): This is the more modern and recommended protocol. It synchronizes your emails across all devices, meaning actions you take on one device (like deleting an email) are reflected on others.
- POP (Post Office Protocol): This is an older protocol that downloads emails to your device and often deletes them from the server. This can lead to emails being inaccessible on other devices.
- SMTP (Simple Mail Transfer Protocol): This is used for sending emails.
- Account Setup Completion: Follow any remaining prompts to finalize the account setup. This might involve confirming your display name and other preferences.
- Start Using Outlook: Once your account is added, Outlook will begin synchronizing your emails, calendar, and contacts. You can now start managing your communications from within the application.
This Microsoft 365 installation method is ideal for those who want a full suite of productivity tools and are committed to staying current with software updates.
Installing Outlook as Part of a Standalone Office Suite
If you prefer a one-time purchase for your Office applications rather than a subscription, you might have acquired a standalone Microsoft Office suite that includes Outlook. The installation process is very similar to the Microsoft 365 method, with a few key differences in how you access the installer.
Step 1: Accessing Your Purchase and Product Key
For standalone Office suites, you usually receive a product key when you purchase it.
- Locate Your Product Key: This is typically found on a card that came with your software packaging, or in a confirmation email if you purchased digitally. The product key is a string of letters and numbers.
- Redeem Your Product Key:
- Go to office.com/setup or setup.office.com.
- Sign in with your Microsoft account.
- Enter your product key when prompted.
- Follow the on-screen instructions to associate the product key with your Microsoft account.
Step 2: Downloading and Installing Office
Once your product key is redeemed, you can download and install your Office suite.
- Access Your Microsoft Account: Sign in to your Microsoft account at account.microsoft.com.
- Navigate to Services & Subscriptions: Find the “Services & subscriptions” section. Your redeemed Office suite should be listed here.
- Download the Installer: Click on the “Install” or “Download” option for your purchased Office suite.
- Follow Installation Prompts: Similar to the Microsoft 365 installation, you’ll download an installer file, run it, and follow the on-screen instructions to complete the installation of Word, Excel, Outlook, and other included applications.
Step 3: Setting Up Outlook
The process for setting up your email account(s) in Outlook after a standalone installation is identical to Step 3 in the Microsoft 365 section. You will launch Outlook and proceed with adding your email accounts using their respective credentials and server settings.
This method is suitable for users who prefer to own their software outright and do not require the continuous feature updates offered by Microsoft 365. However, it’s important to remember that this version will not receive the latest feature enhancements.
Using Outlook.com: The Web-Based Alternative
For users who primarily need email access and don’t require the full functionality of the desktop application, or for those who want to manage their existing Outlook.com account, the web version is an excellent choice. This doesn’t involve a traditional installation process but rather accessing the service through a web browser.
Step 1: Accessing Outlook.com
- Open Your Web Browser: Launch your preferred web browser (Chrome, Firefox, Edge, Safari, etc.).
- Navigate to Outlook.com: Go to www.outlook.com.
Step 2: Signing In or Creating an Account
- Sign In: If you already have an Outlook.com, Hotmail, or Live.com account, click “Sign in” and enter your email address and password.
- Create an Account: If you don’t have an account, click “Create free account.” You will be guided through the process of choosing an email address and setting a password. This is a crucial step in establishing your personal branding online.
- Two-Factor Authentication: For enhanced digital security, it’s highly recommended to set up two-factor authentication for your Microsoft account. This adds an extra layer of protection against unauthorized access.
Step 3: Navigating and Using Outlook.com
Once signed in, you will see the familiar Outlook web interface. You can:
- Send and Receive Emails: Compose new emails, reply to existing ones, and manage your inbox.
- Access Calendar: View your schedule, create appointments, and invite attendees.
- Manage Contacts: Store and organize your contacts.
- Use Tasks: Create to-do lists and track your progress.
Outlook.com also allows you to add other email accounts (like Gmail or Yahoo) to be viewed and managed within the Outlook.com interface, providing a consolidated view of your communications. This web-based approach offers accessibility from any device with an internet connection without requiring any software installation.
Considerations for a Seamless Outlook Experience
Installing Outlook is just the first step. To truly maximize its benefits and ensure a smooth experience, consider these aspects:
- System Requirements: Before installing any software, always check the system requirements on Microsoft’s official website to ensure your computer is compatible. This includes checking your operating system version, RAM, and available disk space.
- Digital Security: When downloading software, always obtain it from official Microsoft sources to avoid malware or pirated versions. Enable strong passwords and two-factor authentication for your Microsoft account and email accounts.
- Personal Branding: The way you configure your email signature, your display name, and how you manage your contacts can all contribute to your personal and professional brand. Ensure your Outlook setup reflects this positively.
- Financial Management: Understand the cost implications of your chosen Outlook method. Microsoft 365 is a recurring expense, while standalone suites are a one-time purchase. Budget accordingly for these technology investments.
- Troubleshooting: If you encounter issues during installation or setup, Microsoft’s support website offers extensive troubleshooting guides and forums where you can find solutions. Common problems might include network connectivity issues, corrupted downloads, or incorrect account settings.
By following these steps and keeping these considerations in mind, you can confidently install Outlook and leverage its powerful features to enhance your productivity, strengthen your digital security, and refine your personal and professional communication strategies. Whether you choose the comprehensive suite of Microsoft 365, a standalone Office package, or the convenient web-based Outlook.com, mastering its installation and setup is a worthwhile endeavor in today’s digital landscape.
aViewFromTheCave is a participant in the Amazon Services LLC Associates Program, an affiliate advertising program designed to provide a means for sites to earn advertising fees by advertising and linking to Amazon.com. Amazon, the Amazon logo, AmazonSupply, and the AmazonSupply logo are trademarks of Amazon.com, Inc. or its affiliates. As an Amazon Associate we earn affiliate commissions from qualifying purchases.