In the modern digital age, a car is no longer just a mode of transportation; it is a mobile hub of technology and a significant financial asset. As road congestion increases and insurance complexities grow, the dash cam has evolved from a niche gadget for tech enthusiasts into an essential tool for personal security and financial protection. However, the effectiveness of this technology is entirely dependent on its positioning. A poorly placed camera can lead to blind spots, legal infractions, or even safety hazards during an accident.

Whether you are a rideshare entrepreneur looking to protect your “Side Hustle” brand or a tech-savvy commuter seeking to secure your investment, understanding exactly where to install a dash cam is the first step toward total peace of mind. This guide explores the technical, legal, and strategic considerations for optimal dash cam placement.
Finding the Sweet Spot: The Ideal Front Windshield Placement
The primary goal of a dash cam is to capture an unobstructed, wide-angle view of the road ahead. For most drivers, the front windshield is the most critical area to monitor. However, finding the perfect balance between a clear field of view (FOV) and driver visibility requires a strategic approach.
Behind the Rearview Mirror: The Gold Standard
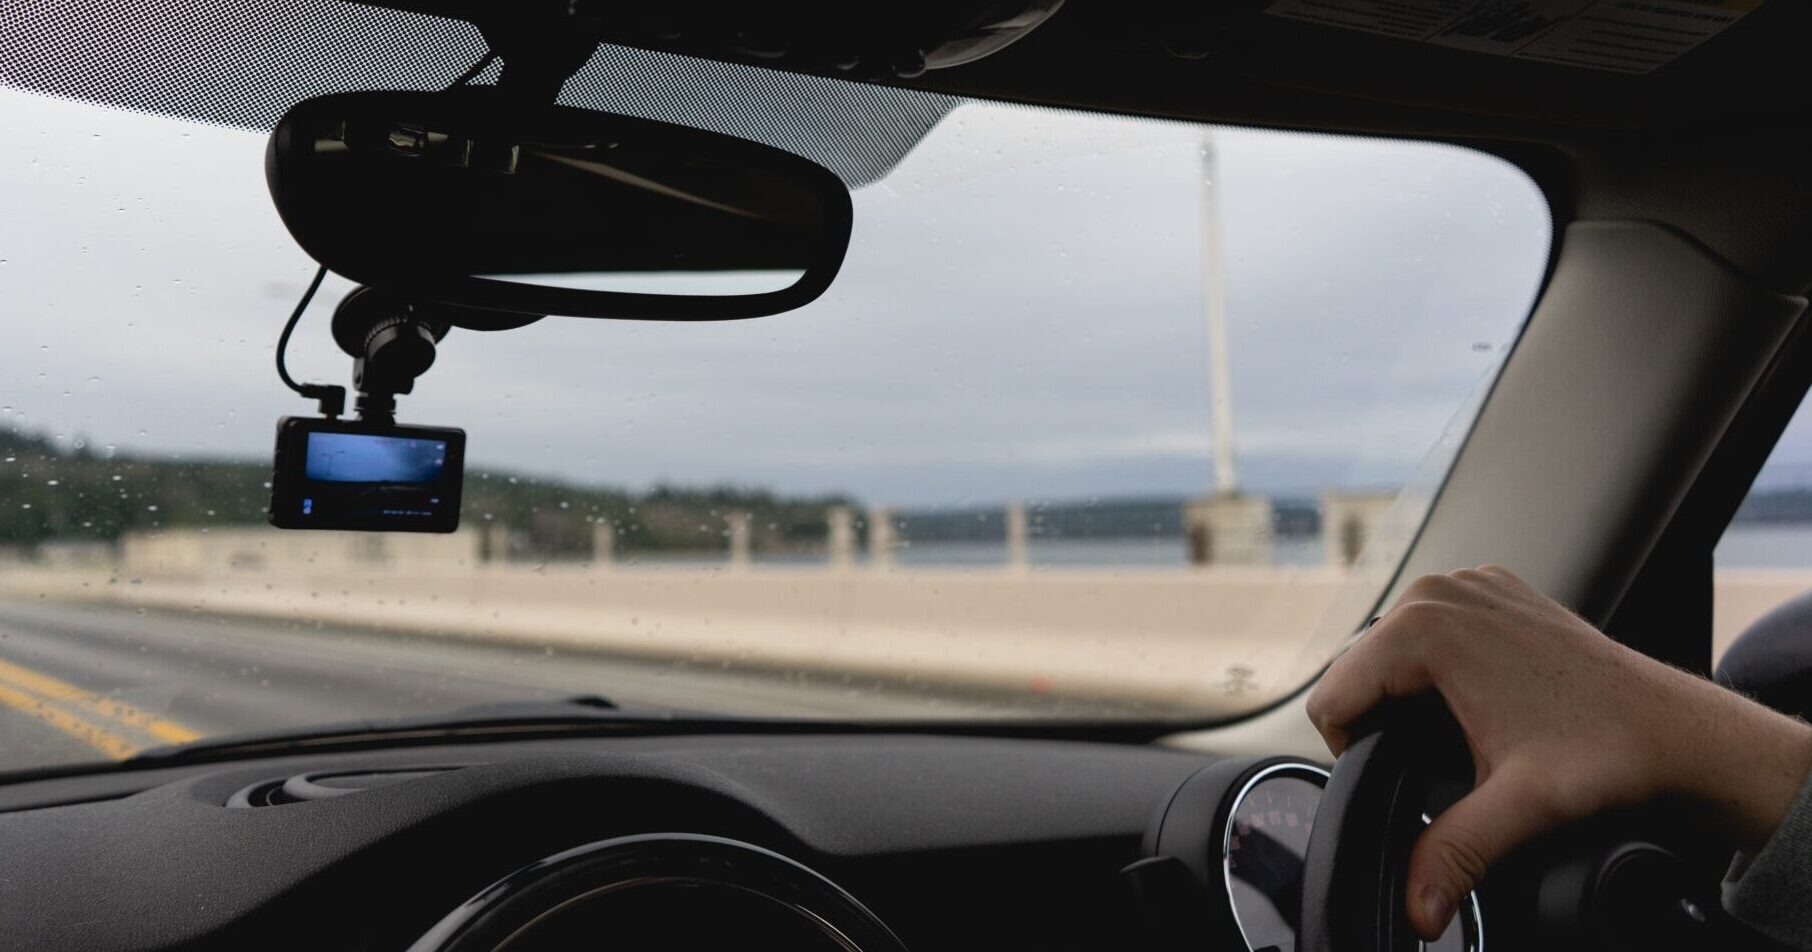
The consensus among tech experts and professional installers is that the “sweet spot” for a dash cam is directly behind or just below the rearview mirror. This central location offers several technical advantages:
- Symmetrical Field of View: Placing the camera in the center ensures that both the left and right sides of the vehicle’s hood are equally visible. This is crucial for capturing side-impact collisions or pedestrians entering the road from the periphery.
- Minimized Driver Distraction: By tucking the camera behind the mirror, it remains out of the driver’s direct line of sight. This is essential for safety and helps maintain the “clean” aesthetic of your car’s interior brand.
- Wiper Coverage: In rainy or snowy conditions, you want the camera to look through a portion of the windshield that is cleared by the wipers. Most rearview mirrors are positioned within the primary “sweep” of the wiper blades, ensuring clear footage regardless of the weather.
Avoiding Obstructions and Compliance with Regulations
While the center of the windshield is ideal, you must be mindful of modern vehicle technology. Many high-end cars now feature “ADAS” (Advanced Driver Assistance Systems) housings behind the mirror, which contain rain sensors, lane-departure cameras, and light sensors.
Pro Tech Tip: Never mount your dash cam directly onto the plastic casing of these sensors, as the vibration can interfere with the car’s safety tech. Instead, mount it slightly to the passenger side of the mirror assembly.
Furthermore, you must consider the legal implications—an area where “Tech” meets “Law.” In many jurisdictions, laws dictate how much of the windshield can be “obstructed” by devices. Generally, the camera should not occupy more than a 5-inch square on the driver’s side or a 7-inch square on the passenger side. Placing the camera high up, near the roofline, usually keeps you within these legal boundaries while maintaining a high-vantage perspective.
Beyond the Front: Rear-Facing and Interior Camera Installation
As the dash cam market matures, multi-channel systems (2-channel or 3-channel) are becoming the standard for comprehensive digital security. This requires strategic placement at the rear of the vehicle and sometimes within the cabin itself.
The Rear Window Strategy
A rear-facing camera is your best defense against tailgaters and rear-end collisions, which are among the most common insurance claims. The ideal placement for a rear camera is at the very top-center of the rear windshield.
- Heating Elements: Be careful not to place the adhesive mount directly over the defroster wires (the thin horizontal lines on the glass). Repeated heating can weaken the adhesive, and the wires might cause visual artifacts in your video.
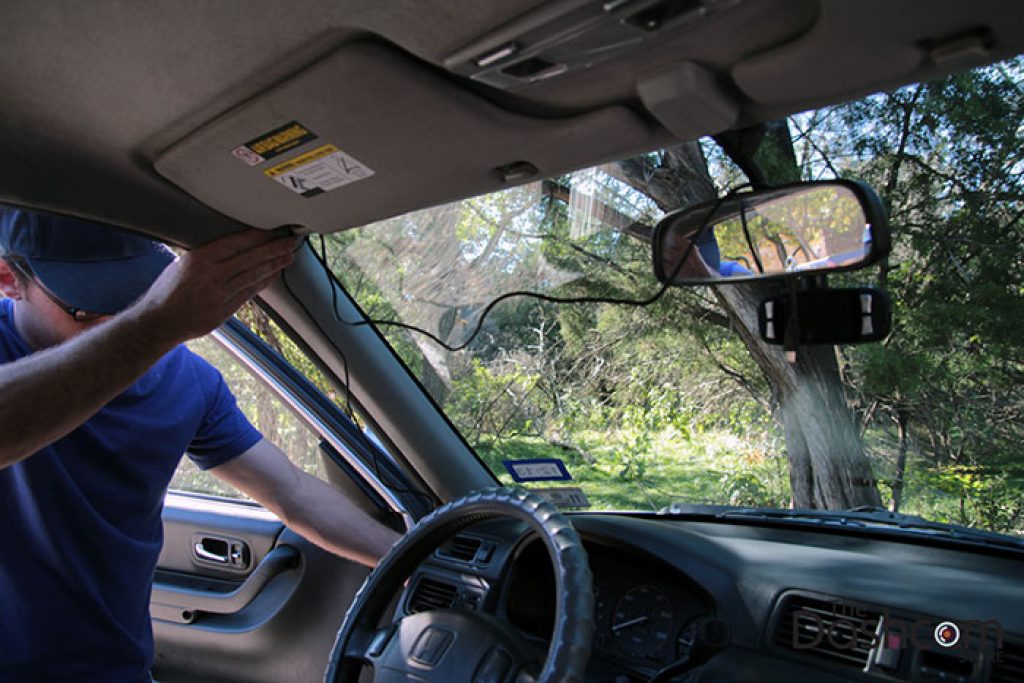
- Cable Routing: From a tech-setup perspective, routing the cable from the front unit to the rear glass is the most labor-intensive part of the install. For a professional look, the cable should be tucked into the headliner or the floor trim panels.
Interior/Cabin Cameras for Rideshare Professionals
For those utilizing their vehicle for “Online Income” through platforms like Uber or Lyft, the interior-facing camera is a vital component of their “Personal Branding” and safety strategy.
- Placement: These cameras are typically mounted on the main front unit or slightly to the side. The goal is to capture the driver, the passenger seating area, and the side windows.
- Infrared (IR) Tech: Ensure the interior camera is equipped with IR LEDs for night vision. Without proper placement that allows these LEDs to illuminate the cabin, the footage will be useless during late-night shifts—the very time when security is most needed.
Power Management and Cable Routing: The Tech Behind the Scenes
The “where” of installation isn’t just about the camera lens; it’s also about where the wires go. A cluttered dashboard with hanging wires is not only a distraction but can also diminish the resale value of your vehicle—a negative “Money” outcome.
DIY Cigarette Lighter Connection vs. Professional Hardwiring
The simplest installation uses the 12V power socket (cigarette lighter). While convenient for a quick tech review or a temporary setup, it has drawbacks:
- Visible Wires: It’s difficult to hide the cable completely.
- Socket Usage: It occupies a port you might need for charging your phone or other gadgets.
For a permanent, high-tech solution, hardwiring is the preferred method. This involves connecting the dash cam directly to the vehicle’s fuse box.
- Aesthetic: Wires are completely hidden behind the A-pillar and headliner.
- Functionality: Hardwiring allows the camera to draw power even when the engine is off, enabling “Parking Mode.”
Maximizing Parking Mode for Enhanced Digital Security
Parking Mode is a premium feature where the camera uses AI-driven motion detection or impact sensors to record while the car is unattended. For this to work, the “where” of your installation must include a connection to a “constant” fuse (one that has power even when the key is out). This protects your financial investment against hit-and-runs and vandalism, effectively serving as a 24/7 security guard for your car.
The Financial and Strategic Value of a Properly Installed Dash Cam
From a “Money” and “Brand” perspective, a dash cam is more than a gadget; it is a risk-mitigation tool. A correctly installed camera provides a high Return on Investment (ROI) by protecting your finances and your reputation.
Protecting Your Investment: Insurance and Legal Evidence
In the event of an accident, “he-said-she-said” disputes can lead to split-liability settlements, which increase your insurance premiums for years. High-quality, properly angled footage acts as an unbiased witness.
- GPS Data: Many top-tier dash cams (Tech) record speed and location coordinates. If installed correctly to ensure a clear satellite signal, this data can prove you were not speeding, potentially saving you thousands in legal fees and fines.
- Fraud Prevention: “Cash-for-crash” scams are a rising threat to personal finance. A visible, well-installed dash cam often acts as a deterrent to fraudsters who target high-value vehicles.
Brand Trust and Fleet Management
For business owners with a fleet of vehicles, dash cam placement is a matter of corporate identity and liability. A standard installation across all company cars ensures that “Brand Reputation” is protected. If a company driver is involved in an incident, having clear, centrally-mounted footage allows the business to address the situation transparently, maintaining trust with clients and the public.
Final Considerations for a Seamless Setup
Before finalizing your installation, perform a “dry run.” Use a temporary adhesive or have a partner hold the camera in place while you check the live view on the camera’s screen or via its smartphone app.
- Resolution and Memory: Ensure you are using a high-end, endurance-rated microSD card. Tech-wise, 4K resolution is great, but only if the camera is positioned to capture the fine details like license plates.
- Heat Resistance: If you live in a hot climate, placement is even more critical. Avoid placing the camera in a spot where it gets zero airflow, as the “Tech” inside (especially if it uses a battery instead of a capacitor) can fail under extreme heat.
- Firmware Updates: Once installed, don’t forget the software side. Regularly update your dash cam’s firmware to ensure the latest AI tools and digital security patches are active.
By following these guidelines, you transform a simple electronic gadget into a sophisticated guardian of your tech life, your brand, and your wallet. Proper installation ensures that when the unexpected happens, you have the clear, undeniable evidence you need to protect everything you’ve worked for.
aViewFromTheCave is a participant in the Amazon Services LLC Associates Program, an affiliate advertising program designed to provide a means for sites to earn advertising fees by advertising and linking to Amazon.com. Amazon, the Amazon logo, AmazonSupply, and the AmazonSupply logo are trademarks of Amazon.com, Inc. or its affiliates. As an Amazon Associate we earn affiliate commissions from qualifying purchases.