The Steam Deck has revolutionized portable gaming, transforming from a mere handheld console into a versatile Linux-powered PC capable of running a vast array of titles, even those not natively supported by Steam. For millions of enthusiasts, few games hold the same enduring appeal as World of Warcraft. The idea of seamlessly diving into Azeroth, whether on a commute, during a lunch break, or simply from the comfort of a couch, is incredibly enticing. This guide will walk you through the process of installing World of Warcraft on your Steam Deck, turning your portable powerhouse into a portal to Blizzard’s epic fantasy realm. Beyond the technical steps, we’ll explore why this setup offers a unique value proposition, bridging the gap between traditional PC gaming and handheld convenience, and how it subtly aligns with contemporary trends in tech accessibility and personal branding through unique user experiences.
Why Play World of Warcraft on Your Steam Deck? The Ultimate Portable Azeroth Experience
Integrating a beloved title like World of Warcraft onto a cutting-edge device like the Steam Deck isn’t just a technical feat; it’s a strategic move that enhances the user experience and offers distinct advantages for the modern gamer. From a technology standpoint, it showcases the Steam Deck’s robust capabilities. From a “Brand” perspective, it elevates the perception of both the Steam Deck (as a versatile, open platform) and World of Warcraft (as an accessible, enduring classic). And from a “Money” angle, it potentially offers a more cost-effective and flexible gaming solution compared to dedicated gaming laptops or desktops.
Unlocking Portable Azeroth: Freedom to Explore
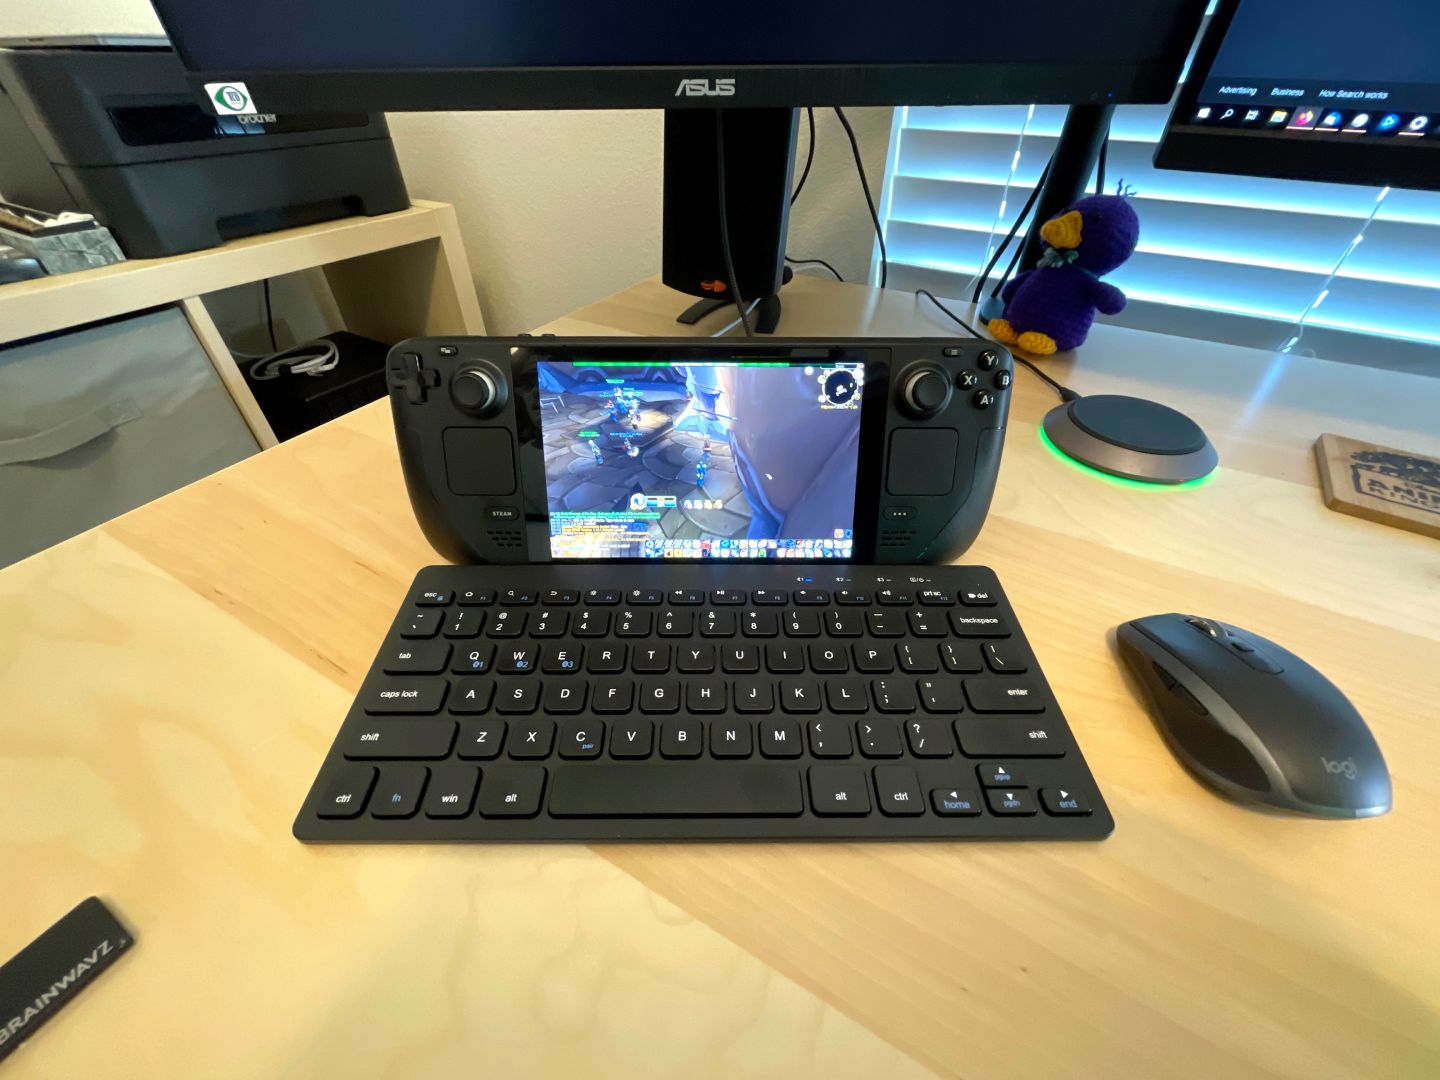
The most immediate and compelling reason to install WoW on your Steam Deck is the unparalleled portability it offers. Imagine farming herbs in Dragonflight while waiting for a flight, tackling a dungeon during your commute, or simply checking your auction house listings from bed. The Steam Deck liberates World of Warcraft from the confines of a desktop PC, allowing you to access your characters and the vast world of Azeroth wherever you have an internet connection. This convenience fundamentally transforms the gaming experience, turning previously unproductive moments into opportunities for adventure. It speaks to a modern lifestyle where flexibility and accessibility are paramount, aligning perfectly with the demand for tech solutions that fit into our dynamic schedules.
The Steam Deck Advantage: Value and Versatility
The Steam Deck isn’t just a powerful handheld; it’s an incredibly versatile and, in many cases, a cost-effective gaming solution. While a high-end gaming PC will always offer superior performance, the Steam Deck provides a remarkably capable platform for a fraction of the price. For WoW players who might not need to run the game at ultra settings but crave a solid, enjoyable experience, the Steam Deck fills a crucial niche. Its integrated controls, high-quality screen, and robust Linux-based operating system (SteamOS) provide a complete package. This economic efficiency, coupled with the device’s multi-functional nature (running Steam games, emulators, and even other PC applications), represents significant value. It’s an investment that pays dividends in diverse gaming possibilities without breaking the bank, a smart financial decision for avid gamers.
Bridging PC and Console Experiences: A Hybrid Approach
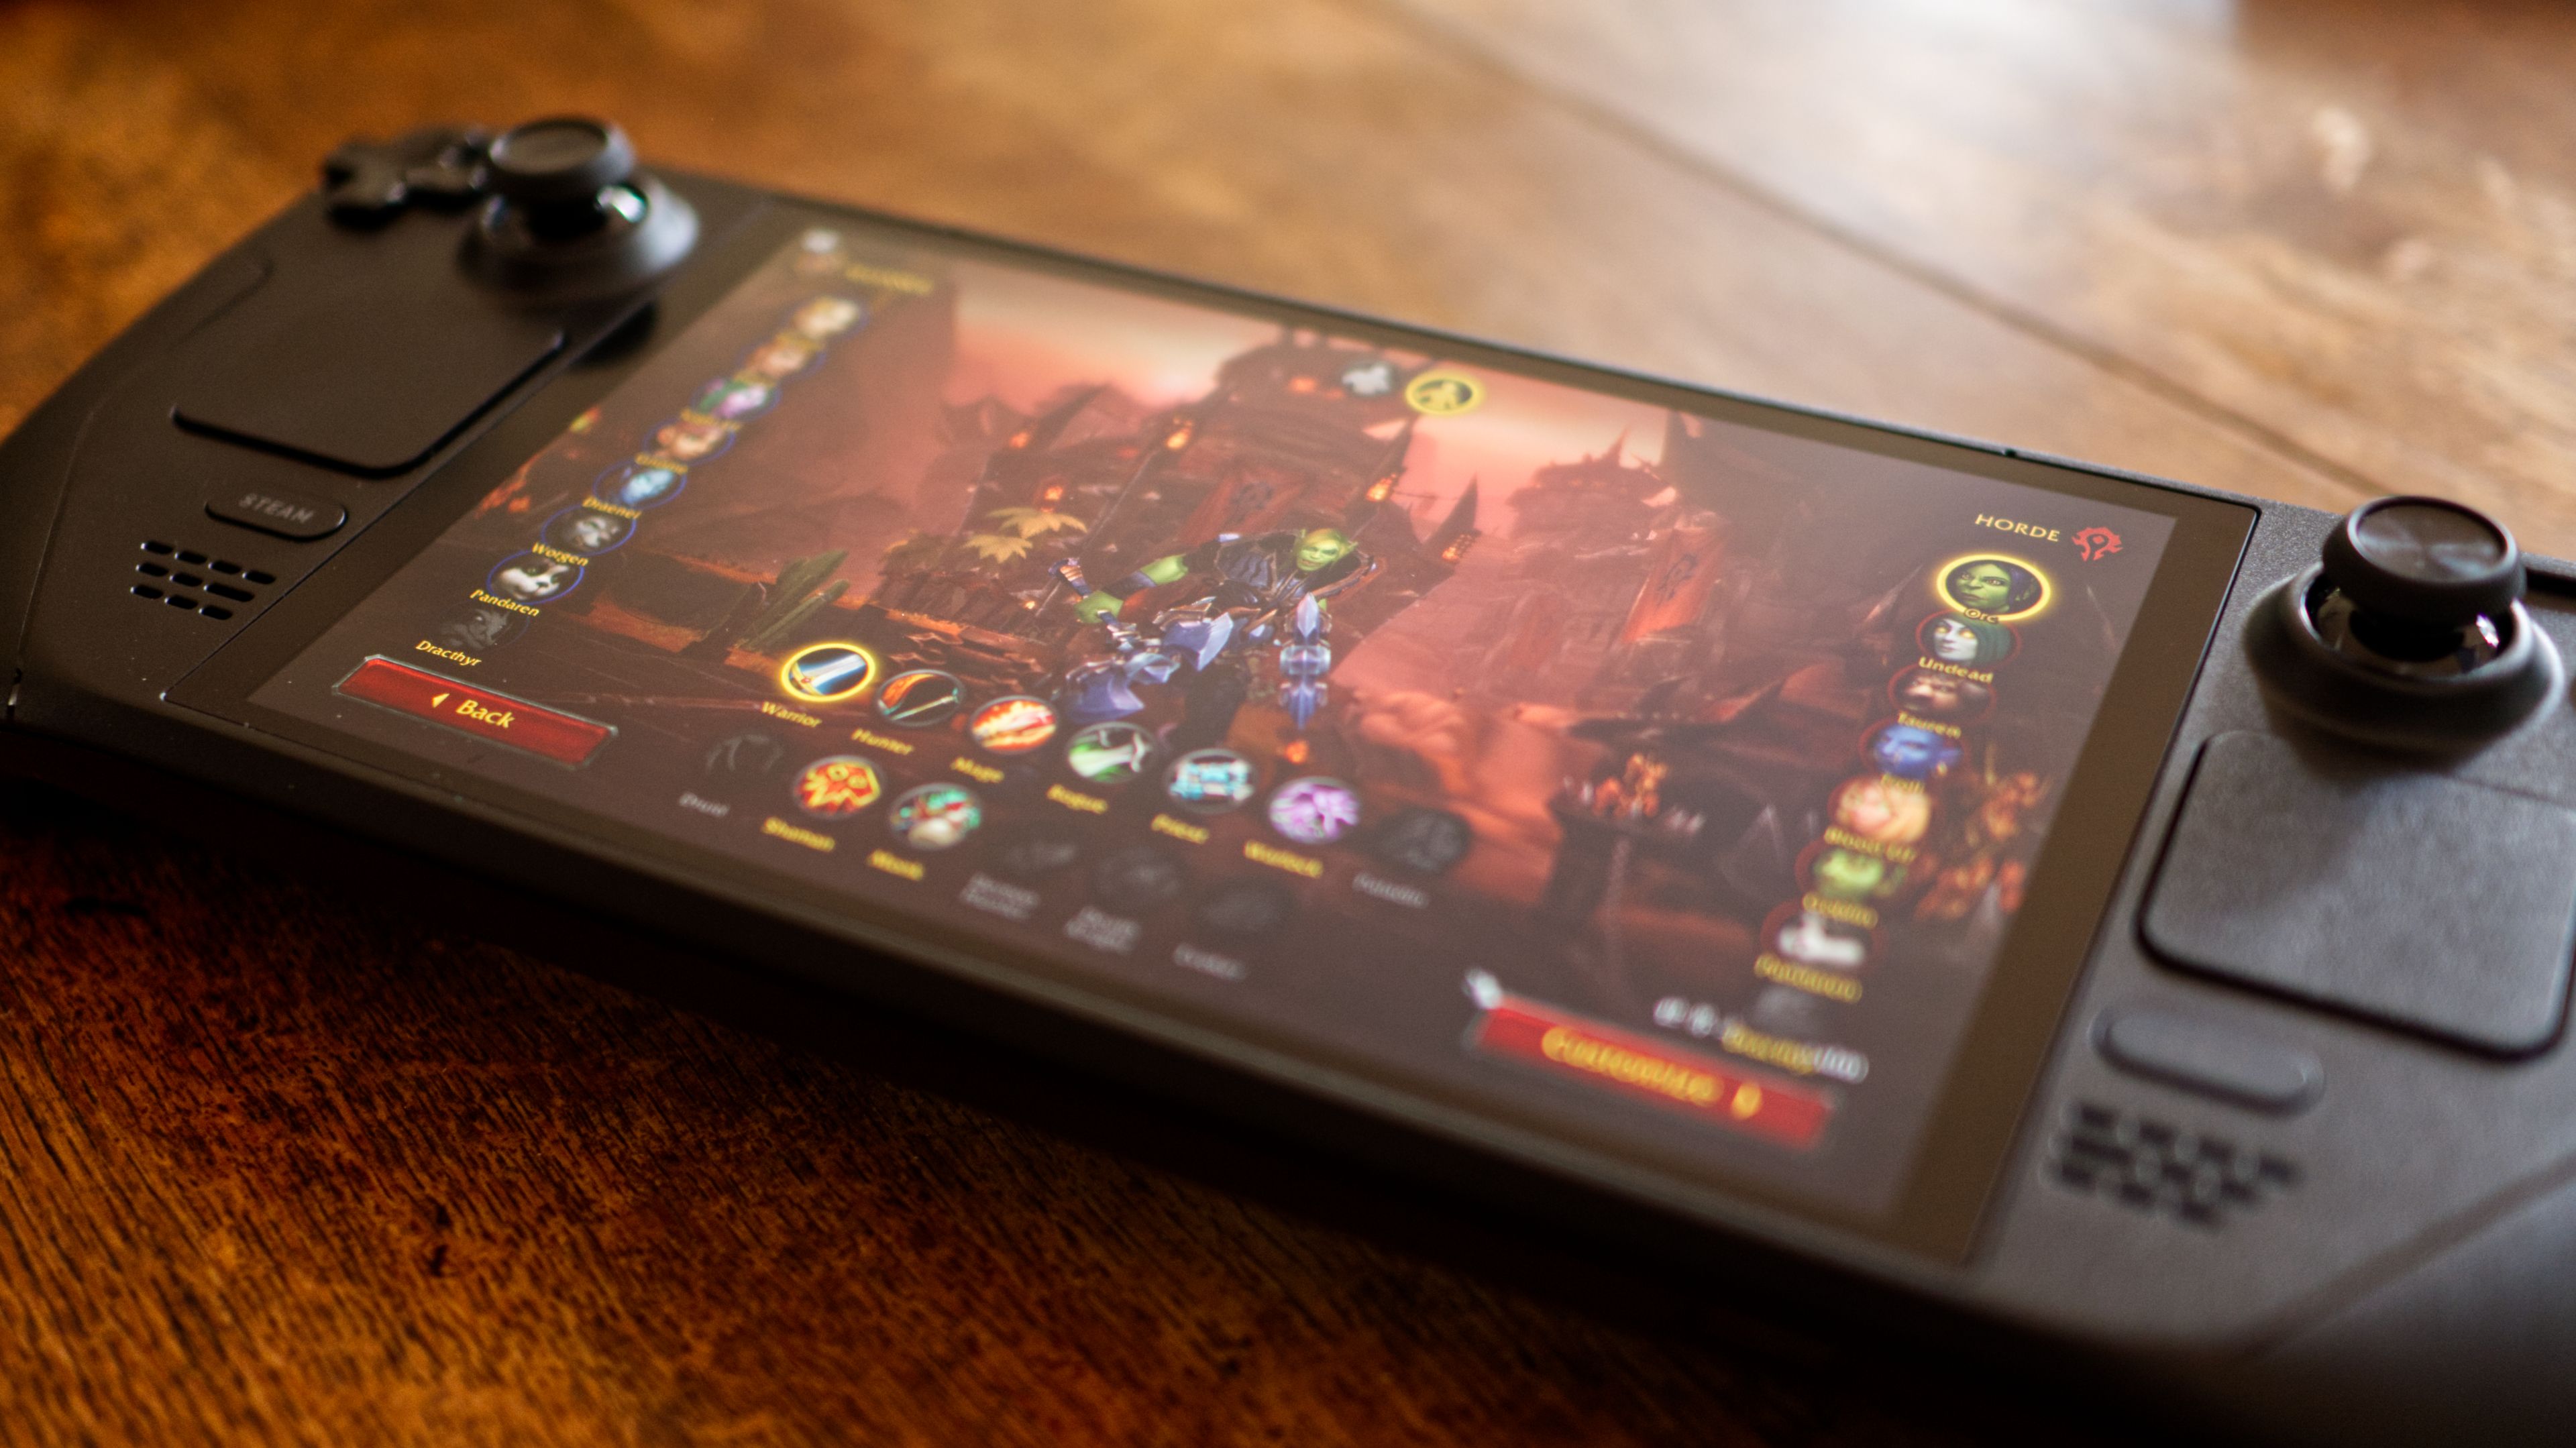
World of Warcraft, traditionally a PC-centric MMORPG, thrives on keyboard and mouse input. However, the Steam Deck successfully bridges the gap between traditional PC gaming and the console-like handheld experience. With its customizable controls, trackpads, and gyro aiming, the Steam Deck offers a surprisingly intuitive way to interact with WoW. While it requires some adaptation and thoughtful configuration, the ability to play such a complex game on a handheld device speaks volumes about the Steam Deck’s innovative design and the potential for new control schemes. This hybrid approach caters to a growing segment of gamers who appreciate both the depth of PC titles and the ergonomic appeal of console-style play, making it a unique “brand experience” for users seeking the best of both worlds.
Preparing Your Steam Deck for Battle.net and WoW
Before you can embark on your adventures in Azeroth, your Steam Deck needs a bit of preparation. Installing a non-Steam game, especially one that requires a separate launcher like Battle.net, involves navigating the Steam Deck’s Desktop Mode and leveraging its compatibility tools. These initial steps are crucial for a smooth installation and optimal performance, ensuring that the technology stack is correctly configured to handle Blizzard’s software.
Entering Desktop Mode: The Gateway to Customization
The first step in installing World of Warcraft is to transition your Steam Deck from its gaming-focused Game Mode to Desktop Mode. This is where the Steam Deck truly functions as a full-fledged Linux computer, allowing you to install applications, browse the web, and manage files just as you would on any desktop PC.
- Access the Steam Menu: Press the Steam button on your Steam Deck.
- Navigate to Power: Scroll down and select “Power.”
- Switch to Desktop: Choose the “Switch to Desktop” option.
Your Steam Deck will restart into a KDE Plasma desktop environment. This is where you’ll perform the majority of the installation process, utilizing the Discover Software Center and your web browser.
Essential System Checks and Updates: Ensuring a Smooth Start
Once in Desktop Mode, it’s always a good practice to ensure your Steam Deck’s operating system and critical components are up to date. This minimizes compatibility issues and ensures you have the latest performance enhancements.
- Open Discover Software Center: You can find this application in your taskbar or applications menu (usually a blue shopping bag icon).
- Check for Updates: In the Discover app, navigate to the “Updates” section and apply any available system updates. This ensures your SteamOS base is current.
- Browser Installation (if needed): If you don’t have a preferred web browser installed (e.g., Firefox or Chrome are often pre-installed), you can install one from the Discover Software Center. This will be necessary to download the Battle.net launcher.
Proton Glorious Eggroll (GE): Your Compatibility Ally
World of Warcraft and the Battle.net launcher are Windows applications. To run them effectively on Steam Deck’s Linux-based SteamOS, you need a compatibility layer. Proton is Valve’s own solution, but for many non-Steam games and launchers, a community-maintained version called Proton Glorious Eggroll (Proton GE) often offers superior compatibility and performance.
- Install ProtonUp-Qt: Open the Discover Software Center, search for “ProtonUp-Qt,” and install it. This handy utility simplifies the process of downloading and managing Proton GE versions.
- Download Proton GE: Launch ProtonUp-Qt. Select “Steam” from the dropdown menu (if not already selected). Choose the latest stable version of Proton GE (e.g., “GE-Proton8-25” or newer) and click “Install.” This will download and integrate the necessary files into your Steam installation. Proton GE will appear as a compatibility tool option when configuring non-Steam games.
Step-by-Step Installation Guide: Bringing WoW to Your Steam Deck
With your Steam Deck prepped, it’s time for the main event: installing the Battle.net launcher and World of Warcraft. This sequence involves using Steam as a bridge to run Windows applications, a powerful feature that expands the Steam Deck’s utility beyond its native ecosystem.
Installing the Battle.net Launcher: The Gateway to Azeroth
The Battle.net launcher is the mandatory portal to all Blizzard games, including World of Warcraft. You’ll download and install it as if it were a regular Windows application.
- Download Battle.net: Open your web browser in Desktop Mode and navigate to Blizzard’s official website (battle.net). Locate and download the Battle.net Desktop App installer.
- Add Battle.net to Steam:
- Open the Steam client in Desktop Mode.
- In the bottom-left corner, click “Add a Game” -> “Add a Non-Steam Game.”
- Click “Browse” and navigate to where your Battle.net setup file was downloaded (usually
~/Downloads). Select theBattle.net-Setup.exefile. - Click “Add Selected Programs.”
- Configure Proton GE for Battle.net:
- In your Steam library, find the newly added “Battle.net-Setup.exe” entry.
- Right-click on it (or use the gamepad menu button) and select “Properties.”
- Go to the “Compatibility” tab.
- Check “Force the use of a specific Steam Play compatibility tool.”
- From the dropdown menu, select the latest Proton GE version you installed (e.g., “GE-Proton8-25”).
- Run the Battle.net Installer: Close the properties window and launch “Battle.net-Setup.exe” from your Steam library. Follow the on-screen prompts to install the Battle.net launcher. Once installed, it will likely try to launch automatically. Close it for now.
Configuring Battle.net for Optimal Performance: The Crucial Proton Setup
After Battle.net is installed, you need to adjust its Steam entry to launch the installed launcher instead of the installer.
- Locate Installed Battle.net:
- Go back to the properties of your “Battle.net-Setup.exe” entry in Steam.
- Under the “Shortcut” tab, change the “Target” field. This typically points to the installer. You need to change it to point to the actual Battle.net.exe.
- The path is usually
~/.local/share/Steam/steamapps/compatdata/[a string of numbers]/pfx/drive_c/Program Files (x86)/Battle.net/Battle.net.exe. The string of numbers is unique to each non-Steam game. A good trick is to go to the “Browse” option, copy the path up tocompatdata/, and then manually navigate to find the correctBattle.net.exe. - Update the “Start In” field to
~/.local/share/Steam/steamapps/compatdata/[a string of numbers]/pfx/drive_c/Program Files (x86)/Battle.net/.
- Rename the Shortcut: Rename the shortcut in Steam from “Battle.net-Setup.exe” to “Battle.net Launcher” for clarity.
Downloading and Installing World of Warcraft: The Main Event
Now that the Battle.net launcher is properly configured, you can proceed with installing World of Warcraft just as you would on a Windows PC.
- Launch Battle.net Launcher: From your Steam library in Desktop Mode (or Game Mode, if you prefer, as it should now launch correctly), launch the “Battle.net Launcher” shortcut.
- Log In and Install WoW: Log in with your Blizzard account credentials. Once logged in, you will see your Blizzard game library. Select World of Warcraft and click “Install.”
- Choose Installation Location (Optional but Recommended): By default, Battle.net will install WoW within its own compatibility layer structure. You can choose a custom installation path, but for simplicity, letting it install to the default location within the Proton prefix is usually fine. If you have an SD card, you might consider installing it there to save internal storage, but ensure your SD card is fast enough for gaming.
- Wait for Download: The download for WoW is substantial. Ensure you have a stable internet connection and sufficient storage space.
Initial Game Launch and Settings Adjustments: Your First Foray
Once WoW is installed, you can launch it directly from the Battle.net launcher.
- Launch World of Warcraft: Click “Play” within the Battle.net launcher.
- Initial Configuration: The game will launch. You may need to adjust graphics settings (see optimization section below) and keybindings for the Steam Deck’s controls.
- Return to Game Mode (Optional): For the best gaming experience, you can return to Game Mode. The “Battle.net Launcher” shortcut should now launch correctly and allow you to play WoW.
Optimizing Your WoW Experience on Steam Deck
While simply getting WoW to run is an achievement, optimizing it for the Steam Deck’s unique hardware and control scheme is essential for a truly enjoyable experience. This involves tweaking controller configurations, managing addons, and balancing graphical fidelity with performance and battery life.
Controller Configuration and Keybindings: Adapting to the Handheld
Playing WoW with a controller requires a paradigm shift from traditional keyboard and mouse input. The Steam Deck’s robust controller customization options are your best friend here.
- Access Controller Layout: In Game Mode, select your “Battle.net Launcher” shortcut. Before launching, go to “Controller Settings” (the gamepad icon).
- Community Layouts: Start by browsing community-made layouts. Many users have already created excellent configurations for WoW, often simulating mouse movements with trackpads and binding abilities to buttons and action sets.
- Customization:
- Right Trackpad for Mouse: Map the right trackpad to “Mouse” for precise camera control and UI interaction.
- Left Trackpad for Abilities/Hotkeys: The left trackpad can be configured as a radial menu for common abilities or a D-pad for specific actions.
- Back Paddles (L4/L5, R4/R5): These are invaluable for frequently used abilities, modifiers (like Shift/Ctrl), or push-to-talk.
- Action Sets: Consider using action sets (triggered by a modifier button) to effectively double or triple your available button bindings for different situations (e.g., combat, questing, mounts).
- Gyro Controls: For fine-tuned camera adjustments, experiment with gyro controls mapped to mouse input, activated by a grip button.
- In-Game Keybinds: Once your Steam Deck controls are mapped, adjust your in-game WoW keybinds to match your controller layout. Utilize Blizzard’s built-in console port UI if you prefer a more controller-friendly interface, or simply map traditional abilities to your Steam Deck buttons.
Addons and User Interface Customization: Enhancing Gameplay
World of Warcraft’s ecosystem heavily relies on addons for UI enhancements, quality-of-life improvements, and combat tracking. These are fully compatible with your Steam Deck installation.
- Addon Managers: In Desktop Mode, you can install addon managers like CurseForge.
- Download the CurseForge app installer from their website.
- Add it as a non-Steam game, configure it with Proton GE, and run the installer, similar to how you installed Battle.net.
- Once CurseForge is installed and running, it should detect your WoW installation and allow you to easily browse, install, and update addons.
- Manual Installation: Alternatively, you can manually download addons from websites like CurseForge and extract them into your WoW
_retail_/Interface/AddOnsfolder. You’ll need to navigate to this folder within the Proton prefix where WoW is installed. - UI Tweaks: Consider addons that are particularly useful for controller play or smaller screens, such as Bartender4 for action bar customization, ElvUI for a complete UI overhaul, or specialized target frames.
Graphics Settings for Performance and Visuals: The Balancing Act
The Steam Deck is capable, but it’s not a high-end gaming PC. Finding the right balance between graphical fidelity and smooth performance is key.
- In-Game Settings: Launch WoW and access the graphics settings.
- Resolution: Keep the resolution at the native 1280×800 of the Steam Deck screen. Scaling down might make text unreadable.
- Graphics Preset: Start with a lower graphics preset (e.g., “3” or “4”) and then incrementally increase individual settings until you find a comfortable framerate (aim for a stable 30-40+ FPS).
- Key Settings to Tweak:
- Shadow Quality: This is often a significant performance hog. Reduce it.
- Liquid Detail: Can also impact performance, especially in areas with water.
- View Distance, Environment Detail, Ground Clutter: These impact how much is rendered around you. Adjust them to balance visuals and performance.
- Anti-Aliasing: MSAA is demanding. Try FXAA or CMAA for a softer look with less performance cost.
- FSR (FidelityFX Super Resolution): Enable this in the Steam Deck’s Quick Access Menu (the “…” button) while in Game Mode. Set the in-game resolution to slightly lower than native (e.g., 1024×640) and let FSR upscale it to 1280×800. This can provide a nice performance boost with minimal visual degradation.
- Refresh Rate / Frame Limiter: In the Quick Access Menu, consider setting a global frame limit (e.g., 40 FPS if your game runs consistently above it) and adjusting the refresh rate of the Steam Deck screen accordingly (e.g., to 40Hz). This provides a smoother, more consistent experience and can conserve battery.
Power Management and Battery Life Tips: Sustaining Your Adventure
MMORPGs can be demanding, and WoW is no exception. Managing your Steam Deck’s power is crucial for longer play sessions.
- TDP Limit: Experiment with setting a lower Thermal Design Power (TDP) limit in the Quick Access Menu. Reducing it from the default 15W to 10-12W can significantly extend battery life with minimal impact on WoW’s performance, especially at lower graphics settings.
- GPU Clock Frequency: You can also manually adjust the GPU clock frequency for further power savings, though this requires careful testing to avoid stuttering.
- Screen Brightness: Lowering screen brightness is one of the easiest ways to conserve battery.
- Wi-Fi Usage: While necessary for WoW, be mindful of your Wi-Fi signal strength. A poor connection can cause the Wi-Fi chip to work harder, consuming more power.
- Charging on the Go: Consider a portable power bank for extended excursions into Azeroth.
Troubleshooting Common Issues and Advanced Tips
Even with the best preparation, you might encounter issues. Knowing how to troubleshoot and applying advanced tips can enhance your long-term WoW on Steam Deck experience, turning potential frustrations into minor inconveniences.
Addressing Performance Glitches: Smooth Sailing in Azeroth
If you experience stutters, low frame rates, or crashes, here are some steps to take:
- Proton GE Version: Sometimes, a specific Proton GE version might perform better than others. Use ProtonUp-Qt to try a slightly older or newer GE version.
- Shader Cache: Clear the shader cache. In Desktop Mode, navigate to
~/.steam/steam/steamapps/compatdata/[your_battle.net_compatdata_number]/shadercacheand delete its contents. This forces the game to rebuild shaders, which can resolve certain graphical anomalies or stutters. - DXVK Cache: Similar to shader cache, the DXVK (DirectX to Vulkan) cache can sometimes become corrupted. This is usually located within the same
compatdatafolder. - Battle.net Scan and Repair: Within the Battle.net launcher, use the “Scan and Repair” option for World of Warcraft. This can fix corrupted game files.
- Steam Deck Updates: Ensure your SteamOS is fully updated, as Valve frequently releases performance and compatibility improvements.
Network Connectivity and Latency: Stable Connections for Raids
World of Warcraft is an online game, so a stable internet connection is paramount.
- Wi-Fi Band: If your router supports both 2.4GHz and 5GHz, try connecting to the 5GHz band for potentially faster and more stable performance, especially in crowded Wi-Fi environments.
- Distance to Router: Minimize the distance between your Steam Deck and your Wi-Fi router.
- Ethernet Adapter: For the most reliable connection, consider a USB-C hub with an Ethernet port and connect your Steam Deck directly to your router. This is ideal for critical content like raiding or PvP.
- Background Downloads: Ensure no other devices or applications are hogging bandwidth in the background.
Storage Management and Updates: Keeping Your Deck Agile
World of Warcraft is a massive game, and along with the Steam Deck’s operating system and other games, storage can quickly become a concern.
- SD Card Considerations: If you installed WoW on an SD card, ensure it’s a high-quality A2-rated card for optimal read/write speeds. A slower card can lead to longer loading times and even in-game stuttering.
- Regular Cleaning: Periodically check your
compatdatafolders for old Proton prefixes or leftover files from uninstalled games. While not always straightforward to manage, keeping your storage lean helps with overall system performance. - Battlenet Updates: The Battle.net launcher handles WoW updates automatically. Ensure you launch the Battle.net launcher periodically in Game Mode or Desktop Mode to allow it to download and apply patches. This keeps your game client current and ready for new content.

Conclusion
Installing World of Warcraft on your Steam Deck is more than just a technical exercise; it’s about unlocking a new dimension of gaming freedom and demonstrating the true potential of portable PC hardware. This intricate dance of hardware, software, and community-driven compatibility tools transforms a traditional desktop MMORPG into a truly handheld epic. By following this comprehensive guide, you’ve not only brought Azeroth to your fingertips but also harnessed the power of your Steam Deck to blend convenience with capability.
This setup offers a unique blend of value, allowing you to get more out of your gaming investment while embracing a flexible playstyle. It showcases how modern tech trends are democratizing access to complex software, and how the versatility of platforms like the Steam Deck is redefining what it means to be a “gamer.” So, equip your gear, gather your party, and prepare to embark on countless adventures – no matter where your real-world journey takes you. The world of Azeroth awaits, now more portable than ever before.
aViewFromTheCave is a participant in the Amazon Services LLC Associates Program, an affiliate advertising program designed to provide a means for sites to earn advertising fees by advertising and linking to Amazon.com. Amazon, the Amazon logo, AmazonSupply, and the AmazonSupply logo are trademarks of Amazon.com, Inc. or its affiliates. As an Amazon Associate we earn affiliate commissions from qualifying purchases.