Java, the venerable programming language, has been a cornerstone of software development for decades. From powering enterprise-level applications and complex backend systems to driving Android apps and even iconic games like Minecraft, Java’s versatility and robustness are undeniable. For Mac users, whether you’re a seasoned developer, a budding programmer, or simply need to run a specific application that relies on Java, understanding how to properly install and manage it on your macOS system is a fundamental skill.
This guide will walk you through everything you need to know about installing Java on your Mac, from distinguishing between different Java versions to choosing the right installation method and verifying your setup. We’ll demystify the process, ensuring you have a smooth and efficient experience, allowing you to harness the full potential of Java on your Apple machine.

Understanding Java on macOS: JDK, JRE, and OpenJDK
Before diving into the installation process, it’s crucial to grasp the different components and distributions of Java that are available. This foundational knowledge will empower you to make informed decisions about which version and package are right for your specific needs, preventing potential compatibility issues down the line.
Java Development Kit (JDK) vs. Java Runtime Environment (JRE)
The terms JDK and JRE are often used interchangeably, but they serve distinct purposes. Understanding the difference is key to a successful Java setup.
-
Java Runtime Environment (JRE): The JRE is essentially a package that provides the minimum requirements for executing a Java application. It includes the Java Virtual Machine (JVM), core classes, and supporting files that allow you to run existing Java programs. If your sole purpose is to run Java-based software, such as certain desktop applications, utilities, or games, the JRE is what you primarily need. Think of it as the engine required to run a car, but not the tools to build or repair one. Historically, Macs used to come with a pre-installed JRE, but this is no longer the case with modern macOS versions.
-
Java Development Kit (JDK): The JDK is a superset of the JRE. In addition to everything included in the JRE, the JDK provides a complete set of tools for developing, debugging, and compiling Java applications. This includes the Java compiler (
javac), debugger (jdb), archiver (jar), and various other utilities essential for software development. If you plan to write, compile, or test Java code, the JDK is the package you must install. It’s the full toolkit for Java developers, offering everything from the engine to the wrenches, screwdrivers, and diagnostic equipment. Most developers will opt for the JDK as it encompasses both runtime and development capabilities.
For the vast majority of users who want to use Java on their Mac, especially developers, the JDK is the recommended choice as it covers both running and developing Java applications.
Oracle Java vs. OpenJDK
Another critical distinction lies between different distributions of Java. For many years, Oracle Java was the primary and often default choice. However, changes in Oracle’s licensing model have led to a significant shift in the Java ecosystem.
-
Oracle Java: Historically, Oracle (and Sun Microsystems before it) provided proprietary builds of Java. While still available, Oracle’s licensing terms for commercial use became more restrictive for versions after Java 8, requiring paid subscriptions for long-term support and updates in certain scenarios. This change spurred the community to embrace open-source alternatives more widely. While Oracle still offers a free JDK for personal use and development, many developers and organizations have moved away from it to avoid potential licensing complexities.
-
OpenJDK: OpenJDK (Open Java Development Kit) is the free and open-source reference implementation of the Java SE (Standard Edition) platform. It forms the basis for nearly all Java distributions today, including Oracle’s own commercial JDK. The key advantage of OpenJDK is its open-source nature, offering complete freedom of use, distribution, and modification without licensing concerns. Several vendors and communities provide their own builds of OpenJDK, each offering different levels of support, performance optimizations, and long-term maintenance. Popular OpenJDK distributions include:
- Adoptium (formerly AdoptOpenJDK): A widely trusted source for high-quality, free, and open-source OpenJDK builds, supported by the Eclipse Foundation. It’s a popular choice for many developers.
- Amazon Corretto: Amazon’s no-cost, multiplatform, production-ready distribution of OpenJDK.
- Azul Zulu: Another popular OpenJDK distribution known for its comprehensive support and variety of builds.
- Microsoft Build of OpenJDK: Microsoft’s own free distribution, primarily targeting Azure users and Windows developers but also available for macOS.
For almost all use cases on a Mac today, especially for developers and those running applications, an OpenJDK distribution is the recommended choice due to its open-source license, robust community support, and active development. Throughout this guide, we will focus on installing OpenJDK.
Preparing Your Mac for Java Installation
Before you download any files, it’s a good practice to prepare your system. This involves checking if Java is already installed and deciding which version you truly need. A little preparation can save you from potential conflicts and confusion later on.
Checking for Existing Java Installations
It’s entirely possible you might have an older version of Java installed on your Mac, either manually or as part of another application’s installation. Knowing what’s already there helps prevent redundant installations or version conflicts.
To check for an existing Java Runtime Environment (JRE) or Java Development Kit (JDK), open your Terminal application (you can find it in Applications/Utilities or by searching with Spotlight Cmd+Space and typing “Terminal”).
-
Check for
javacommand availability and version:java -versionIf Java is installed, you’ll see output similar to this:
openjdk version "17.0.2" 2022-01-18
OpenJDK Runtime Environment (build 17.0.2+8-86)
OpenJDK 64-Bit Server VM (build 17.0.2+8-86, mixed mode, sharing)
If Java is not found, you might see “command not found,” or macOS might prompt you to install a legacy Apple Java 6 runtime. It is generally not recommended to install the legacy Apple Java 6 if you need a modern Java version.
-
Check for all installed Java versions (JDKs specifically):
/usr/libexec/java_home -VThis command lists all JDKs known to the macOS system. The output might look like this:
Matching Java Virtual Machines (3):
    17.0.2 (x86_64) "AdoptOpenJDK" - "OpenJDK 17.0.2" /Library/Java/JavaVirtualMachines/temurin-17.jdk/Contents/Home
    11.0.14 (x86_64) "AdoptOpenJDK" - "OpenJDK 11.0.14" /Library/Java/JavaVirtualMachines/temurin-11.jdk/Contents/Home
    1.8.0_322 (x86_64) "Oracle Corporation" - "Java SE 8" /Library/Java/JavaVirtualMachines/jdk1.8.0_322.jdk/Contents/Home

/Library/Java/JavaVirtualMachines/temurin-17.jdk/Contents/Home
This output tells you which versions are installed and where they are located. The last line indicates the
JAVA_HOMEthat macOS would select by default.
Deciding Which Java Version to Install
The Java ecosystem evolves constantly, with new versions released every six months. However, not all versions receive long-term support (LTS). For most users and developers, choosing an LTS version is the most practical approach.
-
Long-Term Support (LTS) Versions: LTS releases are stable versions that receive extended support and updates, making them ideal for production environments and general development. Current LTS versions include Java 8, Java 11, and Java 17. Java 21 is the newest LTS version as of late 2023.
- Java 8: Still widely used, especially in legacy projects. If you’re working with older codebases, Java 8 might be a requirement.
- Java 11: A significant LTS release that brought many modern features. A very common choice.
- Java 17: The current recommended LTS version for new projects and general development, offering substantial performance improvements and new language features.
- Java 21: The newest LTS version, bringing further enhancements.
-
Non-LTS Versions: Versions like Java 9, 10, 12, 13, 14, 15, 16, 18, 19, 20 are feature releases. They receive support only until the next version is released. These are generally not recommended for production environments unless you have a specific need to experiment with the very latest features and are prepared to upgrade frequently.
Recommendation: For most users, Java 17 (or the newest LTS Java 21) is the recommended version to install. It balances modern features with long-term stability and support. If you’re working on a specific project, check its documentation for required Java versions.
Step-by-Step Guide: Installing OpenJDK (Recommended Method)
Now that you understand the different Java components and have decided on a version, let’s proceed with the installation. We’ll cover two primary methods: using Homebrew (highly recommended for developers) and manual installation using a package installer.
Method 1: Installing with Homebrew (Recommended for Developers)
Homebrew is a free and open-source package manager for macOS. It simplifies the installation and management of software on your Mac, making it an indispensable tool for developers. If you don’t have Homebrew installed, it’s a good time to get it.
1. Install Homebrew (if you haven’t already):
Open Terminal and paste the following command. Follow the on-screen instructions, which might include entering your password and installing Xcode Command Line Tools.
/bin/bash -c "$(curl -fsSL https://raw.githubusercontent.com/Homebrew/install/HEAD/install.sh)"
Once installed, run brew doctor to check for any issues and brew update to ensure your Homebrew is up to date.
2. Install OpenJDK using Homebrew:
Homebrew maintains “taps” or repositories of formulae (packages). OpenJDK versions are typically available. To install a specific LTS version like Java 17, use:
brew install openjdk@17
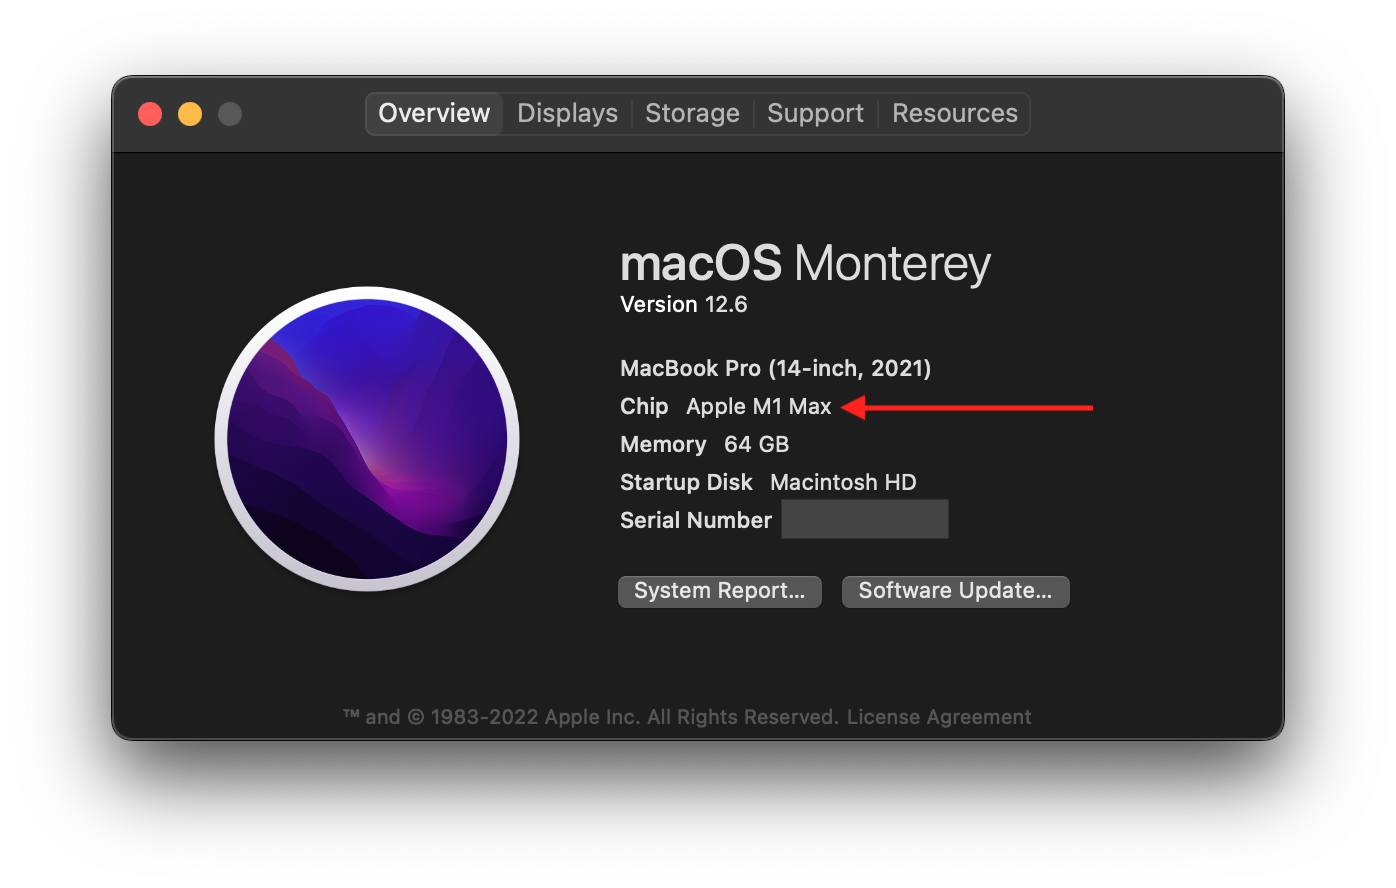
If you need Java 11 or 8, you would use openjdk@11 or openjdk@8 respectively. Homebrew will download and install the OpenJDK package to /opt/homebrew/Cellar (for Apple Silicon Macs) or /usr/local/Cellar (for Intel Macs), and then symlink it to a common location.
3. Link the installed Java version (important for JAVA_HOME):
Homebrew often installs new versions without automatically linking them as the default. To ensure your system recognizes the newly installed Java and to set up JAVA_HOME correctly, you might need to link it.
sudo ln -sfn /opt/homebrew/opt/openjdk@17/libexec/openjdk.jdk /Library/Java/JavaVirtualMachines/openjdk-17.jdk
(Note: Adjust the path /opt/homebrew/opt/openjdk@17 if you installed a different version or if your Homebrew prefix is different, e.g., /usr/local/opt/openjdk@17 for Intel Macs.)
4. Set the JAVA_HOME Environment Variable:
The JAVA_HOME environment variable is crucial for many Java-based applications, build tools (like Maven or Gradle), and IDEs (like IntelliJ IDEA or Eclipse) to locate your Java installation.
Open your shell configuration file. For most modern macOS versions, this will be .zshrc. If you’re using Bash, it will be .bash_profile or .bashrc.
nano ~/.zshrc # or ~/.bash_profile
Add the following lines to the end of the file:
# Set JAVA_HOME for OpenJDK 17 installed via Homebrew
export JAVA_HOME=$(/usr/libexec/java_home -v 17)
export PATH="$JAVA_HOME/bin:$PATH"
(Adjust -v 17 to match your installed version, e.g., -v 11 for Java 11.)
Save the file (Ctrl+O, Enter, Ctrl+X in nano) and then apply the changes by sourcing your configuration file:
source ~/.zshrc # or source ~/.bash_profile
Method 2: Manual Installation (Universal Approach)
This method involves downloading a .pkg or .dmg installer directly from an OpenJDK provider and running it, similar to installing any other macOS application. This is a straightforward approach if you prefer not to use Homebrew or need a specific build.
1. Choose an OpenJDK Distribution and Download the Installer:
Visit a reputable OpenJDK provider’s website. A highly recommended choice is Adoptium (Eclipse Temurin).
- Go to Adoptium.net.
- Select your desired Java version (e.g.,
LTS 17). - Ensure “macOS” is selected as the operating system and “x64” (for Intel) or “aarch64” (for Apple Silicon/M1/M2/M3) is selected as the architecture.
- Download the
.pkginstaller. This is typically easier to use than the.tar.gzarchive for macOS.
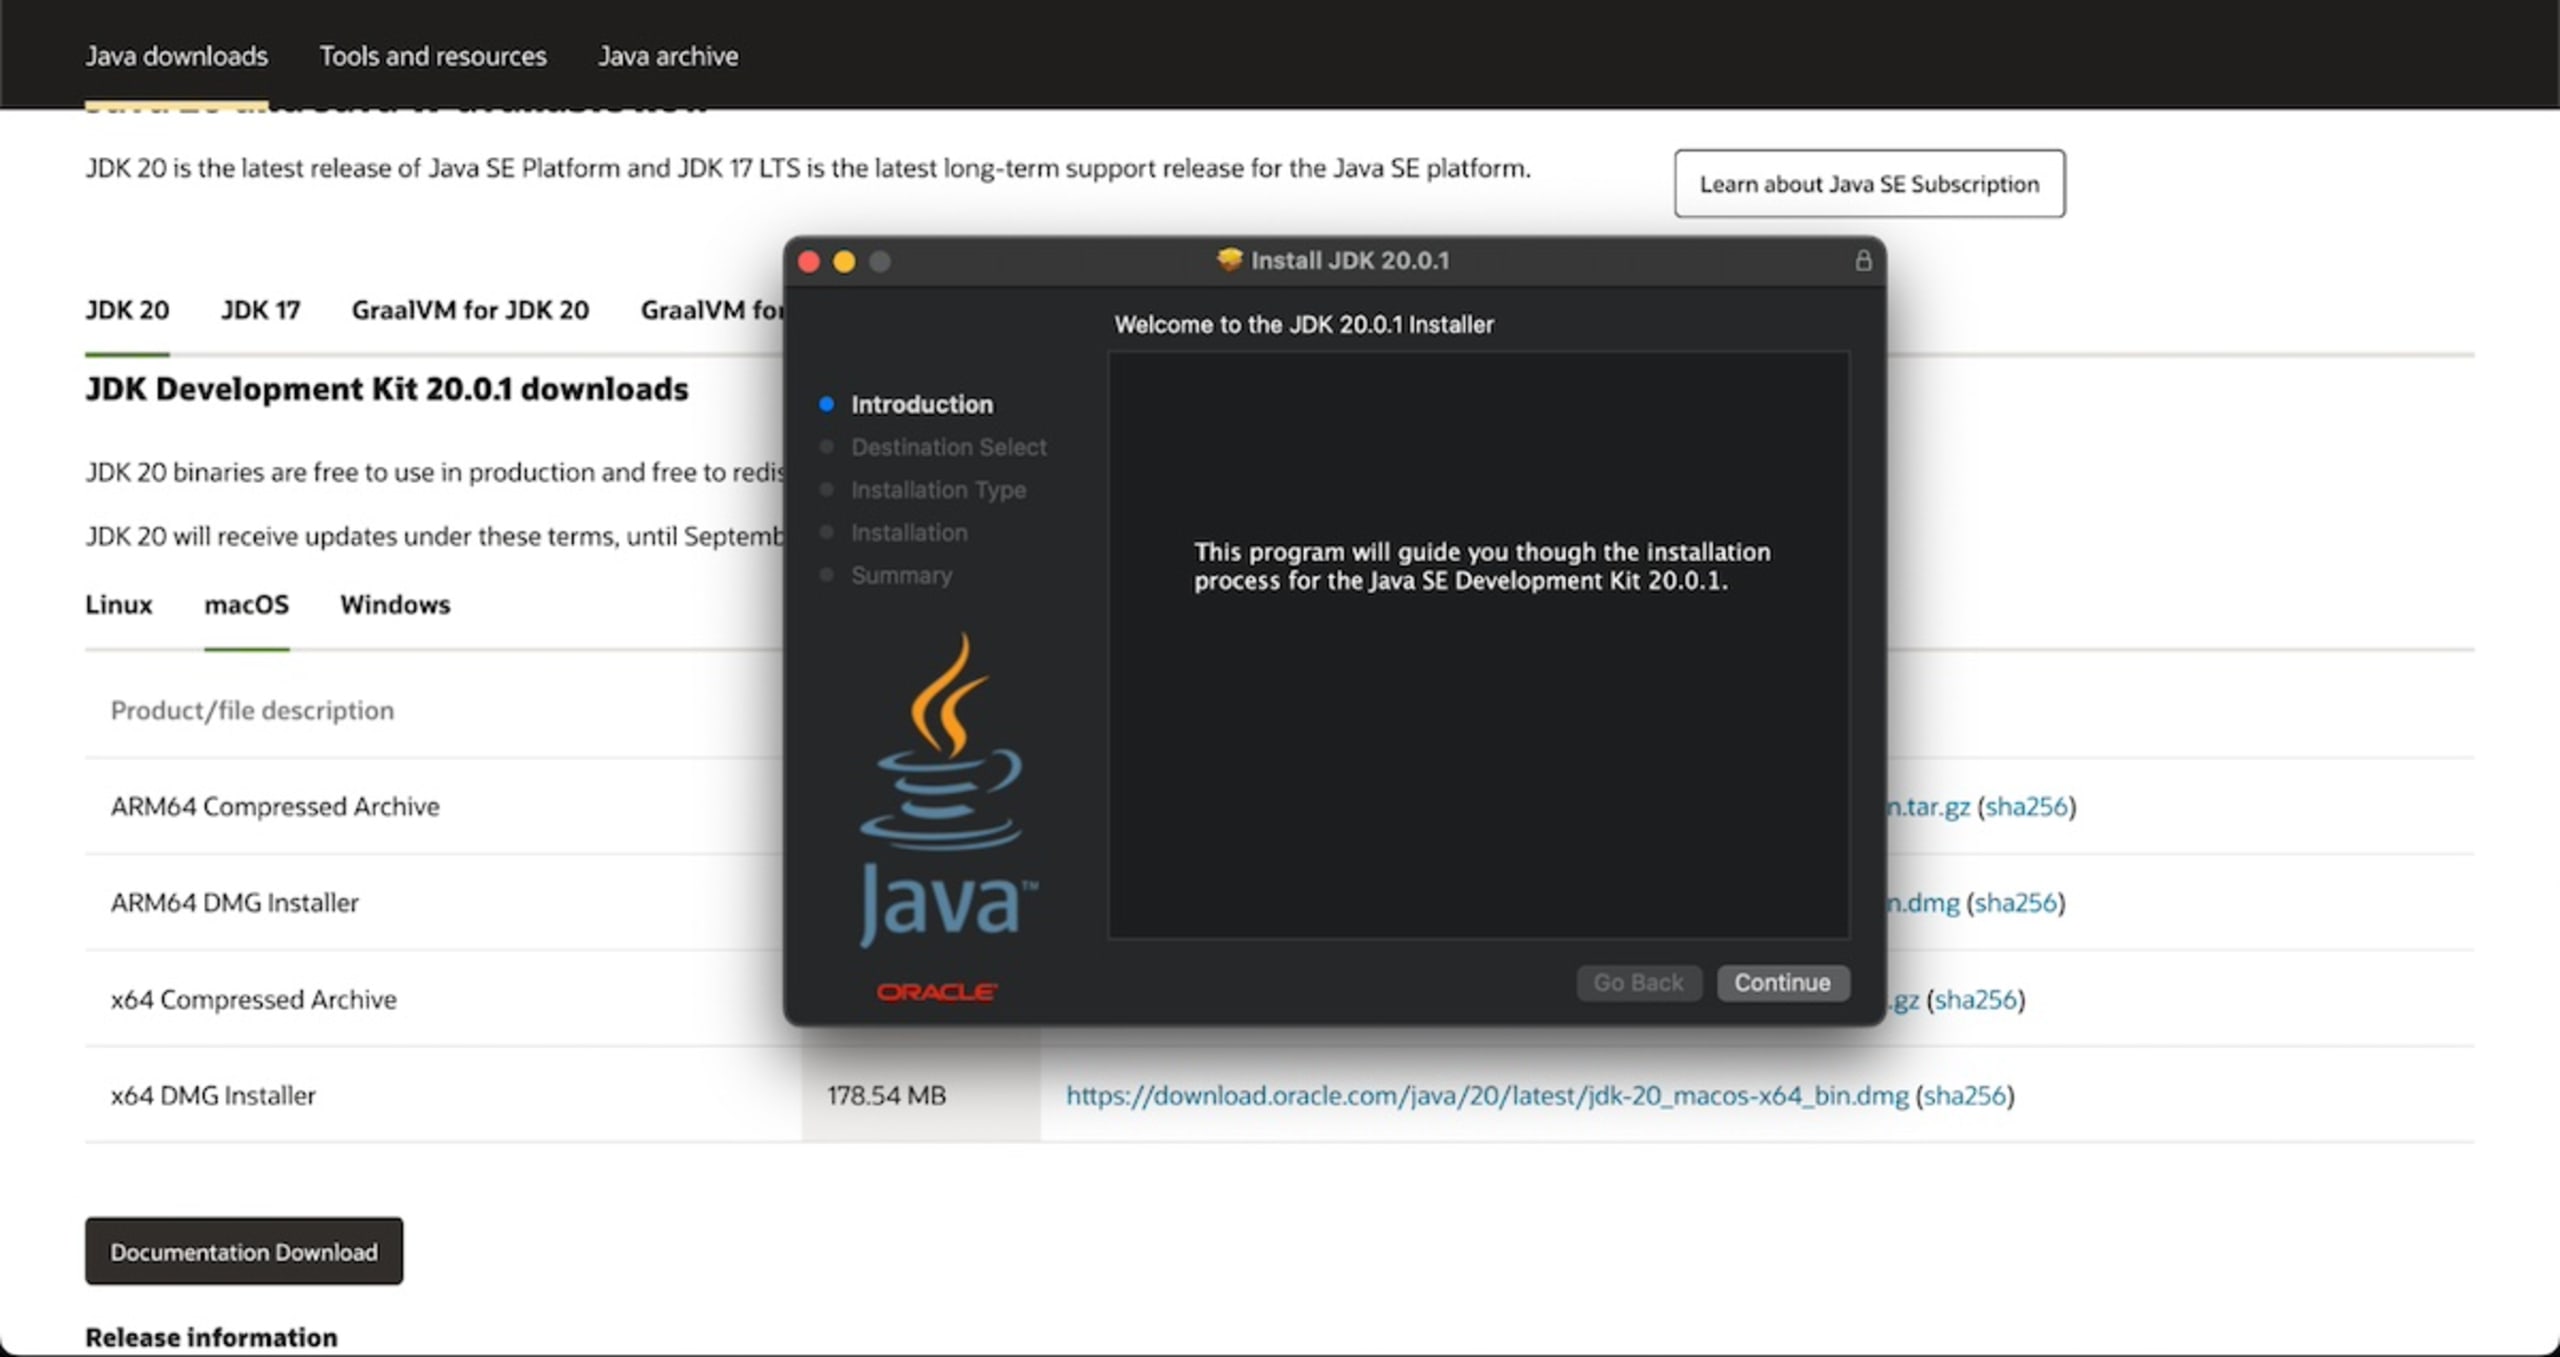
2. Run the Installer:
Once the .pkg file is downloaded:
- Locate the file in your
Downloadsfolder. - Double-click the
.pkgfile to launch the installer. - Follow the on-screen prompts. The installer will typically place the JDK in
/Library/Java/JavaVirtualMachines/. This process is very similar to installing any other application on your Mac.
3. Set the JAVA_HOME Environment Variable (Optional but Recommended):
Even with a manual installation, setting JAVA_HOME is good practice. The installer typically makes Java available via the java command, but JAVA_HOME is vital for development tools.
Open your shell configuration file (~/.zshrc or ~/.bash_profile):
nano ~/.zshrc
Add the following lines, replacing temurin-17.jdk with the actual folder name created by your installer if it’s different (you can find this by navigating to /Library/Java/JavaVirtualMachines/ in Finder):
# Set JAVA_HOME for manually installed OpenJDK 17 (e.g., Adoptium Temurin)
export JAVA_HOME=$(/usr/libexec/java_home -v 17)
export PATH="$JAVA_HOME/bin:$PATH"
Save the file and source it:
source ~/.zshrc
Verifying Your Java Installation
After completing the installation, it’s crucial to verify that Java has been installed correctly and that your system is configured to use the right version.
Confirming Java Version
Open a new Terminal window (to ensure new environment variables are loaded) and run the following commands:
-
Check
java -version:java -versionThis should now output the version you just installed (e.g.,
openjdk version "17.0.2"). -
Check
javac -version(if JDK was installed):javac -versionIf you installed the JDK (which you should have), this command should also show the Java compiler version, confirming the development tools are available.
-
Verify
JAVA_HOME:echo $JAVA_HOMEThis command should output the path to your Java installation directory, for example:
/Library/Java/JavaVirtualMachines/temurin-17.jdk/Contents/Homeor/opt/homebrew/opt/openjdk@17/libexec/openjdk.jdk. -
List all installed JDKs:
bash

/usr/libexec/java_home -V
This will show all JDKs macOS is aware of, including your newly installed one. The one selected byJAVA_HOMEshould be reflected.
Running a Simple Java Program (Optional but Illustrative)
To ensure everything is working perfectly, you can compile and run a simple “Hello, World!” Java program.
-
Create a Java file:
In your home directory or any convenient location, create a file namedHelloWorld.javausing a text editor (like VS Code, Sublime Text, or evennanoin Terminal):public class HelloWorld { public static void main(String[] args) { System.out.println("Hello, Java on Mac!"); } } -
Compile the program:
Open Terminal, navigate to the directory where you savedHelloWorld.java, and compile it usingjavac:cd /path/to/your/java/file javac HelloWorld.javaIf successful, this will create a
HelloWorld.classfile in the same directory. -
Run the program:
Now, execute the compiled program usingjava:
bash

java HelloWorld
You should see the output:Hello, Java on Mac!This confirms your Java Development Kit is fully operational.
Managing Multiple Java Versions (Advanced Topic)
For developers working on various projects, it’s common to need different Java versions. One project might require Java 8, while another demands Java 17. Manually switching JAVA_HOME can become tedious. This is where Java version managers come in handy.
Using jenv (Java Version Manager)
jenv is a popular command-line tool that allows you to manage multiple Java Development Kits on your system. It lets you set global, local (per-project), or shell-specific Java versions effortlessly.
1. Install jenv with Homebrew:
brew install jenv
2. Add jenv to your shell profile:
For zsh:
echo 'export PATH="$HOME/.jenv/bin:$PATH"' >> ~/.zshrc
echo 'eval "$(jenv init -)"' >> ~/.zshrc
source ~/.zshrc
For bash:
echo 'export PATH="$HOME/.jenv/bin:$PATH"' >> ~/.bash_profile
echo 'eval "$(jenv init -)"' >> ~/.bash_profile
source ~/.bash_profile
3. Add your installed JDKs to jenv:
jenv doesn’t automatically detect JDKs. You need to explicitly add them. Use the paths found by /usr/libexec/java_home -V.
jenv add /Library/Java/JavaVirtualMachines/temurin-17.jdk/Contents/Home
jenv add /Library/Java/JavaVirtualMachines/temurin-11.jdk/Contents/Home
# And for a Homebrew installed JDK
jenv add /opt/homebrew/opt/openjdk@17/libexec/openjdk.jdk
4. Check jenv‘s recognized versions:
jenv versions
This will list all Java versions jenv knows about, indicating the current active one with an asterisk.
5. Set Java versions:
- Global version: Sets the default Java for all shells and projects.
bash

jenv global 17.0.2  # or whatever version string matches your added JDK
- Local (project-specific) version: Creates a
.java-versionfile in the current directory, setting Java for that specific project.
bash

jenv local 11.0.14
- Shell-specific version: Sets Java only for the current Terminal session.
bash

jenv shell 17.0.2
jenvautomatically managesJAVA_HOMEand yourPATH, making it an incredibly powerful tool for Java developers.
Manually Switching JAVA_HOME
If you only occasionally need to switch between two or three Java versions and don’t want to use jenv, you can manually update your JAVA_HOME environment variable.
-
Identify the paths of your Java installations:
Use/usr/libexec/java_home -Vto get the full paths, for example:/Library/Java/JavaVirtualMachines/temurin-17.jdk/Contents/Home/Library/Java/JavaVirtualMachines/temurin-11.jdk/Contents/Home
-
Edit your shell configuration file (
~/.zshrcor~/.bash_profile):
You can comment out the existingJAVA_HOMEline and add a new one, or create aliases for quick switching.# To switch to Java 17: export JAVA_HOME=$(/usr/libexec/java_home -v 17) export PATH="$JAVA_HOME/bin:$PATH" # To switch to Java 11 (comment out above, uncomment below): # export JAVA_HOME=$(/usr/libexec/java_home -v 11) # export PATH="$JAVA_HOME/bin:$PATH"After editing, remember to
source ~/.zshrcto apply changes.
While this works, it’s less flexible than jenv for frequent switching or project-specific requirements.
Troubleshooting Common Java Installation Issues
Even with a detailed guide, you might encounter minor hiccups. Here are some common problems and their solutions:
-
java: command not foundorjavac: command not found:- Cause: Java is either not installed, or your
PATHenvironment variable isn’t correctly configured to include the Java binary directory. - Solution:
- Double-check your installation steps, especially setting
JAVA_HOMEand adding$JAVA_HOME/binto yourPATHin~/.zshrcor~/.bash_profile. - Ensure you
sourceyour shell configuration file after making changes. - Open a new Terminal window after setup.
- Double-check your installation steps, especially setting
- Cause: Java is either not installed, or your
-
Incorrect Java version being used:
- Cause: You might have multiple Java versions installed, and your system is picking up an older or different one than intended. This is common if
JAVA_HOMEis not set or points to the wrong location, or if another part of yourPATHleads to a different Java executable first. - Solution:
- Use
which javaandwhich javacto see which executable is being run. - Verify your
JAVA_HOMEwithecho $JAVA_HOME. - Adjust your
JAVA_HOMEandPATHin~/.zshrc(or equivalent) to prioritize the desired Java version. Consider usingjenvfor better management. - Ensure the
export PATH="$JAVA_HOME/bin:$PATH"line appears afterexport JAVA_HOME=...in your shell configuration.
- Use
- Cause: You might have multiple Java versions installed, and your system is picking up an older or different one than intended. This is common if
-
Permission Issues:
- Cause: Occasionally, downloading or installing files can lead to permission errors, especially if you didn’t use
sudowhen necessary for system-wide installations or if file permissions are corrupted. - Solution:
- If using Homebrew, ensure Homebrew itself has the correct permissions (run
brew doctor). - For manual installs, macOS installers generally handle permissions correctly. If you encounter issues during compilation or runtime, check file permissions of your Java project files.
- If using Homebrew, ensure Homebrew itself has the correct permissions (run
- Cause: Occasionally, downloading or installing files can lead to permission errors, especially if you didn’t use
-
Corrupted Downloads:
- Cause: Interrupted internet connections or server issues can lead to corrupted installer files.
- Solution: Delete the downloaded
.pkgor.dmgfile and download it again from the official source. Verify the file size if possible.
-
macOS Security Prompts:
- Cause: When running unsigned or newly downloaded applications, macOS Gatekeeper might block them. While official JDK installers are usually signed, some open-source builds might trigger warnings.
- Solution: Go to
System Settings>Privacy & Security. If there’s a message about an app being blocked, you might have an option to “Open Anyway” or “Allow Anyway.”
Conclusion
Installing Java on your Mac is a foundational step for anyone looking to dive into Java development, run specific applications, or simply broaden their technical horizons. By understanding the distinctions between JDK and JRE, and opting for robust OpenJDK distributions like those from Adoptium, you set yourself up for success. Whether you choose the streamlined developer workflow offered by Homebrew or prefer the directness of a manual package installer, the process is straightforward with the right guidance.
With Java 17 (or Java 21) as your stable, modern foundation, you’re ready to explore the vast world of Java. From building powerful applications with Spring Boot, developing Android apps, contributing to open-source projects, or diving into data science, your Mac is now fully equipped. Remember to verify your installation, keep your Java versions updated (especially LTS releases), and don’t shy away from tools like jenv as your project requirements grow more complex. Happy coding!