The Cash App card, a debit card linked directly to your Cash App balance, offers a convenient way to spend your digital funds in the real world. Whether you’re making everyday purchases, withdrawing cash from an ATM, or paying friends, having money on your Cash App card is essential. But for many users, the process of adding funds can seem a little less straightforward than, say, topping up your phone credit. This guide aims to demystify the process, breaking down the various methods available to you, and offering insights into managing your Cash App card balance effectively. We’ll delve into the nuances of linking bank accounts, depositing physical cash, and leveraging other digital transfer options, all while keeping a keen eye on the security and efficiency of each method.
Understanding the Cash App Card and Its Balance
Before we explore the “how,” it’s crucial to understand the “what.” The Cash App card is a Visa debit card that draws directly from your available balance within the Cash App. This means that any money you want to spend using the card must first reside in your Cash App account. Unlike traditional bank accounts where you might have a checking and savings balance, with Cash App, your entire accessible monetary holding is consolidated in your “Cash Balance.” This direct link simplifies spending but necessitates a clear understanding of how to replenish this balance.
What is the Cash App Card?
The Cash App card is a physical or virtual Visa debit card issued by The Cash App. It’s designed for everyday spending, allowing users to make purchases online and in stores, as well as withdraw cash from ATMs. The card’s functionality is entirely dependent on the funds available in the user’s Cash App balance. It’s a powerful tool for those who want to seamlessly transition their digital money into tangible transactions without the need for a traditional bank account.
The Importance of Your Cash App Balance
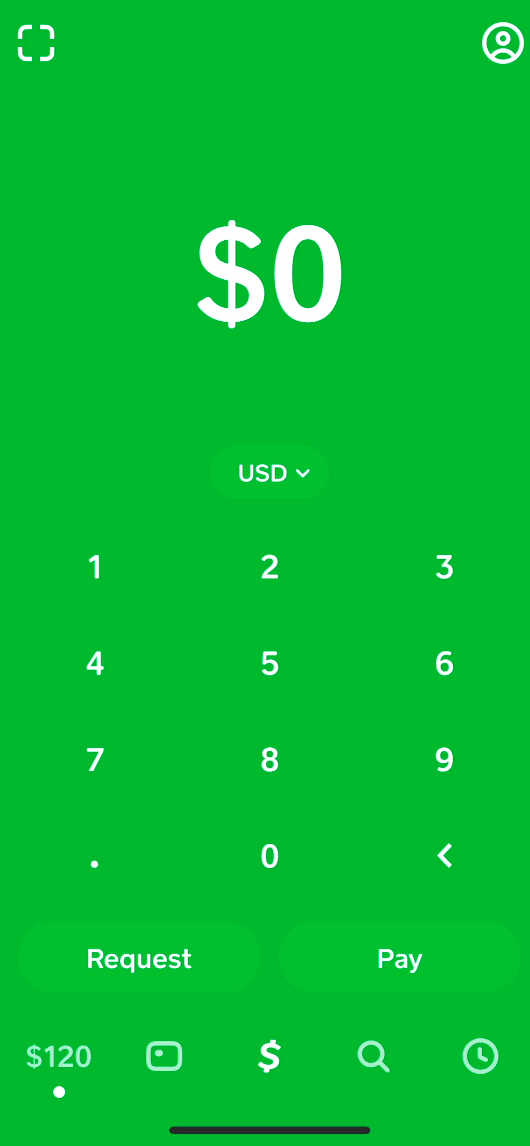
Your Cash App balance is the central hub for all your monetary activity within the app. It’s where incoming payments from friends, direct deposits, and any funds you add are held. When you use your Cash App card, the amount of the transaction is deducted directly from this balance. Therefore, maintaining a healthy and sufficient balance is paramount to ensuring your card transactions are approved and your financial activities proceed without interruption. A low balance can lead to declined purchases or ATM withdrawal issues, highlighting the importance of understanding how to replenish it.
Linking Your Bank Account: The Primary Funding Source
The most common and arguably the most efficient way to put money onto your Cash App card is by linking a traditional bank account. This establishes a direct conduit between your bank’s funds and your Cash App balance, allowing for quick and easy transfers. The process is designed to be user-friendly, but it’s essential to have the correct banking information readily available to avoid any hiccups.
Steps to Link a Bank Account
- Open the Cash App: Launch the Cash App on your smartphone.
- Navigate to the Banking Tab: Tap the banking icon (which typically looks like a bank building) on the bottom left of the screen.
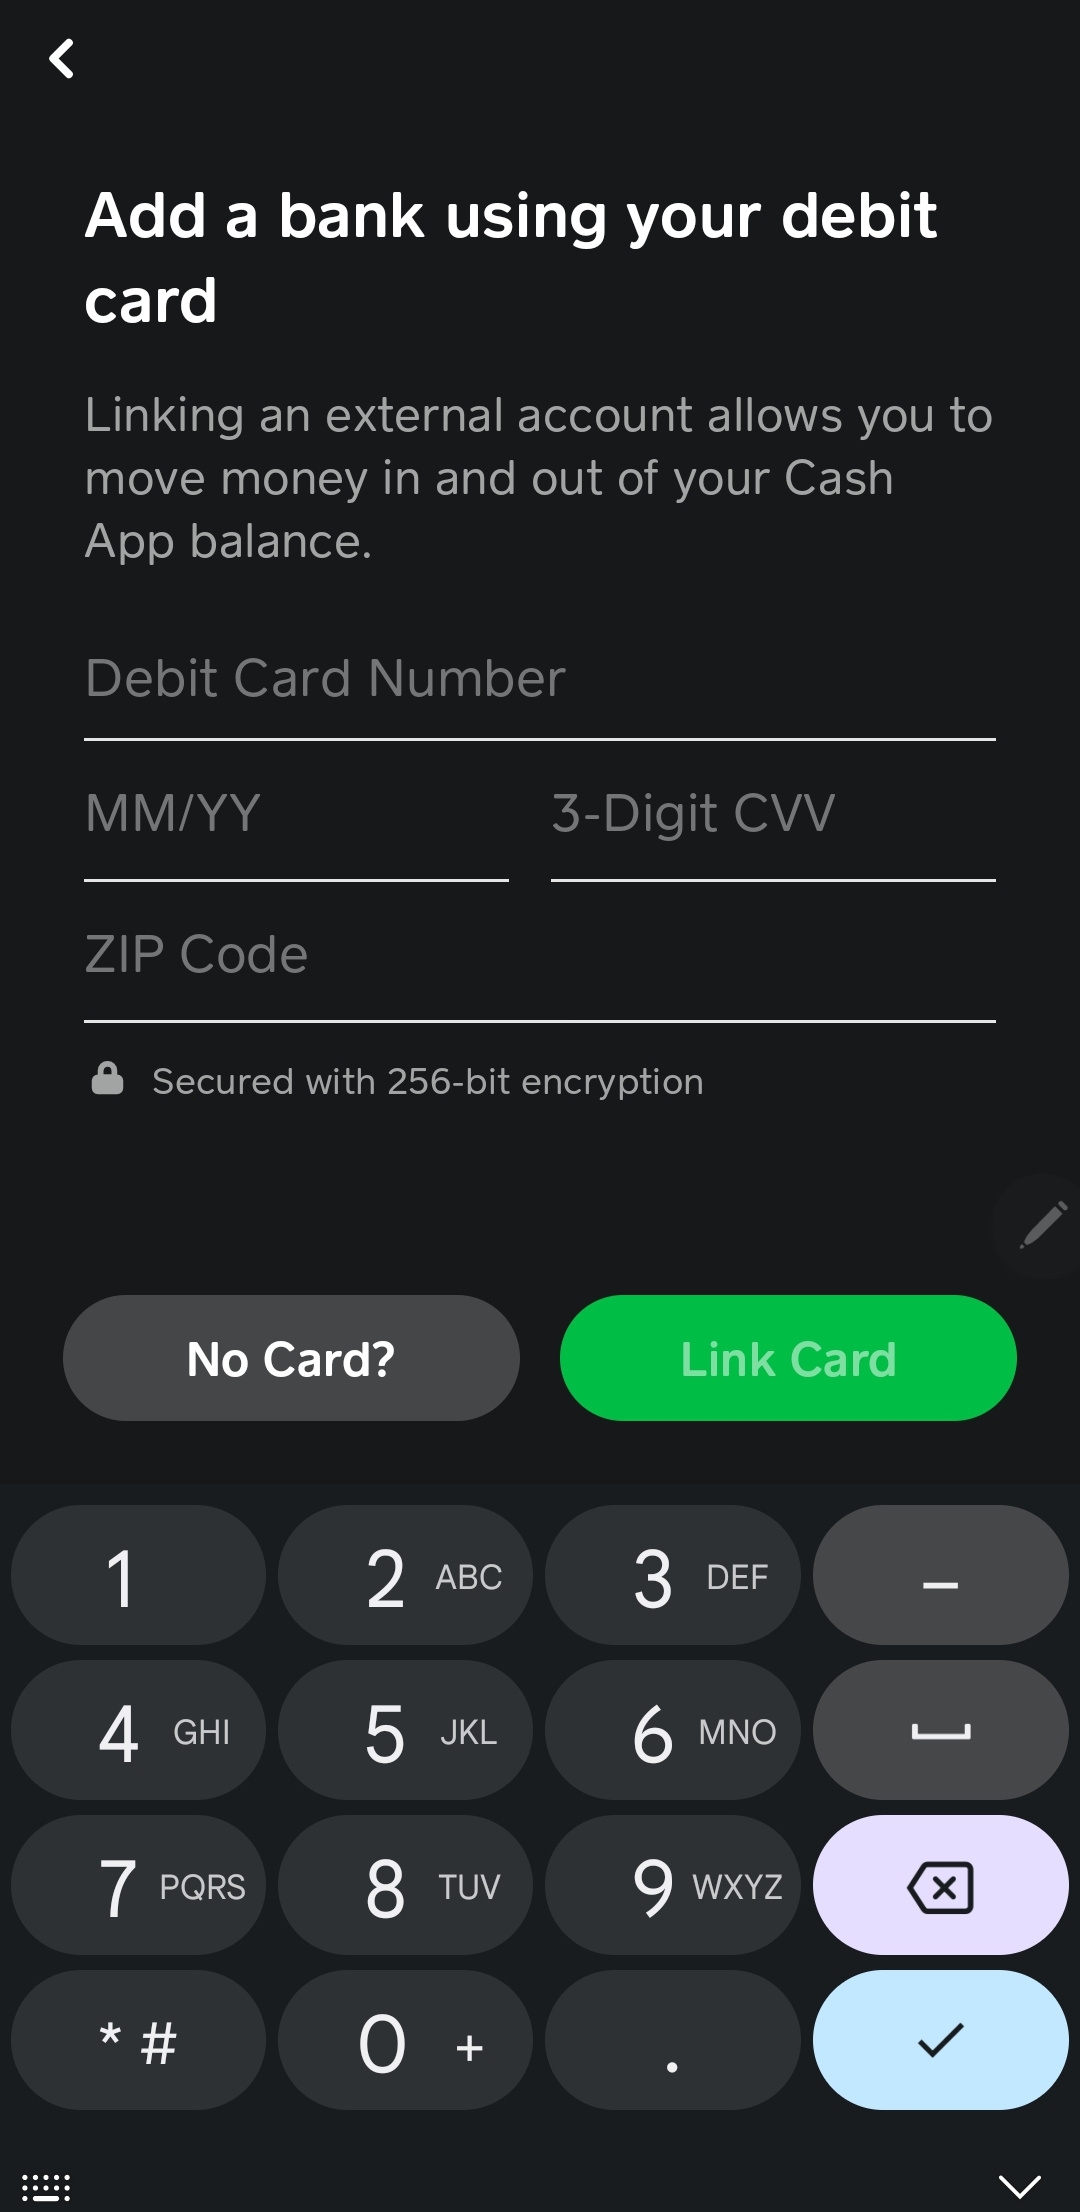
- Select “Add Bank”: You’ll see an option to “Add Bank” or a similar prompt. Tap on this.
- Choose Your Bank: Cash App often provides a list of popular banks. If yours is listed, tap on it. If not, you may need to search for it or manually enter your bank’s routing and account numbers.
- Log in to Your Bank Account: For supported banks, you’ll be prompted to log in using your online banking credentials. Cash App uses a secure connection to verify your identity and link your account.
- Enter Routing and Account Numbers (if manual): If you’re manually linking, you’ll need to find your bank’s routing number and your account number. These can typically be found on your checks or by contacting your bank.
- Confirm the Link: Review the information and confirm the link. There might be a small verification process, such as small deposits being made to your bank account that you’ll need to confirm within the app.
Transferring Funds from Your Linked Bank Account
Once your bank account is successfully linked, adding money to your Cash App balance is a simple process:
- Tap the “Add Cash” Button: On the main Cash App screen (the “Cash” tab), you’ll see an “Add Cash” button. Tap this.
- Enter the Amount: Specify the dollar amount you wish to transfer.
- Confirm the Transfer: Select your linked bank account as the source and confirm the transaction. The funds should appear in your Cash App balance almost immediately.
Important Considerations:
- Bank Fees: While Cash App does not charge a fee for linking your bank or for standard transfers, your bank might impose its own fees for certain types of transactions or if you exceed certain limits. It’s always wise to check with your bank.
- Transfer Limits: Cash App has daily and weekly limits on how much cash you can add. These limits are designed to enhance security and can vary. You can usually find information on these limits within the app’s FAQ section or by contacting Cash App support.
- Security: Cash App employs robust security measures to protect your linked bank account information. However, it’s crucial to keep your Cash App login credentials secure and to be wary of phishing attempts.
Alternative Methods for Adding Money to Your Cash App Card
While linking a bank account is the most common, Cash App offers other avenues for funding your card, catering to users who may not have a direct bank link readily available or who prefer different methods. These alternatives provide flexibility and ensure that more people can leverage the convenience of the Cash App card.
Depositing Physical Cash
For individuals who prefer or rely on physical currency, Cash App provides a way to convert cash into your digital balance. This is particularly useful for those who receive payments in cash or prefer not to link their bank account directly.
Finding a Cash Deposit Partner
Cash App partners with various retail locations that act as cash deposit points. These can include:
- Major Retailers: Many large chain stores like Walmart, Walgreens, and Dollar General allow Cash App cash deposits.
- Convenience Stores: Smaller local convenience stores may also be participating partners.
To find a participating location near you:
- Open the Cash App: Go to the main screen.
- Tap the “Add Cash” Button: As you would for a bank transfer.
- Select “Cash Deposit”: You should see an option for cash deposits.
- Find Nearby Locations: The app will use your phone’s location services to display a map of nearby participating retailers.
The Cash Deposit Process
Once you’ve identified a location:
- Generate a Barcode: In the Cash App, after selecting “Cash Deposit” and choosing a location, you’ll be prompted to enter the amount of cash you wish to deposit. The app will then generate a unique barcode.
- Visit the Retailer: Take your cash and the generated barcode to the customer service desk or designated checkout lane at the participating retailer.
- Present the Barcode: Hand the barcode to the cashier. They will scan it, take your cash, and process the deposit.
- Funds Appear in Your Balance: The money will be added to your Cash App balance, typically within minutes.
Important Considerations for Cash Deposits:
- Fees: Cash App generally charges a fee for cash deposits. This fee is usually a percentage of the deposited amount or a flat fee, and it will be clearly displayed before you confirm the transaction.
- Deposit Limits: There are limits on the amount of cash you can deposit at a single time and per day. These limits are enforced by the retail partners and Cash App.
- Merchant Policies: Individual retailers might have their own policies regarding cash deposits, such as specific times they accept them or maximum amounts they will handle in a single transaction.
Receiving Payments from Other Cash App Users
One of the core functionalities of Cash App is peer-to-peer payments. When someone sends you money through Cash App, it directly lands in your Cash App balance, which in turn is accessible via your Cash App card.
How to Request and Receive Money
- Requesting Money:
- Go to your Cash App home screen.
- Tap the “Request” button (usually a down arrow or a “$” symbol with an arrow).
- Enter the amount and the username or phone number of the person you’re requesting money from.
- Tap “Request.”
- Receiving Money:
- When someone sends you money, you’ll receive a notification within the Cash App.
- You’ll typically have the option to “Accept” or “Decline” the payment.
- Once accepted, the funds will be added to your Cash App balance.
Using Cash App for Business or Freelance Payments
This method is not just for friends and family. Many small businesses, freelancers, and individuals use Cash App for receiving payments for goods and services. If you’re a gig worker or have a small online shop, encouraging clients to pay via Cash App can be an efficient way to manage your incoming funds, which then become readily available for spending with your Cash App card.
Managing and Securing Your Cash App Card Funds
Once money is on your Cash App card, it’s important to manage it wisely and ensure its security. This involves understanding transaction limits, monitoring your balance, and employing the security features Cash App offers.
Monitoring Your Balance and Transactions
Regularly checking your Cash App balance and transaction history is a fundamental aspect of financial management. This helps you stay aware of your spending, identify any unauthorized transactions, and plan your finances more effectively.
In-App Balance and History Checks
- View Your Balance: Your current Cash App balance is prominently displayed on the main “Cash” tab of the app.
- Review Transaction History: Scroll down on the “Cash” tab to view a list of your recent transactions. You can tap on individual transactions for more details, such as the date, time, merchant, and any associated fees.
Setting Up Notifications
Cash App allows you to set up notifications for various activities, including deposits and completed transactions. This proactive approach ensures you’re immediately aware of any money movement in your account.
- Navigate to Profile: Tap your profile icon in the top right corner of the app.
- Go to Notifications: Find and tap on the “Notifications” or “Push Notifications” setting.
- Enable Relevant Alerts: Select the types of alerts you wish to receive, such as “Transaction Completed” or “Deposit Received.”
Security Features for Your Cash App Card
Protecting your funds is a top priority, and Cash App provides several security measures to safeguard your account and card.
PIN and Biometric Authentication
For added security, Cash App allows you to set up a unique PIN or use biometric authentication (fingerprint or facial recognition) to authorize transactions.
- Access Security Settings: Go to your profile icon, then tap on “Security & Privacy.”
- Enable PIN Lock: You can enable a PIN for app access and transaction authorization.
- Enable Biometric Lock: If your device supports it, you can enable fingerprint or face ID for a more convenient and secure login.

Reporting Lost or Stolen Cards
If your Cash App card is lost or stolen, it’s crucial to act quickly. Cash App provides a straightforward process to report this and prevent unauthorized use.
- Access Support: Within the app, navigate to your profile icon and then to “Support.”
- Report Card Issues: Look for options related to lost or stolen cards.
- Follow the Prompts: The app will guide you through the process of disabling your card and ordering a replacement. It’s also advisable to contact your bank if you suspect any fraudulent activity linked to your bank account as well.
By understanding these methods and security protocols, you can confidently and securely manage your funds and leverage the full utility of your Cash App card for all your spending needs.
aViewFromTheCave is a participant in the Amazon Services LLC Associates Program, an affiliate advertising program designed to provide a means for sites to earn advertising fees by advertising and linking to Amazon.com. Amazon, the Amazon logo, AmazonSupply, and the AmazonSupply logo are trademarks of Amazon.com, Inc. or its affiliates. As an Amazon Associate we earn affiliate commissions from qualifying purchases.