In today’s fast-paced digital economy, mobile payment applications like Cash App have revolutionized the way individuals send, receive, and manage their money. Offering unparalleled convenience for peer-to-peer transactions, direct deposits, and even investing in stocks and Bitcoin, Cash App has become an indispensable financial tool for millions. However, the true utility of any digital wallet often hinges on its ability to seamlessly integrate with traditional banking systems. Transferring funds from your Cash App balance to your conventional bank account is a fundamental financial operation that empowers users to access their digital funds in a tangible, spendable format. This comprehensive guide will walk you through the process, exploring best practices, potential costs, and how to effectively incorporate Cash App transfers into your broader personal finance strategy.
Understanding Cash App and Its Role in Personal Finance
Cash App, developed by Block, Inc. (formerly Square, Inc.), is more than just a money-sending app; it’s a versatile financial platform designed to simplify various aspects of personal money management. For many, it serves as a primary tool for quick transactions, bill splitting, and even receiving paychecks. Understanding its core functionalities is the first step towards mastering its integration with your personal financial ecosystem.
What is Cash App?
At its core, Cash App is a mobile payment service that allows users to send and receive money from other Cash App users quickly and securely. It operates much like a digital wallet, holding a balance that can be used for payments, investing, or transferred out. Beyond peer-to-peer payments, Cash App also offers a free debit card (the Cash Card) linked to your balance, direct deposit capabilities, and the option to buy and sell stocks and Bitcoin. Its user-friendly interface and focus on speed have made it particularly popular among younger demographics and those seeking agile financial solutions.
Why Use Cash App for Money Management?
The appeal of Cash App lies in its convenience and speed. For personal finance, it streamlines several processes:
- Instant Transfers: While not always free, the ability to send and receive money almost instantly can be crucial in emergencies or when splitting immediate costs.
- Budgeting Aid: For some, using Cash App for specific types of spending (e.g., entertainment, dining out) can help compartmentalize budgets.
- Direct Deposit: Many users leverage Cash App for direct deposit of paychecks, allowing for immediate access to funds and faster financial fluidity.
- Accessibility: It democratizes access to basic banking services for individuals who might be unbanked or underbanked, providing a digital financial identity.
Key Features Relevant to Your Bank Account
The most crucial feature connecting Cash App to your traditional bank account is the ability to link it. This linkage allows for two-way transfers: funding your Cash App balance from your bank and, more importantly for this guide, cashing out your Cash App balance to your bank. Cash App offers two primary methods for these transfers: standard deposits and instant deposits, each with distinct timelines and fee structures that directly impact your financial planning.
The Step-by-Step Guide to Linking Your Bank Account
Before you can transfer money out of Cash App, you must establish a secure connection to your external bank account. This process is designed to be straightforward but requires careful attention to detail to ensure accuracy and security.
Initial Setup: Connecting Your Bank
- Open Cash App: Launch the Cash App on your smartphone or tablet.
- Navigate to the Profile Icon: Tap the profile icon (usually a circle with your picture or initials) in the top-right corner of the home screen.
- Select “Linked Banks”: Scroll down the profile menu until you find “Linked Banks” and tap it.
- Link Bank: Tap “Link Bank” (or “Add Bank” if you have multiple accounts).
- Enter Bank Details: You will typically be prompted to search for your bank by name. Once found, you’ll securely log in using your bank’s online banking credentials (username and password). This process is facilitated by a third-party service like Plaid, which acts as a secure intermediary between Cash App and your bank.
- Authorize Connection: Follow the prompts to authorize Cash App to connect to your bank account. This typically involves selecting the specific checking or savings account you wish to link.
It’s paramount to ensure you are entering the correct login information for your bank account. Errors at this stage can lead to failed attempts or, worse, security concerns.
Verification Process
While logging in through your bank’s portal usually establishes the link instantly, some banks or situations may require additional verification. This could involve:
- Micro-deposits: Cash App might send two small deposits (e.g., $0.05 and $0.12) to your bank account, which you then need to verify within the Cash App. This method confirms you have access to the bank account.
- Security Questions: Your bank may prompt you with security questions or a one-time passcode sent to your phone or email for an additional layer of verification.
Always be vigilant during the verification process. Legitimate financial apps will never ask for your full social security number or other highly sensitive data outside of secure, encrypted environments.
Troubleshooting Common Linking Issues
- Incorrect Credentials: The most frequent issue is simply mistyping your bank’s online login details. Double-check your username and password.
- Unsupported Banks: While Cash App supports most major banks, some smaller credit unions or online-only banks might not be directly compatible with the automatic linking process. In such cases, you might need to try linking via manual entry of routing and account numbers, if available, or contacting Cash App support.
- Technical Glitches: Occasionally, there might be a temporary issue with Cash App or the third-party linking service. If you encounter persistent problems, wait a few hours and try again, or clear your app’s cache.
- Security Blocks: Your bank might temporarily block the connection if it detects unusual activity. Contact your bank directly if you suspect this is the case.
Executing a Standard Transfer from Cash App to Your Bank
Once your bank account is successfully linked, transferring money out of Cash App is a straightforward process. The standard transfer method is the most common and cost-effective for regular financial management.

Initiating the Transfer
- Open Cash App: Launch the application.
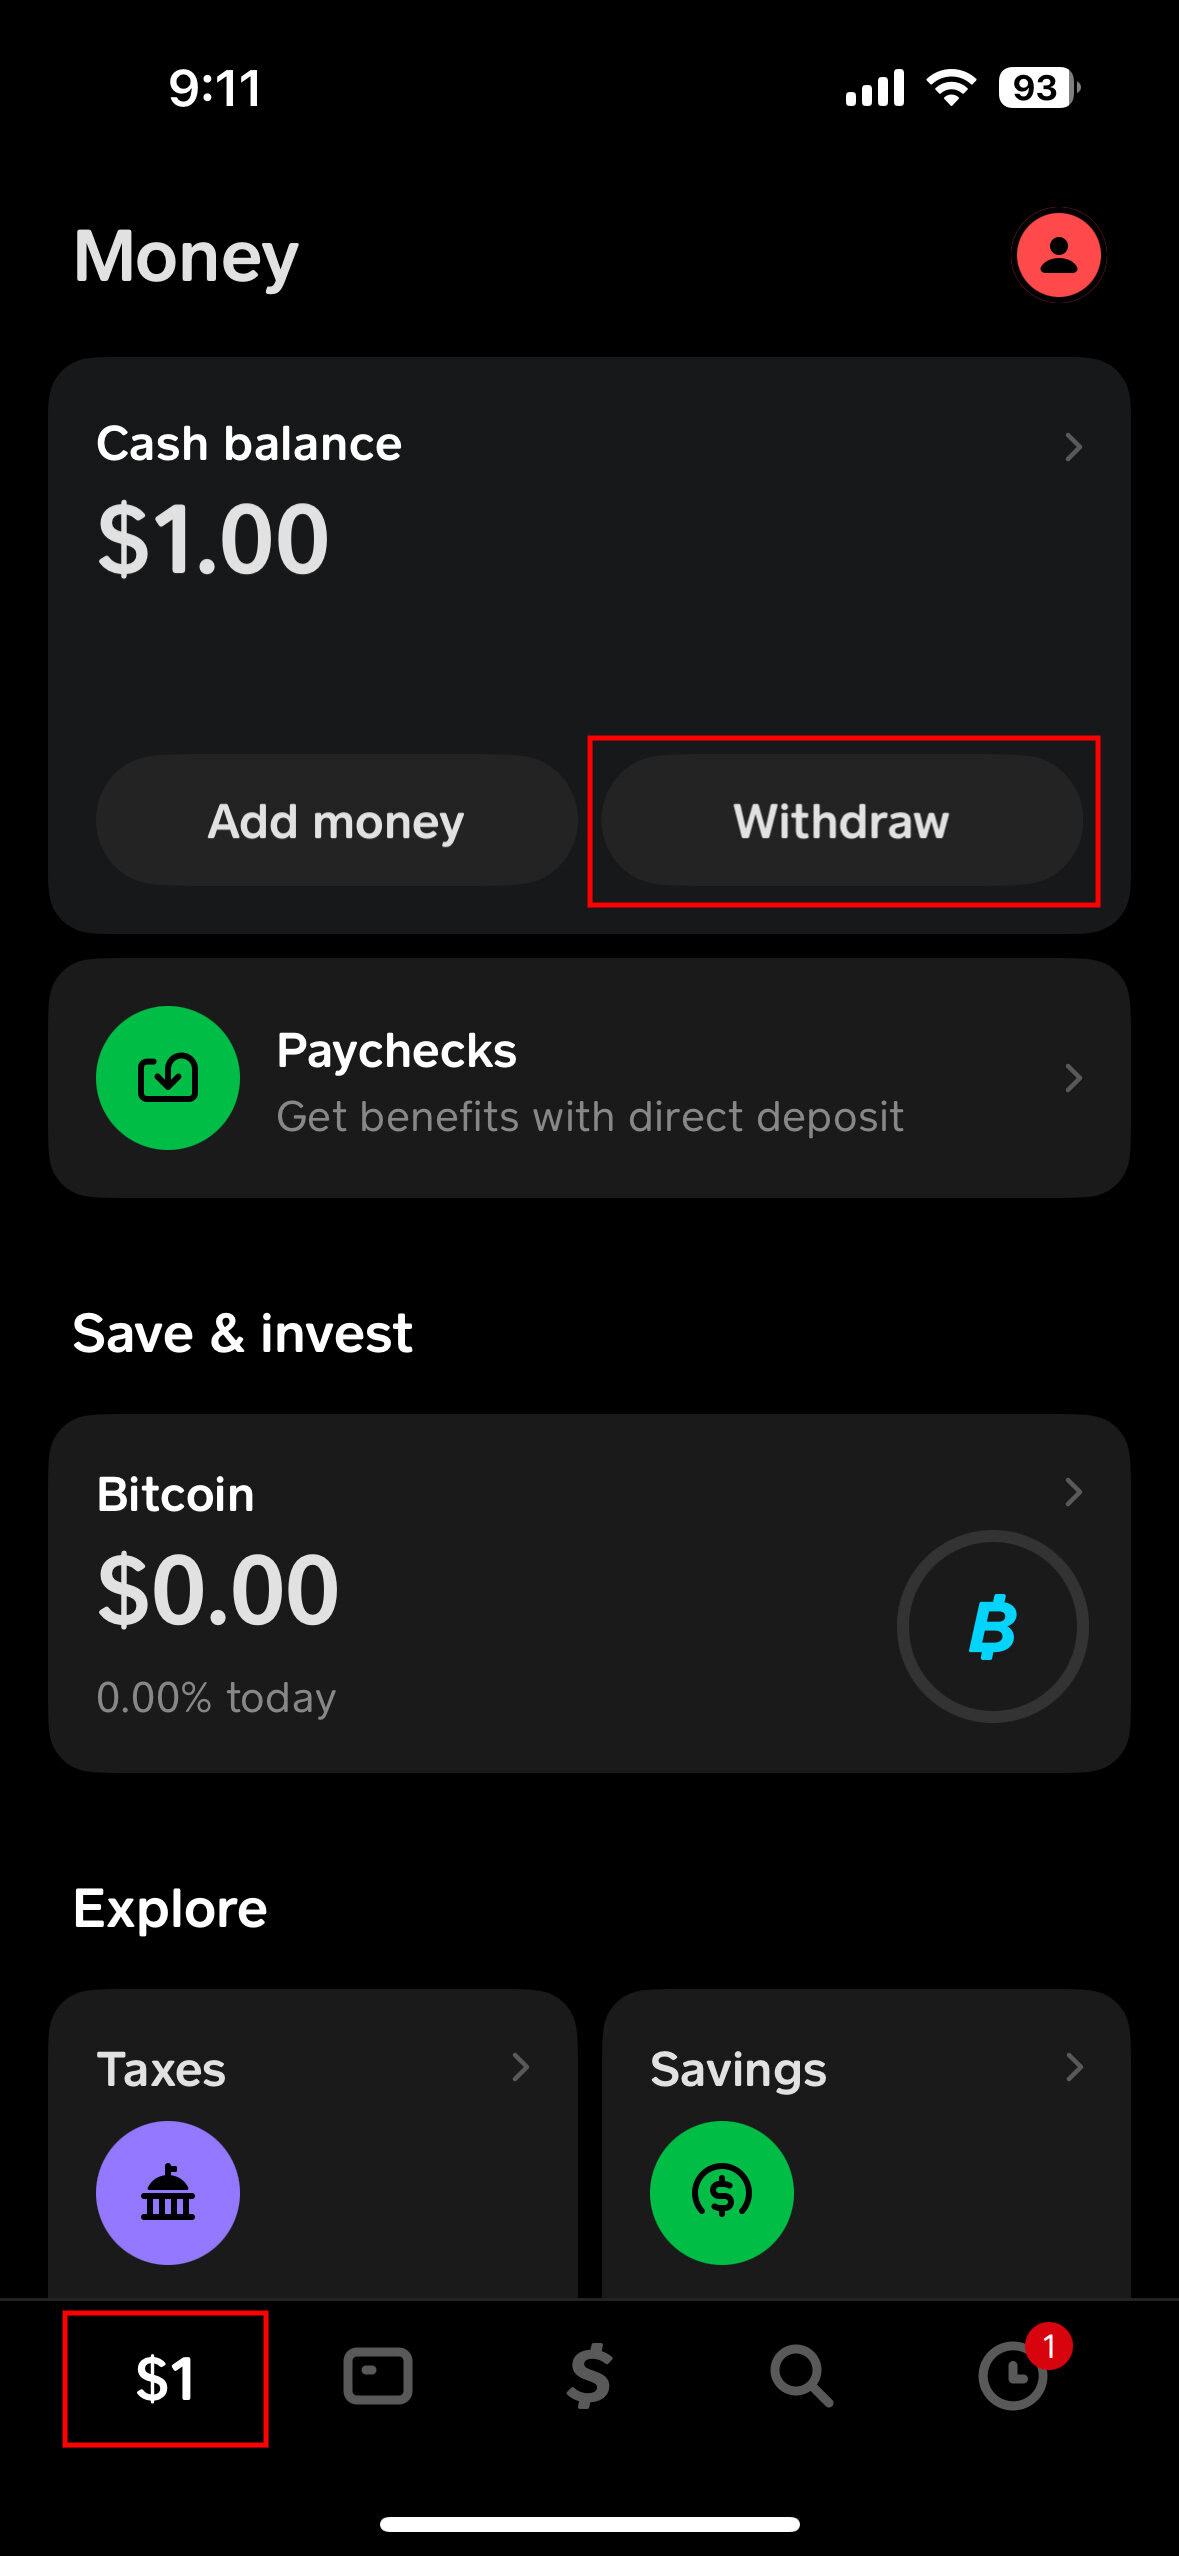
- Tap the Banking Tab: This icon usually resembles a house or a bank building at the bottom left of the screen, showing your Cash App balance.
- Tap “Cash Out”: This button will be prominently displayed below your current balance.
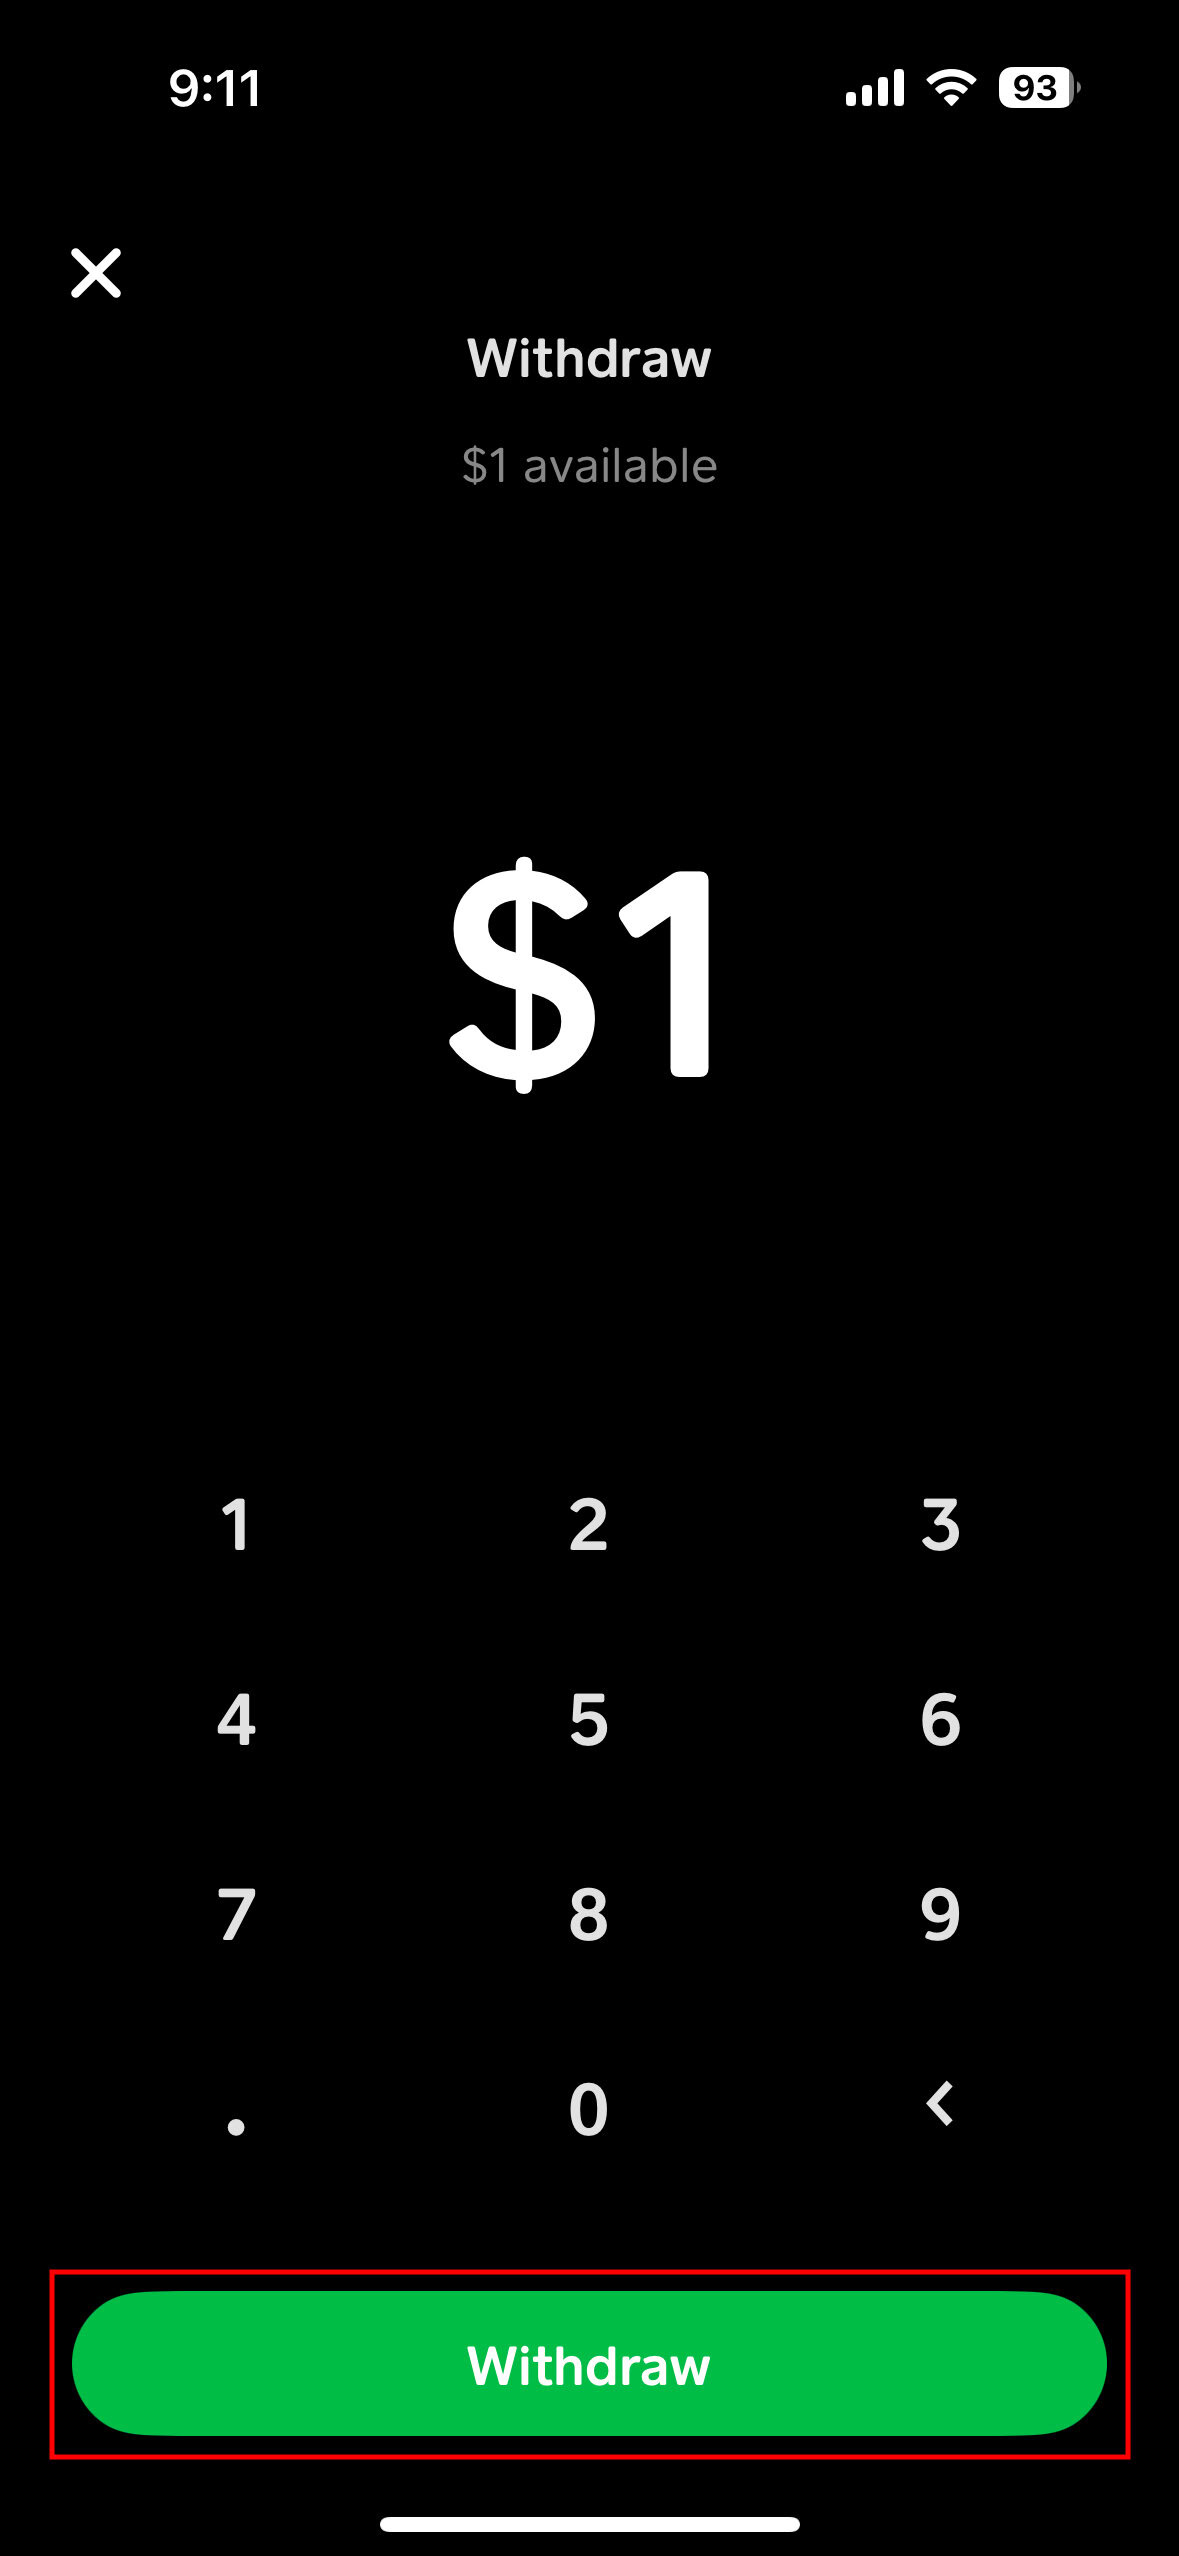
- Enter Amount: Input the exact amount of money you wish to transfer to your linked bank account. You can choose to transfer your entire balance or a specific portion.
- Select “Standard”: When prompted to choose between “Standard” and “Instant” deposit, select “Standard.”
- Confirm Transfer: Review the details, including the amount and the destination bank account, then tap “Confirm.”
Standard Transfer Timelines and Fees
- Timeline: Standard transfers typically take 1 to 3 business days to complete. This means if you initiate a transfer on a Friday, it might not appear in your bank account until the following Tuesday or Wednesday, accounting for weekend processing delays. Holidays can further extend this timeline.
- Fees: Standard transfers from Cash App to your linked bank account are free. This makes them the preferred option for users who are not in a rush to access their funds and want to maximize their balance.
Confirming the Transaction
After initiating a standard transfer, it’s wise to:
- Check Cash App Activity: Verify that the transaction is listed in your Cash App activity feed as “Pending” or “Completed.”
- Monitor Bank Statements: Keep an eye on your linked bank account statement. The deposited funds will usually appear as a direct deposit or a transfer from “Cash App” or “Square Inc.” once processed. It’s a good practice to reconcile these transfers with your personal finance tracking tools to maintain accurate financial records.
Opting for Instant Transfers: Speed vs. Cost
While standard transfers are free, there are situations where immediate access to your funds is paramount. Cash App’s instant transfer option caters to this need, albeit with an associated cost.
When to Use Instant Transfer
Instant transfers are ideal for:
- Emergencies: Unexpected expenses that require immediate cash.
- Urgent Bill Payments: If you need to pay a bill that’s due immediately and your traditional bank account is low.
- Time-Sensitive Purchases: When you need funds in your bank account right away for an online purchase or ATM withdrawal.
- Avoiding Overdrafts: If transferring money instantly can prevent an overdraft fee on your bank account.
The convenience of instant access can outweigh the small fee in these critical scenarios, making it a valuable tool in your financial toolkit.
Understanding Instant Transfer Fees
Cash App charges a fee for instant transfers, which is typically 0.5% to 1.75% of the transferred amount, with a minimum fee applied for very small transfers. For example, transferring $100 might incur a fee of $1.75. This fee is clearly displayed before you confirm the transaction, allowing you to assess if the speed is worth the cost. It’s important to factor this fee into your financial calculations, especially if you frequently use instant transfers, as these small amounts can accumulate over time.
The Instant Transfer Process
The steps for initiating an instant transfer are nearly identical to a standard transfer:
- Open Cash App and tap the Banking tab.
- Tap “Cash Out.”
- Enter the amount you wish to transfer.
- Crucially, when prompted, select “Instant” instead of “Standard.”
- Review the details: Cash App will clearly show you the transfer amount, the fee, and the net amount that will be deposited into your bank account.
- Confirm Transfer: Tap “Confirm” to proceed. The funds should typically appear in your linked bank account within minutes, often almost instantaneously.
While generally reliable, occasional delays can occur due to bank processing times, especially during peak hours or system maintenance. If an instant transfer takes longer than expected, first check your Cash App activity and then contact your bank or Cash App support if the issue persists.
Optimizing Your Cash App Transfers for Financial Health
Integrating Cash App into your financial routine requires more than just knowing how to move money. It involves strategic planning, security awareness, and thoughtful budgeting to ensure it contributes positively to your overall financial health.
Best Practices for Secure Transfers
Security is paramount when dealing with digital finance.
- Enable Security Locks: Always use a PIN, Touch ID, or Face ID to protect your Cash App.
- Strong Passwords: Ensure your Cash App password and linked bank account passwords are strong, unique, and regularly updated.
- Two-Factor Authentication (2FA): Enable 2FA for both your Cash App and your bank account for an added layer of protection.
- Monitor Activity: Regularly review your Cash App activity and bank statements for any unauthorized transactions. Report suspicious activity immediately.
- Beware of Scams: Be cautious of phishing attempts or requests for your login details. Cash App will never ask for your PIN or full social Security Number via email or unsolicited messages.
Managing Your Cash App Balance
While convenient, leaving a large balance in any mobile payment app carries some risk, as these platforms are not typically FDIC-insured in the same way traditional bank accounts are.
- Regular Transfers: For optimal financial security and peace of mind, consider regularly transferring any significant Cash App balance to your linked FDIC-insured bank account.
- Budgeting Implications: If you use Cash App for specific spending categories, ensure that the funds are available when needed. For larger expenses, transferring money to your bank and using a debit card or bank transfer might be more appropriate.
- Emergency Funds: Do not rely on your Cash App balance as an emergency fund. These critical savings should always reside in a dedicated, easily accessible, and FDIC-insured savings account.
Integrating Cash App into Your Broader Financial Strategy
Cash App, when used wisely, can be a valuable component of your personal financial strategy:
- Budgeting Tools: Utilize Cash App’s activity logs to track specific spending categories, especially if you receive money for side hustles or specific projects through the app.
- Savings Goals: While Cash App itself isn’t designed as a primary savings vehicle, you can use its transfer capabilities to move funds from your income (received via direct deposit on Cash App) to designated savings accounts within your traditional bank.
- Online Income Management: For freelancers or those with side hustles, Cash App can serve as a convenient channel for receiving payments. However, quickly transferring these funds to a business or personal checking account ensures proper record-keeping and tax compliance.
- Informed Decisions: By understanding the costs and benefits of standard versus instant transfers, you can make informed decisions that align with your financial priorities, whether it’s saving on fees or gaining immediate access to funds.
Mastering the transfer process from Cash App to your bank account is a foundational skill for modern personal finance. By understanding the mechanics, being mindful of fees and timelines, and prioritizing security, you can effectively leverage Cash App as a powerful tool to manage your money, maintain liquidity, and contribute to your overall financial well-being.
aViewFromTheCave is a participant in the Amazon Services LLC Associates Program, an affiliate advertising program designed to provide a means for sites to earn advertising fees by advertising and linking to Amazon.com. Amazon, the Amazon logo, AmazonSupply, and the AmazonSupply logo are trademarks of Amazon.com, Inc. or its affiliates. As an Amazon Associate we earn affiliate commissions from qualifying purchases.