
In the rapidly evolving landscape of personal computing, the graphics processing unit (GPU) has transitioned from a niche component for gamers to the beating heart of the modern workstation. Whether you are delving into high-end 4K gaming, accelerating creative workflows in Premiere Pro, or deploying local Large Language Models (LLMs) for AI development, the GPU is your most critical investment. However, the physical installation of this hardware is often the most intimidating step for enthusiasts and professionals alike.
Installing a graphics card is more than just plugging a board into a slot; it is a technical ritual that requires careful preparation, software synchronization, and an understanding of hardware architecture. This guide provides a professional, step-by-step walkthrough to ensure your transition to new visual heights is seamless and secure.
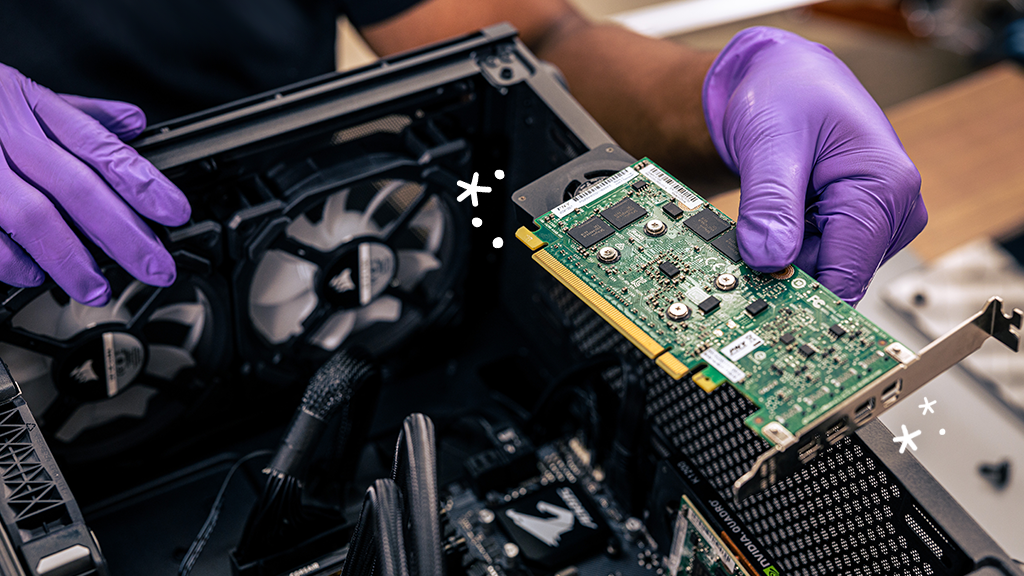
1. Essential Pre-Installation Checks and Compatibility
Before you even unbox your new hardware, you must ensure that your existing system architecture can support the upgrade. Modern GPUs, particularly the latest flagship models from NVIDIA and AMD, have significant demands regarding power, space, and bandwidth.
PSU Capacity and Power Delivery
The most common point of failure in a GPU upgrade is the Power Supply Unit (PSU). High-end cards can draw upwards of 300 to 450 watts under full load. You must verify that your PSU has a sufficient total wattage rating (usually 750W–1000W for top-tier cards) and, more importantly, the correct connectors. Modern “ATX 3.0” power supplies now feature the 12VHPWR connector designed specifically for high-power cards, whereas older units may require multiple 8-pin PCIe cables. Professional tip: Always avoid “daisy-chaining” power cables (using one cable with two headers) for high-draw cards to prevent voltage instability.
Physical Dimensions and Case Clearance
GPUs have grown significantly in size. A “triple-fan” card can exceed 330mm in length and occupy up to four expansion slots in width. Before proceeding, measure the distance from the rear expansion brackets of your case to the front intake fans or radiator. Additionally, consider “GPU sag”—the tendency for heavy cards to droop, which can damage the PCIe slot over time. Ensure your case has enough vertical clearance and consider whether you need a support bracket.
PCIe Slot Generation and Bandwidth
While PCIe slots are backward compatible, installing a PCIe 4.0 or 5.0 card into a PCIe 3.0 slot can lead to minor bandwidth bottlenecks in specific professional workloads. Ensure you are plugging the card into the primary PCIe x16 slot—usually the one closest to the CPU—as this slot typically offers the full bandwidth directly from the processor’s lanes.
2. Preparing the Software Environment
The physical installation is only half the battle. Software conflicts are the leading cause of “Black Screen” errors and system crashes following a GPU upgrade. If you are switching from one brand to another (e.g., NVIDIA to AMD), the residual drivers from the old hardware can cause severe instability.
Utilizing Display Driver Uninstaller (DDU)
The gold standard for a clean installation is a utility called Display Driver Uninstaller (DDU). Before removing your old card, download the latest drivers for your new card and download DDU. Disconnect your internet to prevent Windows Update from automatically installing generic drivers. Run DDU in “Safe Mode” and select the “Clean and Shutdown” option. This completely wipes the Windows Registry and file system of any traces of the previous graphics driver, providing a “clean slate” for your new hardware.
Firmware and BIOS Considerations
For modern GPUs to function at peak efficiency, features like “Resizable BAR” (Re-size BAR) should be enabled. This allows the CPU to access the entire GPU frame buffer at once, significantly boosting performance in supported applications. Before the swap, enter your motherboard BIOS and ensure your “Above 4G Decoding” and “Re-size BAR” support are enabled. Also, ensure your motherboard BIOS is updated to the latest version to ensure compatibility with the newest GPU architectures.
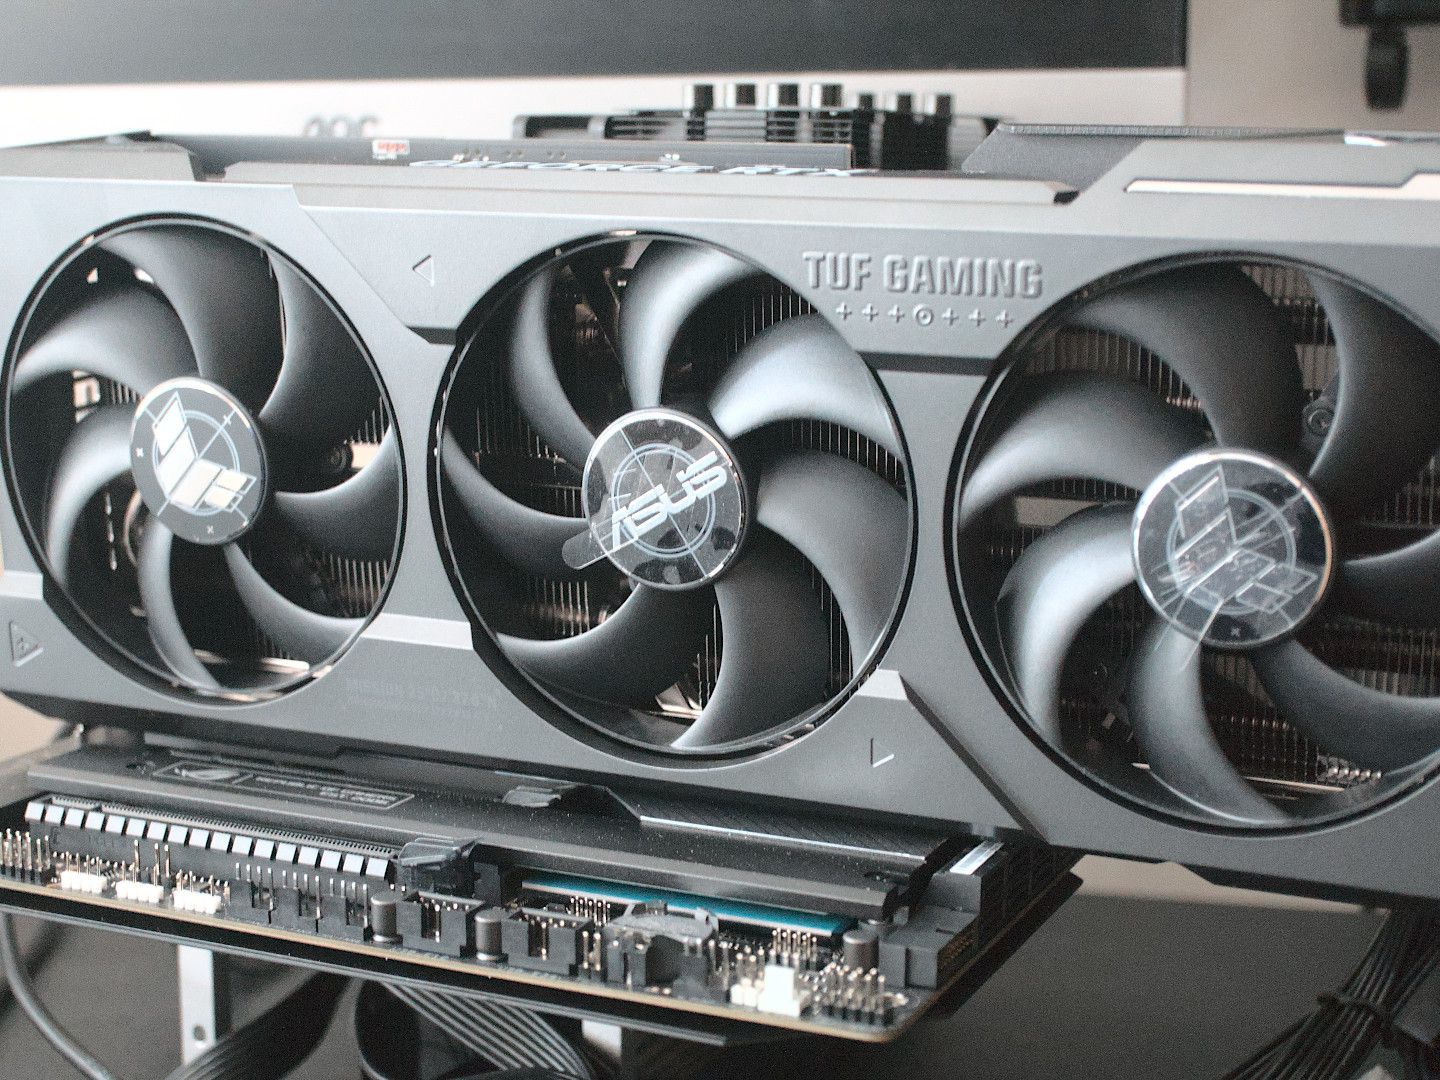
3. The Physical Installation Process
Once the software environment is prepped and the system is powered down, it is time for the manual labor. This requires a delicate touch and strict adherence to anti-static protocols.
Static Safety and Workspace Prep
Static electricity can be lethal to micro-electronics. Work on a non-conductive surface (like a wooden table) rather than carpet. While an anti-static wrist strap is ideal, frequently touching the metal chassis of your PC while it is plugged in (but turned off at the PSU switch) will keep you grounded. Unplug all peripherals, especially the monitor and power cable, before opening the case.
Seating the Graphics Card
- Remove the Expansion Brackets: Unscrew the metal covers on the back of the case that correspond to your PCIe slot.
- Open the PCIe Latch: On the motherboard slot, there is a small plastic lever at the end. Press it down to the “open” position.
- The Insertion: Align the GPU’s gold contacts with the PCIe slot. Lower it straight down, ensuring the output ports line up with the gaps in the case.
- The “Click”: Apply firm, even pressure until you hear an audible click. This is the latch locking the card into place. If it doesn’t click, do not force it; remove the card and check for obstructions.
Securing and Powering the Unit
Once seated, use the case screws to secure the GPU’s mounting bracket to the chassis. This prevents the card from shifting. Next, connect the PCIe power cables. Ensure the connectors are pushed in until they are flush with the port—a loose 12VHPWR connector can lead to overheating or melted plastic. If your card came with a support bracket or “sag stick,” install it now to relieve stress on the motherboard.
4. Post-Installation: Drivers and Optimization
With the hardware secured, it is time to breathe life into the system. This stage focuses on stability and ensuring the software recognizes the new hardware capabilities.
The First Boot and Monitor Connection
Reconnect your power cable and flip the PSU switch. Crucial Step: Ensure your HDMI or DisplayPort cable is plugged directly into the new graphics card, not the motherboard’s video output. If you plug into the motherboard, you will be using the CPU’s integrated graphics rather than your powerful new GPU. Once Windows boots, it may look low-resolution—this is normal as no drivers are active yet.
Driver Installation and Control Suites
Locate the driver file you downloaded earlier. Run the installer (NVIDIA GeForce Experience, AMD Adrenalin, or Intel Arc Control). Choose a “Custom/Advanced” installation to ensure a fresh start. Once the installation finishes, your screen may flicker or go black momentarily; this is the OS handshaking with the new driver. After a mandatory restart, right-click your desktop and enter the GPU control panel to set your refresh rate (e.g., 144Hz or 240Hz), as Windows often defaults to 60Hz.
5. Stress Testing and Thermal Management
A professional installation isn’t finished until the hardware is proven stable under load. New cards can occasionally have manufacturing defects that only appear when the card reaches its thermal limits.
Benchmarking for Stability
Run a synthetic benchmark such as 3DMark, Unigine Heaven, or FurMark for at least 30 minutes. Monitor the “Hot Spot” and “Memory Junction” temperatures using a tool like HWInfo64. For most modern cards, core temperatures should ideally stay below 80°C. If the system crashes or exhibits “artifacts” (weird colors/lines on the screen), it may indicate a faulty card or an insufficient power supply.
Optimizing Airflow and Fan Curves
If you find the card is running louder or hotter than expected, consider adjusting the fan curve within the manufacturer’s software (like MSI Afterburner). Modern GPUs often have a “Zero RPM” mode where the fans stay off until the card hits 60°C. While this is great for silence, professional users may prefer a constant, low-speed fan spin to keep the idle temperatures of surrounding components (like M.2 NVMe drives) lower.

Final Thoughts on Hardware Longevity
By following this structured approach, you have not only installed a piece of hardware but have optimized an entire ecosystem. Regularly cleaning the dust filters of your case and checking for driver updates every few months will ensure that your graphics card remains a high-performing asset for years to come. Whether you are rendering the next great digital masterpiece or competing in high-stakes e-sports, your system is now technically fortified to handle the demand.
aViewFromTheCave is a participant in the Amazon Services LLC Associates Program, an affiliate advertising program designed to provide a means for sites to earn advertising fees by advertising and linking to Amazon.com. Amazon, the Amazon logo, AmazonSupply, and the AmazonSupply logo are trademarks of Amazon.com, Inc. or its affiliates. As an Amazon Associate we earn affiliate commissions from qualifying purchases.