
In the contemporary landscape of high-performance computing, the Graphics Processing Unit (GPU) has evolved from a simple peripheral into the beating heart of the modern workstation and gaming rig. Whether you are a professional video editor rendering 8K sequences, a data scientist leveraging CUDA cores for machine learning, or a competitive gamer seeking every possible frame per second, your NVIDIA hardware is only as capable as the software that governs it. Updating your NVIDIA drivers is not merely a routine maintenance task; it is a critical optimization process that ensures hardware compatibility, system security, and peak performance.
Understanding the Vital Role of NVIDIA Drivers in Modern Systems
A driver acts as the essential translator between your operating system (Windows or Linux) and the physical hardware of the GPU. Without a functional, up-to-date driver, the OS cannot communicate complex instructions to the thousands of tiny cores within the graphics card. This communication breakdown can lead to suboptimal performance, graphical artifacts, system crashes, or even a complete failure to boot.
Stability and Security Patches
Software vulnerabilities are an unfortunate reality of modern tech. NVIDIA frequently releases driver updates that address security loopholes that could potentially allow malicious software to exploit your GPU’s memory. Beyond security, stability updates resolve “TDR” (Timeout Detection and Recovery) errors, where the GPU hangs and the driver must restart. Keeping your software current minimizes these disruptions.
Game Ready vs. Studio Drivers
NVIDIA provides two primary branches of drivers: “Game Ready” and “Studio.” Game Ready Drivers (GRD) are released frequently, often coinciding with the launch of major AAA gaming titles. They contain specific optimizations and “Day 0” patches that ensure new games run smoothly. Conversely, Studio Drivers (SD) are geared toward creative professionals using applications like Adobe Premiere Pro, Blender, and Autodesk Maya. These drivers undergo more rigorous testing across a variety of multi-app workflows to ensure maximum uptime and reliability for production environments.
Support for New Technologies
Technology moves fast. Features like Deep Learning Super Sampling (DLSS), Ray Tracing (RTX), and NVIDIA Reflex are constantly being refined. Older drivers may not support the latest iterations of these technologies (such as DLSS 3.5), meaning you could be missing out on significant performance gains and visual fidelity improvements simply because your software is outdated.
Method 1: Using NVIDIA GeForce Experience for Automated Updates
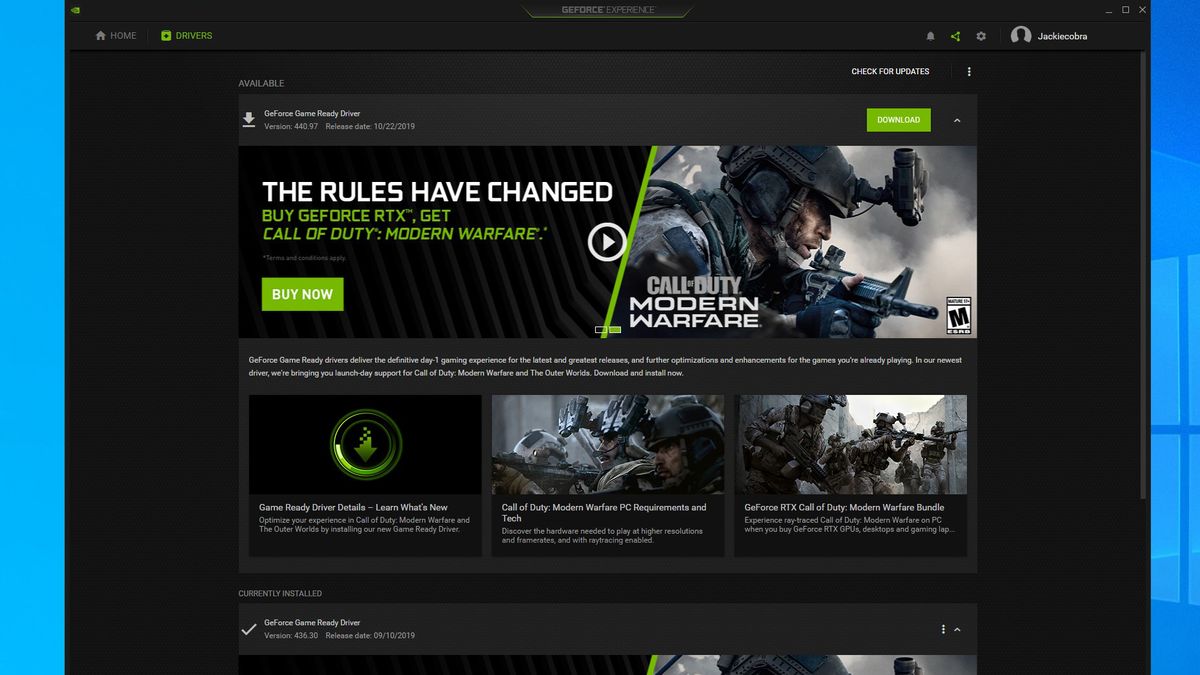
For the vast majority of users, NVIDIA GeForce Experience (GFE) is the most efficient tool for maintaining a system. This companion application streamlines the update process by monitoring your hardware and notifying you the moment a new driver is available.
Installation and Account Setup
If your system did not come with GeForce Experience pre-installed, you can download it directly from the NVIDIA website. Once installed, you will need to create or log into an NVIDIA account. While some users find the login requirement cumbersome, it allows the software to cloud-sync your game settings and provide personalized driver alerts.
The Update Process
Updating through GFE is a three-step process:
-
Check for Updates: Open the application and click on the “Drivers” tab in the top-left corner. Click the “Check for Updates” button.
-
Download: If a new version is available, a description of the changes will appear. Click the green “Download” button. The software will download the package in the background.
-
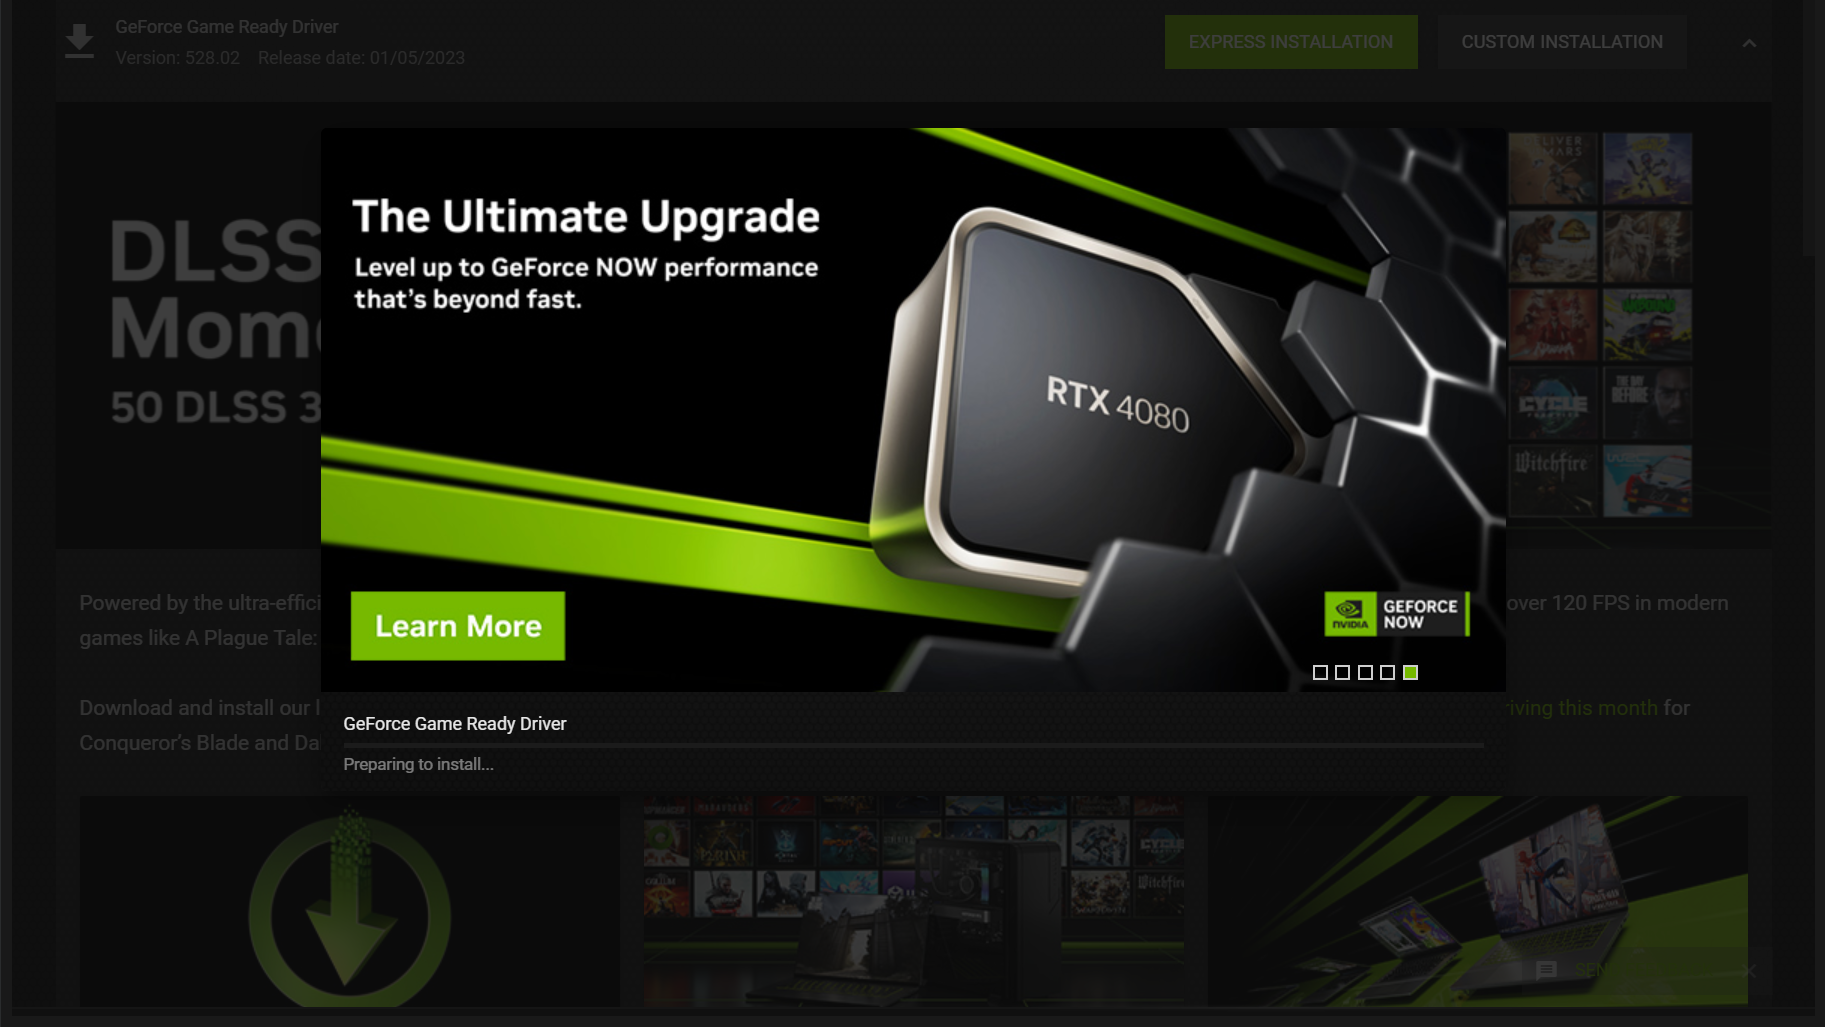
Express vs. Custom Installation: Once the download is complete, you will be given two choices. “Express Installation” is the recommended path for most users; it carries over all your previous settings. “Custom Installation” allows you to deselect specific components (like the HD Audio Driver or PhysX System Software) if you have specific hardware configurations.
Leveraging Extra Features
GeForce Experience offers more than just driver updates. It includes the “ShadowPlay” overlay, which allows for low-impact gameplay recording and streaming. It also provides an “Optimize” feature that scans your library and adjusts your games’ graphical settings based on your specific GPU, CPU, and monitor resolution, striking a balance between visual quality and frame rate.
Method 2: Manual Driver Installation via the Official Portal
There are scenarios where the automated route is not ideal. Perhaps you are a system administrator managing multiple machines, or you are a power user who prefers a “lean” system without background telemetry services. In these cases, manual installation is the gold standard.
Identifying Your Hardware Specifications
Before heading to the download page, you must know exactly what hardware you are running. You can find this by right-clicking the Start button, selecting “Device Manager,” and expanding the “Display adapters” section. Take note of the model (e.g., NVIDIA GeForce RTX 4070 Ti).
Navigating the NVIDIA Download Page
Visit the official NVIDIA Driver Downloads page. You will be presented with several dropdown menus:
-
Product Type: Select GeForce, Titan, or RTX/Quadro depending on your card.
-
Product Series: Ensure you select the correct generation (e.g., GeForce RTX 40 Series).
-
Operating System: Match your OS (Windows 10 64-bit, Windows 11, etc.).
-
Download Type: Here you choose between Game Ready Driver (GRD) or Studio Driver (SD).
The Installation Wizard Walkthrough
Once you have downloaded the .exe file, run it as an administrator. The installer will first extract its files to a temporary folder. After a system compatibility check, you will be prompted to choose between the “NVIDIA Graphics Driver and GeForce Experience” or “NVIDIA Graphics Driver” only. If you want a minimal footprint, choose the latter. During the “Installation Options” phase, checking the box for a “Clean Installation” is often wise if you are migrating from an older generation of hardware or troubleshooting performance dips.
Method 3: Troubleshooting and the “Clean Install” Procedure
Sometimes, a standard update isn’t enough. If you are experiencing persistent “blue screen” errors (BSODs), flickering, or performance that feels significantly lower than benchmarks suggest, a corrupted driver state may be the culprit.
Using Display Driver Uninstaller (DDU)
When a standard uninstallation through the Windows Control Panel fails to clear out deep-seated registry keys and stray files, the tech community turns to a third-party utility called Display Driver Uninstaller (DDU).
-
Preparation: Download DDU and the latest NVIDIA driver for your card.
-
Safe Mode: Boot Windows into Safe Mode. This prevents the OS from loading the GPU driver, allowing DDU to delete the files without interference.
-
Clean and Restart: Run DDU, select “GPU” and “NVIDIA,” then click “Clean and restart.”
-
Fresh Install: Once the system reboots into normal Windows, disconnect your internet (to prevent Windows Update from automatically installing an old driver) and run the NVIDIA installer you downloaded earlier.
Handling Common Update Errors
If an update fails with an “NVIDIA Installer Failed” message, it is often due to a background process locking a driver file. Closing programs like Discord, Steam, or any web browser before starting the update can prevent this. Additionally, ensuring your Windows OS is fully updated is vital, as modern NVIDIA drivers often require specific Windows “Build” versions to function correctly.
Post-Update Optimization: Maximizing Your Hardware Potential
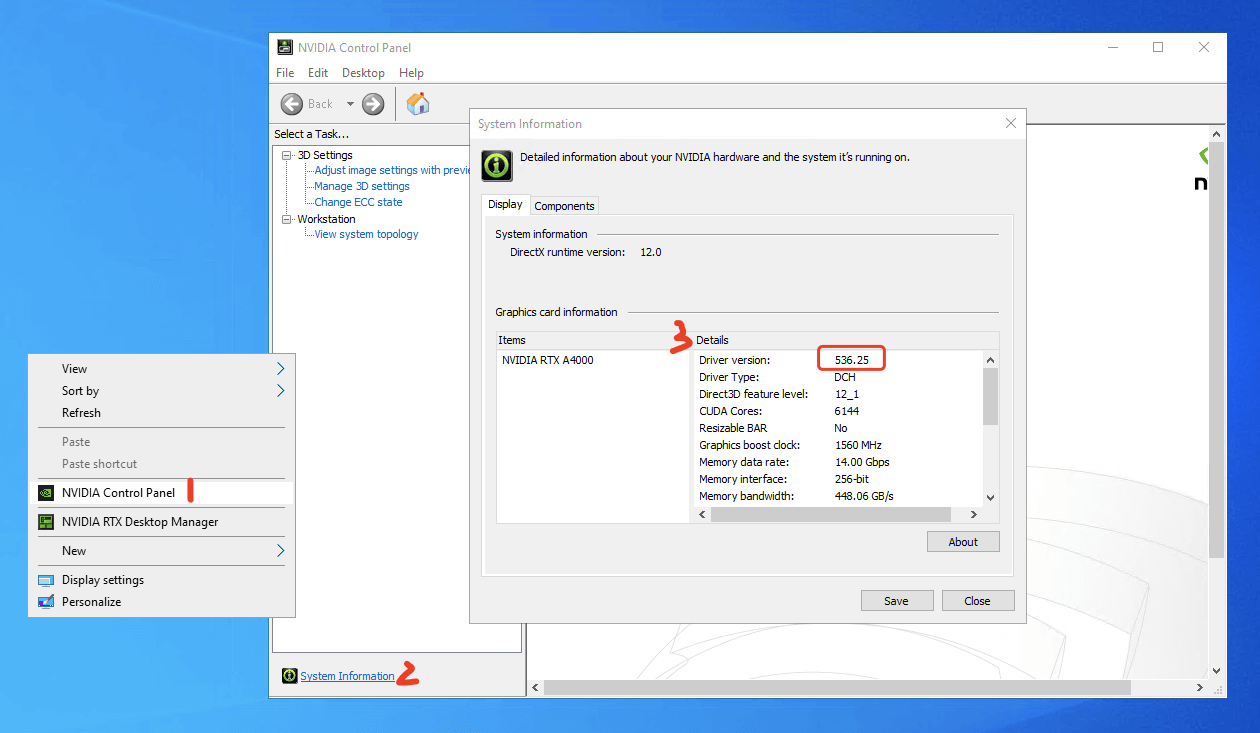
Updating the driver is only half the battle. To truly leverage your NVIDIA hardware, you should familiarize yourself with the NVIDIA Control Panel—a powerful tool that resides in your system tray or desktop right-click menu.
Manage 3D Settings
Within the Control Panel, the “Manage 3D Settings” section allows you to override game settings for better performance. For example, setting “Power management mode” to “Prefer maximum performance” ensures the GPU doesn’t downclock during intense gaming sessions. Enabling “Low Latency Mode” to “Ultra” can significantly reduce the delay between a mouse click and an on-screen action, a crucial factor in competitive titles.
Display Settings and Refresh Rates
Many users update their drivers but forget to check their refresh rate. Under “Change resolution,” ensure your monitor is set to its highest available refresh rate (e.g., 144Hz or 240Hz). Without the correct driver installed and configured, your high-end monitor might be defaulting to a sluggish 60Hz.
The Importance of Thermal Monitoring
While drivers optimize how the chip processes data, they cannot fix physical overheating. After an update, it is good practice to monitor your GPU temperatures using tools like MSI Afterburner or the GFE performance overlay. If you notice temperatures exceeding 85°C regularly, you may need to adjust your fan curves within the software or check your case’s airflow.
In conclusion, maintaining your NVIDIA drivers is the single most effective way to ensure your hardware investment continues to deliver value. By balancing the convenience of GeForce Experience with the precision of manual installations and the deep cleaning of DDU, you can maintain a system that is stable, secure, and ready for any digital challenge. Keep your software as cutting-edge as your hardware, and your system will reward you with years of peak performance.
aViewFromTheCave is a participant in the Amazon Services LLC Associates Program, an affiliate advertising program designed to provide a means for sites to earn advertising fees by advertising and linking to Amazon.com. Amazon, the Amazon logo, AmazonSupply, and the AmazonSupply logo are trademarks of Amazon.com, Inc. or its affiliates. As an Amazon Associate we earn affiliate commissions from qualifying purchases.