
The Graphics Processing Unit (GPU) is the heart of any high-performance Windows 10 workstation, whether it is used for high-fidelity gaming, 3D rendering, or artificial intelligence development. To ensure this hardware operates at its peak potential, the software bridge—the driver—must be kept in optimal condition. NVIDIA frequently releases updates that provide not only performance enhancements and “Game Ready” optimizations but also critical security patches and stability fixes for the Windows 10 environment.
Understanding how to properly manage these updates is essential for maintaining system longevity and performance. This guide explores the multiple methodologies for updating NVIDIA drivers, from automated software solutions to manual installations and deep-cleaning troubleshooting techniques.

Why Keeping NVIDIA Drivers Updated Matters
In the ecosystem of PC hardware, drivers serve as the translator between the operating system and the physical components. For NVIDIA cards, these drivers are complex pieces of software that manage everything from power delivery and thermal throttling to the execution of complex mathematical calculations required for Ray Tracing and Deep Learning Super Sampling (DLSS).
Performance Optimizations for Modern Software
NVIDIA works closely with software developers to release “Game Ready” drivers. These are specifically tuned to provide the best possible performance for new titles on the day of their release. Without the latest update, users may experience lower frame rates, graphical artifacts, or even “CTD” (Crash to Desktop) errors. On Windows 10, these drivers also interface with DirectX 12 Ultimate features, ensuring that the operating system can leverage the hardware’s full feature set.
Security and System Stability
Beyond gaming, drivers contain critical security updates. Vulnerabilities in GPU drivers can occasionally allow for privilege escalation or remote code execution. Furthermore, as Microsoft pushes updates to the Windows 10 kernel, older drivers may become incompatible, leading to the dreaded Blue Screen of Death (BSOD). Regular updates ensure that the driver remains compliant with the latest Windows Display Driver Model (WDDM) standards.
Creative Professional Support
For those using their machines for video editing, 3D modeling, or CAD, NVIDIA offers “Studio Drivers.” These are distinct from the standard Game Ready drivers, as they are tested extensively against professional applications like Adobe Premiere Pro, DaVinci Resolve, and Autodesk Maya. Keeping these updated ensures that the GPU acceleration features within these apps remain stable and efficient.
Method 1: Using NVIDIA GeForce Experience
For the majority of users, the NVIDIA GeForce Experience (GFE) application is the most efficient way to manage driver updates. It automates the detection of your hardware and provides a streamlined interface for downloading and installing the latest software versions.
Installation and Initial Setup
If your system did not come with GeForce Experience pre-installed, it can be downloaded directly from the NVIDIA website. Once installed, the application requires a login. This cloud-based approach allows GFE to save your game optimization settings and provides a unified dashboard for all your NVIDIA hardware.
The Update Process
To update via GFE, follow these steps:
-
Open the NVIDIA GeForce Experience app from your Start menu or system tray.
-
Click on the Drivers tab located in the top-left corner.
-
Click the Check for Updates button in the top-right.
-
If a new version is available, a green Download button will appear. Click it to begin the transfer.
-
Once the download completes, you will be presented with two options: Express Installation and Custom Installation.
Express vs. Custom Installation
The Express Installation is the “set it and forget it” option. It replaces the existing driver while maintaining all your current settings and configurations. However, for users experiencing minor glitches, the Custom Installation is often preferred. By selecting Custom, you can check a box labeled “Perform a clean installation.” This uninstalls the current driver and wipes the previous settings before installing the new version, which can resolve many common software conflicts within Windows 10.
Method 2: Manual Installation via the NVIDIA Website
Advanced users and IT professionals often prefer manual installations. This method provides total control over the version being installed and avoids the need for the GeForce Experience overlay or background telemetry services.
Identifying Your Hardware
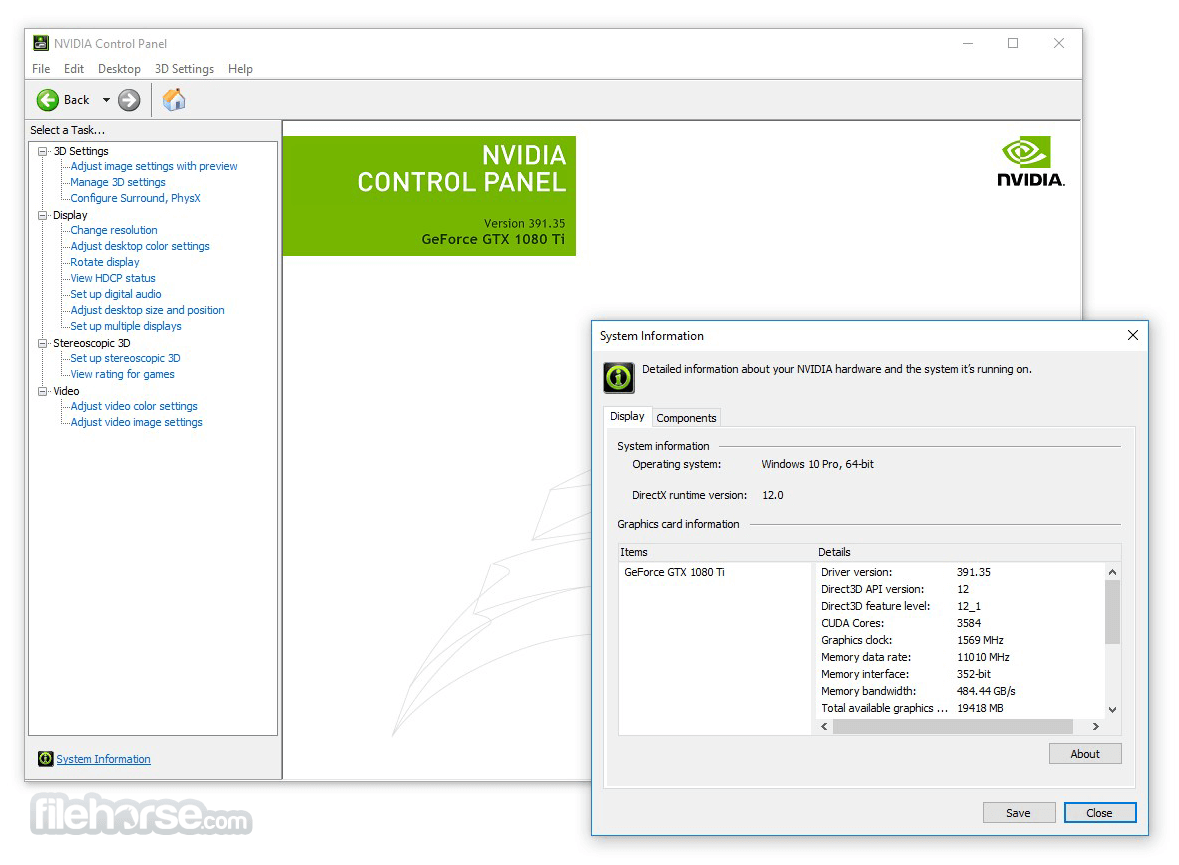
Before downloading a driver manually, you must know the exact model of your GPU. On Windows 10, the easiest way to find this is:
-
Right-click the Start button and select Device Manager.
-
Expand the Display adapters section.
-
Note the name of your card (e.g., NVIDIA GeForce RTX 3070).
Alternatively, you can press Win + R, type dxdiag, and look under the Display tab for detailed hardware information.
Navigating the Download Portal
Visit the official NVIDIA Driver Downloads page. You will encounter several dropdown menus:
-
Product Type: Usually “GeForce” for consumer cards.
-
Product Series: Select the generation (e.g., GeForce RTX 30 Series).
-
Product: The specific model (e.g., GeForce RTX 3070).
-
Operating System: Ensure “Windows 10 64-bit” is selected.
-
Download Type: Choose between “Game Ready Driver” (GRD) for the latest gaming features or “Studio Driver” (SD) for stability in creative apps.
Executing the Installer
Once the .exe file is downloaded, run it with administrative privileges. The installer will first extract the files to a temporary directory. Like the GFE method, you will be given the choice between a standard install or a clean install. It is highly recommended to close all background applications—especially web browsers and hardware monitoring tools—during this process to prevent installation errors.
Method 3: Utilizing Windows Update for Drivers
Windows 10 includes a built-in mechanism for handling hardware drivers via the Windows Update service. While this is the most convenient method, it is generally not recommended for gamers or power users.
How it Works
Microsoft maintains a repository of “WHQL” (Windows Hardware Quality Labs) certified drivers. When you click Check for updates in the Windows 10 Settings menu, the OS checks your hardware IDs against this repository. If a match is found, Windows will automatically download and install the driver in the background.
The Downsides of Windows Update Drivers
The primary issue with Windows Update is that the drivers in Microsoft’s repository are often several months behind the latest releases from NVIDIA. These drivers are prioritized for stability and “plug-and-play” functionality rather than performance. Furthermore, Windows Update does not include the NVIDIA Control Panel or GeForce Experience, meaning you lose access to critical settings like G-Sync configuration, resolution management, and 3D settings.
Troubleshooting Common Driver Issues
Even with sophisticated installers, driver updates on Windows 10 can occasionally fail or result in degraded performance. Understanding how to troubleshoot these issues is vital for maintaining a healthy system.
Using Display Driver Uninstaller (DDU)
When a driver installation becomes corrupted, or if you are switching from an AMD GPU to an NVIDIA GPU, a standard uninstall is often insufficient. Residual registry keys and system files can cause persistent issues.
Display Driver Uninstaller (DDU) is a third-party niche tool recognized by the tech community as the gold standard for “nuking” a driver. To use it effectively:
-
Boot Windows 10 into Safe Mode.
-
Run DDU and select “NVIDIA” from the device type.
-
Choose “Clean and restart.”
-
Once back in normal Windows, install the fresh driver you downloaded manually.
Rolling Back to a Previous Driver
If you find that the latest update causes crashes in a specific application you use, Windows 10 allows you to “Roll Back” to the previous version.
-
Open Device Manager.
-
Right-click your NVIDIA GPU and select Properties.
-
Go to the Driver tab.
-
Click Roll Back Driver.
If the button is greyed out, it means the previous driver files have been deleted (often by a disk cleanup utility), and you will need to manually download an older version from the NVIDIA “Beta and Older Drivers” archive.
Addressing “Installation Failed” Errors
One of the most common errors during an NVIDIA update is the generic “Installation Failed” message. This is frequently caused by a background process holding onto a driver file. To resolve this:
-
Disable any third-party antivirus software temporarily.
-
Ensure that Windows Update is not running in the background.
-
Use the “Clean Installation” checkbox within the NVIDIA installer to ensure old files are purged before the new ones are copied.
Regularly updating your NVIDIA drivers on Windows 10 is more than just a maintenance task; it is a way to ensure your hardware evolves alongside the software it runs. By choosing the right method—whether the automation of GeForce Experience or the precision of a manual install—you ensure that your system remains fast, secure, and ready for whatever digital tasks lie ahead.
aViewFromTheCave is a participant in the Amazon Services LLC Associates Program, an affiliate advertising program designed to provide a means for sites to earn advertising fees by advertising and linking to Amazon.com. Amazon, the Amazon logo, AmazonSupply, and the AmazonSupply logo are trademarks of Amazon.com, Inc. or its affiliates. As an Amazon Associate we earn affiliate commissions from qualifying purchases.