
In the modern computing landscape, the Graphics Processing Unit (GPU) has evolved from a simple component used for rendering desktop windows into a powerhouse of parallel processing. Whether you are a competitive gamer seeking the highest frame rates, a creative professional rendering 8K video, or a researcher training neural networks, your Nvidia graphics card is the engine driving those workloads. However, the hardware is only as capable as the software that instructs it.
Nvidia regularly releases firmware and driver updates that optimize performance, fix critical security vulnerabilities, and introduce groundbreaking features like DLSS (Deep Learning Super Sampling) and Ray Tracking enhancements. Failing to keep these drivers current can lead to system instability, lower graphical fidelity, and even hardware incompatibility with the latest software releases. This guide explores the multifaceted process of updating Nvidia graphics cards, ranging from automated software solutions to manual troubleshooting techniques for power users.
Why Keeping Your Nvidia Drivers Updated is Critical
The relationship between your operating system, your applications, and your hardware is mediated by the driver. For Nvidia users, these drivers are sophisticated pieces of software that contain thousands of lines of code specifically tuned for individual game engines and professional suites like Adobe Premiere Pro or Blender.
Optimization for New Releases
Nvidia maintains a “Game Ready” driver program. This means that for almost every major AAA game release, Nvidia launches a dedicated driver update optimized specifically for that title. These updates often include “day-zero” patches that prevent crashes and significantly improve frame rate stability. Without these updates, you might find that a brand-new game performs poorly even on high-end hardware like an RTX 4090.
Security and Stability
Beyond performance, updates often address security vulnerabilities. Graphics drivers operate at a high level of privilege within the Windows or Linux kernel. If a vulnerability is discovered, malicious actors could potentially exploit it to gain unauthorized access to your system. Regular updates ensure that these loopholes are closed. Furthermore, “General Stability” fixes resolve issues like “Blue Screen of Death” (BSOD) errors, flickering displays, or unexpected system reboots that occur during high-load scenarios.
Unlocking New Features
Nvidia is a leader in AI-driven graphics. Through driver updates, the company frequently introduces or improves features such as Nvidia Reflex (to reduce input latency), Nvidia Broadcast (for AI-powered noise removal), and the various iterations of DLSS. Often, a driver update can feel like a hardware upgrade by enabling more efficient ways for the GPU to process data.
Method 1: Using Nvidia GeForce Experience
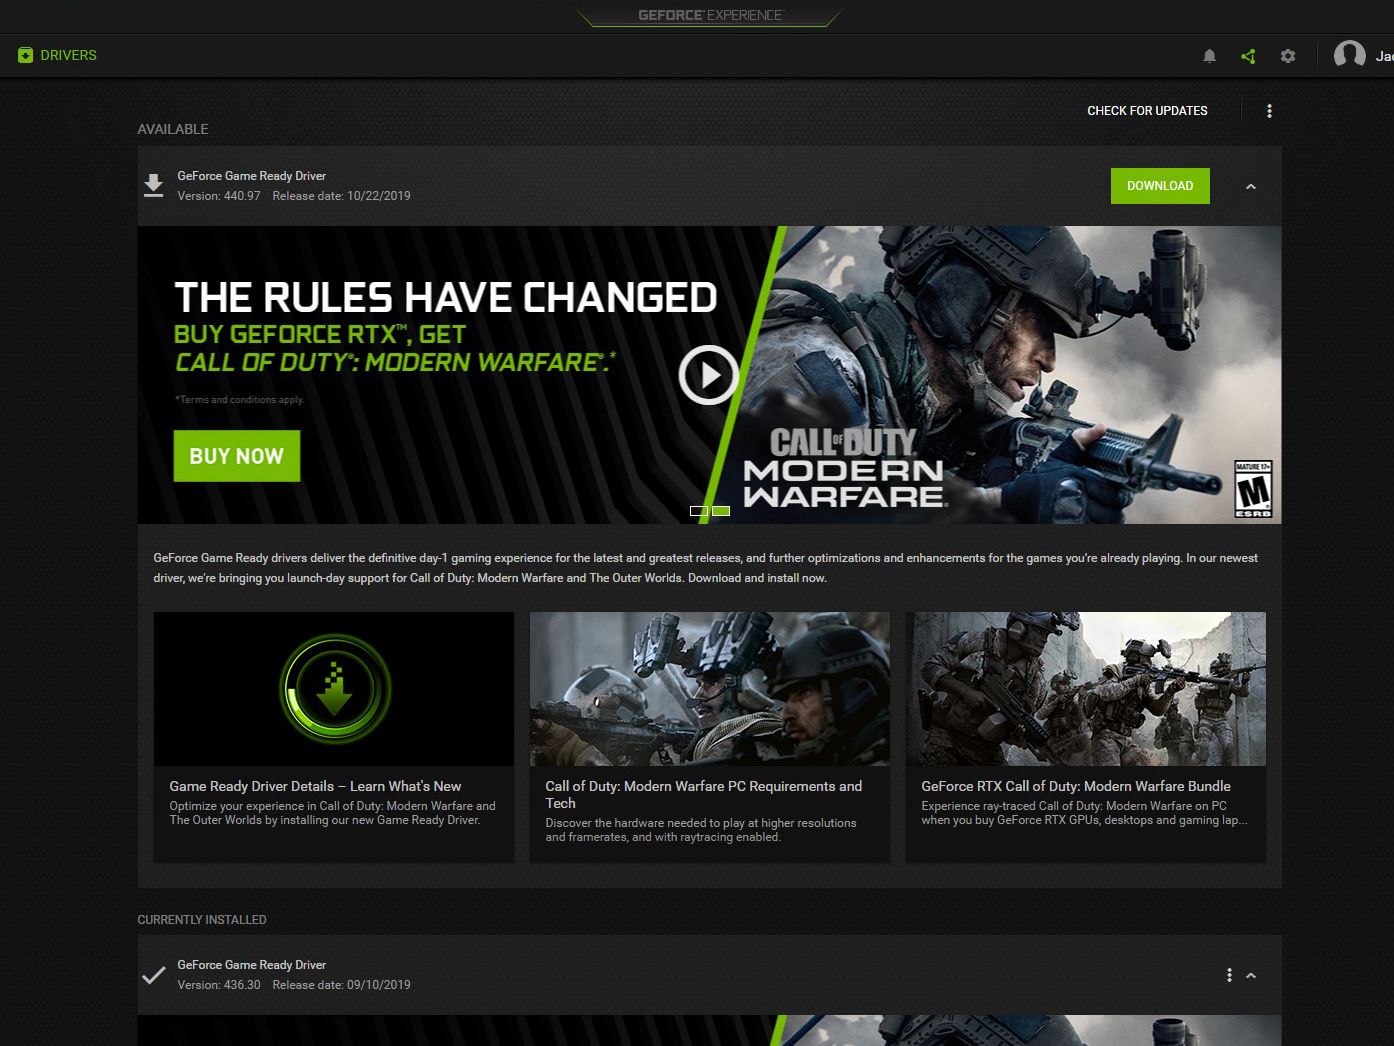
For the vast majority of users, Nvidia GeForce Experience (GFE) is the most efficient and user-friendly way to manage driver updates. This companion application acts as a central hub for your GPU, offering automatic notifications when a new update is available.
Setting Up Automatic Notifications
When you install GeForce Experience, it runs as a background process. To check for updates manually within the app:
-
Open the Nvidia GeForce Experience application.
-
Navigate to the Drivers tab located in the top-left corner.
-
Click on the Check for Updates button.
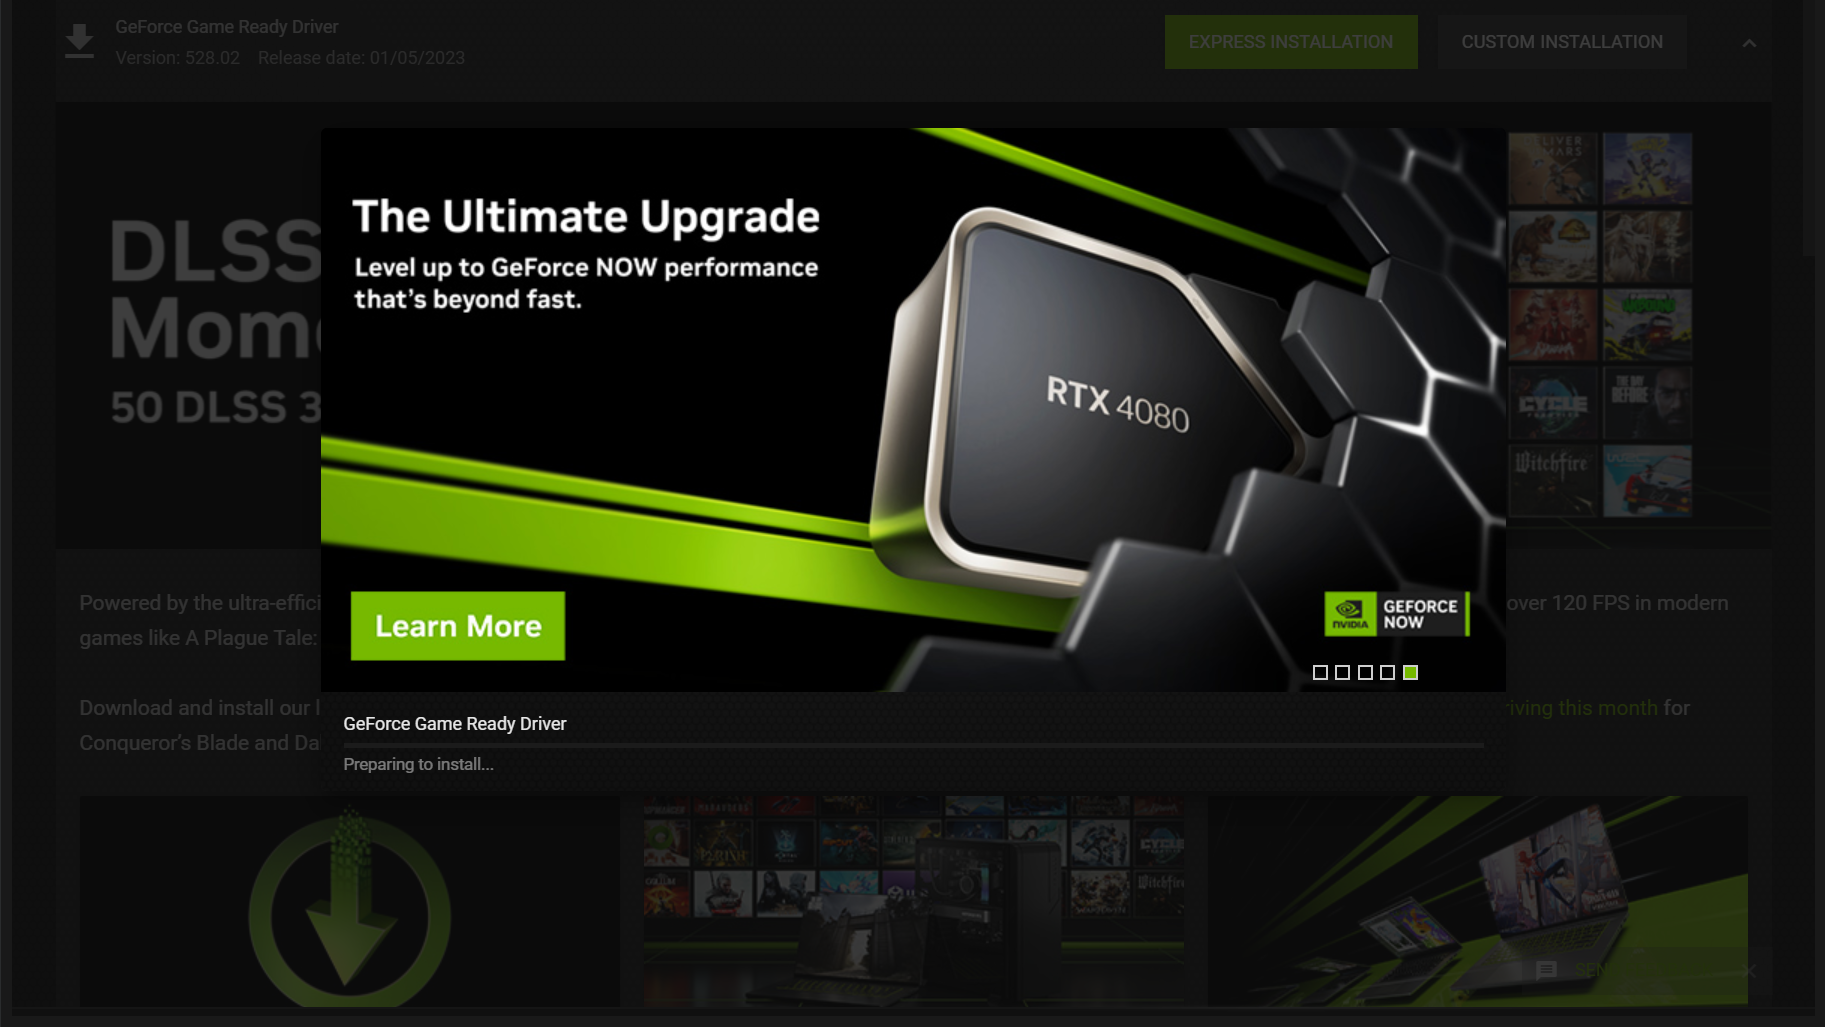
If an update is available, a version number and a release date will appear along with a “Download” button. Once the download completes, you are presented with two choices: “Express Installation” and “Custom Installation.”
Express vs. Custom Installation
The Express Installation is recommended for most users. It automates the entire process, retaining your previous settings and overwriting the old driver files seamlessly. Your screen may flicker or turn black momentarily during this process; this is normal as the display path is handed over to the new driver.
The Custom Installation is preferred by enthusiasts. It allows you to select which components to install (such as the HD Audio Driver or PhysX System Software). More importantly, it offers the “Perform a clean installation” checkbox. Selecting this will wipe all previous profiles and settings, which is highly effective if you have been experiencing glitches or performance degradation.
Method 2: Manual Installation via the Nvidia Website
There are scenarios where using GeForce Experience is not ideal—for example, on professional workstations where “bloatware” is discouraged, or on systems with restricted internet access. In these cases, manual installation is the standard protocol.
Finding the Right Driver
To manually update, you must visit the official Nvidia Driver Downloads page. You will need to know your specific hardware details:
-
Product Type: (e.g., GeForce, Quadro, Tesla).
-
Product Series: (e.g., GeForce RTX 40 Series, GeForce GTX 16 Series).
-
Product: (e.g., GeForce RTX 4070 Ti).
-
Operating System: (e.g., Windows 11, Linux 64-bit).
-
Download Type: Here, you must choose between Game Ready Driver (GRD) and Studio Driver (SD).
Game Ready vs. Studio Drivers
The Game Ready Driver is optimized for the latest games and provides the most frequent updates. If you use your PC primarily for entertainment, this is the correct choice.
The Studio Driver is designed for stability and is tested against professional creative applications. It is updated less frequently but undergoes more rigorous testing in environments like Maya, AutoCAD, and the Adobe Creative Cloud. For video editors and 3D artists, the Studio Driver is the gold standard for reliability.
The Installation Process
Once the executable file (.exe) is downloaded, run it as an administrator. The installer will extract the necessary files to a temporary folder and then launch a compatibility check. From there, the process mirrors the GeForce Experience “Custom” installation. It is always advisable to reboot your computer after a manual installation to ensure that the driver is correctly initialized in the system registry.
Advanced Troubleshooting: Clean Installs and DDU
Sometimes, a standard update isn’t enough. If you are moving from an older architecture to a newer one (e.g., upgrading from a GTX 1080 to an RTX 4080) or if you are experiencing persistent crashes, a “dirty” update—where files are simply overwritten—can cause conflicts.
When to Use Display Driver Uninstaller (DDU)
Display Driver Uninstaller (DDU) is a third-party niche utility highly regarded in the tech community. It is designed to completely remove all traces of previous graphics drivers, including registry keys, folders, and driver stores that the standard Nvidia uninstaller might leave behind.
To perform a truly clean install:
-
Download the latest Nvidia driver and DDU.
-
Disconnect your internet (to prevent Windows Update from automatically installing a generic driver).
-
Boot your PC into Safe Mode.
-
Run DDU and select “Clean and restart.”
-
Once back in normal Windows, run the Nvidia driver installer you downloaded earlier.
This process ensures that no legacy code interferes with the new driver, providing a “factory fresh” software environment for your GPU.
Post-Update: Maximizing Your GPU’s Potential
Updating the driver is only half the battle. To ensure you are getting the most out of the new software, there are a few post-installation steps to consider within the Nvidia Control Panel.
Configuring Performance Settings
Right-click on your desktop and select Nvidia Control Panel. Under “Manage 3D Settings,” ensure that “Power management mode” is set to “Prefer maximum performance” if you are on a desktop. This prevents the GPU from aggressively down-clocking during transitions in 3D workloads.
Enabling Resizable BAR
For users with RTX 30-series or 40-series cards, ensure that Resizable BAR is enabled. This is a PCI Express technology that allows the CPU to access the entire GPU frame buffer at once, rather than in small bursts. While this often requires a BIOS update for your motherboard, the Nvidia driver must also be current to support the integration. You can verify if it is active by clicking “System Information” in the bottom-left corner of the Nvidia Control Panel.
Checking for Firmware Updates
Occasionally, the hardware itself requires an update. Nvidia sometimes releases “GPU Firmware Update Tools” for specific issues, such as DisplayPort 1.4 compatibility or enabling specific UEFI features. These are separate from drivers and are usually found on the support page for your specific card manufacturer (e.g., ASUS, MSI, EVGA).
By maintaining a disciplined update schedule and understanding the nuances between different driver types and installation methods, you ensure that your Nvidia graphics card remains a reliable, high-performance component. Whether through the automated ease of GeForce Experience or the precision of a manual DDU-assisted installation, keeping your software current is the single most effective way to protect your hardware investment and optimize your digital experience.
aViewFromTheCave is a participant in the Amazon Services LLC Associates Program, an affiliate advertising program designed to provide a means for sites to earn advertising fees by advertising and linking to Amazon.com. Amazon, the Amazon logo, AmazonSupply, and the AmazonSupply logo are trademarks of Amazon.com, Inc. or its affiliates. As an Amazon Associate we earn affiliate commissions from qualifying purchases.