
The world of digital assets, from cryptocurrencies to NFTs, operates on a foundation of cryptographic security and distributed ledger technology. At the heart of interacting with this ecosystem lies the digital wallet – a crucial piece of software that enables users to manage their assets securely. Among the various options available, Coinbase Wallet stands out as a popular choice for its balance of user-friendliness and robust functionality. This guide delves into the technical setup of Coinbase Wallet, focusing on its architecture, security protocols, and the step-by-step process of getting started, strictly from a technological perspective.

It’s critical from the outset to distinguish between Coinbase Wallet and the Coinbase Exchange. While both are products of Coinbase Inc., they serve fundamentally different technical roles. The Coinbase Exchange is a custodial platform where Coinbase holds the private keys to your assets on your behalf, acting as a third-party intermediary. Coinbase Wallet, conversely, is a self-custody (or non-custodial) wallet. This means you, and only you, possess the private keys and the ultimate control over your digital assets. This distinction is paramount in understanding the security responsibilities and technical autonomy that come with setting up and using a self-custody wallet. Our focus here is entirely on the technical aspects of establishing and securing this self-custody environment.
Understanding Coinbase Wallet: Architecture and Security Principles
To effectively set up and utilize Coinbase Wallet, a foundational understanding of its underlying architecture and the cryptographic security principles it employs is essential. This technical insight empowers users to navigate the digital asset landscape with greater confidence and responsibility.
Self-Custody vs. Exchange Wallets: A Technical Divide
The core technical difference between a self-custody wallet like Coinbase Wallet and an exchange wallet (or custodial wallet) lies in the ownership and management of private keys. In a self-custody model, the user directly holds the private keys, which are cryptographic strings proving ownership of digital assets on a blockchain. This means transactions initiated from your Coinbase Wallet are signed by your device using your locally stored private keys, without any third party’s intervention. This offers unparalleled control and eliminates counterparty risk, as no entity can freeze or seize your funds.
Technically, this responsibility is a double-edged sword. While it grants absolute sovereignty over your assets, it also places the entire burden of security and backup on the user. Losing your private keys or having them compromised means permanent and irreversible loss of your digital assets, as there is no central authority to appeal to for recovery.
Key Cryptographic Concepts: The Bedrock of Security
The security of Coinbase Wallet, and indeed all self-custody wallets, rests on fundamental cryptographic concepts.
Seed Phrase (Recovery Phrase)
The seed phrase, often a sequence of 12 or 24 seemingly random words (e.g., “apple banana cherry …”), is not merely a password; it is the master key to your entire wallet. Technically, it is a human-readable representation of a very large number, from which all your wallet’s private keys and public addresses are deterministically generated using a standard like BIP-39. This hierarchical deterministic (HD) wallet structure means that a single seed phrase can derive an unlimited number of private key/public address pairs across various cryptocurrencies and blockchains.
The seed phrase must be treated with the utmost secrecy and protection. If someone gains access to your seed phrase, they gain complete, immediate, and irreversible control over all assets associated with it. Conversely, if you lose your seed phrase, you lose access to your assets forever, even if you still have the app installed on your device. The device itself only holds a cached, encrypted version of the keys. The seed phrase is the ultimate recovery mechanism, allowing you to restore your wallet on any compatible device.
Private Keys
While generally hidden from the user, understanding their role is crucial. Each unique digital asset address (e.g., an Ethereum address) has an associated private key. This key is a cryptographic secret, a long string of alphanumeric characters, mathematically linked to your public address. When you want to send assets or interact with a decentralized application (DApp), your wallet uses the relevant private key to cryptographically “sign” the transaction. This digital signature proves that you, the owner of the private key, authorize the transaction. The signed transaction is then broadcast to the blockchain network for validation and inclusion.
Public Keys / Wallet Addresses
Derived from your private key, a public key is used to generate your wallet address. This address is what you share with others to receive digital assets. It’s akin to a bank account number, publicly viewable and non-sensitive. However, unlike a bank account, your public address doesn’t reveal your identity unless you choose to link it. It’s the destination for any incoming transactions.
Supported Blockchains and Digital Assets: Interoperability
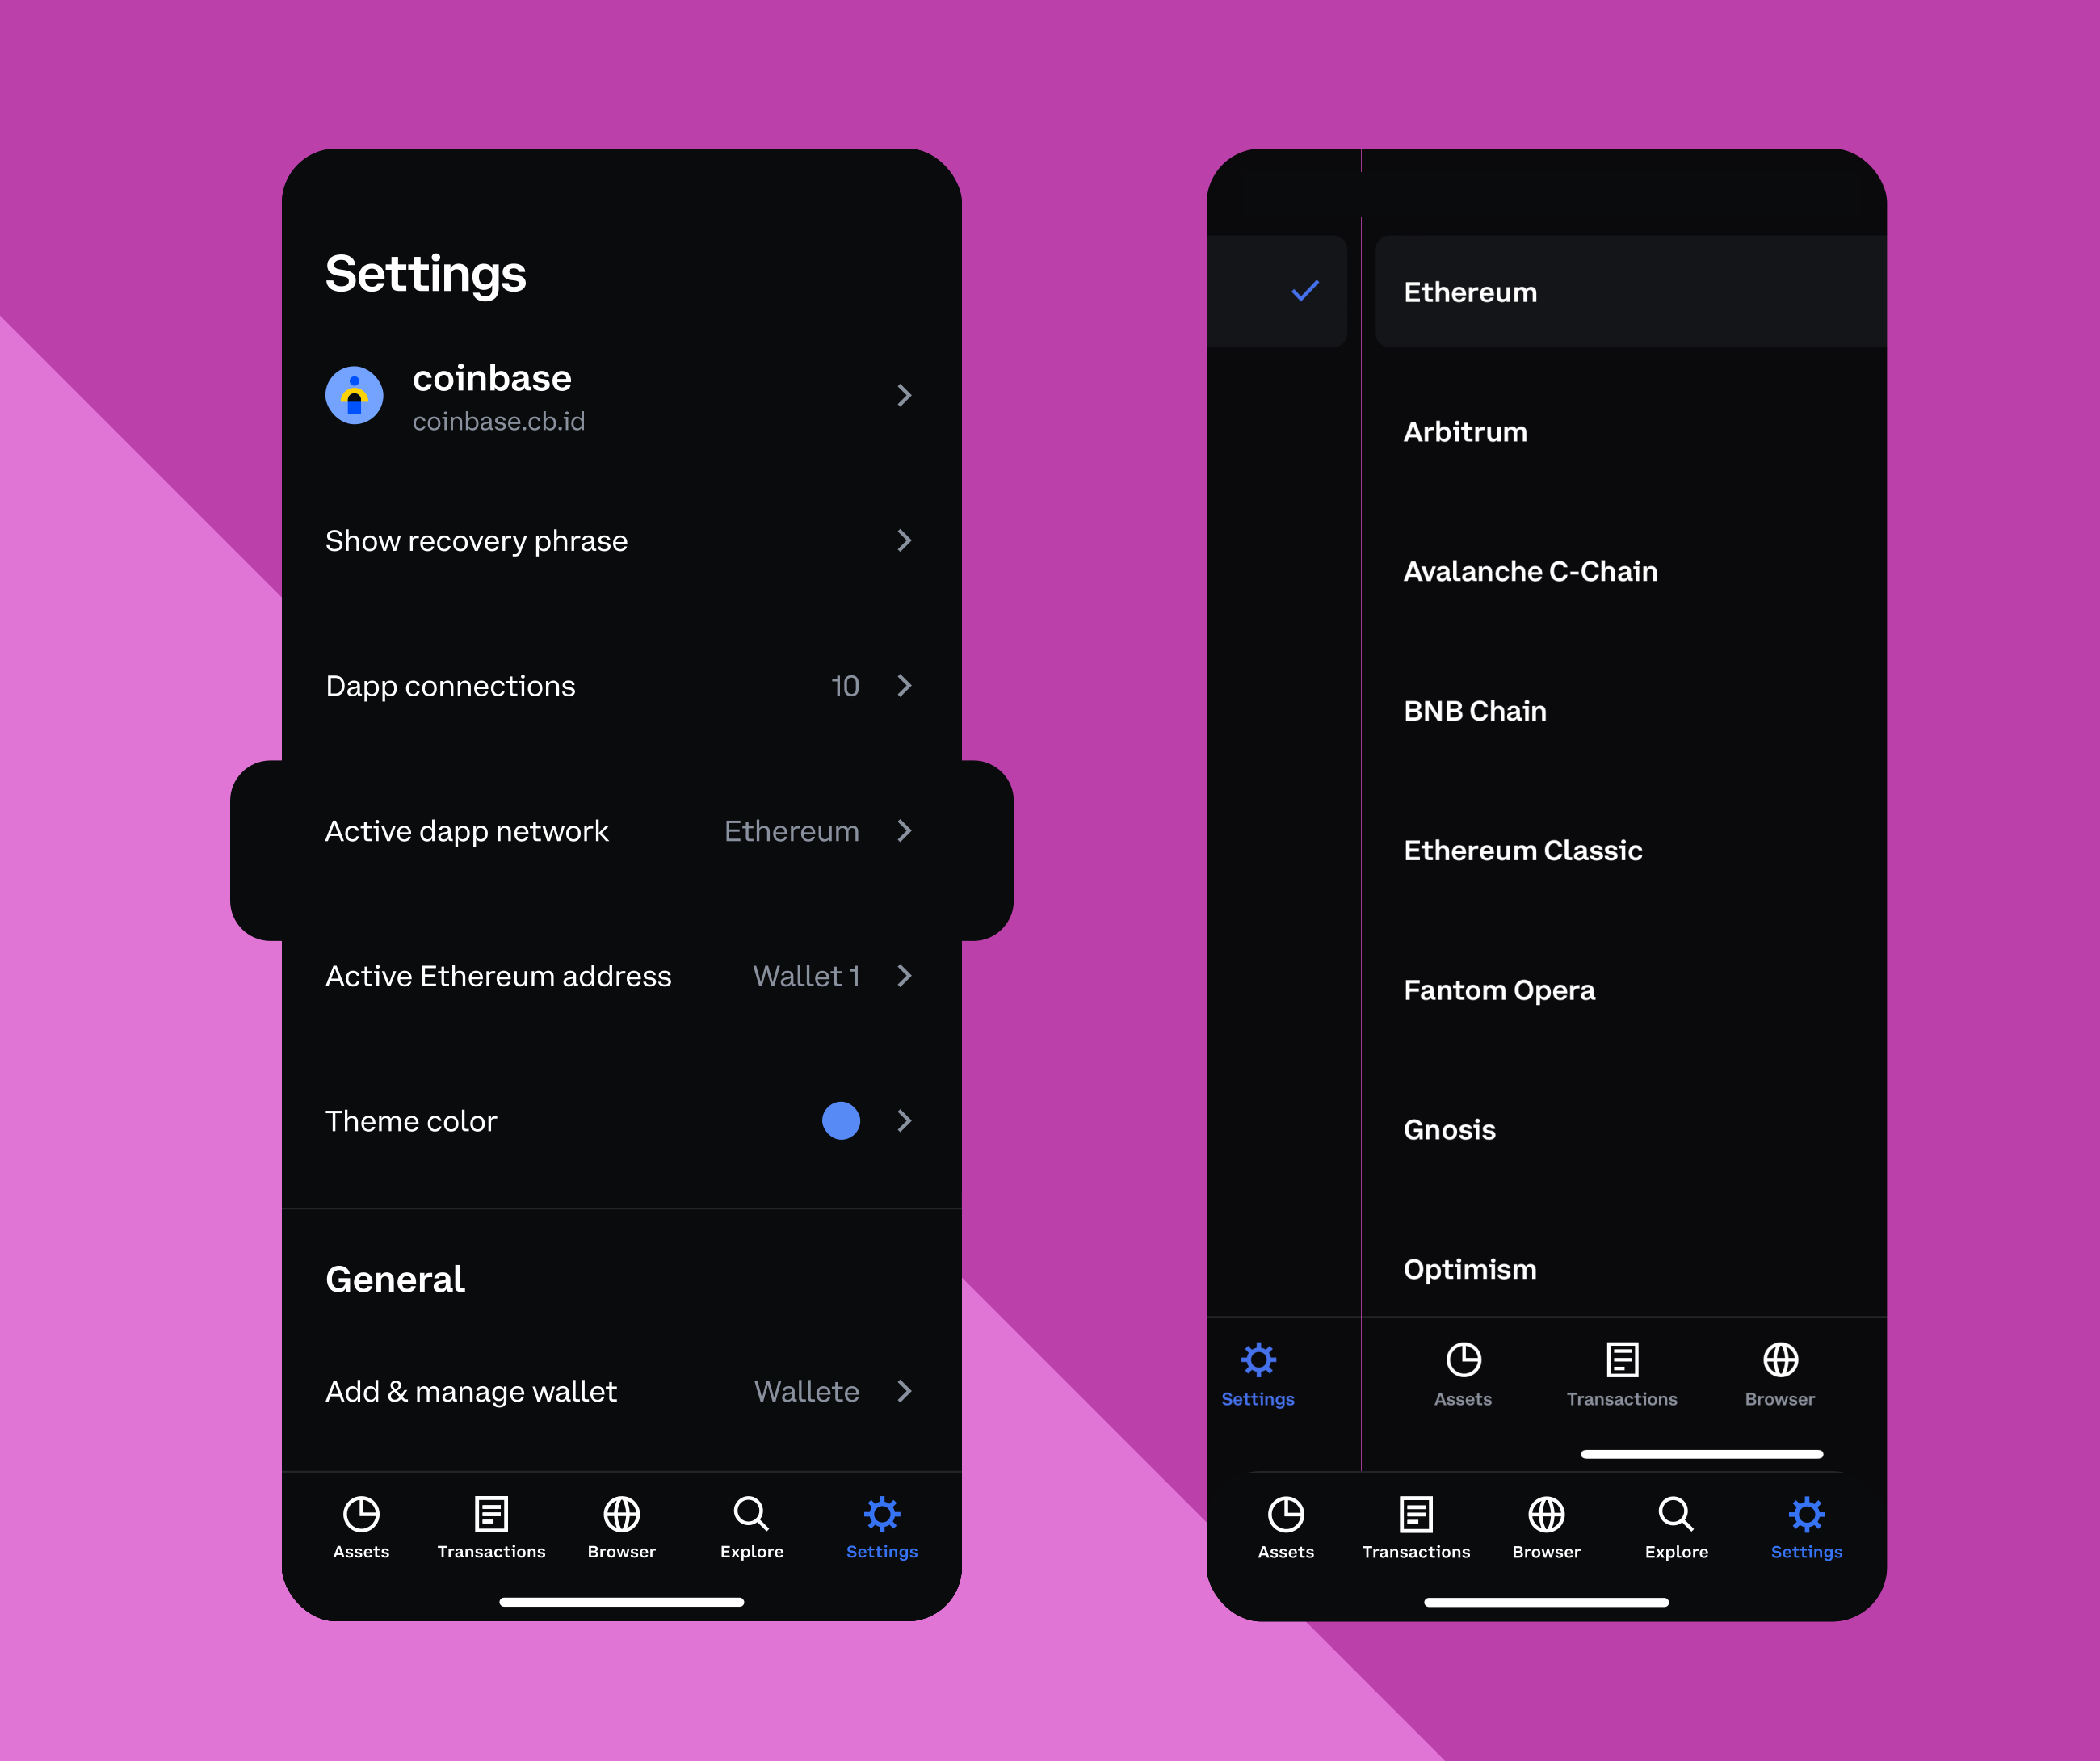
Coinbase Wallet is designed to be a multi-chain wallet, supporting a wide array of blockchain networks and the digital assets built upon them. Primarily, it offers robust support for Ethereum and all Ethereum Virtual Machine (EVM)-compatible networks, such as Polygon, BNB Smart Chain, Optimism, Arbitrum, Avalanche C-Chain, and Base. This technical compatibility is crucial because assets (tokens) on these networks adhere to common standards (like ERC-20 for fungible tokens or ERC-721 for NFTs), allowing the wallet to seamlessly display, send, and receive them.
Beyond EVM chains, Coinbase Wallet has extended its technical capabilities to support other prominent networks like Solana. This multi-chain functionality allows users to manage a diverse portfolio of assets from a single interface, reducing the need for multiple specialized wallets and enhancing the overall user experience. Understanding which networks are supported is vital, as sending an asset to an incompatible network from your wallet can lead to irreversible loss.
Step-by-Step Technical Setup Process
Setting up your Coinbase Wallet involves a series of critical technical steps, each designed to establish your self-custody environment and ensure its security. Adhering to these instructions precisely is paramount.
Downloading and Initializing the Application
The first technical step is to acquire the official Coinbase Wallet application. This is available as a mobile app for iOS (Apple App Store) and Android (Google Play Store), and as a browser extension for web browsers like Chrome, Brave, and Edge.
-
Official Source Verification: Always download the app or extension from the official sources. For mobile, verify the developer is “Coinbase, Inc.” For browser extensions, ensure the publisher is “Coinbase” and check the reviews and user count. Malicious actors frequently publish fake apps designed to steal your assets.
-
Initial Launch: Upon launching the app or extension for the first time, you’ll be presented with two primary options: “Create a new wallet” or “Restore an existing wallet.” Since this guide focuses on the initial setup, you will select “Create a new wallet.”
-
Terms of Service and Privacy Policy: Technically, you are agreeing to the software’s operational parameters and data handling. It’s advisable to review these.
Generating and Securing Your Recovery Phrase
This is the single most critical technical step in the entire setup process. Your seed phrase is generated locally on your device using cryptographic randomness.
-
Seed Phrase Generation: The wallet will display a sequence of 12 or 24 words. This is your seed phrase.
-
OFFLINE Transcription: Crucially, write down this seed phrase on physical paper. Use multiple copies, perhaps storing them in separate secure, fireproof locations. Do not type it, screenshot it, email it to yourself, store it in cloud storage (even encrypted), or save it in any digital format. Digital storage is inherently vulnerable to hacking, malware, or device failure. The purpose of a seed phrase is to be a completely offline, air-gapped backup.
-
Verification: The wallet will then ask you to re-enter a few words from your phrase to confirm you’ve transcribed it correctly. This is a technical check to ensure accuracy before proceeding. A single typo will render your backup useless.
-
Understanding Consequences: Internalize that the security of your assets directly hinges on the security of this phrase. Its loss means irrevocable loss of assets; its compromise means irreversible theft of assets. No support team, including Coinbase’s, can recover your seed phrase or your funds if it’s lost or stolen.
Setting Up Your Passcode/Biometric Authentication
After securing your recovery phrase, you’ll set up a local authentication method.
-
Passcode/PIN: You will be prompted to create a 6-digit PIN code. This passcode protects the app on your device from unauthorized access. It is not your seed phrase, and it does not protect your seed phrase. If someone gains access to your device and bypasses this passcode, they would still need your seed phrase to reconstruct your wallet if the device is reset or lost.
-
Biometric Authentication: You may also have the option to enable biometric authentication (Face ID, Touch ID, fingerprint scan). This provides a convenient and often more secure way to unlock the app on your specific device. This is also a local device security measure.
Optional: Setting Up Cloud Backup (with Caveats)
Coinbase Wallet offers an optional feature to back up your encrypted seed phrase to iCloud or Google Drive. While convenient, this comes with significant technical security trade-offs.
-
Technical Mechanism: The wallet encrypts your seed phrase using a password you create and then uploads this encrypted blob to your cloud storage.
-
Security Trade-offs:
-
Password Strength: The security of this cloud backup entirely depends on the strength of the password you choose. A weak password makes the encrypted data vulnerable to brute-force attacks if accessed by an attacker.
-
Cloud Account Security: If your iCloud or Google account is compromised (e.g., via phishing, weak password, or social engineering), the attacker could potentially gain access to the encrypted backup. While the backup is encrypted, this adds another layer of attack surface.
-
Privacy: While encrypted, you are entrusting your sensitive cryptographic material to a third-party cloud provider.
-
-
Recommendation: For maximum security, the manual, offline transcription of your seed phrase remains the gold standard. If you opt for cloud backup, use an exceptionally strong, unique password and ensure your cloud account has multi-factor authentication (MFA) enabled. Understand that this option introduces a potential point of failure external to your direct control.
Navigating the Coinbase Wallet Interface and Core Features
Once your wallet is set up, understanding its interface and primary functionalities from a technical perspective is key to effective management of your digital assets.
Wallet Address Management
Your wallet will display your primary public address (e.g., an Ethereum address) for receiving assets.
-
Viewing and Copying: The interface provides a clear way to view your full address and a one-tap option to copy it to your clipboard.
-
QR Codes: For convenience, a QR code representation of your address is usually available, allowing others to scan and send funds without manual input, reducing transcription errors.
-
Multiple Addresses: For some networks or for privacy reasons, you may generate new addresses within the same wallet. Technically, these are all deterministically derived from your single seed phrase.
Sending and Receiving Digital Assets
This core functionality involves interacting directly with blockchain networks.
-
Receiving: To receive assets, simply provide your public wallet address to the sender. No action is required on your part within the wallet beyond monitoring the incoming transaction. The blockchain network handles the transfer.
-
Sending:
-
Recipient Address: You’ll input the recipient’s public wallet address. Accuracy is paramount; a single incorrect character can send funds irreversibly to an unknown address.
-
Asset and Amount: Select the specific digital asset and the quantity you wish to send.
-
Network Fees (Gas): Every transaction on most blockchains (especially EVM chains) incurs a “gas fee,” which is a payment to network validators for processing and securing the transaction. The wallet will estimate this fee, and you’ll often have options to adjust its priority (and thus cost/speed).
-
Transaction Signing: Upon confirmation, your wallet will prompt you to authorize the transaction, using your private keys (secured by your passcode/biometrics) to create a digital signature.
-
Broadcasting: The signed transaction is then broadcast to the relevant blockchain network.
-
Transaction ID (TxHash): Once broadcast, the transaction receives a unique identifier (TxHash). You can use this hash on a blockchain explorer (e.g., Etherscan) to technically track the transaction’s status (pending, confirmed, failed) and its inclusion in a block.
-
DApp Browser and Web3 Interoperability
Coinbase Wallet features a built-in DApp browser, a crucial technical gateway to the decentralized web (Web3).
-
Direct Interaction: This browser allows you to directly connect to decentralized applications (DApps) – applications that run on a blockchain rather than a centralized server.
-
WalletConnect Protocol: Often, this connection is facilitated by protocols like WalletConnect, which establishes a secure, encrypted bridge between your mobile wallet and a DApp running in a desktop browser or another mobile DApp.
-
Transaction Approvals: When interacting with DApps (e.g., swapping tokens on a DEX, minting an NFT, lending assets), the DApp will request permissions or transactions from your wallet. Your wallet acts as the secure signer. Always review the details of these requests carefully. Understanding smart contract interactions is vital here; granting approval means allowing the smart contract to perform specific actions with your assets.
Token Swapping and Bridging (Basic Technical Overview)
Coinbase Wallet integrates functionalities for swapping tokens and, in some cases, bridging them between chains.
-
Token Swapping (DEX Integration): The wallet often leverages decentralized exchange (DEX) protocols behind the scenes. When you initiate a swap, your wallet technically interacts with a smart contract on a DEX (like Uniswap or SushiSwap) that holds liquidity for the token pair. Your assets are exchanged based on the prevailing liquidity pool prices.
-
Bridging: Moving assets between different, incompatible blockchains (e.g., Ethereum to Solana) requires a “bridge.” This typically involves locking your assets on the source chain and minting an equivalent representation on the destination chain. Bridges are complex technical infrastructures and have historically been targets for exploits, so understanding their risks is important.
Advanced Technical Considerations and Best Practices
To truly master the technical aspects of Coinbase Wallet and digital asset security, consider these advanced points.
Multi-Signature Wallets (Brief Mention)
While Coinbase Wallet itself is a single-signature wallet (meaning one private key signs transactions), the concept of multi-signature (multisig) wallets exists for enhanced security, particularly for shared treasuries or institutional use. Multisig requires multiple private key holders to sign a transaction before it’s executed, adding a technical layer of collaborative security.
Hardware Wallet Integration
For long-term storage of significant digital assets (cold storage), integrating your Coinbase Wallet with a hardware wallet (e.g., Ledger, Trezor) is the gold standard for security.
-
Technical Mechanism: A hardware wallet keeps your private keys physically isolated offline. When you want to sign a transaction, the transaction data is sent to the hardware wallet, where you physically confirm it. The signature is then sent back to your Coinbase Wallet for broadcasting, but your private keys never leave the secure hardware device.
-
Air-Gapped Security: This “air-gapped” approach significantly mitigates risks from malware, phishing, and online attacks, as the private keys are never exposed to an internet-connected device.
Understanding Network Fees (Gas)
Gas fees are not profit for Coinbase; they are payments to the decentralized network’s validators/miners for their computational work in processing and securing your transaction.
-
Units of Work: Every operation on a blockchain (sending tokens, interacting with a smart contract) consumes “gas,” a unit of computational effort.
-
Gas Price: The “gas price” (e.g., in Gwei for Ethereum) is the cost per unit of gas. This price fluctuates based on network congestion (supply and demand for block space).
-
Total Fee: Your total transaction fee is
gas_units_used * gas_price. Higher network activity means higher gas prices, leading to more expensive transactions. Your wallet estimates these fees and allows for some customization (e.g., faster transaction means paying a higher gas price).

Regular Security Audits and Updates
Maintaining the technical integrity of your digital asset management relies on proactive measures.
-
App Updates: Regularly update your Coinbase Wallet application. Updates often include critical security patches, bug fixes, and performance enhancements. Running outdated software can expose you to known vulnerabilities.
-
Device Security: Ensure the device hosting your Coinbase Wallet is also secure. Keep its operating system updated, use strong passwords for device access, and install reputable anti-malware software (though its effectiveness against sophisticated crypto exploits can be limited).
-
Transaction Monitoring: Periodically review your transaction history within the wallet and on blockchain explorers. Look for any unrecognized activity.
-
Phishing Awareness: Be perpetually vigilant against phishing attempts. Never click on suspicious links, download unsolicited files, or share your seed phrase or private keys with anyone, regardless of who they claim to be.
In conclusion, setting up Coinbase Wallet is a technical process that grants you profound control over your digital assets. This control, however, comes with significant personal responsibility. By understanding the cryptographic underpinnings, diligently following the setup procedures, and adhering to best practices for digital security, you can confidently navigate the decentralized landscape, securing your assets and participating in the evolving Web3 economy. The power and responsibility are truly in your hands.
aViewFromTheCave is a participant in the Amazon Services LLC Associates Program, an affiliate advertising program designed to provide a means for sites to earn advertising fees by advertising and linking to Amazon.com. Amazon, the Amazon logo, AmazonSupply, and the AmazonSupply logo are trademarks of Amazon.com, Inc. or its affiliates. As an Amazon Associate we earn affiliate commissions from qualifying purchases.