
Minecraft, the universally beloved sandbox game, offers players an unparalleled canvas for creativity, not just within its blocky worlds but also in how the game itself looks and feels. While the default textures are iconic, part of Minecraft’s enduring appeal lies in its extensibility. Texture packs, now officially known as resource packs, empower players to completely overhaul the visual aesthetic of their game, from the most subtle changes to a radical artistic transformation. This guide delves into the comprehensive process of installing these custom visual enhancements in Minecraft Java Edition, ensuring a seamless and enriched gaming experience.
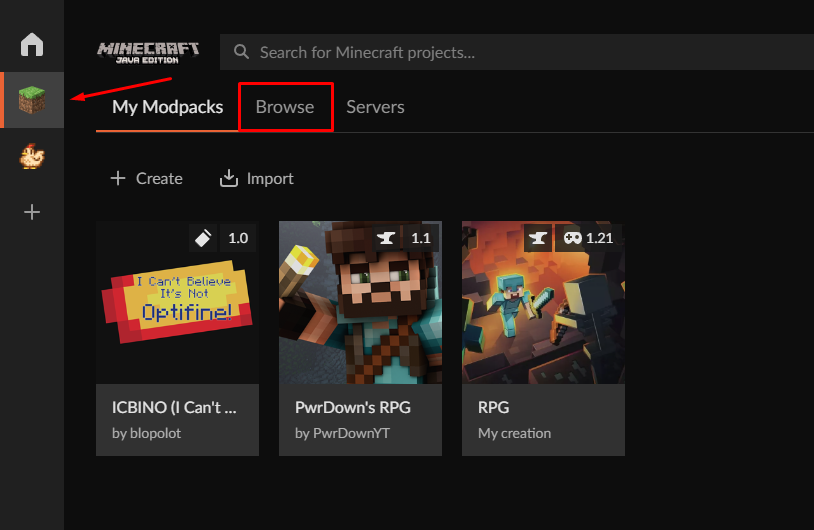
Understanding Minecraft Texture Packs and Their Allure
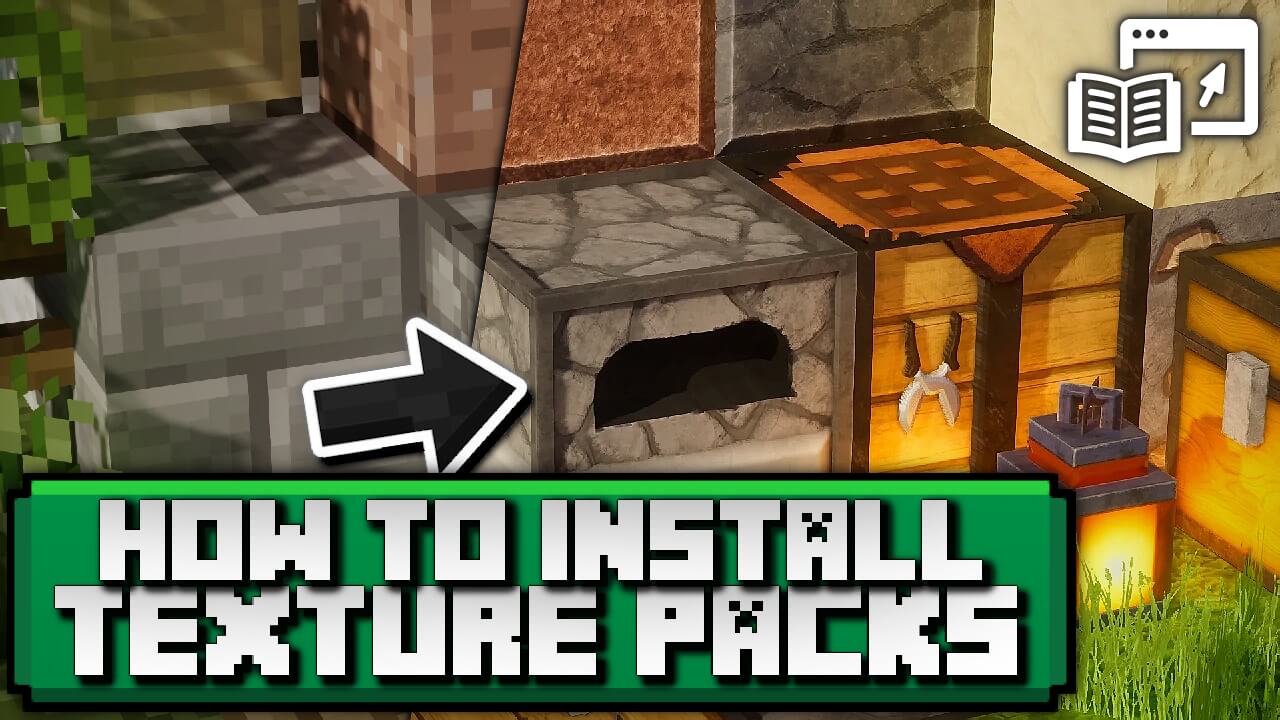
At its core, a texture pack is a collection of files that modifies the default textures, models, sounds, and sometimes even fonts within Minecraft. These packs allow players to tailor their game’s appearance to their personal taste, offering everything from ultra-realistic graphics that push the boundaries of visual fidelity to simplistic, cartoonish styles or even packs that evoke nostalgia for classic console eras. The allure is multi-faceted: it breathes new life into familiar worlds, enhances immersion, and provides a unique aesthetic signature to one’s gameplay.
What Exactly Are Resource Packs?
The term “texture pack” is largely a legacy term from earlier versions of Minecraft. With Minecraft 1.6 and later, Mojang introduced “resource packs,” which are a more encompassing system. While they still primarily change textures, resource packs can also modify sounds, music, language files, splash screens, and even the appearance of item models. This broader functionality makes them incredibly versatile tools for customization, allowing creators to craft truly unique thematic experiences. Despite the official nomenclature, many players still refer to them colloquially as texture packs, given their primary function.
The Benefits of Customizing Your Minecraft Experience
The most immediate benefit of installing a texture pack is aesthetic pleasure. Playing with a fresh visual style can make familiar landscapes feel new again, encouraging exploration and rekindling interest in the game. Beyond mere cosmetics, some texture packs are designed for specific purposes:
-
Performance Enhancement: “Lite” or low-resolution packs can reduce the strain on your GPU, leading to smoother gameplay on less powerful systems.
-
Competitive Advantage: PvP (Player vs. Player) packs often feature clearer interfaces, simplified textures, and distinct item designs that can improve visibility and reaction times in combat.
-
Role-Playing and Immersion: Themed packs can transport players into specific historical periods, fantasy realms, or sci-fi universes, enriching role-playing scenarios and creative builds.
-
Accessibility: Some packs offer clearer contrasts or simplified visuals that can be beneficial for players with certain visual impairments.
Ultimately, customizing your Minecraft experience with texture packs transforms the game from a standard off-the-shelf product into a personalized, unique digital canvas that truly reflects your individual preferences.
Prerequisites for Installation: Getting Your System Ready
Before diving into the installation process, it’s crucial to ensure your system is prepared. Neglecting these preliminary steps can lead to frustration, game crashes, or packs failing to load correctly. A little preparation goes a long way in ensuring a smooth and enjoyable transition to your new visual style.
Backing Up Your Worlds and Game Files
While installing a texture pack is generally a safe process, it’s always prudent to practice good digital hygiene. Before making any significant changes to your game files, especially if you plan on using mod loaders, consider backing up your Minecraft worlds and potentially your .minecraft folder. This safeguards your progress and allows you to revert to a stable state if something unexpected occurs. Most operating systems allow you to compress folders into ZIP files, which is an easy way to create a backup. You can find your .minecraft folder by typing %appdata% in your Windows search bar, or navigating to ~/Library/Application Support/minecraft on macOS.
Ensuring Java Edition Compatibility
Texture packs are designed for specific versions of Minecraft. A pack made for Minecraft 1.8 likely won’t work correctly, if at all, with Minecraft 1.19, and vice-versa. Always check the pack’s description or download page for its compatible Minecraft versions. Attempting to load an incompatible pack can lead to visual glitches, missing textures (often represented by black and purple checkerboards), or even game crashes. Moreover, ensure your Minecraft Java Edition launcher and game client are up-to-date or set to the specific version required by the texture pack you wish to install.
Understanding Your Minecraft Folder Structure
Familiarity with your Minecraft installation directory is key. The resourcepacks folder within your .minecraft directory is where all downloaded texture packs reside. Knowing how to quickly access this folder is fundamental to the manual installation process. As mentioned, on Windows, you can access it by typing %appdata% into the Start menu search bar and navigating to .minecraft. On macOS, it’s typically located at ~/Library/Application Support/minecraft. On Linux, it’s often in ~/.minecraft.
The Standard Installation Method: Manual Placement
For most texture packs and users, the manual installation method is the most straightforward. It doesn’t require any third-party software beyond Minecraft itself and is an excellent way to start customizing your game.
Finding and Downloading Your Desired Texture Pack
The internet is teeming with websites dedicated to hosting Minecraft texture packs. Popular destinations include Planet Minecraft, CurseForge, and various independent creator websites. When searching for a pack, consider the following:
-
Resolution: Packs come in various resolutions (e.g., 16×16, 32×32, 64×64, 128×128, 256×256, 512×512). Higher resolutions require more system resources but offer greater detail. The default Minecraft resolution is 16×16.
-
Theme: Decide if you want realism, fantasy, simple, PvP-oriented, or another specific style.
-
Compatibility: Double-check the Minecraft version the pack supports.
Once you’ve found a pack you like, download it. Most texture packs are distributed as .zip files. Do not extract these files. Minecraft is designed to read the .zip file directly.
Locating the Resource Pack Folder
With your .zip file downloaded, the next step is to place it in the correct location.
-
Launch Minecraft: Open your Minecraft Launcher and start the game client.
-
Navigate to Options: From the main menu, click on “Options.”
-
Access Resource Packs: In the Options menu, click on “Resource Packs.”
-
Open Pack Folder: On the Resource Packs screen, you’ll see a button labeled “Open Pack Folder.” Click this. This will open the
resourcepacksfolder directly, saving you from manually navigating through your file system.

Moving the Texture Pack File
Drag or copy the .zip file of your downloaded texture pack into the resourcepacks folder that you just opened. Remember, do not extract the .zip file; just place the entire compressed file into the folder.
Activating the Texture Pack In-Game
Once the .zip file is in the resourcepacks folder, return to the Minecraft game window. The Resource Packs screen should now display your newly added pack in the “Available Resource Packs” column on the left.
-
Select the Pack: Hover over the texture pack’s icon and click the arrow button that appears. This will move the pack to the “Selected Resource Packs” column on the right.
-
Order of Packs (if applicable): If you have multiple packs, their order matters. Packs higher in the “Selected Resource Packs” list will have their textures applied over those lower down. This is useful for combining small “add-on” packs (like UI changes or specific item retextures) with a main base pack.
-
Confirm Changes: Click “Done.” Minecraft will briefly reload its resources, and your new texture pack will be active!
Leveraging Mod Loaders for Enhanced Management and Graphics
While manual installation is effective, certain mod loaders like OptiFine, Fabric, and Forge offer additional functionalities that significantly enhance the texture pack experience, particularly for high-resolution packs or those with advanced features.
OptiFine: The Gold Standard for Visual Enhancement
OptiFine is perhaps the most popular Minecraft optimization mod, and it’s also a powerful tool for resource packs.
-
Shader Support: OptiFine allows you to use shaders, which dramatically transform Minecraft’s lighting, shadows, water, and atmospheric effects, making texture packs even more breathtaking.
-
HD Textures and Customization: It supports HD textures, custom fonts, variable textures, and numerous other graphical enhancements that many advanced resource packs leverage. Without OptiFine, many high-end packs won’t display correctly or at all.
-
Performance Boost: Beyond visuals, OptiFine includes numerous performance optimizations that can significantly improve your game’s framerate, especially beneficial when running demanding texture packs.
To install OptiFine, you typically download the .jar file from the official website, run it (ensuring Java is installed and updated), and it will create a new profile in your Minecraft Launcher. You then select this profile to play with OptiFine and its added features.
Fabric and Forge: Broader Modding Frameworks
Fabric and Forge are comprehensive modding APIs (Application Programming Interfaces) that allow for a much wider range of modifications to Minecraft, including those that interact with texture packs or require specific game alterations.
-
Forge: Historically the dominant mod loader, Forge provides a robust framework for complex mods, many of which can complement or even enhance how texture packs function (e.g., mods that add new block types that also need new textures).
-
Fabric: A newer, lightweight, and faster alternative to Forge, Fabric is gaining popularity for its modern design and ease of development. Many resource pack add-ons or client-side visual mods are now built for Fabric.
If a texture pack recommends or requires a specific mod loader (often for unique animations, connected textures, or advanced CTM – Connected Textures Mod – features that go beyond OptiFine’s capabilities), you’ll need to install that mod loader first. The installation process usually involves downloading the installer, running it, and then placing any compatible mods (often in .jar format) into the mods folder created by the loader within your .minecraft directory.
Troubleshooting Common Issues and Optimizing Your Experience
Even with careful installation, you might encounter some bumps along the road. Knowing how to troubleshoot common problems and optimize your setup will ensure a smoother, more enjoyable experience.
Texture Pack Not Appearing or Loading Incorrectly
-
Wrong Folder: Double-check that the
.zipfile is in theresourcepacksfolder and not extracted. -
Incompatible Version: Ensure the pack is compatible with your current Minecraft version. An outdated pack won’t show up or will cause visual glitches.
-
Corrupted Download: Re-download the pack. The original file might have been corrupted during the download.
-
Incorrect File Name: Some packs might have specific naming requirements, though this is rare for standard
.zipfiles. -
Cache Issue: Try restarting Minecraft entirely. Sometimes the game needs a fresh launch to recognize new files.
Game Crashing or Performance Issues
-
High Resolution Pack: High-resolution packs (e.g., 256×256 and above) demand significant system resources. If your game crashes or runs slowly, your computer might not be powerful enough. Try a lower-resolution pack.
-
Out of Memory: Minecraft might be running out of allocated RAM. You can increase the RAM allocated to Minecraft in your launcher settings (under “Installations” > “Edit” > “More Options” > “JVM Arguments”). Be cautious not to allocate too much, leaving insufficient RAM for your operating system.
-
Conflicting Mods/Packs: If you’re using multiple resource packs or mods, they might conflict. Try disabling other packs or mods one by one to identify the culprit.
-
Driver Issues: Ensure your graphics card drivers are up-to-date. Outdated drivers can lead to performance issues or crashes, especially with advanced textures and shaders.
Optimizing Graphics Settings for Texture Packs
Once your texture pack is installed, fine-tuning Minecraft’s in-game video settings can further enhance your experience:
-
Mipmap Levels: Adjusting mipmap levels (often found in video settings or OptiFine settings) can smooth out textures at a distance, making them appear less pixelated.
-
Anti-aliasing (with OptiFine): This setting helps smooth jagged edges in textures and models, creating a cleaner look.
-
Render Distance: While higher render distances are appealing, they are resource-intensive. If performance is an issue, consider reducing your render distance.
-
Graphics Quality (Fast vs. Fancy): “Fancy” graphics enable more visual details like transparent leaves and better sky rendering, but “Fast” offers better performance. Experiment to find a balance.
-
Connected Textures and Custom Skies (with OptiFine): Many advanced texture packs leverage OptiFine for features like connected textures (where adjacent blocks of the same type blend seamlessly) and custom skies. Ensure these options are enabled in OptiFine’s quality settings if your pack supports them.
By carefully selecting and installing texture packs, and by understanding how to troubleshoot and optimize your game, you can unlock a vast new dimension of visual customization in Minecraft Java Edition. This process transforms your blocky adventures into a personalized artistic statement, keeping the game fresh and engaging for countless hours.
Conclusion
Installing texture packs in Minecraft Java Edition is a straightforward yet incredibly rewarding process that significantly enhances your gameplay experience. From understanding the nuances between traditional texture packs and modern resource packs to meticulously preparing your system and executing the installation, each step contributes to unlocking a personalized visual world. Whether you opt for a simple drag-and-drop manual installation or delve into the advanced capabilities offered by mod loaders like OptiFine, the journey is one of discovery and customization.
By following the guidelines laid out in this article, you are now equipped to navigate the vast landscape of community-created content, transforming your Minecraft into a unique masterpiece. Remember to always prioritize compatibility, back up your vital game data, and don’t shy away from troubleshooting common issues. With a virtually endless array of artistic styles available, your Minecraft adventures are no longer limited to the default aesthetic; they are an open invitation to explore, create, and immerse yourself in a game tailored perfectly to your vision. Embrace the power of customization and let your Minecraft world reflect the full breadth of your imagination.
aViewFromTheCave is a participant in the Amazon Services LLC Associates Program, an affiliate advertising program designed to provide a means for sites to earn advertising fees by advertising and linking to Amazon.com. Amazon, the Amazon logo, AmazonSupply, and the AmazonSupply logo are trademarks of Amazon.com, Inc. or its affiliates. As an Amazon Associate we earn affiliate commissions from qualifying purchases.