
Grand Theft Auto V, even years after its initial release, continues to captivate millions with its expansive open world, engaging story, and robust online component. Yet, for many PC enthusiasts, the true longevity and personalized experience of GTA V lie beyond the vanilla game: in the vibrant, community-driven world of modding. Mods, short for modifications, allow players to inject custom content, introduce new gameplay mechanics, enhance graphics, and fundamentally alter almost any aspect of the game. This guide delves into the technical intricacies and best practices for installing mods for GTA V on your PC, ensuring a seamless and enriching experience while navigating the potential pitfalls.
Understanding the World of GTA V Modding
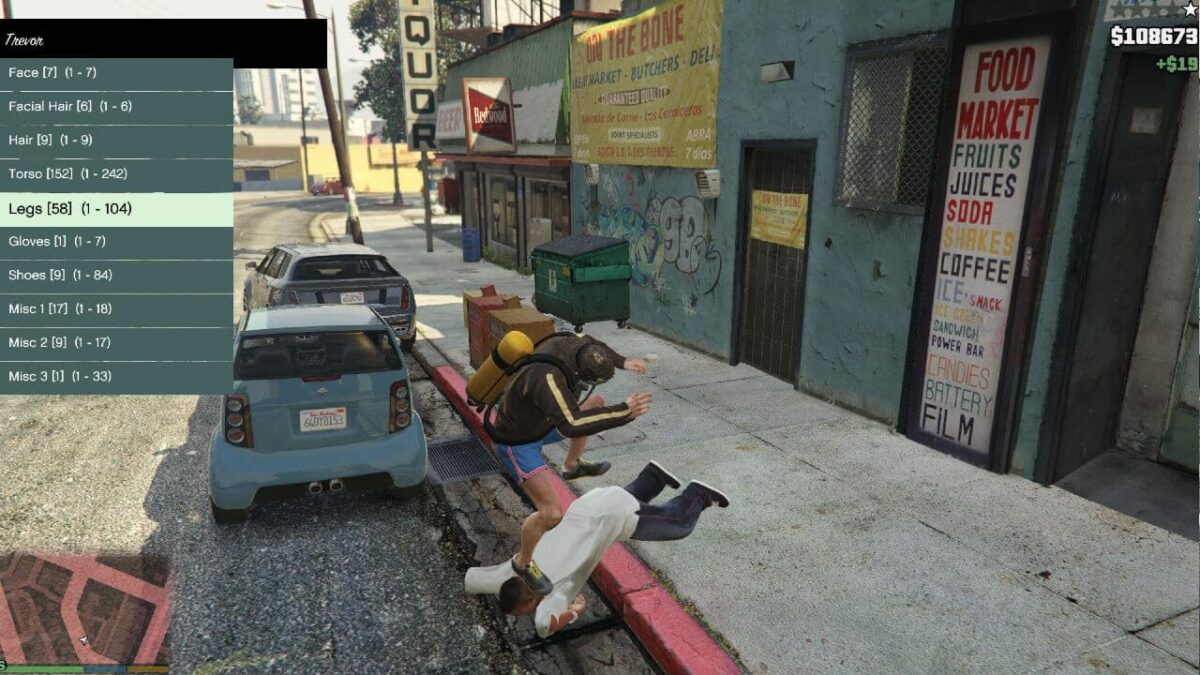
Modding in GTA V transforms the game from a fixed product into a dynamic canvas, limited only by the creativity of its community. For PC gamers, this ability to customize is often a core reason for choosing the platform. However, it’s crucial to approach modding with an understanding of both its immense potential and the necessary precautions.
What are Mods and Why Use Them?
At its core, a mod is a piece of software that alters a video game’s default behavior or appearance. For GTA V, mods range from minor tweaks to massive overhauls. Script mods introduce new abilities (like teleportation or infinite money), AI behavior changes, or even entirely new missions. Vehicle mods allow players to drive anything from real-world supercars to flying saucers. Graphic mods can dramatically improve visual fidelity, add new weather effects, or implement realistic lighting. Map mods expand or alter the existing game world, while character mods let you play as virtually anyone or anything.
The motivation behind using mods is multifaceted. Many players seek to prolong the game’s lifespan, adding hundreds of hours of fresh content and replayability. Others aim to personalize their experience, tailoring the game to their specific preferences. Content creators often use mods to create unique scenarios for videos or streams. Ultimately, mods empower players to become active participants in shaping their gaming experience, rather than passive consumers.
Risks and Rewards of Modding
The rewards of modding are clear: an infinitely customizable, continually evolving game experience. However, these benefits come with inherent risks that every aspiring modder must acknowledge. The primary concern revolves around GTA Online. Rockstar Games explicitly prohibits modding in its online multiplayer component. Using any unauthorized modification in GTA Online can lead to severe penalties, including temporary bans, permanent account bans, and the forfeiture of in-game progress. It is unequivocally advised to never use mods in GTA Online. Always ensure your game is running in “vanilla” (unmodified) state when playing online.
Beyond online play, modding can introduce instability to your game. Incorrectly installed mods, incompatible mods, or poorly coded mods can lead to crashes, performance issues, and even corrupt your game files. Furthermore, downloading mods from untrusted sources can expose your system to malware or viruses. Therefore, careful preparation, reliable sources, and diligent file management are paramount for a positive modding experience.
Essential Preparations and Tools
Before diving into the exciting world of custom vehicles and enhanced graphics, a foundational understanding of the necessary preparations and tools is vital. A methodical approach will prevent most common modding headaches.
Backing Up Your Game Files
This step cannot be stressed enough. Before making any modifications to your GTA V installation, create a comprehensive backup. This serves as your safety net, allowing you to quickly revert your game to its original state if something goes wrong, without the need for a full re-download (which can be substantial given GTA V’s file size).
There are two primary ways to back up:
-
Copy the entire game folder: Locate your Grand Theft Auto V installation directory (typically
C:Program FilesRockstar GamesGrand Theft Auto Vfor Rockstar Launcher, orC:Program Files (x86)SteamsteamappscommonGrand Theft Auto Vfor Steam). Copy this entire folder to another location on your hard drive. This is the most robust method. -
Verify file integrity (Steam/Rockstar Launcher): While not a direct backup, knowing how to use your game launcher’s “verify file integrity” feature is crucial. If your game becomes corrupted, this feature can often detect and replace missing or altered original files. However, it will remove all mods, so it’s not a substitute for a full backup if you want to save your modded state.
Key Modding Utilities: Script Hook V, ASI Loader, and OpenIV
These three tools form the holy trinity of GTA V PC modding. Almost every significant mod relies on one or more of them to function correctly.
-
Script Hook V: Developed by Alexander Blade, Script Hook V is arguably the most fundamental tool for GTA V modding. It allows custom scripts (often written in C# or .NET) to interact with the game’s engine. Most complex script mods, trainers, and utilities depend on Script Hook V to inject their code into the game process. It requires regular updates to remain compatible with new GTA V patches, so always ensure you have the latest version.
-
ASI Loader: Usually packaged with Script Hook V, ASI Loader is responsible for loading
.asiplugin files, which are compiled scripts that directly modify game behavior. Many popular trainers and utility mods come in the.asiformat, and ASI Loader enables the game to recognize and execute them. -
OpenIV: This is the ultimate tool for modifying the game’s archives. GTA V stores much of its content (models, textures, audio, data files) within compressed
.rpfarchives. OpenIV allows you to browse, extract, and replace files within these archives, and critically, to create a “mods” folder system. This system allows you to install mods without directly altering the original game archives, making it easier to manage and uninstall them, and significantly reducing the risk of corrupting your core game files. OpenIV is indispensable for installing vehicle, texture, and many other types of mods.
Finding Reliable Mod Sources
The vast majority of GTA V mods are found on dedicated modding websites. The most reputable and widely used platforms include:
-
GTA5-Mods.com: The undisputed hub for GTA V mods, offering an enormous database of scripts, vehicles, maps, and more. It has a robust rating system and user comments to help identify quality mods.
-
Nexus Mods (for GTA V): Another well-known modding community, though less dominant for GTA V than GTA5-Mods.com. Still, a good source for certain types of mods.
Always prioritize mods with high ratings, many downloads, and recent updates. Read comments and descriptions carefully for installation instructions and potential conflicts. Avoid downloading mods from obscure forums or direct links without clear provenance.
Step-by-Step Mod Installation Guide
With your preparations complete and essential tools in hand, you’re ready to begin installing mods. This section outlines the general process for setting up the core tools and then guides you through installing different types of mods.
Setting Up Script Hook V and ASI Loader
-
Download Script Hook V: Visit the official Script Hook V website (usually
dev-c.com/gtav/scripthookv/). Download the latest version. -
Extract Files: Open the downloaded
.zipfile. You will typically findScriptHookV.dll,dinput8.dll(the ASI Loader), andNativeTrainer.asi. -
Copy to Game Directory: Navigate to your main GTA V installation directory. Copy
ScriptHookV.dllanddinput8.dlldirectly into this folder. -
Optional: Install Native Trainer:
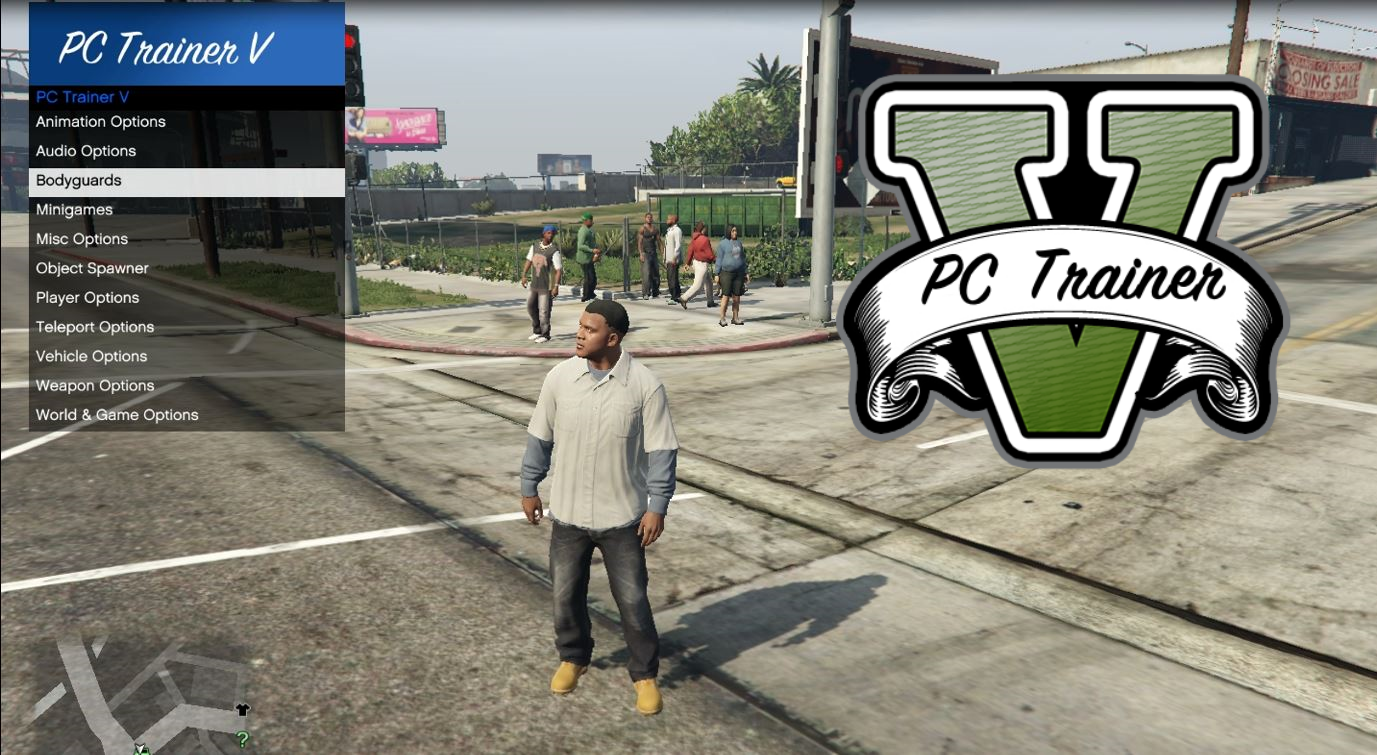
NativeTrainer.asiis a simple in-game trainer that comes with Script Hook V. If you wish to use it, also copyNativeTrainer.asiinto your main GTA V directory. This trainer allows you to spawn vehicles, change weather, etc.
Mastering OpenIV for File Management
OpenIV is crucial for adding custom content to your game archives. Its “mods” folder system is a game-changer for safe modding.
-
Download and Install OpenIV: Get the latest version from
openiv.com. Run the installer, select your language, accept the terms, and follow the on-screen instructions. -
Configure OpenIV: The first time you launch OpenIV, it will ask you to specify the path to your GTA V installation. Point it to your main GTA V directory.
-
Activate “Edit Mode”: Once OpenIV is open, click “Edit Mode” in the toolbar. This enables you to modify files. You’ll be prompted to install “ASI Manager.”
-
Install ASI Manager: The ASI Manager (Tools > ASI Manager) installs OpenIV.asi and OpenCamera.asi. Crucially, it also allows you to create the “mods” folder. Click “Install” for all three options presented. This will create a folder named
modsin your GTA V root directory. Thismodsfolder is where you will place copies of game archives (.rpffiles) that you intend to modify, ensuring your original game files remain untouched.
Installing Script Mods (e.g., LUA scripts, .asi plugins)
Script mods often come in .asi or .dll formats, sometimes accompanied by .ini or .xml configuration files.
-
Download the Mod: Obtain the script mod from a reliable source.
-
Extract Files: Unzip the downloaded archive.
-
Copy to
scriptsfolder: For many script mods (especially.dllfiles), you’ll need ascriptsfolder. If one doesn’t exist in your main GTA V directory, create it. Then, copy the mod’s.dlland any accompanying.inior other configuration files into thisscriptsfolder. -
For
.asimods: If the mod is an.asifile and isn’t part of a larger script package (or explicitly states to be placed in the game root), copy it directly into your main GTA V directory, wheredinput8.dll(ASI Loader) resides.
Integrating Vehicle and Pedestrian Mods
Vehicle and pedestrian mods involve replacing existing game models or adding new ones. This requires OpenIV’s capabilities.
-
Download the Mod: Find a vehicle or pedestrian mod (e.g., a
.yft,.ytd,.ybnfile set for a car). -
Understand Replacement vs. Add-On:
-
Replacement Mods: These replace an existing in-game vehicle/pedestrian with the modded version. They are simpler but limit the total number of unique vehicles/peds.
-
Add-On Mods: These add entirely new vehicles/pedestrians without replacing existing ones. They require more steps but offer greater variety.
-
-
For Replacement Mods (using OpenIV):
-
Open OpenIV and enable “Edit Mode.”
-
Navigate to the path specified by the mod creator (e.g.,
updatex64dlcpackspatchdayNvgdlc.rpfx64levelsgta5vehicles.rpffor a vehicle replacement). -
Crucially, copy the entire
updatefolder into yourmodsfolder first if you haven’t already. Right-click onupdateand select “Copy to mods folder.” -
Then, within the copied path in your
modsfolder, drag and drop the mod’s.yft,.ytd, and other relevant files into the target.rpfarchive.
-
-
For Add-On Mods (using OpenIV):
-
These are more complex. You’ll typically get a folder (e.g.,
mycar) containing adlc.rpffile. -
Copy this
mycarfolder intomodsupdatex64dlcpacks. -
Then, you need to edit the
dlclist.xmlfile. Navigate tomodsupdateupdate.rpfcommondata. -
Right-click
dlclist.xml, select “Edit.” Add a new line:<Item>dlcpacks:mycar</Item>(replacingmycarwith your mod’s folder name). -
Save the
dlclist.xmlfile.
-
Enhancing Graphics with Visual Mods
Graphic mods, such as ReShade presets or texture packs, dramatically alter the game’s visual presentation.
-
ReShade:
-
Download ReShade from its official website (
reshade.me). -
Run the installer, click “Click here to select a game and manage its installation,” and select
GTA5.exefrom your game directory. -
Choose DirectX 10/11/12 when prompted.
-
Select the desired shader packages (e.g., Standard effects, SweetFX, etc.).
-
Follow the on-screen instructions to complete the installation. You can then configure ReShade in-game.
-
-
Texture Packs/Visual Overhauls (using OpenIV):
-
Many large graphic overhauls (like NaturalVision Remastered) come with their own installers or detailed OpenIV instructions.
-
Generally, these involve replacing texture files within
.rpfarchives (via themodsfolder in OpenIV) or adding newdlcpackssimilar to add-on vehicles. Always follow the specific instructions provided by the mod author precisely.
-
Advanced Modding and Troubleshooting
As your mod collection grows, managing it effectively and knowing how to troubleshoot issues becomes essential for a stable and enjoyable experience.
Utilizing Mod Managers for Organization
While OpenIV is excellent for archive management, dedicated mod managers can streamline the installation and uninstallation of multiple mods, especially for script mods. Tools like GTA V Mod Manager or Mod Manager by Bilago allow you to enable or disable groups of mods with a single click, create mod profiles, and easily switch between a vanilla and modded game. These are particularly useful if you frequently switch between GTA Online and single-player modding. Always check the compatibility and update status of any mod manager you consider using.
Common Issues and Solutions
-
Game Crashes on Startup:
-
Outdated Script Hook V/ASI Loader: This is the most common cause after a game update. Always check if a new version of Script Hook V has been released.
-
Incompatible Mods: Two mods might conflict. Try removing recently added mods one by one to isolate the culprit.
-
Corrupted Files: Use your game launcher’s “verify file integrity” feature (remember this removes mods). If that fails, revert to your backup.
-
-
Mods Not Appearing:
-
Incorrect File Placement: Double-check that all mod files are in the correct directories (e.g.,
scriptsfolder,dlcpacksfor add-ons). -
Missing Prerequisites: Ensure Script Hook V, ASI Loader, and OpenIV’s ASI are correctly installed and updated.
-
“Edit Mode” not enabled in OpenIV: Remember to always activate “Edit Mode” before making changes.
-
-
Low FPS/Performance Issues:
-
Too Many Mods: Especially graphic-intensive ones or complex script mods, can strain your system.
-
Outdated Drivers: Ensure your graphics card drivers are up to date.
-
System Specifications: Your PC might simply not be powerful enough to handle a heavy mod load.
-
Staying Safe Online: The Perils of Modding in GTA Online
Reiterating the most critical warning: DO NOT use any mods while playing GTA Online. Rockstar Games employs robust anti-cheat measures. Even seemingly harmless visual mods can trigger detection. If you have mods installed for single-player, always ensure they are fully disabled or removed before launching GTA Online. Using a mod manager to easily switch between profiles (vanilla for online, modded for single-player) is the safest approach. The consequences of detection are severe and irreversible.
Maintaining Your Modded GTA V Experience
Modding is not a one-time setup; it’s an ongoing process of management and adaptation, especially with game updates.
Keeping Mods Updated
Rockstar Games frequently releases updates for GTA V, which often break compatibility with existing mods, particularly Script Hook V. After a game update:
-
Do not launch GTA V with mods: Wait for mod developers (especially Alexander Blade for Script Hook V) to release updated versions of their tools.
-
Check modding community websites: Stay informed about compatibility updates for your essential tools and individual mods.
-
Update Script Hook V first: This is usually the critical first step after a game patch.
Reverting to Vanilla
If you need to play GTA Online, troubleshoot severe issues, or simply want a fresh start, reverting to a vanilla (unmodded) state is essential.
-
Using a Mod Manager: If you used a manager, simply disable all mods or switch to a vanilla profile.
-
Deleting the
modsfolder: This is effective for most OpenIV-based mods. Delete themodsfolder from your GTA V directory. -
Removing Script Hook V/ASI Loader: Delete
ScriptHookV.dllanddinput8.dll(and any other.asifiles) from your main GTA V directory. -
Verify Game Files: As a final step, use your game launcher’s “verify file integrity” option. This will replace any remaining modified original files with fresh ones, ensuring a completely clean installation.
-
Restore Backup: If all else fails, delete your GTA V folder and replace it with your clean backup copy.
The Future of GTA V Modding
Despite its age, the GTA V modding scene remains incredibly active, driven by passionate developers and a dedicated player base. With ongoing tools development and the continuous flow of new content, modding ensures that GTA V will continue to offer unique and personalized experiences for years to come. The technical landscape may evolve, but the core principles of careful installation, diligent management, and respectful engagement with the modding community will always remain key to unlocking the full, boundless potential of Grand Theft Auto V on PC.
By following this comprehensive guide, you are now equipped with the knowledge and tools to embark on your own GTA V modding journey. Remember to exercise caution, prioritize reputable sources, and always back up your files, and you’ll unlock a dimension of gameplay that extends far beyond Rockstar’s original vision.
aViewFromTheCave is a participant in the Amazon Services LLC Associates Program, an affiliate advertising program designed to provide a means for sites to earn advertising fees by advertising and linking to Amazon.com. Amazon, the Amazon logo, AmazonSupply, and the AmazonSupply logo are trademarks of Amazon.com, Inc. or its affiliates. As an Amazon Associate we earn affiliate commissions from qualifying purchases.