
In an increasingly digitized world, the ability to access, manage, and share files seamlessly across multiple devices and locations is not merely a convenience but a necessity. For macOS users, integrating a robust cloud storage solution is paramount to maintaining productivity, ensuring data accessibility, and fostering collaborative workflows. Among the myriad of options available, Dropbox stands out as a pioneering and persistently popular choice, renowned for its simplicity, reliability, and powerful synchronization capabilities.
This comprehensive guide will walk you through the process of installing Dropbox on your Mac, ensuring a smooth setup and providing insights into optimizing its use. Whether you’re a seasoned Mac user looking to enhance your digital toolkit or a newcomer seeking to leverage cloud technology, understanding the intricacies of Dropbox installation and functionality is crucial. We’ll delve into everything from the initial download to advanced usage tips, all while keeping your data secure and accessible.
The Indispensable Role of Cloud Storage for Mac Users
The shift towards cloud-based computing has revolutionized how individuals and organizations manage their digital assets. For Mac users, who often value intuitive design and seamless integration, cloud storage services like Dropbox offer an extension of the macOS ecosystem, bridging the gap between local storage and the vast potential of the internet.
Understanding Dropbox: More Than Just Storage
At its core, Dropbox is a file hosting service that offers cloud storage, file synchronization, personal cloud, and client software. But to reduce it merely to “storage” would be an understatement. Dropbox functions as a sophisticated data management platform that mirrors your selected files and folders across all your linked devices and the cloud. This means any changes you make to a file in your Dropbox folder on your Mac are automatically updated across your iPhone, iPad, Windows PC, Linux machine, and the web interface – instantaneously.
This real-time synchronization is a cornerstone of its appeal. It eliminates the need for manual backups to external drives for critical files, reduces concerns about losing data due to hardware failure, and provides a centralized hub for all your important documents, photos, and videos. Beyond simple storage, Dropbox facilitates version history, allowing users to revert to previous iterations of files, and offers robust sharing features that make collaboration effortless, whether you’re working on a creative project with a team or sharing family photos with relatives. Its clean, minimalist interface aligns perfectly with Apple’s design philosophy, making it an ideal companion for macOS users seeking efficiency without complexity.
Why Mac Users Choose Dropbox
Mac users frequently prioritize user experience, system stability, and elegant solutions. Dropbox resonates with these priorities for several compelling reasons:
Firstly, Ease of Use and Integration: Dropbox’s client software for macOS is celebrated for its straightforward installation and intuitive user interface. Once installed, it integrates seamlessly into the macOS Finder, appearing as a regular folder. This allows users to drag and drop files as they normally would, without needing to learn a new interface or workflow. The familiar interaction reduces friction, enabling immediate productivity.
Secondly, Cross-Platform Compatibility: While this guide focuses on Mac, a significant advantage of Dropbox is its cross-platform availability. Many Mac users operate in environments where they might also interact with Windows PCs, Android devices, or web-only platforms. Dropbox ensures that your files are accessible and consistently updated across this diverse landscape, promoting flexibility and interoperability.
Thirdly, Reliability and Performance: Dropbox has a long-standing reputation for reliable file synchronization and robust uptime. Its underlying technology is optimized for speed and efficiency, ensuring that even large files are synced relatively quickly, depending on your internet connection. For creative professionals on Mac who deal with large media files, this performance is critical.
Finally, Security and Privacy Features: While no system is impenetrable, Dropbox employs industry-standard encryption protocols (like AES 256-bit encryption for data at rest and SSL/TLS for data in transit) and offers features like two-factor authentication to protect user data. For Mac users conscious about their digital security, these measures provide a reassuring layer of protection for their valuable files stored in the cloud.
Preparing Your Mac for Dropbox Installation
Before initiating the installation process, it’s prudent to ensure your macOS environment is optimally prepared. This pre-installation checklist helps mitigate potential issues and ensures a smooth setup, allowing Dropbox to integrate flawlessly with your system.
Essential System Requirements
Like any software application, Dropbox has specific minimum system requirements to function correctly on your Mac. While these are generally quite accommodating for most modern macOS machines, a quick check can save you from potential compatibility headaches:
-
Operating System: Dropbox officially supports macOS 10.13 High Sierra or later. While older versions might allow the client to run, performance may be degraded, and you might miss out on critical updates or features. It’s always recommended to keep your macOS updated to the latest stable version for optimal security and compatibility.
-
Processor: Any Intel-based Mac or Apple Silicon (M1, M2, etc.) Mac is fully supported. Dropbox has released native versions for Apple Silicon, ensuring excellent performance on newer Macs.
-
RAM: A minimum of 2GB RAM is generally sufficient for basic operations, but 4GB or more is recommended for smoother performance, especially if you’re synchronizing large numbers of files or frequently using other demanding applications.
-
Disk Space: You’ll need enough free disk space on your Mac to accommodate the files you plan to sync to your Dropbox folder. The Dropbox application itself is relatively small, but the local copy of your cloud files can consume significant storage. Keep in mind that “selective sync” features can help manage local storage consumption later.
-
Internet Connection: A stable internet connection is crucial for downloading the installer, creating an account, and, most importantly, for file synchronization. The faster your connection, the quicker your files will sync.
Clearing the Path: Pre-Installation Checks
Beyond the fundamental system requirements, a few simple checks can further optimize your Mac for Dropbox:
-
Check Available Storage: While Dropbox offers selective sync, ensuring you have ample free space on your primary drive (usually your Macintosh HD) is important, particularly if you intend to sync a large portion of your cloud content locally. Go to
Apple menu > About This Mac > Storageto review your current disk usage. -
Close Unnecessary Applications: Before running any installer, it’s good practice to close other applications that might interfere with the process or consume significant system resources. This ensures the installer has exclusive access to necessary system components.
-
Update macOS: As mentioned, running the latest stable version of macOS ensures the best compatibility and security. Navigate to
System Settings (or System Preferences) > General > Software Updateto check for and install any pending updates. -
Disable Conflicting Software (Temporarily): In rare cases, overly aggressive antivirus software or firewalls might interfere with the installation or initial setup. If you encounter issues, consider temporarily disabling such software during the installation phase, remembering to re-enable them immediately afterward.
By taking these preparatory steps, you establish a solid foundation for a hassle-free Dropbox installation and a smooth user experience thereafter.
A Step-by-Step Guide to Dropbox Installation
With your Mac prepared, the actual installation of the Dropbox desktop client is a straightforward process, designed to be user-friendly and efficient. Follow these steps meticulously to get Dropbox up and running on your system.
Downloading the Dropbox Client
The first crucial step is to obtain the official Dropbox installer. It is paramount to download the software directly from the official Dropbox website to ensure you receive the legitimate, most up-to-date, and secure version of the application.
-
Open Your Web Browser: Launch your preferred web browser (Safari, Chrome, Firefox, etc.) on your Mac.
-
Navigate to the Official Dropbox Website: Type
www.dropbox.com/downloadinto your browser’s address bar and press Enter. This URL directly leads to the download page for desktop clients. -
Initiate Download: The website should automatically detect that you are on a Mac and present you with the appropriate download link. Click the “Download Dropbox” button. The download will typically begin automatically.
-
Locate the Installer: Once the download is complete, the
DropboxInstaller.dmgfile (or a similar name) will usually appear in yourDownloadsfolder, which you can access directly from the Dock or by opening a Finder window and selecting “Downloads” from the sidebar.
Executing the Installer
With the .dmg file downloaded, the next step involves running the installer to place the Dropbox application on your Mac.
-
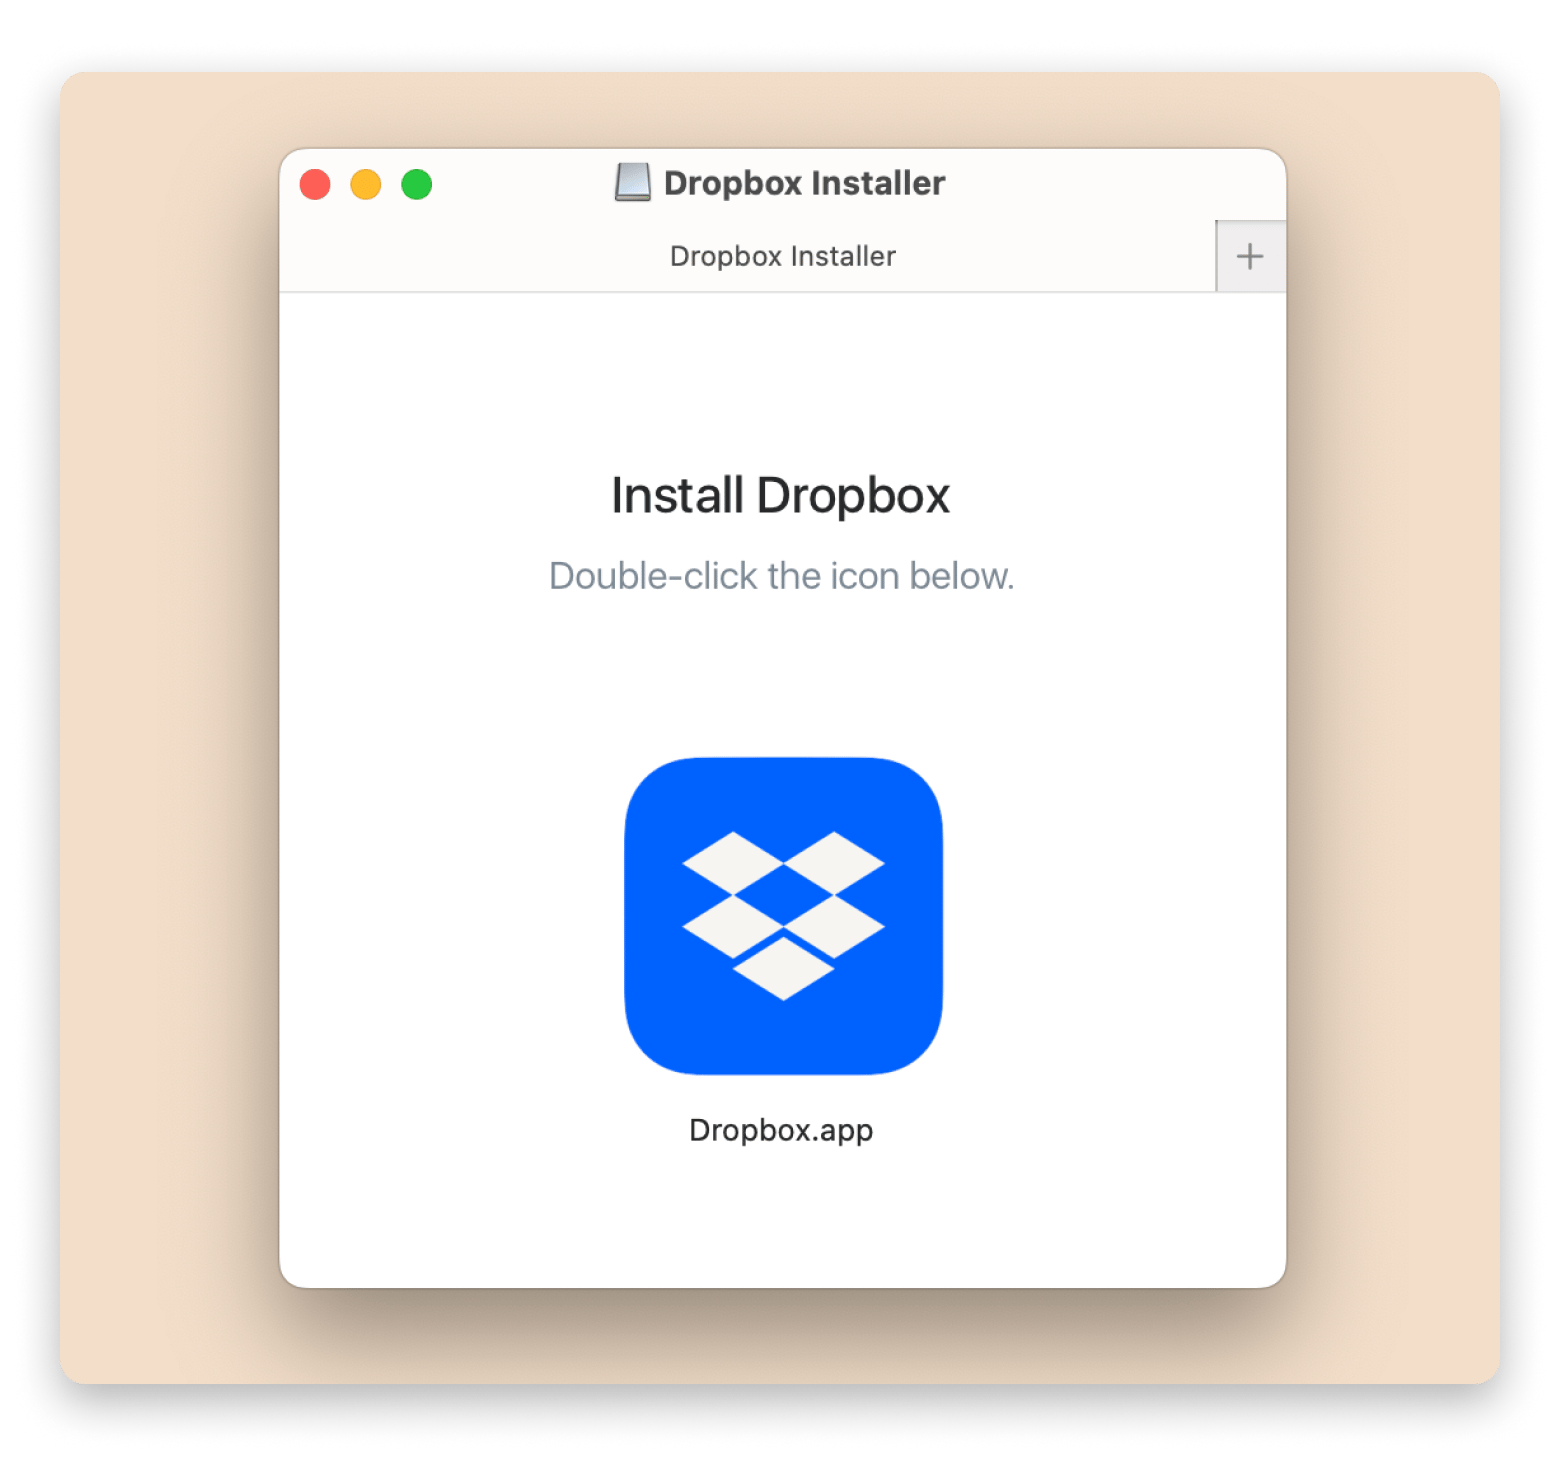
Open the DMG File: Double-click the
DropboxInstaller.dmgfile you just downloaded. This will mount a virtual disk image on your desktop and open a Finder window displaying its contents. -
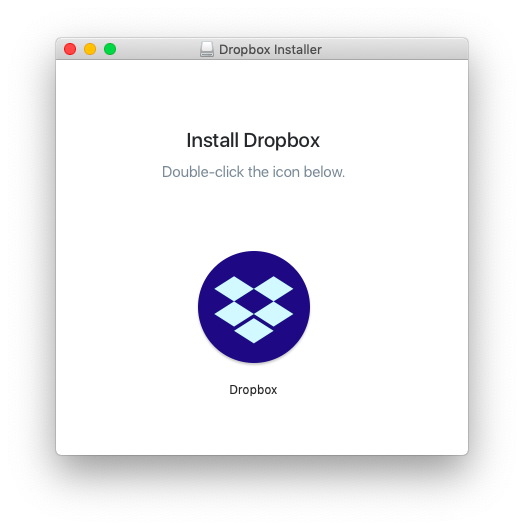
Run the Installer Application: Inside the mounted disk image window, you will typically see the Dropbox application icon. Double-click on the
Dropbox.appicon. -
Security Prompt (If Applicable): macOS might display a security warning, asking if you are sure you want to open an application downloaded from the internet. Click “Open” to proceed.
-
Installation Progress: The Dropbox installer will then begin the installation process. You might see a progress bar indicating that it is “Downloading Dropbox” or “Installing Dropbox.” This process involves downloading the full application components and placing them in your Applications folder. Be patient, as this can take a few minutes depending on your internet speed.
-
Completion: Once the installation is complete, the installer will automatically launch the Dropbox application. The mounted
.dmgdisk image can then be ejected by dragging its icon from your desktop to the Trash or by right-clicking it and selecting “Eject.”
Initial Configuration and Account Setup
After the installation, Dropbox will launch and prompt you to either sign in to an existing account or create a new one.
-
Sign In or Create Account:
-
Existing User: If you already have a Dropbox account, click “Sign in.” You will be prompted to enter your email address and password. If you have two-factor authentication enabled, you’ll need to enter the code as well.
-
New User: If you don’t have a Dropbox account, click “Create account.” You’ll be guided through a simple registration process where you’ll provide your name, email address, and choose a password.
-
-
Choose Your Plan (If New User): For new users, Dropbox will typically offer options for a free basic plan (which usually comes with 2GB of storage) and various paid plans with more storage and advanced features. Select the plan that best suits your needs.
-
Introductory Tour (Optional): Dropbox might offer a brief introductory tour to highlight key features. You can follow this or skip it.
-
Advanced Settings (Optional but Recommended): During the initial setup, you might be given options to configure “Selective Sync” (choosing which folders to sync locally) or “Smart Sync” (making files online-only until needed). For most users, accepting the default settings initially is fine, but understanding these options can be beneficial for managing disk space later.
Understanding the Dropbox Folder
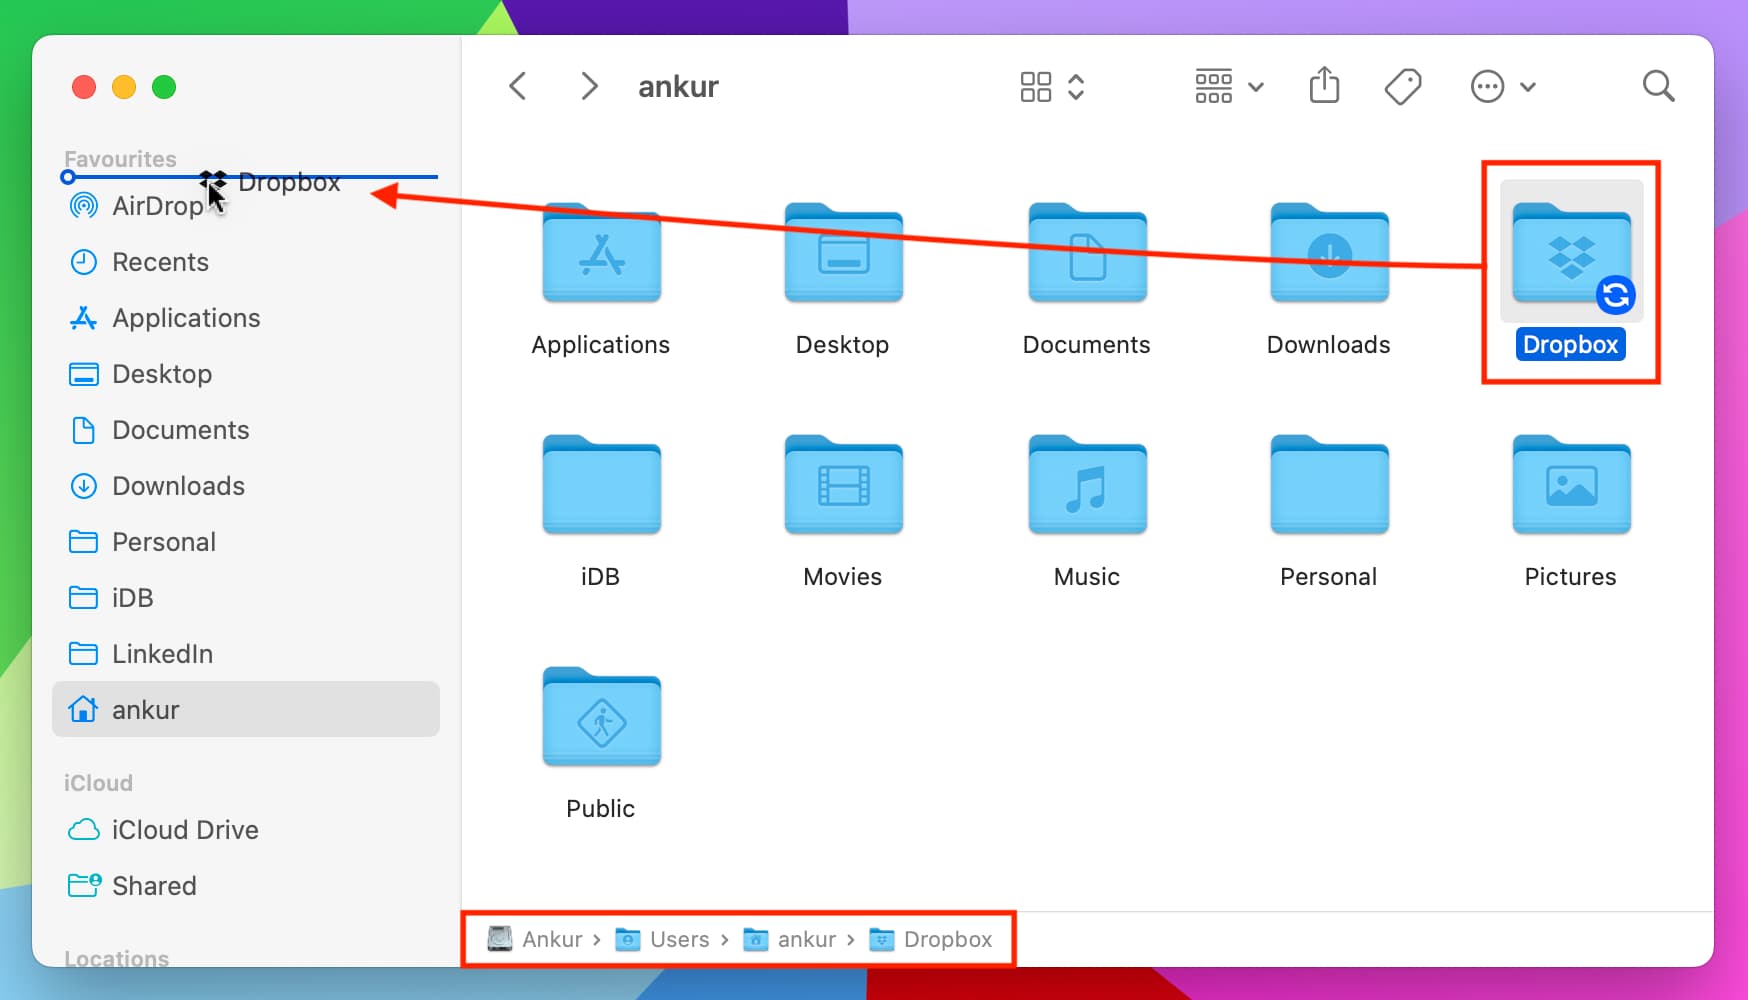
Upon successful setup, Dropbox creates a dedicated folder on your Mac, usually located in your user’s home directory (e.g., /Users/YourUsername/Dropbox). This folder is the heart of your Dropbox experience:
-
Automatic Synchronization: Any file or folder you place inside this “Dropbox” folder will be automatically synchronized with your Dropbox cloud storage and all other linked devices.
-
Finder Integration: Dropbox integrates directly into your Finder. You’ll see green checkmarks next to files and folders that are successfully synced, blue arrows for items currently syncing, and red X’s for items with sync errors.
-
Context Menu Options: Right-clicking on any file or folder within your Dropbox folder will reveal additional Dropbox-specific options, such as “Share Dropbox link,” “View on dropbox.com,” or “Make available offline” (for Smart Sync users).
By completing these steps, your Mac is now fully integrated with Dropbox, opening up a world of seamless file access and collaboration.
Mastering Dropbox: Post-Installation and Advanced Usage
Installing Dropbox is just the beginning. To truly harness its power, Mac users should explore its full range of features, optimizing their workflow and ensuring data security.
Syncing Files and Folders with Ease
The fundamental utility of Dropbox lies in its synchronization capabilities. Once installed, managing your files becomes an intuitive extension of your macOS environment.
-
Drag and Drop: The simplest way to sync files is to drag them directly into your
Dropboxfolder in Finder. As soon as a file is moved or copied into this folder, Dropbox begins uploading it to the cloud and synchronizing it across your devices. -
Saving Directly: Many applications allow you to “Save As” directly into your Dropbox folder, ensuring new documents or projects are immediately backed up and synced.
-
Status Icons: Pay attention to the overlay icons in Finder. A green checkmark signifies successful sync, blue circular arrows indicate syncing in progress, and a gray cloud icon might mean the file is online-only (Smart Sync). Understanding these visual cues helps confirm your files are safe and accessible.
-
Selective Sync: For Macs with limited storage, Selective Sync is invaluable. Access
Dropbox preferences > Syncand choose which specific folders from your cloud storage you wish to keep a local copy of on your Mac. Unselected folders remain in the cloud, freeing up local disk space while still being accessible via the web or other devices.
Harnessing Sharing and Collaboration Features
Dropbox excels as a collaborative tool, making it easy to share files and work with others, whether they use Mac, Windows, or other platforms.
-
Share Files and Folders: Right-click on any file or folder within your Dropbox folder, select “Share,” and then “Share with Dropbox.” You can invite specific people via email, granting them either “can view” (read-only) or “can edit” (full access) permissions.
-
Share Links: For broader sharing, right-click and choose “Copy Dropbox link.” This generates a web link that you can send to anyone, even if they don’t have a Dropbox account. You can specify if the link provides view-only access or allows downloading.
-
File Requests: Dropbox’s File Request feature allows you to collect files from anyone, even those without a Dropbox account, directly into your Dropbox folder. You create a request, share the link, and recipients can upload files directly to your designated folder without seeing its contents.
-
Version History: A powerful feature often overlooked, Dropbox maintains a version history for all files. If you accidentally overwrite a file or want to revert to an earlier version, right-click the file, go to
Version Historyon dropbox.com, and restore a previous iteration. This is a lifesaver for creative and professional work.
Optimizing Dropbox for Mac Performance
To ensure Dropbox operates efficiently without hindering your Mac’s performance, consider these optimization tips:
-
Bandwidth Control: If your internet connection is slow or you’re performing bandwidth-intensive tasks, you can limit Dropbox’s upload and download speeds. Access
Dropbox preferences > Networkto set bandwidth limits. -
Smart Sync (Dropbox Plus/Professional): For users with paid plans, Smart Sync allows you to mark files and folders as “online-only.” They appear in Finder but only download to your Mac when you need them, saving significant local storage.
-
Exclude Specific Files/Folders: While not a direct feature, you can use
.dropboxignorefiles (similar to.gitignorefor developers) to prevent specific files from syncing, useful for temporary files or system logs within a synced folder. -
Keep Dropbox Updated: Ensure your Dropbox client is always running the latest version. Updates often include performance improvements, bug fixes, and new features. Dropbox typically updates automatically, but you can check in
Dropbox preferences > About.
Essential Security Practices for Your Cloud Data
While Dropbox implements robust security measures, your proactive steps further strengthen the protection of your data.
-
Strong Passwords: Use a unique, strong password for your Dropbox account. Consider a password manager to help create and store complex passwords.
-
Two-Factor Authentication (2FA): Enable 2FA for your Dropbox account immediately. This adds an extra layer of security, requiring a code from your mobile device in addition to your password for login.
-
Review Connected Devices: Regularly check
Securityin your Dropbox account settings on the web to review all connected devices and active web sessions. Disconnect any unfamiliar or unused devices. -
Public vs. Private Sharing: Be mindful when creating public sharing links. Only share public links for content you’re comfortable with being widely accessible. For sensitive data, always use specific invitations with defined permissions.
-
Monitor Activity: Dropbox provides an activity log, allowing you to see recent changes, shares, and logins. Periodically review this log to detect any unauthorized activity.
By integrating these practices into your routine, you can leverage Dropbox’s convenience with confidence, knowing your data is as secure as possible.
Troubleshooting and Best Practices for a Seamless Experience
Even with a smooth installation and proper configuration, minor issues can sometimes arise. Knowing how to troubleshoot common problems and adhering to best practices ensures your Dropbox experience on Mac remains consistently seamless.
Common Installation Issues and Solutions
While Dropbox aims for a hassle-free setup, occasional glitches can occur. Here are some common problems and their solutions:
-
“Can’t install Dropbox because it’s already running” error: This usually means a previous installation attempt or an orphaned process is still active. Restart your Mac. If the problem persists, open
Activity Monitor(found inApplications/Utilities), search for “Dropbox,” select any related processes, and click the ‘X’ button to force quit them, then try installing again. -
Installer frozen or stuck: Ensure you have a stable internet connection. If the installer progress bar isn’t moving for a long time, try canceling the installation, restarting your Mac, and re-downloading the installer file (as it might have been corrupted during the initial download).
-
“Dropbox failed to start” after installation: This could be due to corrupted application files or conflicting software. Try uninstalling Dropbox completely (by dragging the application from
Applicationsto the Trash and deleting its associated preference files, then emptying the Trash) and reinstalling it from scratch. -
Insufficient Permissions: If you encounter errors related to file access, ensure your user account has administrator privileges. Sometimes, a macOS security setting might be too strict. Check
System Settings > Privacy & Security > Full Disk Accessto ensure Dropbox is allowed access if prompted. -
Files not syncing: Check your internet connection. Look for Dropbox icons (white cloud icon in the menu bar) for error messages. Ensure the files are actually inside the Dropbox folder and not just an alias. Check your available Dropbox storage on
dropbox.comto ensure you haven’t exceeded your quota.
Maximizing Your Dropbox Integration with macOS
Beyond basic sync, Dropbox offers features that enhance its integration with the macOS environment, improving overall productivity.
-
Finder Integration: Dropbox adds contextual menus to Finder. Right-click any file in your Dropbox folder to quickly share links, view previous versions, or manage Smart Sync status.
-
System Menu Bar Icon: The Dropbox icon in your Mac’s menu bar is your command center. It shows sync status, recent activity, notifications, and provides quick access to preferences, shared files, and your web-based Dropbox account.
-
Quick Look Integration: Dropbox sometimes enhances macOS Quick Look, allowing you to preview more file types directly from Finder without opening the full application.
-
File Provider API (Modern macOS): For newer macOS versions, Dropbox leverages Apple’s File Provider API, which improves integration and consistency with how cloud services behave in Finder. This means better handling of online-only files and more reliable status indicators.
Staying Updated and Secure
Maintaining the health and security of your Dropbox installation is an ongoing process.
-
Regular Updates: As mentioned, always keep your macOS and Dropbox client updated. Software updates frequently contain critical security patches and performance enhancements. Dropbox usually updates itself automatically, but a quick check in preferences never hurts.
-
Backup Important Data (Beyond Dropbox): While Dropbox is an excellent backup for its synced contents, it’s not a complete system backup solution. For your entire Mac, consider using Apple’s Time Machine or other comprehensive backup strategies to safeguard your operating system, applications, and non-Dropbox files.
-
Monitor Account Activity: Regularly review your Dropbox activity log and linked devices on the Dropbox website to identify and address any suspicious access attempts or unauthorized device connections.
-
Understand Storage Limits: Be aware of your Dropbox storage limits. If you’re on a free plan, managing your space efficiently with Selective Sync or upgrading to a paid plan becomes essential.
By following these troubleshooting tips and best practices, you can ensure that Dropbox remains a powerful, reliable, and secure component of your Mac’s digital ecosystem, empowering you with seamless file management and robust collaboration capabilities.
aViewFromTheCave is a participant in the Amazon Services LLC Associates Program, an affiliate advertising program designed to provide a means for sites to earn advertising fees by advertising and linking to Amazon.com. Amazon, the Amazon logo, AmazonSupply, and the AmazonSupply logo are trademarks of Amazon.com, Inc. or its affiliates. As an Amazon Associate we earn affiliate commissions from qualifying purchases.