
In the rapidly evolving world of personal computing, the graphics processing unit (GPU) stands as a cornerstone, especially for gamers, content creators, and professionals engaged in graphically intensive tasks. NVIDIA, a titan in the GPU industry, consistently pushes the boundaries of visual fidelity and computational power with its GeForce and Quadro series. However, merely owning a powerful NVIDIA graphics card is only half the battle; maintaining its peak performance and stability hinges significantly on keeping its drivers up-to-date. This comprehensive guide will walk you through the why, how, and best practices of updating your NVIDIA drivers, ensuring your system always runs like a well-oiled machine.
Why Keeping Your NVIDIA Drivers Updated Matters
Updating your graphics drivers might seem like a mundane chore, but its impact on your system’s performance, stability, and security is profound. Ignoring these updates can lead to a frustrating experience, ranging from stuttering gameplay to outright system crashes.
Enhanced Gaming Performance
Perhaps the most immediate and noticeable benefit for many users, especially gamers, is the performance boost. NVIDIA frequently releases Game Ready Drivers coinciding with major game launches. These drivers are meticulously optimized to deliver the best possible frame rates, reduce latency, and ensure smooth gameplay in the latest titles. Without these updates, you might experience sub-par performance, graphical glitches, or even compatibility issues with new games that demand specific driver versions. Benchmarks often show significant frame rate improvements between old and new driver versions for popular games, demonstrating the tangible benefits of staying current.
Improved System Stability and Bug Fixes
Beyond raw performance, driver updates are crucial for system stability. Software, by its nature, can have bugs, and graphics drivers are no exception. NVIDIA engineers continuously work to identify and rectify issues that could lead to application crashes, system freezes, or display errors. A common culprit behind an unstable system is an outdated or corrupted graphics driver. Regular updates act as a continuous patch management system, addressing known bugs and improving the overall robustness of your GPU’s interaction with the operating system and applications. This translates to fewer blue screens, application crashes, and a smoother computing experience.
Access to New Features and Technologies
NVIDIA isn’t just about raw power; it’s also at the forefront of introducing innovative technologies like DLSS (Deep Learning Super Sampling), Ray Tracing, NVIDIA Reflex, and Freestyle. These features often require specific driver versions to function correctly or to unlock their full potential. Updating your drivers ensures you have access to the latest advancements, allowing you to experience cutting-edge graphics and performance-enhancing technologies as soon as they become available. For instance, new creative applications might leverage specific CUDA cores or AI capabilities that are only fully accessible through the latest driver sets.
Security Vulnerability Patches
In the digital age, security is paramount. Like any other piece of software, graphics drivers can have security vulnerabilities that malicious actors could exploit. NVIDIA regularly releases security updates to patch these potential weaknesses, protecting your system from various threats, including remote code execution or denial-of-service attacks. While less publicized than performance gains, the security aspect of driver updates is a critical reason to keep your software current, safeguarding your privacy and system integrity.
Preparing for Your NVIDIA Driver Update
Before you embark on the update process, a few preparatory steps can help ensure a smooth, error-free installation and prevent potential headaches. These steps are crucial for identifying your hardware, understanding your current setup, and safeguarding your data.
Identify Your NVIDIA Graphics Card Model
Knowing your exact graphics card model is the foundational step. NVIDIA produces a vast range of GPUs, from the high-end RTX series to the more budget-friendly GTX and MX series. Each model has specific driver requirements. You can find this information in several ways:
-
System Information: In Windows, type “dxdiag” in the Run dialog (Windows Key + R) and navigate to the “Display” tab. Your card model will be listed there.
-
NVIDIA Control Panel: Right-click on your desktop and select “NVIDIA Control Panel.” In the bottom-left corner, click “System Information.”
-
Physical Inspection: If you built your PC or can easily access its internals, the GPU itself usually has the model name printed on it.
Knowing the exact model (e.g., GeForce RTX 3080) and whether it’s a desktop or laptop GPU is vital for downloading the correct drivers.
Check Your Current Driver Version
It’s helpful to know what driver version you’re currently running. This information is available in the NVIDIA Control Panel under “System Information” or in the Windows Device Manager (right-click Start -> Device Manager -> Display adapters -> Right-click your NVIDIA card -> Properties -> Driver tab). This allows you to verify if the update was successful and understand the jump in versions.
Back Up Important Data (Optional but Recommended)
While driver updates are generally safe, it’s always good practice to back up critical data before making significant system changes. In the rare event of an installation error or system instability, having a recent backup ensures your valuable files are protected. This could involve using cloud storage, an external hard drive, or Windows’ built-in backup tools.
Close All Running Applications
Before initiating the driver installation, close all open applications, especially games, web browsers, and any software that heavily utilizes your GPU. This prevents conflicts during the installation process and ensures that all necessary files can be updated without interference. Background processes often lock driver files, which can lead to incomplete installations or require system reboots.
Methods for Updating NVIDIA Drivers
NVIDIA offers several straightforward methods for updating your graphics drivers, catering to different user preferences and technical proficiencies. Each method has its advantages, but some are more recommended for optimal results.
Method 1: NVIDIA GeForce Experience (Recommended for Gamers)
NVIDIA GeForce Experience is a powerful companion application designed to optimize your gaming experience and simplify driver management. It’s the most convenient method for most users.
-
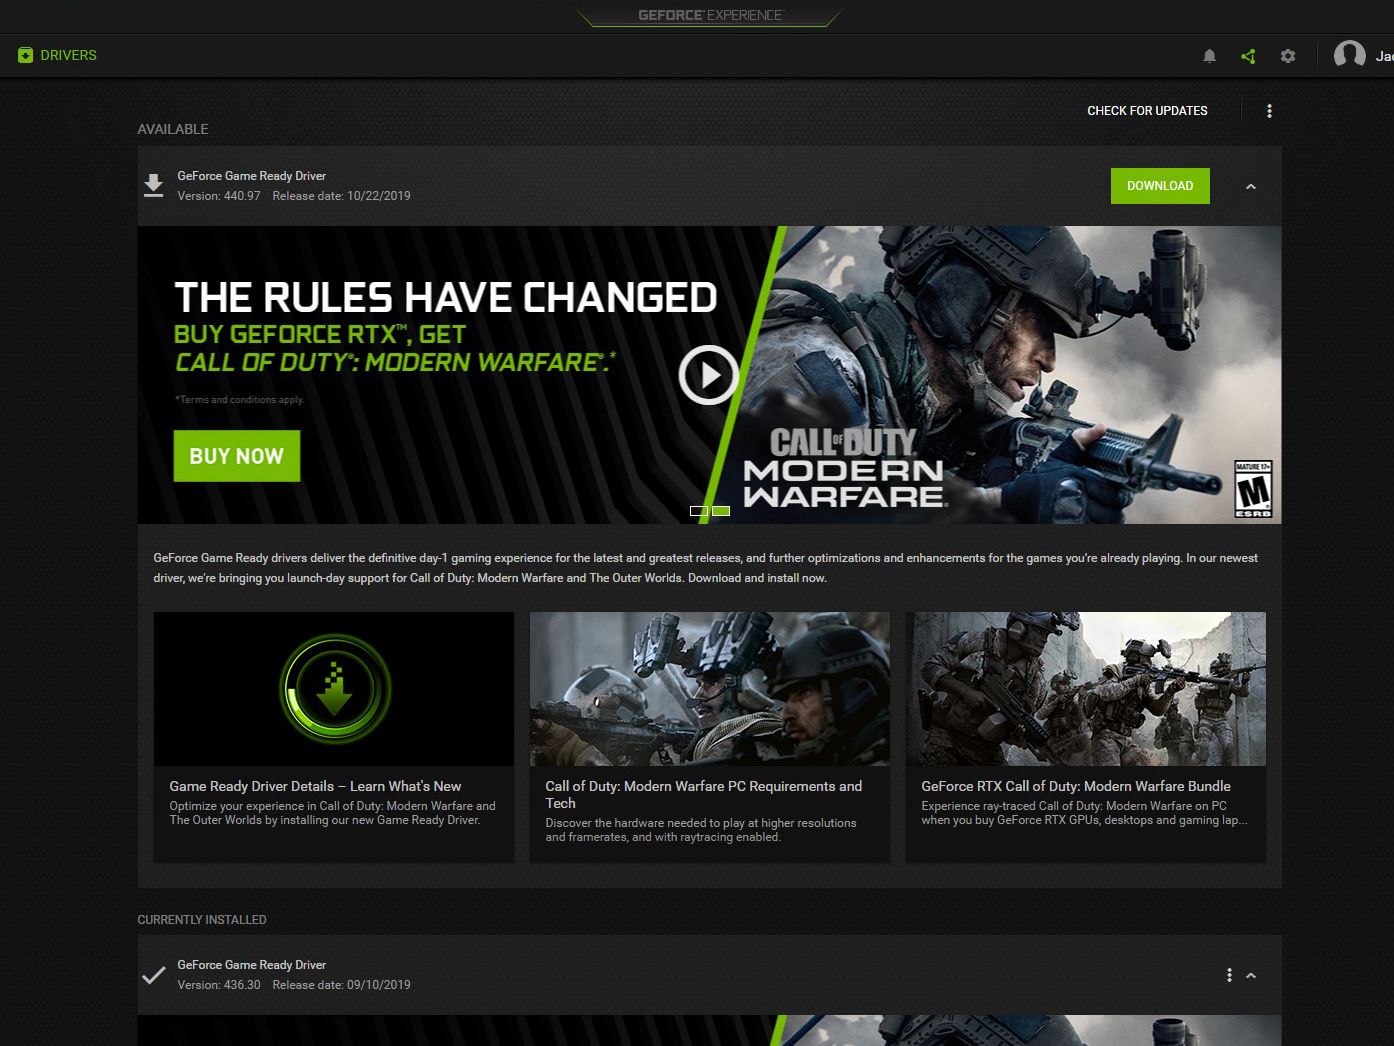
Launch GeForce Experience: If you have it installed, open the application. If not, you can download it from the official NVIDIA website.
-
Navigate to Drivers Tab: Once open, click on the “Drivers” tab located in the top-left corner.
-
Check for Updates: GeForce Experience will automatically check for new drivers. If an update is available, it will display a notification.
-
Download Driver: Click “Download” to begin downloading the latest Game Ready Driver.
-
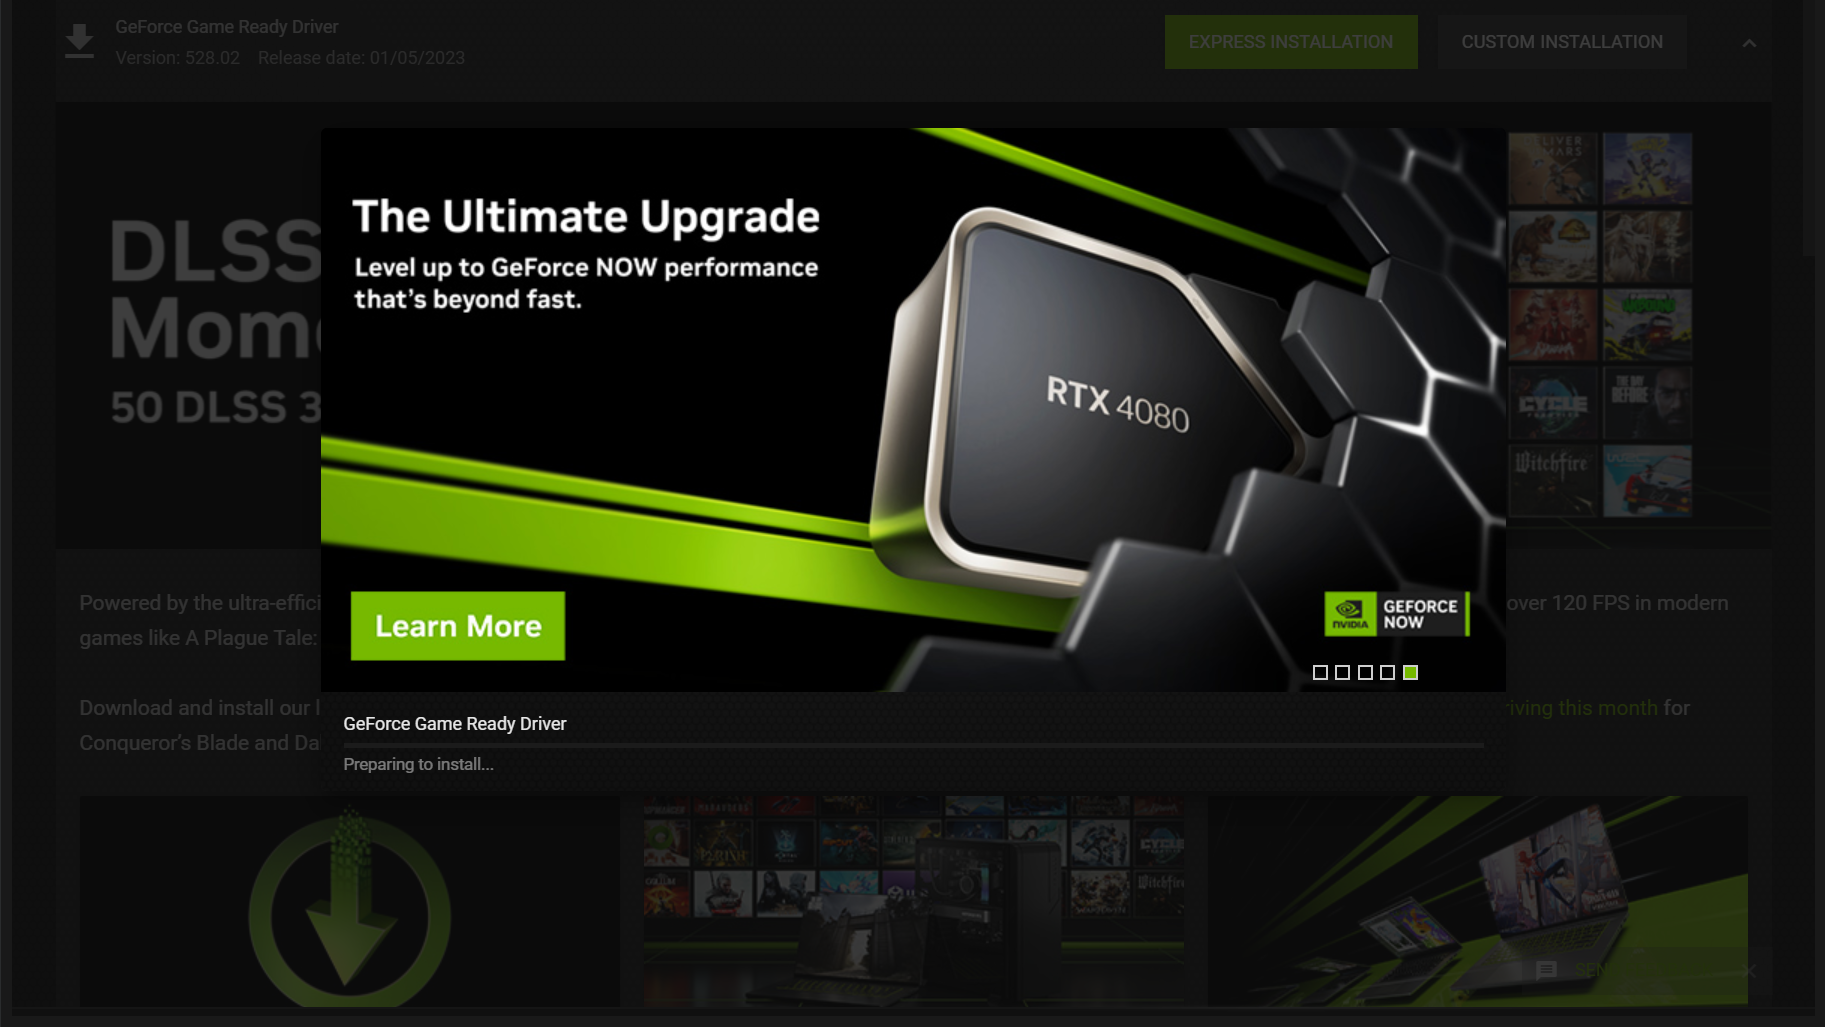
Installation Options: After the download completes, you’ll be presented with two installation options:
-
Express Installation: This is the default and recommended option for most users. It performs a standard installation, keeping your NVIDIA Control Panel settings and any custom profiles.
-
Custom Installation: This allows you to choose specific components to install and offers an option to “Perform a clean installation.” A clean installation removes all previous NVIDIA driver files and settings before installing the new ones, which can resolve lingering issues from older driver versions. This is often recommended if you’re experiencing problems or making a significant jump in driver versions.
-
-
Follow On-Screen Prompts: The installer will guide you through the rest of the process, which may include a temporary screen flicker or resolution change as the new drivers are applied. A system reboot is usually required to finalize the installation.
Method 2: Manual Download from NVIDIA’s Official Website (Recommended for Customization/Troubleshooting)
This method provides the most control and is ideal if you prefer not to use GeForce Experience or if you need to troubleshoot specific issues.
-
Visit NVIDIA Driver Downloads: Open your web browser and navigate to NVIDIA’s official driver download page (often
nvidia.com/drivers). -
Select Your Product: Use the drop-down menus to accurately select your “Product Type” (e.g., GeForce), “Product Series” (e.g., GeForce RTX 30 Series), “Product” (e.g., GeForce RTX 3080), “Operating System” (e.g., Windows 10 64-bit), and “Download Type” (e.g., Game Ready Driver (GRD)).
-
Search and Download: Click “Search” and then “Download” for the latest recommended driver.
-
Run the Installer: Once the driver file is downloaded, locate it (usually in your Downloads folder) and double-click to run it.
-
Extraction and Installation: The installer will first extract the necessary files. You’ll then be prompted to agree to the license agreement.
-
Installation Options: Similar to GeForce Experience, you’ll choose between “Express (Recommended)” and “Custom (Advanced)” installation. For troubleshooting or ensuring a completely fresh start, “Custom” followed by checking the “Perform a clean installation” box is often the best choice.
-
Complete Installation: Follow the remaining on-screen instructions. Your screen may flicker or go black momentarily. A system reboot will likely be required to complete the installation.
Method 3: Windows Device Manager (Least Recommended for Graphics Drivers)
While Windows Device Manager can update some drivers, it’s generally not recommended for NVIDIA graphics drivers. Windows Update often lags behind NVIDIA’s official releases and might not provide the specific Game Ready or Studio Drivers that offer the best performance and features.
-
Open Device Manager: Right-click the Start button and select “Device Manager.”
-
Expand Display Adapters: Locate and expand “Display adapters.”
-
Update Driver: Right-click on your NVIDIA graphics card and select “Update driver.”
-
Search Automatically: Choose “Search automatically for updated driver software.” Windows will attempt to find a driver online.
This method rarely finds the latest, fully optimized NVIDIA drivers, making it less effective than the dedicated NVIDIA tools.
Post-Update Checks and Troubleshooting
After updating your drivers, it’s crucial to perform a few checks to ensure everything is working correctly. Should issues arise, knowing how to troubleshoot them can save you significant time and frustration.
Verify Driver Installation
The first step after an update and a system reboot is to confirm that the new driver version has been successfully installed.
-
NVIDIA Control Panel: Right-click on your desktop, select “NVIDIA Control Panel,” and then click “System Information” in the bottom-left. The driver version listed should match the one you just installed.
-
GeForce Experience: Check the “Drivers” tab in GeForce Experience; it should indicate that your driver is up to date.
-
Device Manager: As a last resort, check the “Driver” tab under your NVIDIA card’s properties in Device Manager.
Common Issues and Solutions
Even with careful preparation, problems can sometimes occur.
-
Black Screen/No Display: If your screen remains black after a reboot, try booting into Windows Safe Mode (F8 or Shift + Restart during boot). Once in Safe Mode, you can try to uninstall the new driver or roll back to a previous version.
-
Installation Failure: If the installer fails, ensure you’ve closed all applications and temporarily disable antivirus software. A “clean installation” using the custom option is often the best remedy for persistent failures.
-
Performance Issues/Glitches: If you experience new performance issues or graphical glitches after an update, it might be a rare driver bug or a conflict. Consider rolling back to the previous stable driver version.
-
Error Messages: Note down any specific error codes or messages, as they can be invaluable when searching for solutions online or contacting NVIDIA support.
Rolling Back Drivers If Necessary
If a new driver causes more problems than it solves, Windows provides a “Roll Back Driver” option.
-
Open Device Manager: Right-click the Start button and select “Device Manager.”
-
Expand Display Adapters: Locate and expand “Display adapters.”
-
Properties: Right-click on your NVIDIA graphics card and select “Properties.”
-
Roll Back Driver: Go to the “Driver” tab and click “Roll Back Driver.” Follow the prompts. This will revert your system to the previously installed driver version. Note that this option is only available if a previous driver installation was detected.
Clean Installation vs. Express Installation
The choice between Express and Custom (with clean installation) is significant.
-
Express Installation: Quicker, retains existing settings, suitable for routine updates when no issues are present.
-
Custom (Clean) Installation: Removes all previous NVIDIA driver files and settings, including residual files that might be corrupted or cause conflicts. This is recommended for major driver version jumps, when troubleshooting performance issues, or after upgrading your GPU. It ensures a fresh, uncorrupted driver installation. Tools like Display Driver Uninstaller (DDU) can be used to perform an even more thorough clean removal before installing a new driver.
Best Practices for Driver Management
Effective driver management goes beyond just knowing how to update; it involves establishing a routine and understanding the nuances of different driver releases.
Establish a Regular Update Schedule
While there’s no need to update every single day, establishing a regular schedule – perhaps once a month or whenever a new game you play is released – is a good practice. This ensures you benefit from performance optimizations, bug fixes, and security patches without constantly worrying about updates.
Monitor NVIDIA Driver Releases
Stay informed about new driver releases by regularly checking the NVIDIA website, following tech news outlets, or subscribing to NVIDIA’s newsletters. GeForce Experience also automates this monitoring for you. Being aware of new releases helps you anticipate performance improvements or critical bug fixes relevant to your use case.
Understand Beta vs. WHQL Drivers
NVIDIA sometimes releases “Beta” drivers. These are pre-release drivers still undergoing testing. While they might offer early access to new features or optimizations, they can also be less stable than official releases.
- WHQL (Windows Hardware Quality Labs) Certified Drivers: These drivers have passed Microsoft’s rigorous testing and are certified for stability and compatibility with Windows. They are the most recommended for general use. Stick to WHQL-certified drivers for stability unless you have a specific reason to use a beta driver (e.g., extreme early adoption or troubleshooting a very specific niche issue).
The Role of DDU (Display Driver Uninstaller) for Clean Installs
For the most thorough “clean installation,” many advanced users turn to Display Driver Uninstaller (DDU). This free, third-party utility is designed to completely remove all traces of graphics drivers (NVIDIA, AMD, Intel) from your system, including registry keys, files, and folders.
-
Download DDU: Obtain DDU from a reputable source (e.g., Wagnardsoft forum).
-
Boot into Safe Mode: This is crucial. DDU works best and is safest when run in Windows Safe Mode.
-
Run DDU: Launch DDU, select “NVIDIA” from the dropdown, and choose “Clean and restart.”
-
Install New Driver: After the system reboots, proceed with installing your new NVIDIA driver using the manual download method.
DDU is particularly useful when troubleshooting persistent driver-related issues, switching between GPU brands, or after a major Windows update that might have corrupted driver files.
By diligently following these steps and best practices, you can ensure your NVIDIA graphics card consistently delivers the performance, stability, and features you expect, keeping your system ready for the demands of the latest games, creative applications, and everyday computing. Staying updated is not just about keeping pace; it’s about optimizing your entire digital experience.
aViewFromTheCave is a participant in the Amazon Services LLC Associates Program, an affiliate advertising program designed to provide a means for sites to earn advertising fees by advertising and linking to Amazon.com. Amazon, the Amazon logo, AmazonSupply, and the AmazonSupply logo are trademarks of Amazon.com, Inc. or its affiliates. As an Amazon Associate we earn affiliate commissions from qualifying purchases.